AI Background Remover: Remove Image Backgrounds Online
No masking, no manual selection required. Drop in your image, click once, and download a clean transparent PNG ready for product listings, ads, and social posts.
Background removal + image creation, editing, and resizing
All in one place, on leading AI image models.


Remove backgrounds in batches
One selfie does not need batch processing. A product catalog does. Drop in up to 50 photos at a time and every one comes back as its own transparent PNG, so a drop of new SKUs is a single pass instead of an afternoon of opening files one at a time.
These four started as ordinary photos: a sneaker on a workbench, a serum bottle on a bathroom shelf, headphones on a sofa, a bag on a brick wall. Four different backdrops, one pass, four transparent PNGs.
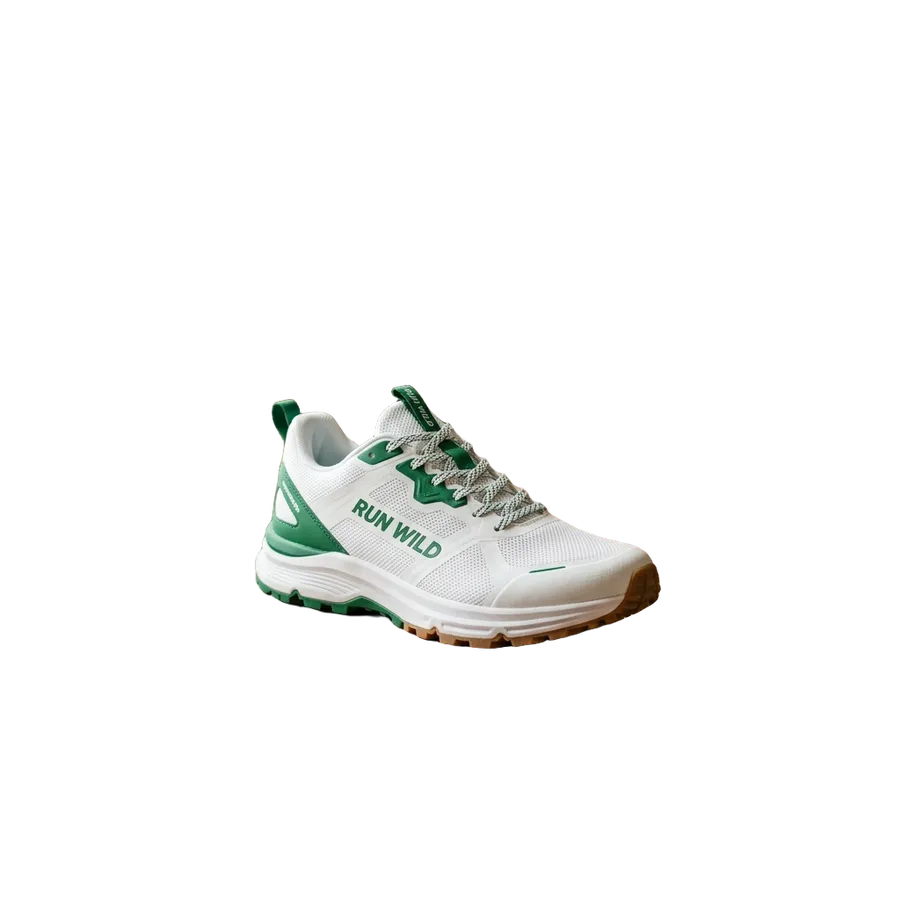
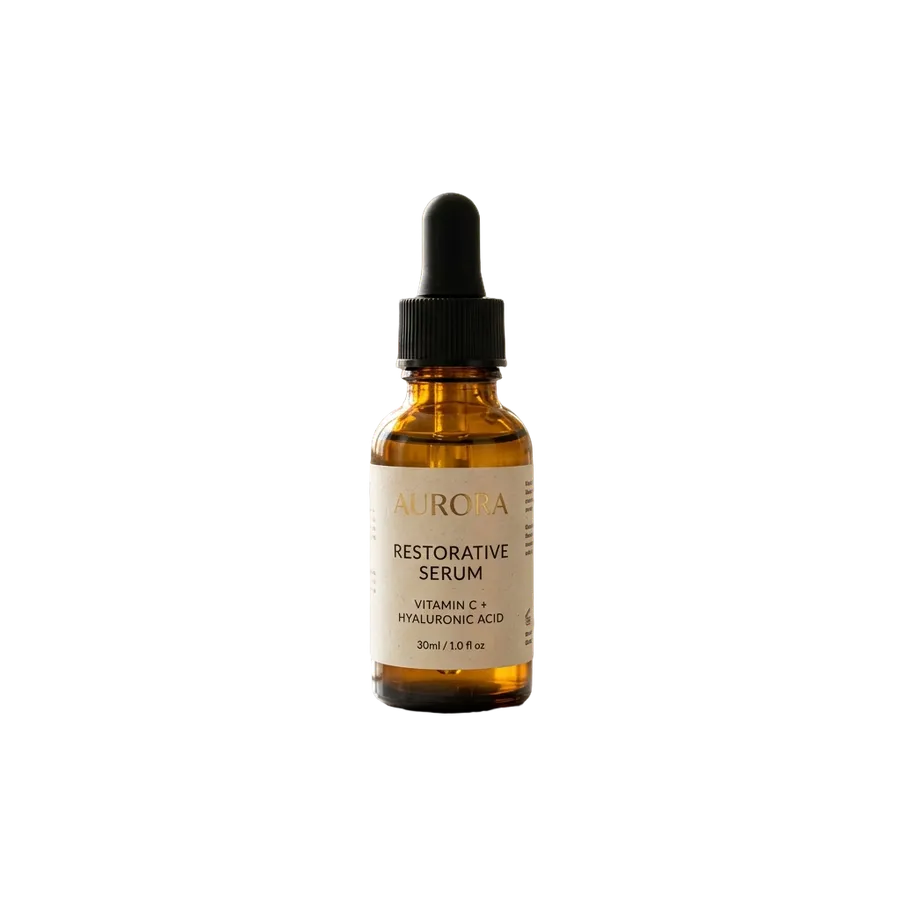
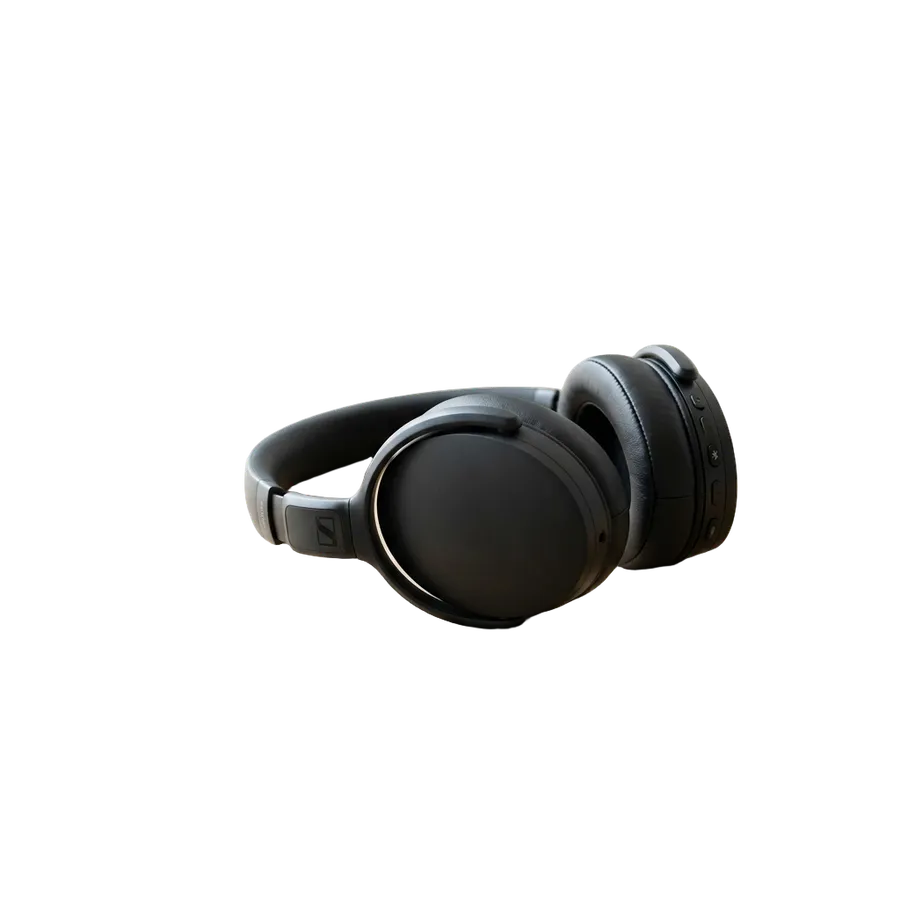
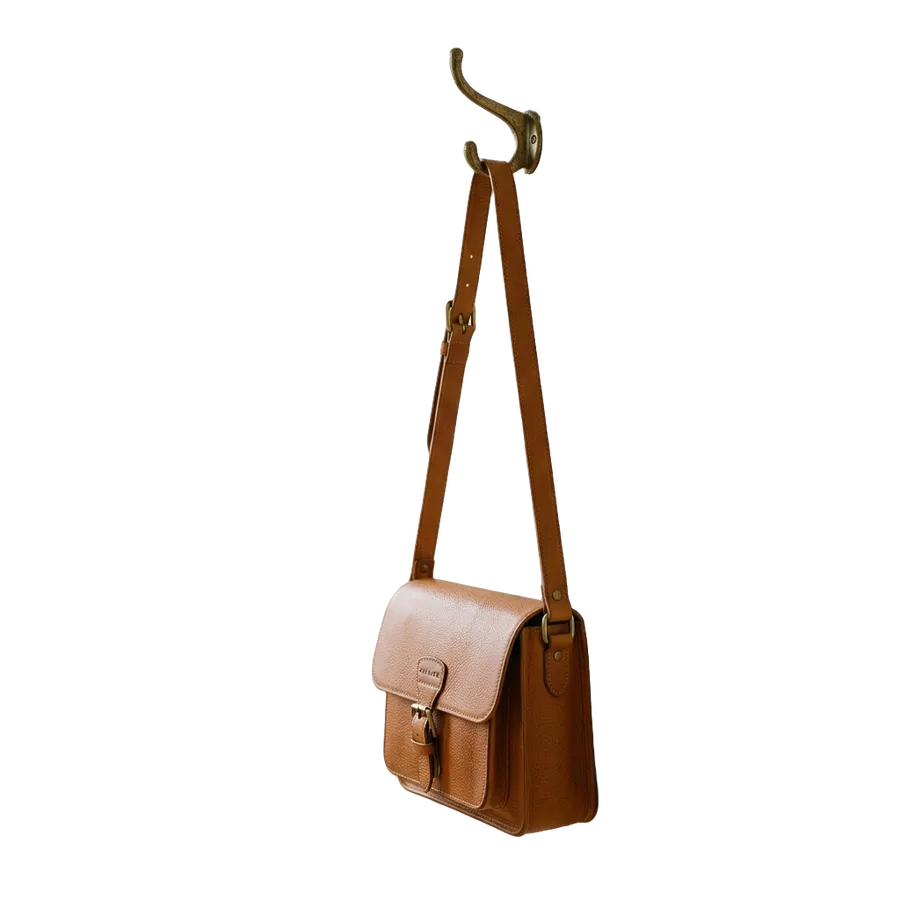
Remove product photo backgrounds
The same transparent PNG does four different jobs once the backdrop is gone.
Marketplace listings
Cut the product out, then put it on whatever backdrop the marketplace asks for. One source photo covers every channel's rules.
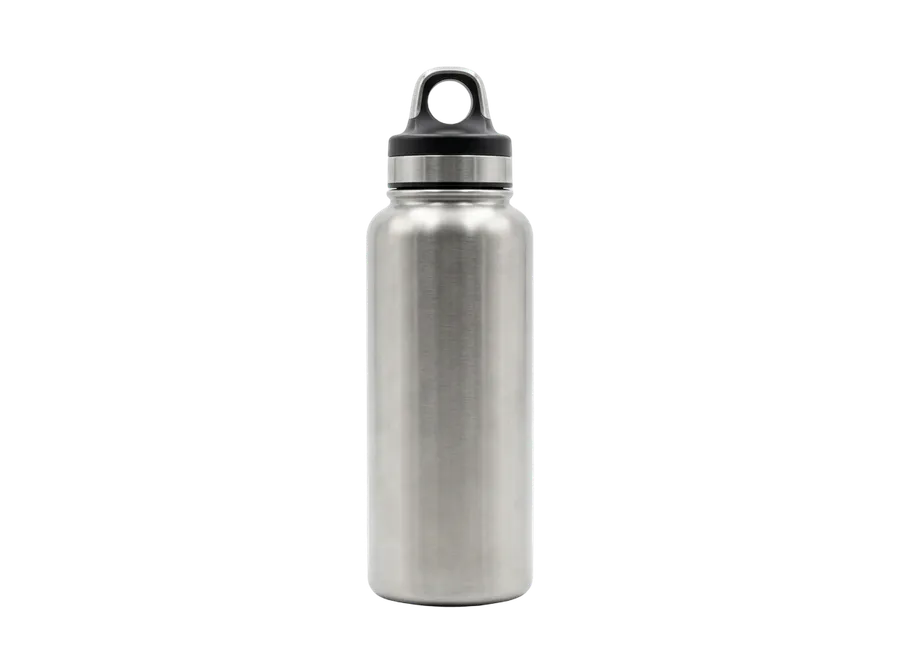
Catalogs
Run a whole set of SKUs through in one batch so the catalog reads as one shoot, even when the photos were taken weeks apart.
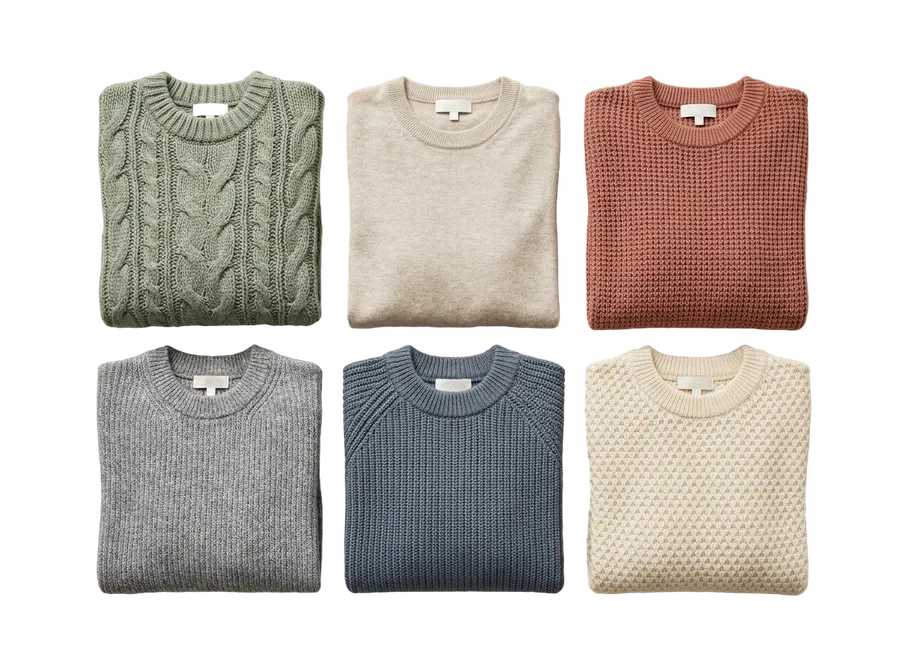
Ads
One cutout feeds several creatives. The product stays fixed while the layout, copy, and background change around it.
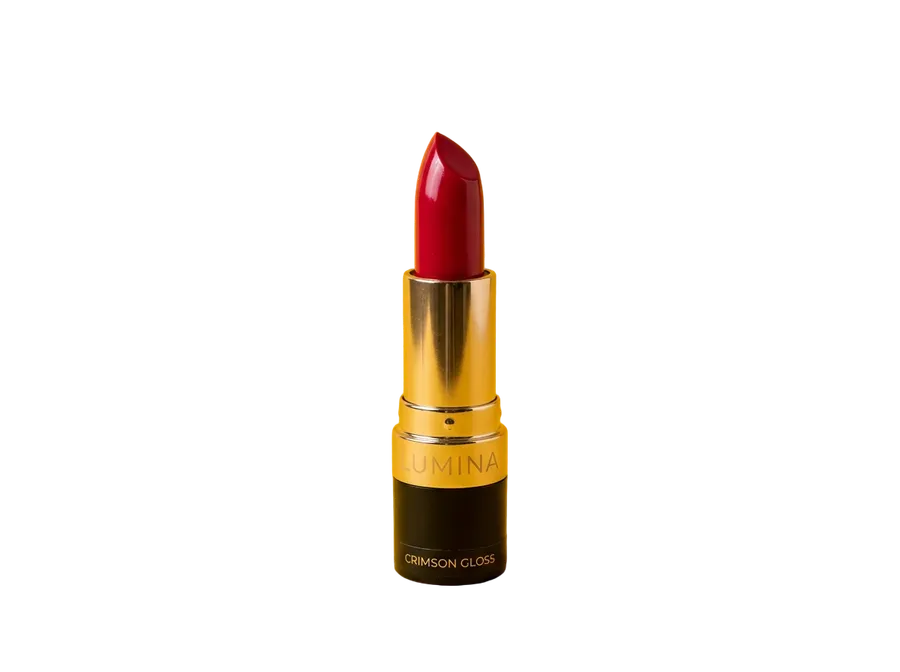
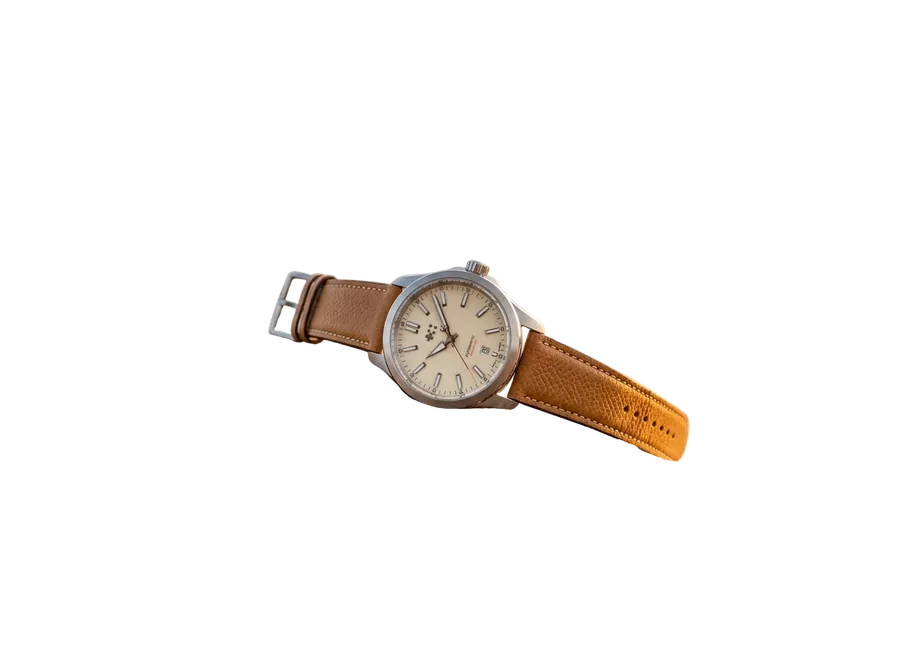
AI product scenes
Strip the old environment, then describe a new one. The product keeps its shape and labels while the scene is rebuilt around it.
Automatic background removal vs manual masking
Two different jobs. One is fast and repeatable across a whole set. The other gives you frame-by-frame control when an edge really has to be exact.
-1920x983.webp)
Automatic removal on getimg.ai
Open Remove background
Pick Remove background from the Image group in the left sidebar.
Add your images
Drop in one photo or a set, or pick them from your gallery.
Download the PNGs
The AI detects the subject in each image and returns transparent PNGs in seconds.
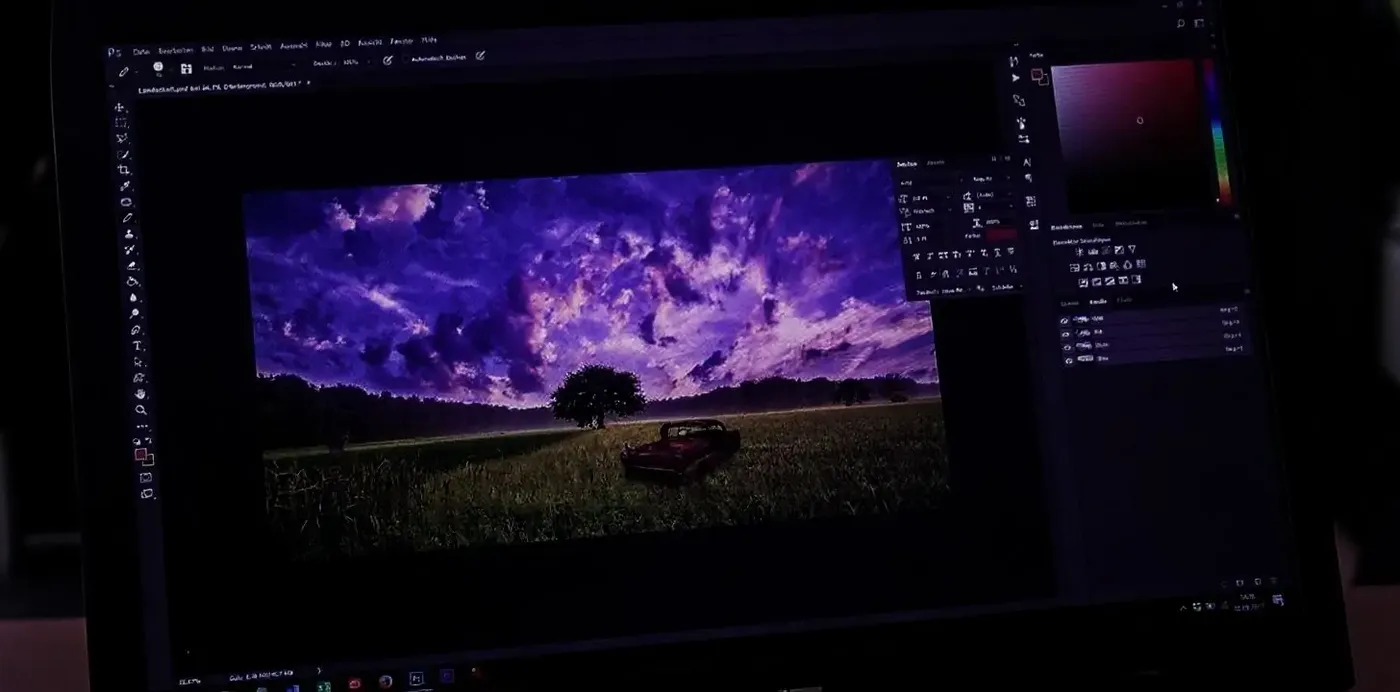
Manual masking
- Open the file in a photo editor
- Duplicate the layer you're cutting
- Choose a selection or pen tool
- Trace the subject by hand
- Refine the edge on hair and fur
- Paint the mask back where it broke
- Check the edge against a new background
- Export as a transparent PNG
- Repeat for every remaining image
Clean cutouts, even on detailed edges
The remover is designed to handle hair, fur, soft fabric, shadows, and partially transparent areas rather than stopping at a simple outline. How far it gets depends on the source image, so on complicated edges it's worth opening the result at full size before you publish it.

We tested background removal on difficult images
Six edge cases, generated and cut out on getimg.ai. Drag the slider on each one to see what the model kept and what it lost. We picked these because they are the cases where background removal usually shows its limits.
Backlit curly hair
A rim-lit afro against a cluttered bookshelf. The individual flyaway strands survived and the bookshelf is gone, with no white halo around the silhouette. This was the cleanest result in the set.


Long fur
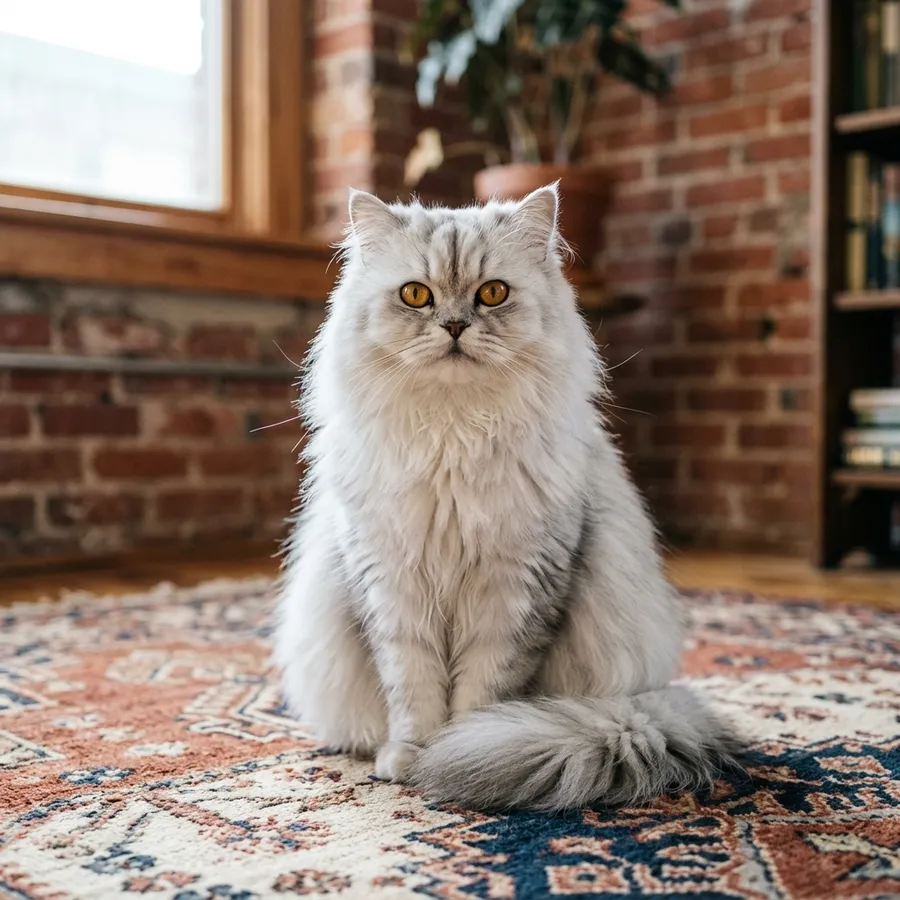
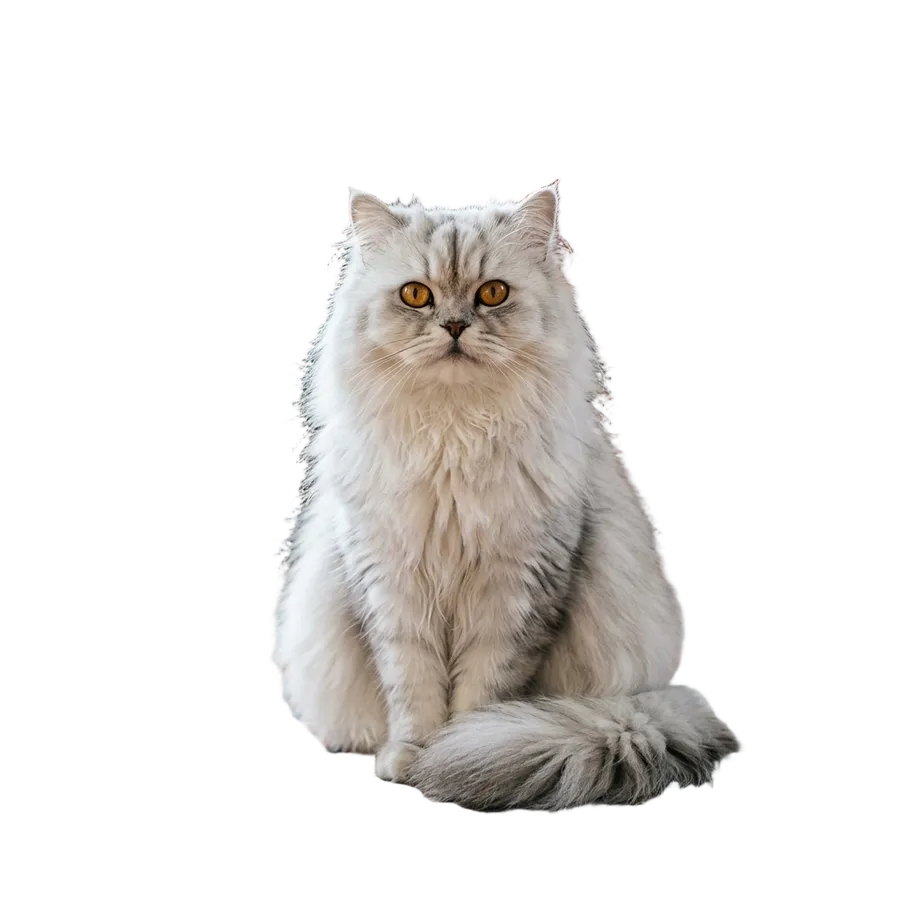
A long-haired cat on a patterned rug. The silhouette is right and the rug is fully gone, but a faint dark fringe stayed along the edge where the fur met the shadowed brick. Fixable, but you would want to catch it before publishing.
Glass and liquid
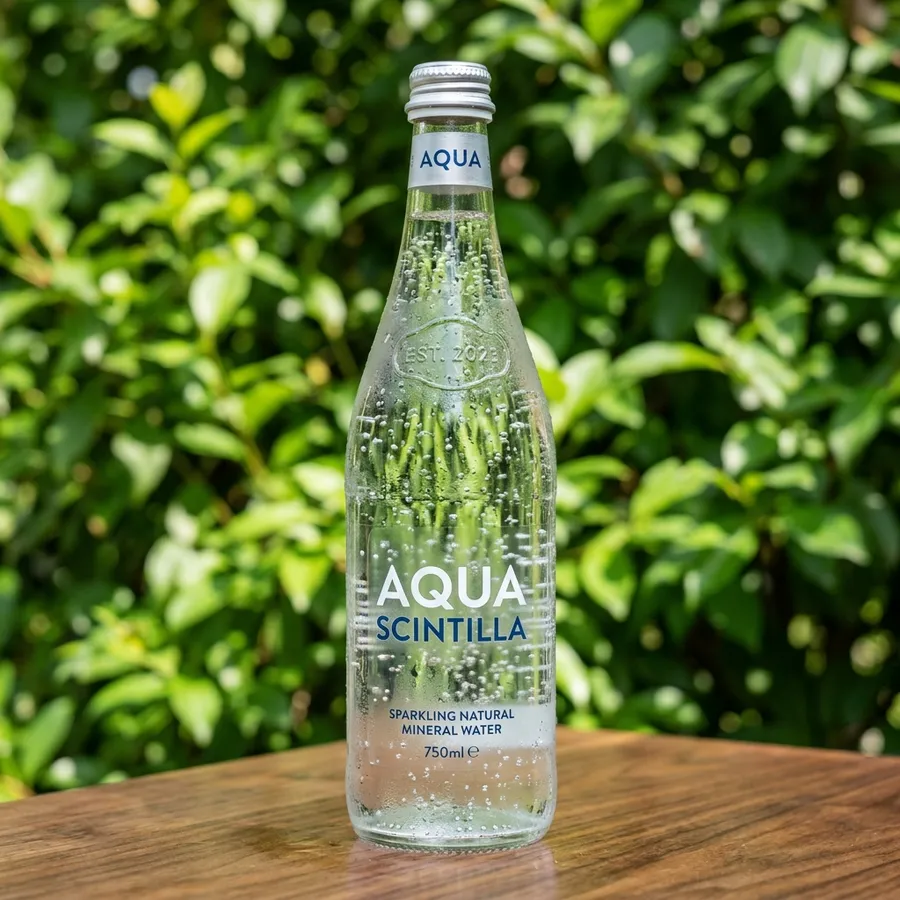
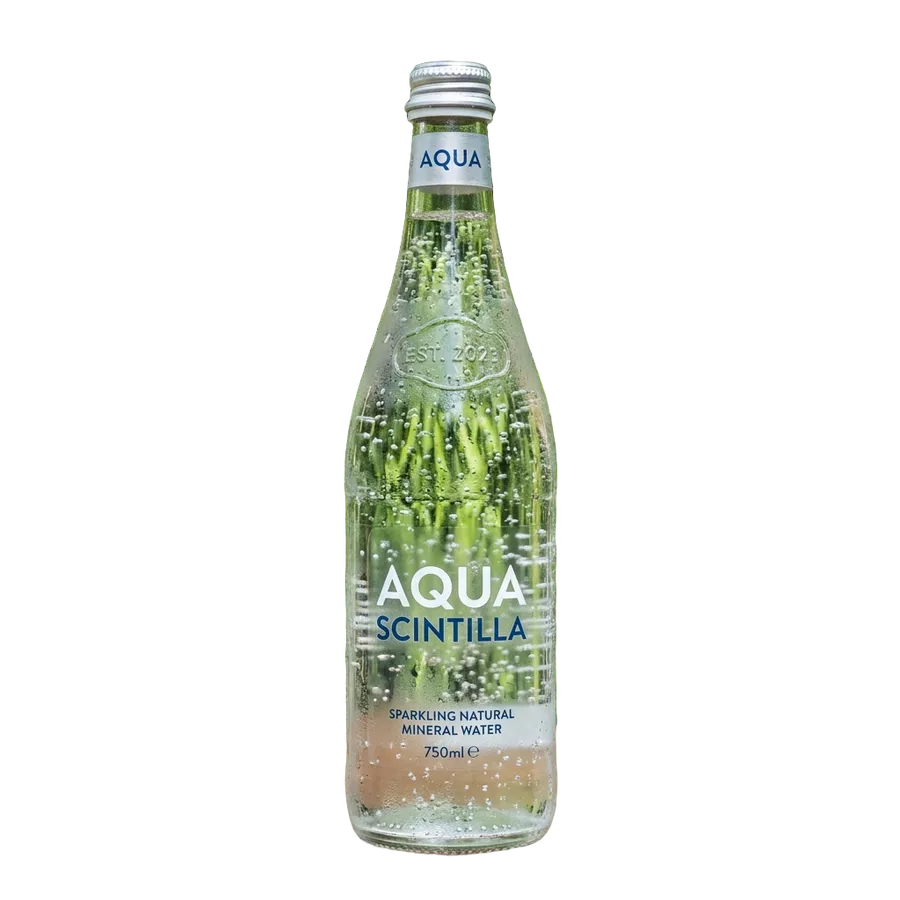
A sparkling water bottle shot against foliage. The bottle was cut out accurately, but the leaves behind it stayed visible through the glass. Transparent objects carry their original background with them, which is the honest limit of any segmentation model.
Where background removal gets unpredictable
Semi-transparent fabric, near-zero contrast, and dark print on a dark product. Three more results from the same test set.
Tulle and mesh
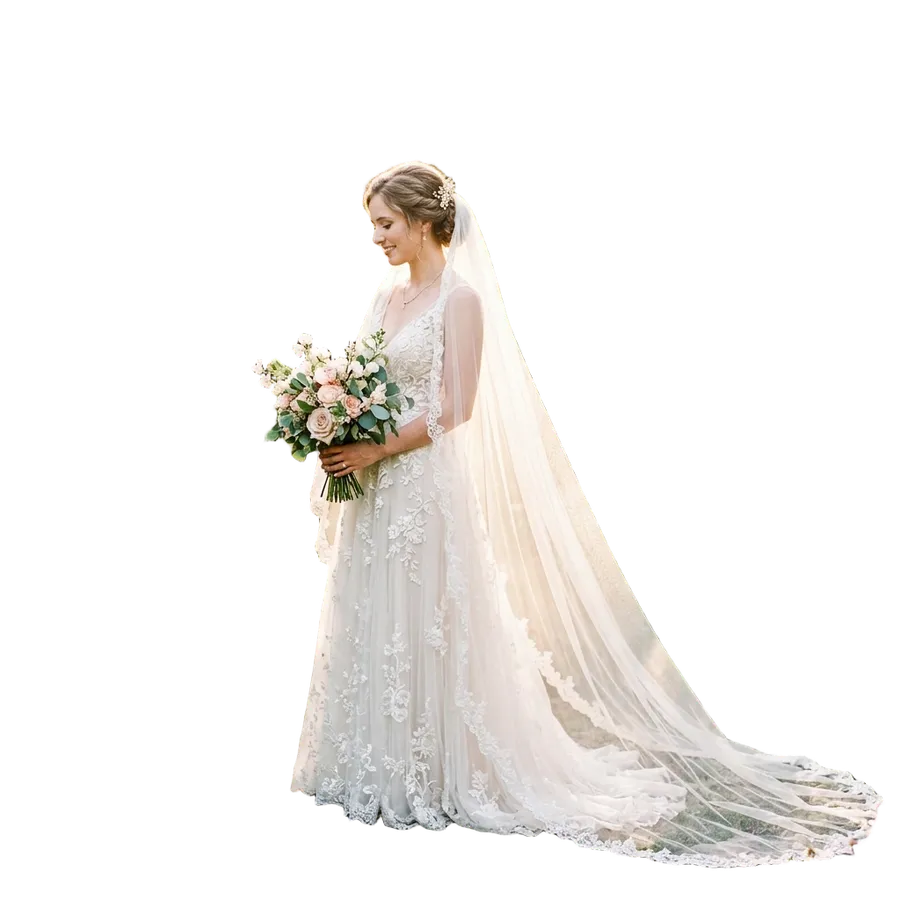
A bridal veil over a garden. The veil kept its semi-transparency instead of flattening into a solid white shape, which is the hard part. A faint tint from the greenery is still sitting in the mesh of the train.

Low contrast
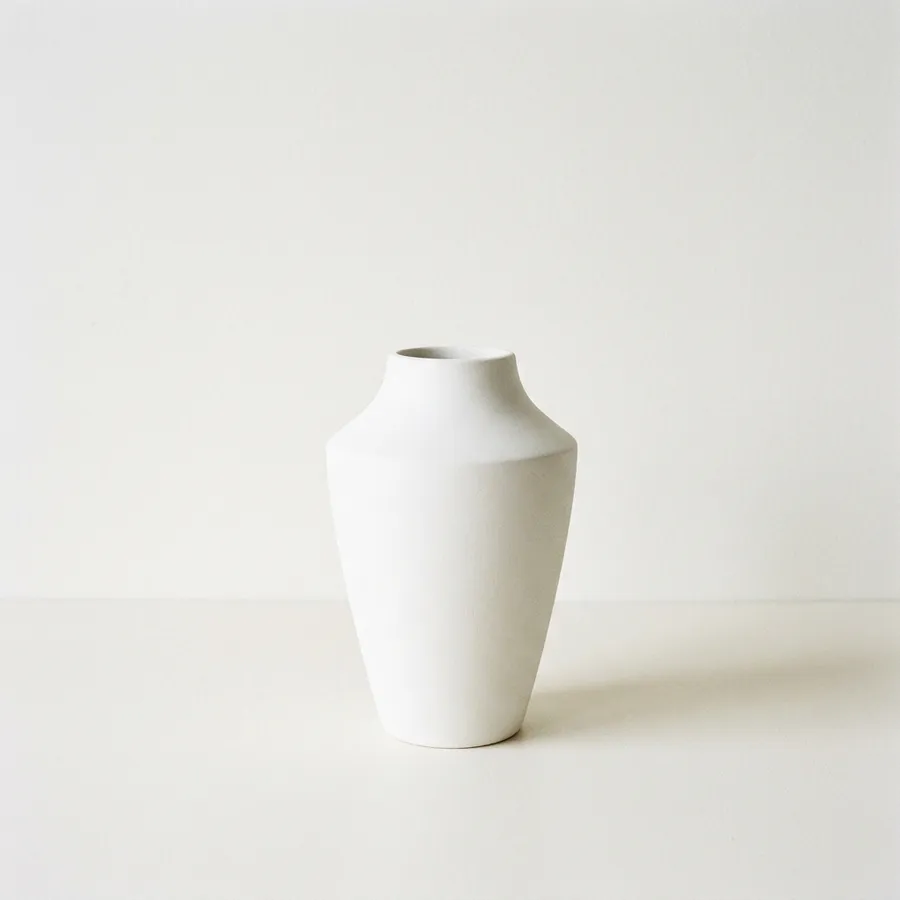
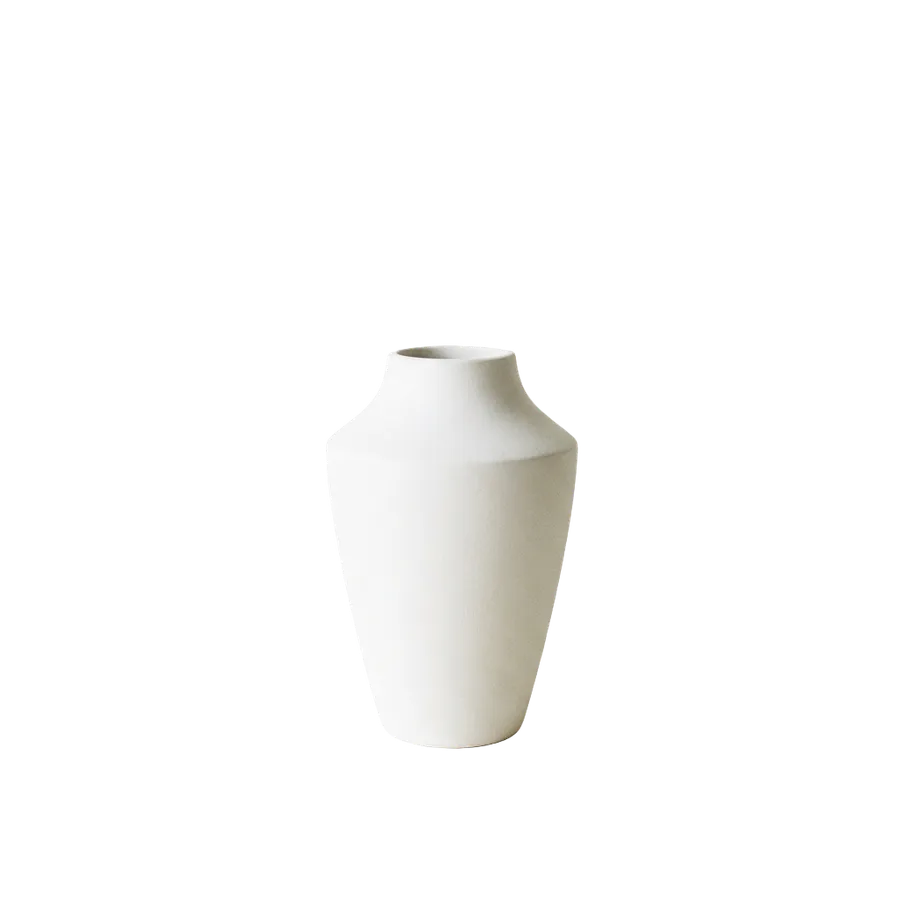
A white vase on an off-white table against an off-white wall, with barely any tonal separation anywhere in the frame. The cutout came back clean, with the curve of the shoulder and the rim of the opening both intact. Low contrast is hard, but it is not automatically a failure.
Product typography
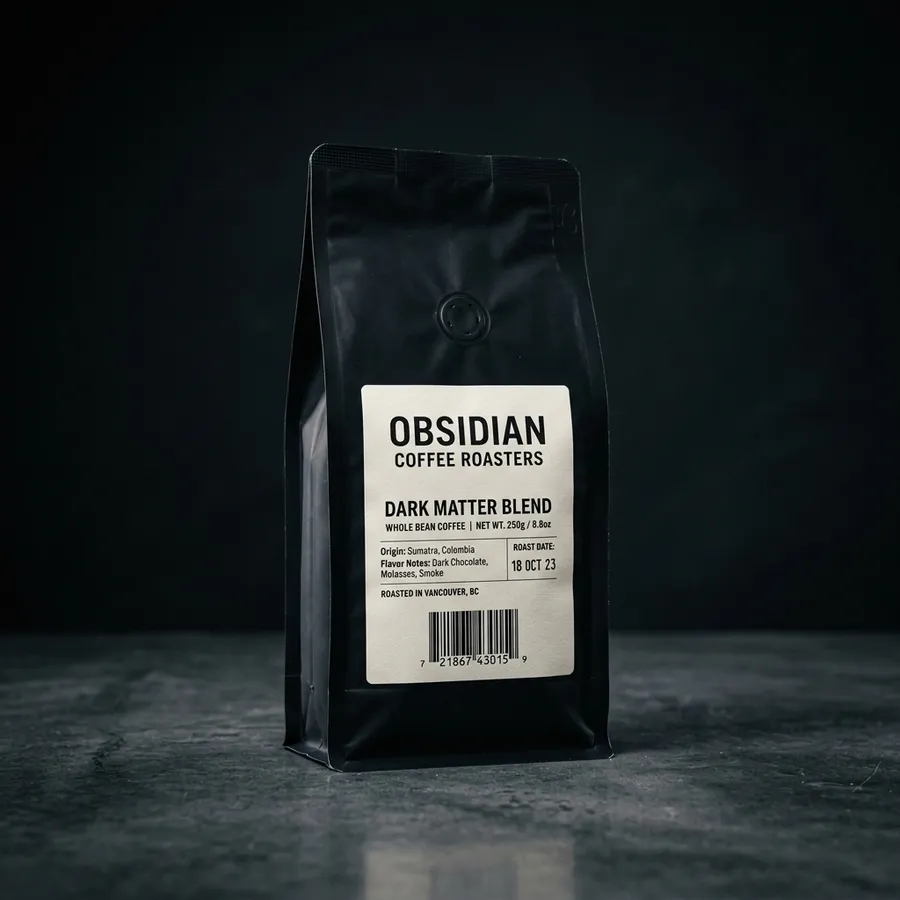
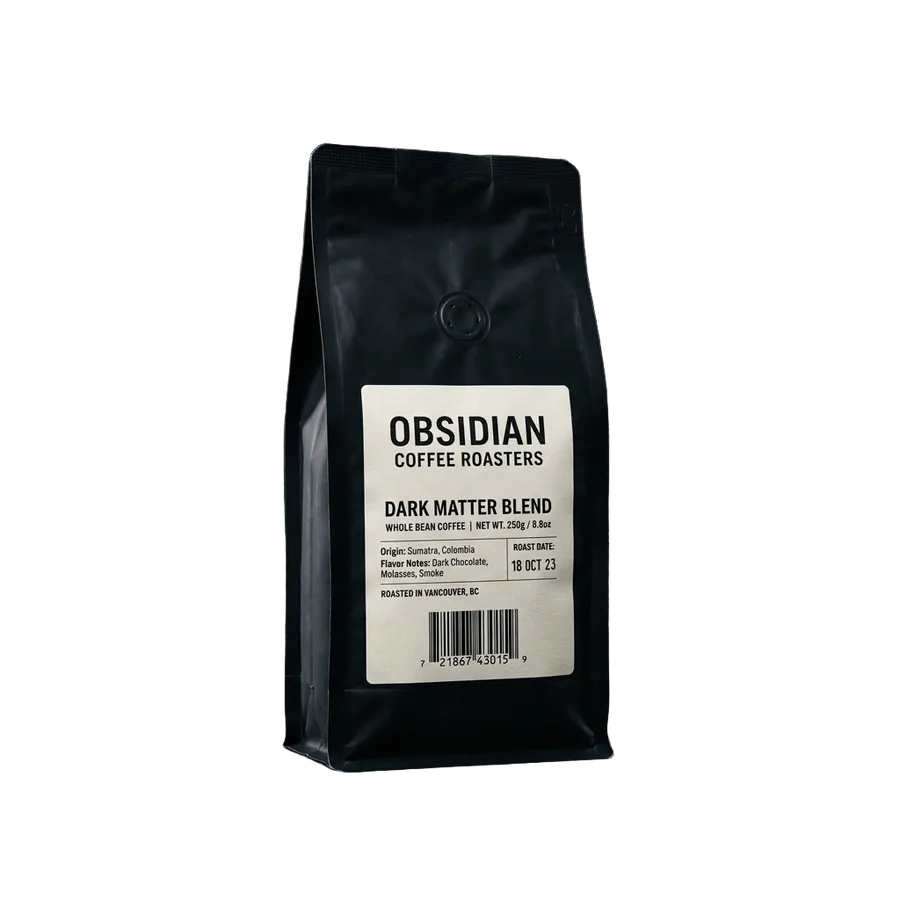
A matte black coffee bag on near-black concrete, with a printed label, roast date, and barcode. Dark on dark is a genuinely hard separation, and the small print and the barcode all came through legible.
Remove backgrounds. Keep the details.
A clean transparent PNG fits anywhere. These are the jobs people use it for most.
-1-1920x960.webp)
Product photos
Cut products out of cluttered photos and drop them onto clean listing pages. Edges, textures, and label print come through on the cutout, so a whole catalog can look consistent.
-1-1920x960.webp)
Portraits
Turn any photo into a clean portrait cutout for LinkedIn profiles, team pages, speaker bios, company websites, and profile graphics.
-1-1920x960.webp)
Logos
Lift a logo or graphic you have the rights to use off a colored background, and reuse it across your materials as a transparent PNG.
-1-1920x960.webp)
Stickers
Strip the background from sticker art before it goes to messaging apps, social posts, or production, so only the design ships.
-1-1920x960.webp)
Merchandise
Prepare graphics for t-shirts, mugs, and tote bags. With the background gone, your design sits cleanly on any product color.
-1-1920x960.webp)
Graphics, icons, and printables
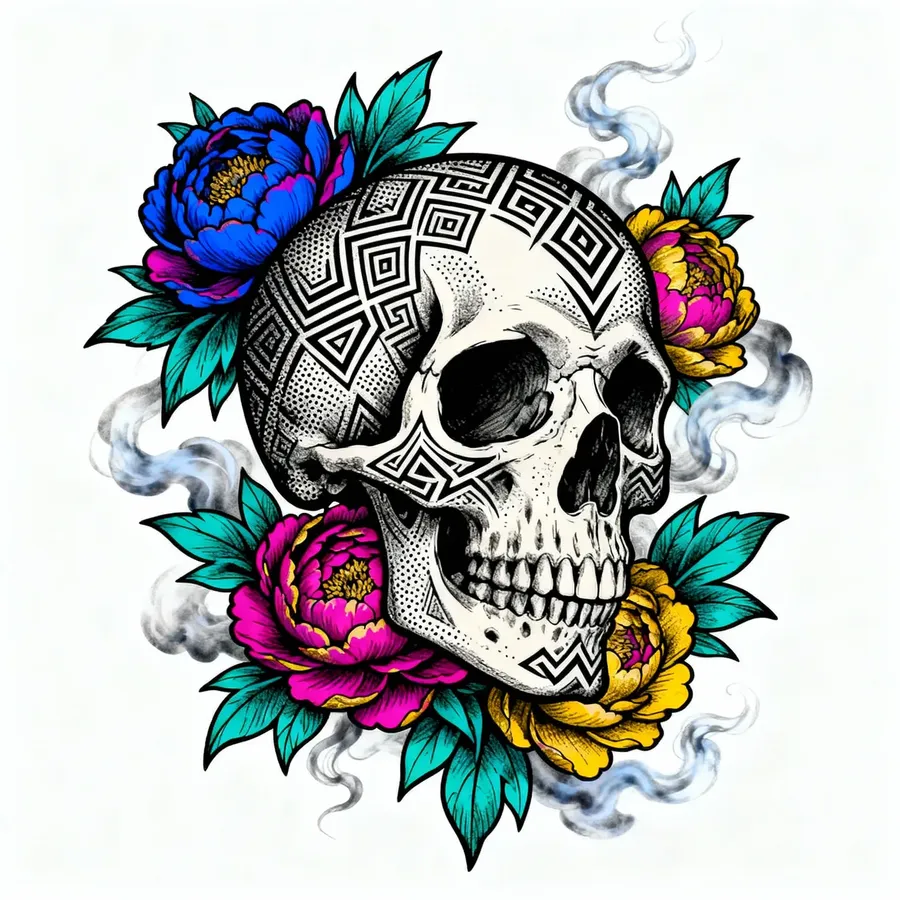
Interface icons, tattoo artwork, buttons, and pins all need the same thing: the subject on transparency, with edges sharp enough to survive printing small.
Not just for white backgrounds
A plain white backdrop is the easy case: the subject and the background are nowhere near each other in tone. It gets harder when they share a color, when shadows are strong, when the backdrop carries a pattern, or when the lighting is uneven. getimg.ai is designed to preserve foreground details such as product edges, textures, and labels, so the cutout still reads correctly wherever you place it.
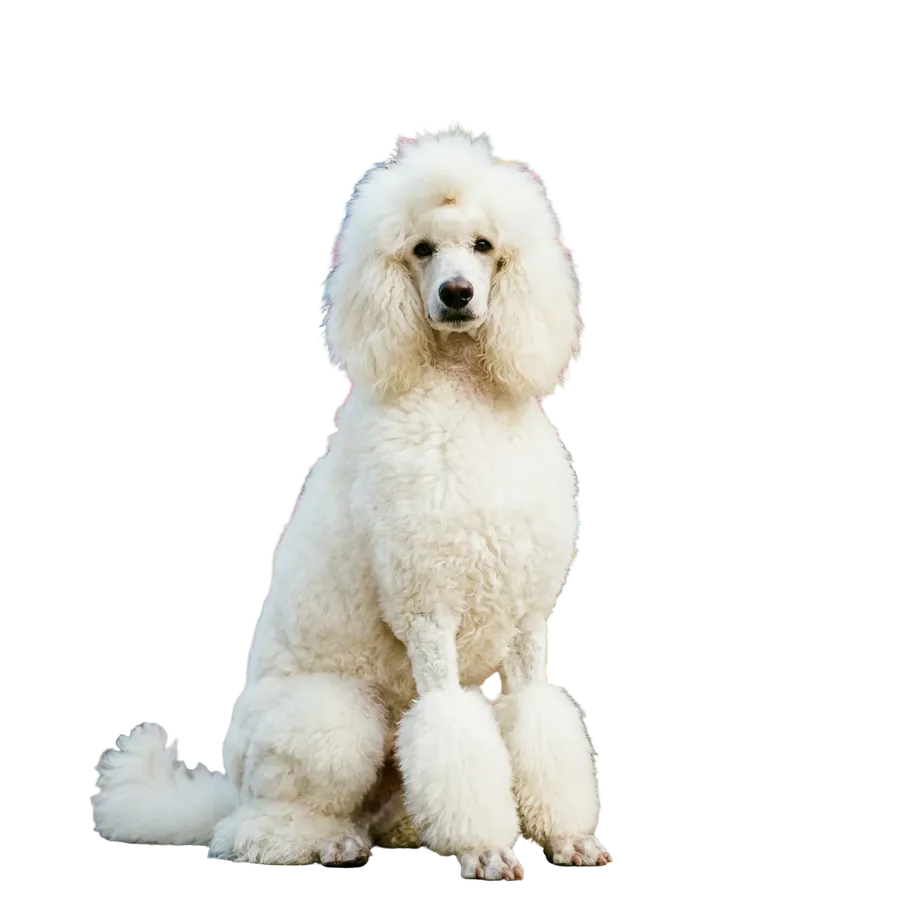
Background Remover vs Background Changer
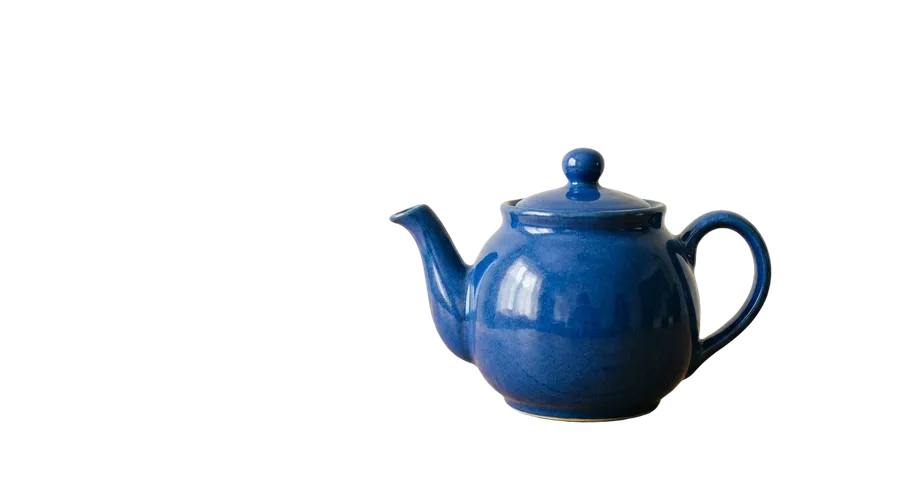
Two tools, two outputs. The difference is whether you want the background gone or replaced. Here is the same teapot through each of them.
How to remove backgrounds with getimg.ai
From upload to transparent PNG in under a minute. Here's the whole flow.
1. Open Remove background
Log in to getimg.ai and pick Remove background from the Image group in the left sidebar. The page keeps a gallery of everything you've cut out above the controls, so earlier results stay within reach.
2. Add your images
Drop files into the box at the bottom, or pick photos from your gallery, including images you generated on getimg.ai. A single photo or a whole batch works, and your originals are never overwritten.
3. Download your transparent PNG
Click once. The AI finds the subject, removes everything around it, and returns a transparent PNG ready to download. From there it drops straight into your listing, pitch deck, or design file.


Background Remover specs
What goes in, what comes out, and what happens to your source file.
Remove it here. Finish it here.
A transparent PNG is usually step one of a bigger job. A dedicated background remover hands you the file and stops there. Here the next step is one click away, on the same image, in the same workspace.
Put a new scene behind it
Describe the setting you want and the AI rebuilds the background around your subject, from plain studio gray to a golden-hour street.
Upscale it for print
Push your cutout to 2K, 4K, or up to 16K depending on the upscaler, so packaging and posters stay sharp at full size.
Resize it for every channel
Use Smart Resize or Outpainting to adapt the cutout or the finished composition for square, vertical, and wide formats.
For better background removal results
Segmentation works from what is in the pixels. These six habits give it more to work with.
Where people go after removing a background
Frequently Asked Questions
AI background removal separates the main subject of an image from everything behind it. Instead of tracing edges, refining selections, and cleaning up leftover pixels by hand, the model detects what should stay and drops the rest. That matters most on detailed images like AI-generated tattoo designs, portraits, logos, product photos, and icons, where manual removal takes the longest and still tends to show.
With getimg.ai you remove a background in one click and get a usable result in seconds. The output is a PNG where the subject stays intact and the background becomes transparent. White backdrops are the most common case, but the same flow runs on colored backdrops, patterns, and busier scenes with shadows or uneven lighting.
Open Remove background in the Image group of the left sidebar. Drop your image into the box at the bottom, or pick one you have already generated or uploaded, and click once. There is no masking and nothing to trace. The flow is the same whether you are cutting out a product, a portrait, or stickers.
Seconds later you have the subject on a transparent background. Download it as a PNG and use it straight away for product pages, ads, logos, profile pictures, or any design that needs the backdrop gone.
A transparent PNG. It is the standard format for background-free images because it carries an alpha channel and keeps detail sharp. The file works in design tools, websites, product listings, presentations, and print materials.
Yes, and it is one of the most common uses. The remover is designed to preserve foreground details such as product edges, textures, and labels while the backdrop goes, so a set of shots taken on different days can still look consistent across your store, ads, and catalog pages. There is more on that workflow on our AI for e-commerce page.
Mostly yes, with the honest caveat that this is the hardest part of the job. The remover is designed to handle fine edges like hair, fur, and soft fabric rather than cutting a hard outline around them. Glass, smoke, low contrast, and partial transparency give more variable results.
We ran our own test set through it. On backlit curly hair the individual strands survived; on a long-haired cat a faint dark fringe stayed along one edge. Both results are in the test section above, as before and after sliders, so you can judge the edge quality yourself.
It works, but expect more variation here than anywhere else. With glass, liquid, smoke, or translucent fabric, the foreground and the background occupy the same pixels, so there is no clean line for segmentation to follow and the model has to guess how much of what you see belongs to the subject.
In our own test, a sparkling water bottle shot against foliage came back cleanly cut out, but the leaves behind it were still visible through the glass. That is worth knowing before you drop a glass cutout onto a new background: you may need to clean the inside of the object, or reshoot it against a simpler backdrop.
The remover outputs transparency, which is the more flexible starting point: a transparent PNG can sit on white, black, or any other color in whatever tool you publish from, and you can change your mind later. If you want a specific backdrop baked into the file instead, describe it in Background Changer and the scene gets rebuilt behind your subject.
No. Every removal produces a new file and leaves your source untouched, so you can re-run it, try a different source photo, or go back to the original at any point.
Yes. Remove background accepts batches: drop in up to 50 photos at a time and each one comes back as its own transparent PNG. For a product catalog that is the difference between one pass and an afternoon of opening files one at a time.
Yes, as long as it is a logo or graphic you have the rights to use. It is most useful when the only copy you have is sitting on a colored background or inside a screenshot. If you need a mark from scratch instead, start with the AI Logo Generator.
No. Background removal gives you a transparent raster PNG, not editable vector paths. The mark will have a transparent backdrop and will sit cleanly on any color, but it is still pixels: there are no separate shapes to recolor and no path that scales up without quality loss. For a true vector you need to trace or redraw it in vector software.
Background Remover takes the existing background to transparency and hands you a PNG, with no prompt involved. Background Changer takes the existing background to a new one: you describe what should sit behind the subject and the scene is rebuilt around it.
Use the remover when you want the subject on transparency and the background decision made later. Use the changer when you already know what should be behind the subject. Many jobs run both in order: cut the product out once, then place it in as many scenes as the campaign needs.
Yes, and that is the usual next step. Once the subject is on transparency you can place it on a flat color in any design tool, or describe a new scene and have it generated around the cutout. The same file can then be upscaled for print or resized for square, vertical, and wide formats without leaving the workspace.
Three things a single-purpose remover does not usually combine: one-click removal with no masking, batch input sized for whole catalogs, and the rest of the job waiting in the same workspace.
The removal itself is one click. What changes the workflow is everything that sits next to it: batch input for whole catalogs, and background replacement, upscaling, and resizing on the same file, in the same workspace, without exporting to another tool.
Upload it. Click once. Move on.
Your next product shot, portrait, or logo cutout is seconds away.