AI Image Upscaler: Upscale Images to 16K
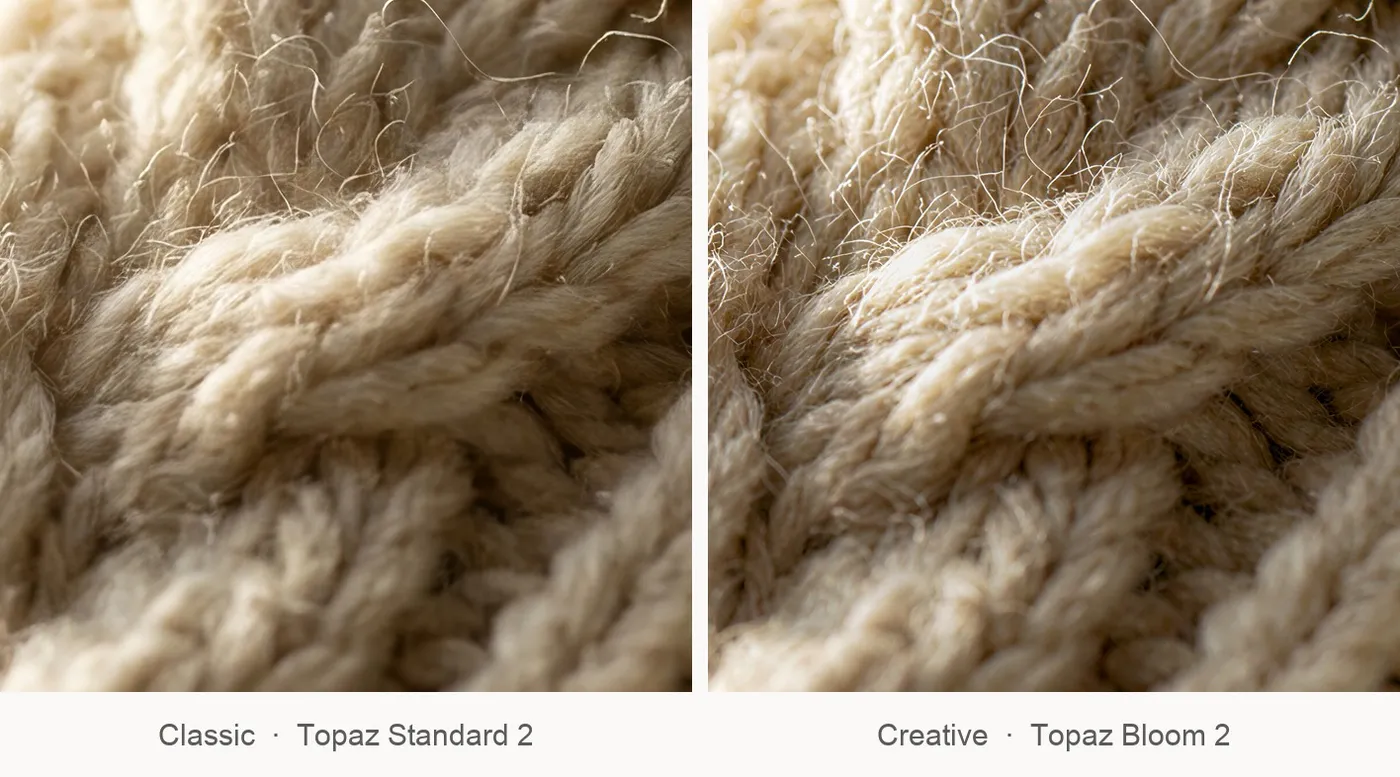
Classic and creative upscalers, side by side
Increase image resolution with AI models designed to sharpen existing detail or creatively rebuild texture as the image grows. Choose the approach that fits your source and your final use.
Access 48+ leading AI models. Pay for one subscription.


Which upscaler should I use?
Every upscale makes one choice: stay close to the source, or rebuild what the source cannot show. Classic models sharpen the structure that is already there. Creative models reconstruct texture and detail as the image grows. Match the model to the job rather than to the biggest number on the page.
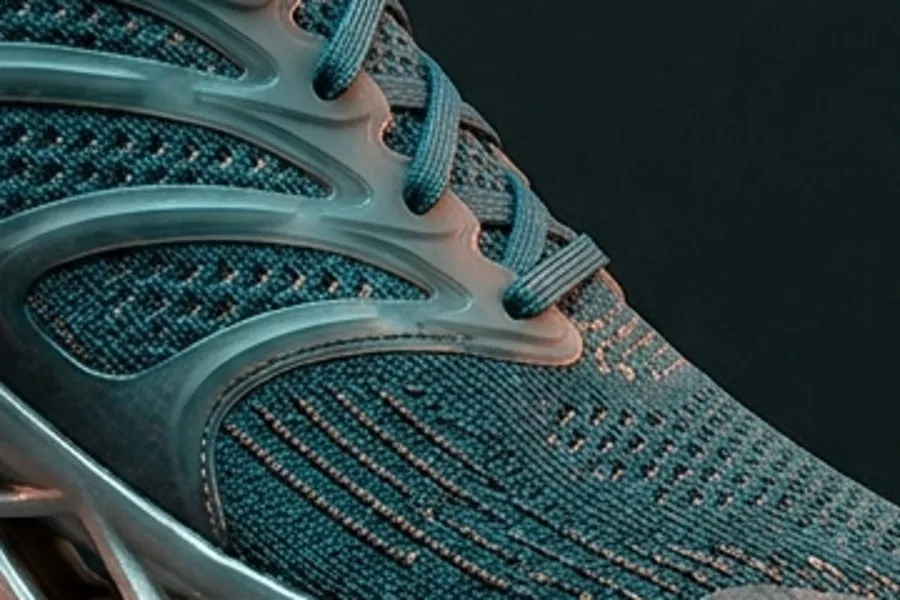
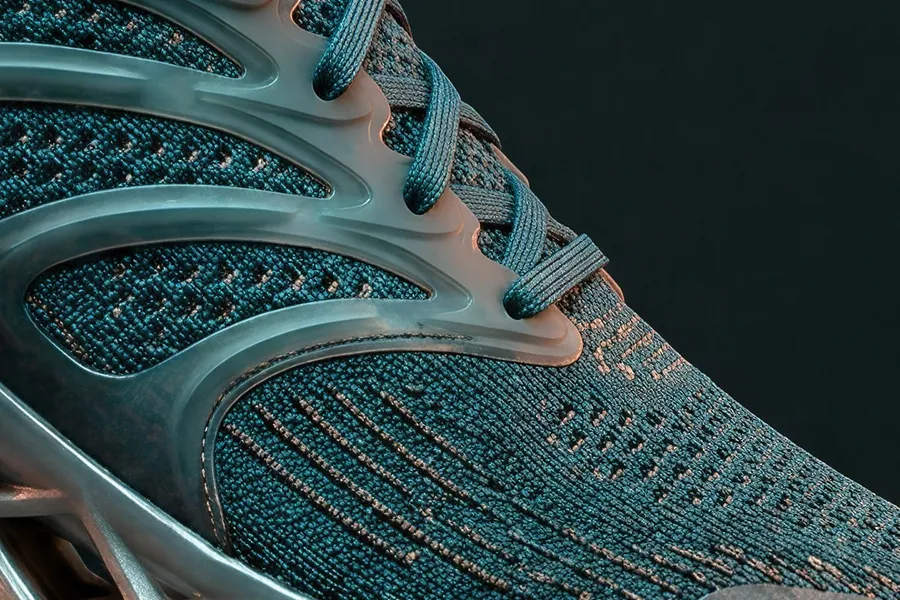
Below: one 1024px knit crop, upscaled 4x by a classic model and by a creative one. Same source, same target resolution, two different answers about how much texture should exist.
The five upscalers, and what each one did in our tests
Vendor descriptions tell you what a model is for. These notes come from running the same six images through all of them at 4K. The full results, with before and after sliders, are further down the page.
Topaz Standard 2
Classic. Target resolutions 1K, 4K, 8K, and 16K.
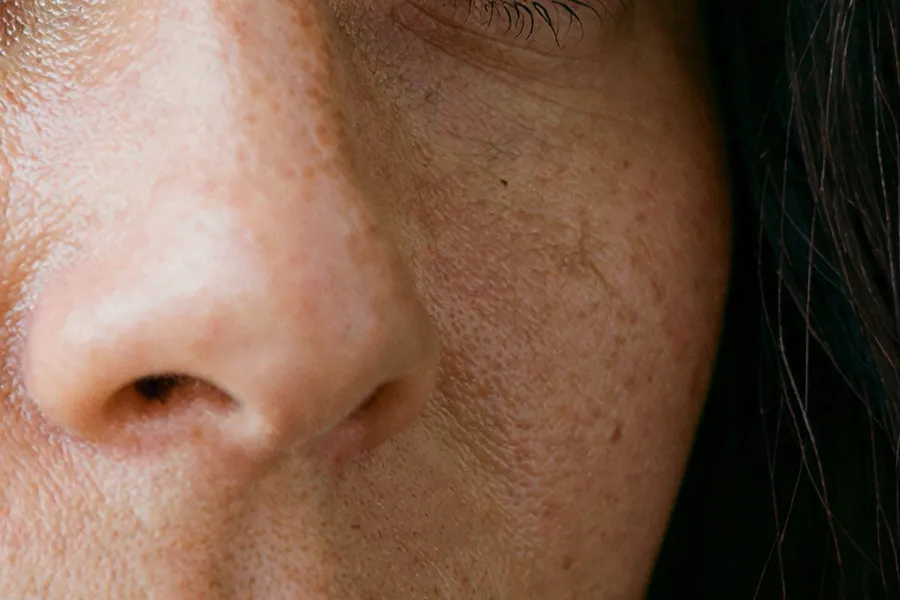
The general-purpose default, and the one we would reach for on clean photography and product shots. It left the barcode on our test label untouched. On the portrait it smoothed the mottled skin texture that was in the source, and on a flat two-colour wordmark it added a light halo and a soft emboss to the letterforms. Faithful is not the same as identical.
AI upscaling is not the same as resizing
Traditional resampling estimates new pixels from the existing image. AI upscaling uses learned models to reconstruct higher-resolution detail, and creative models can add new interpreted texture.
-1920x983.webp)
Upscale image in getimg.ai
Open Upscale image
Find it in the Actions section of the sidebar.
Drop your source
One file or a batch of up to 50. Originals are never overwritten.
Pick model and target
Classic or creative, up to 16K depending on the model. Hit generate.
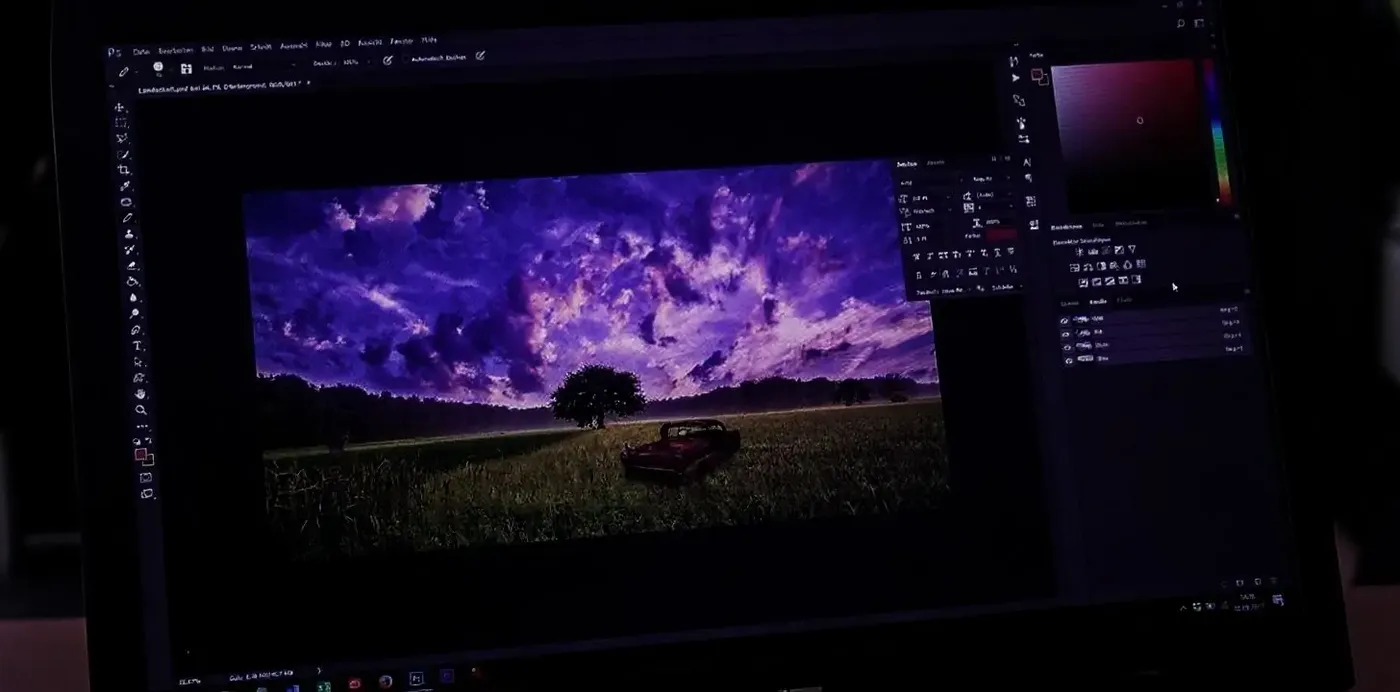
Traditional Resizing
- Open an editing tool
- Import the image
- Find the resize setting
- Increase width and height
- Pick a resampling method
- Try sharpening filters
- Export the new file
- Zoom in and notice blur
- Resize again and repeat
Match the upscaler to the source image
Pick by what the source still contains and by what the file has to do next.
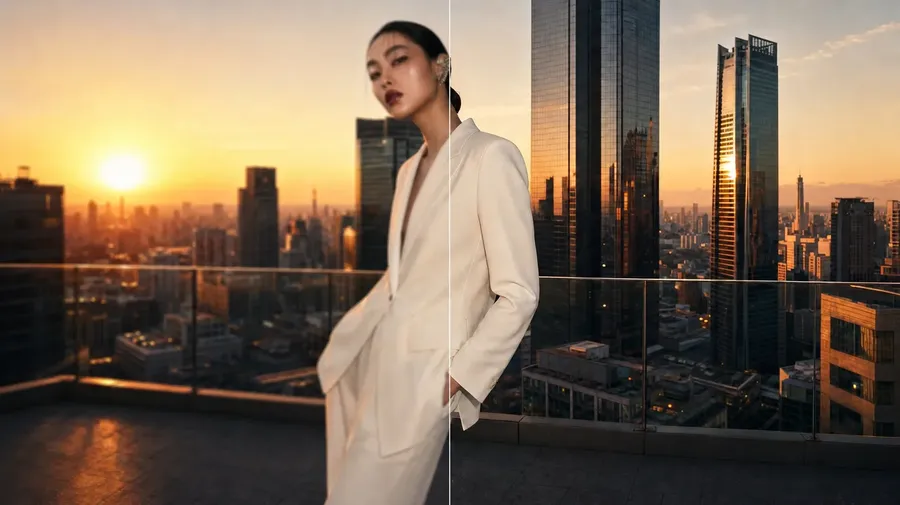
Classic stays close. Creative rebuilds.
Classic upscalers are designed to stay closer to the source image, sharpening existing structure while minimising creative reinterpretation. Creative upscalers can introduce additional texture and interpreted detail when enlarging low-resolution sources. Neither one recovers pixels that were never in the file: every upscale estimates the information it adds. What changes between them is how much interpretation you are asking for, and that is a decision worth making before you generate rather than after.
-900x900.webp)
-900x900.webp)
Upscale Product Photos
Marketplace listings, campaign crops, presentation assets, and large in-store visuals all need more pixels than a standard product shot delivers. Upscaling gets you there without a reshoot.
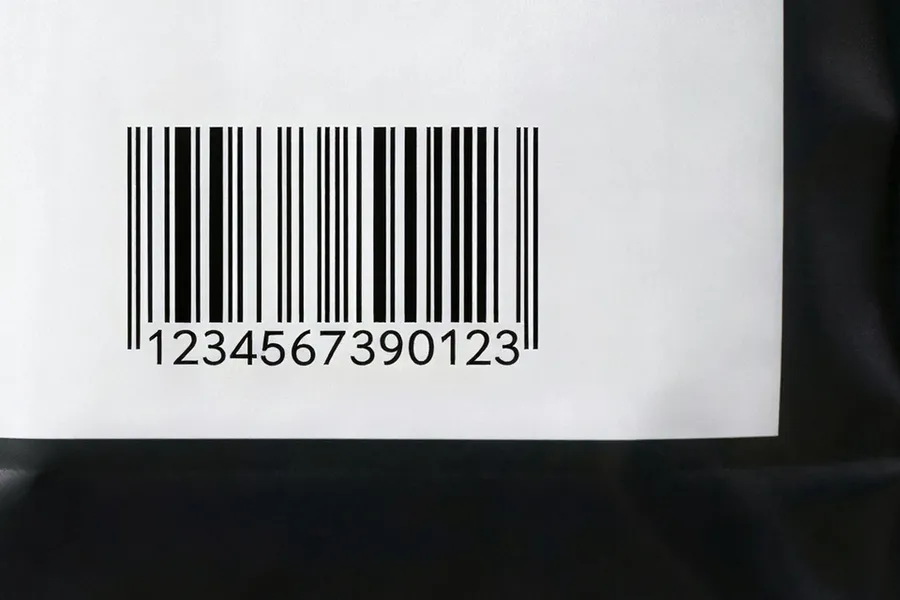
One practical rule: if the packaging carries text or branding you cannot get wrong, start with a classic model and check the label before you publish. In our own test a creative upscaler rewrote a digit in a product barcode, and the bar pattern changed with it.
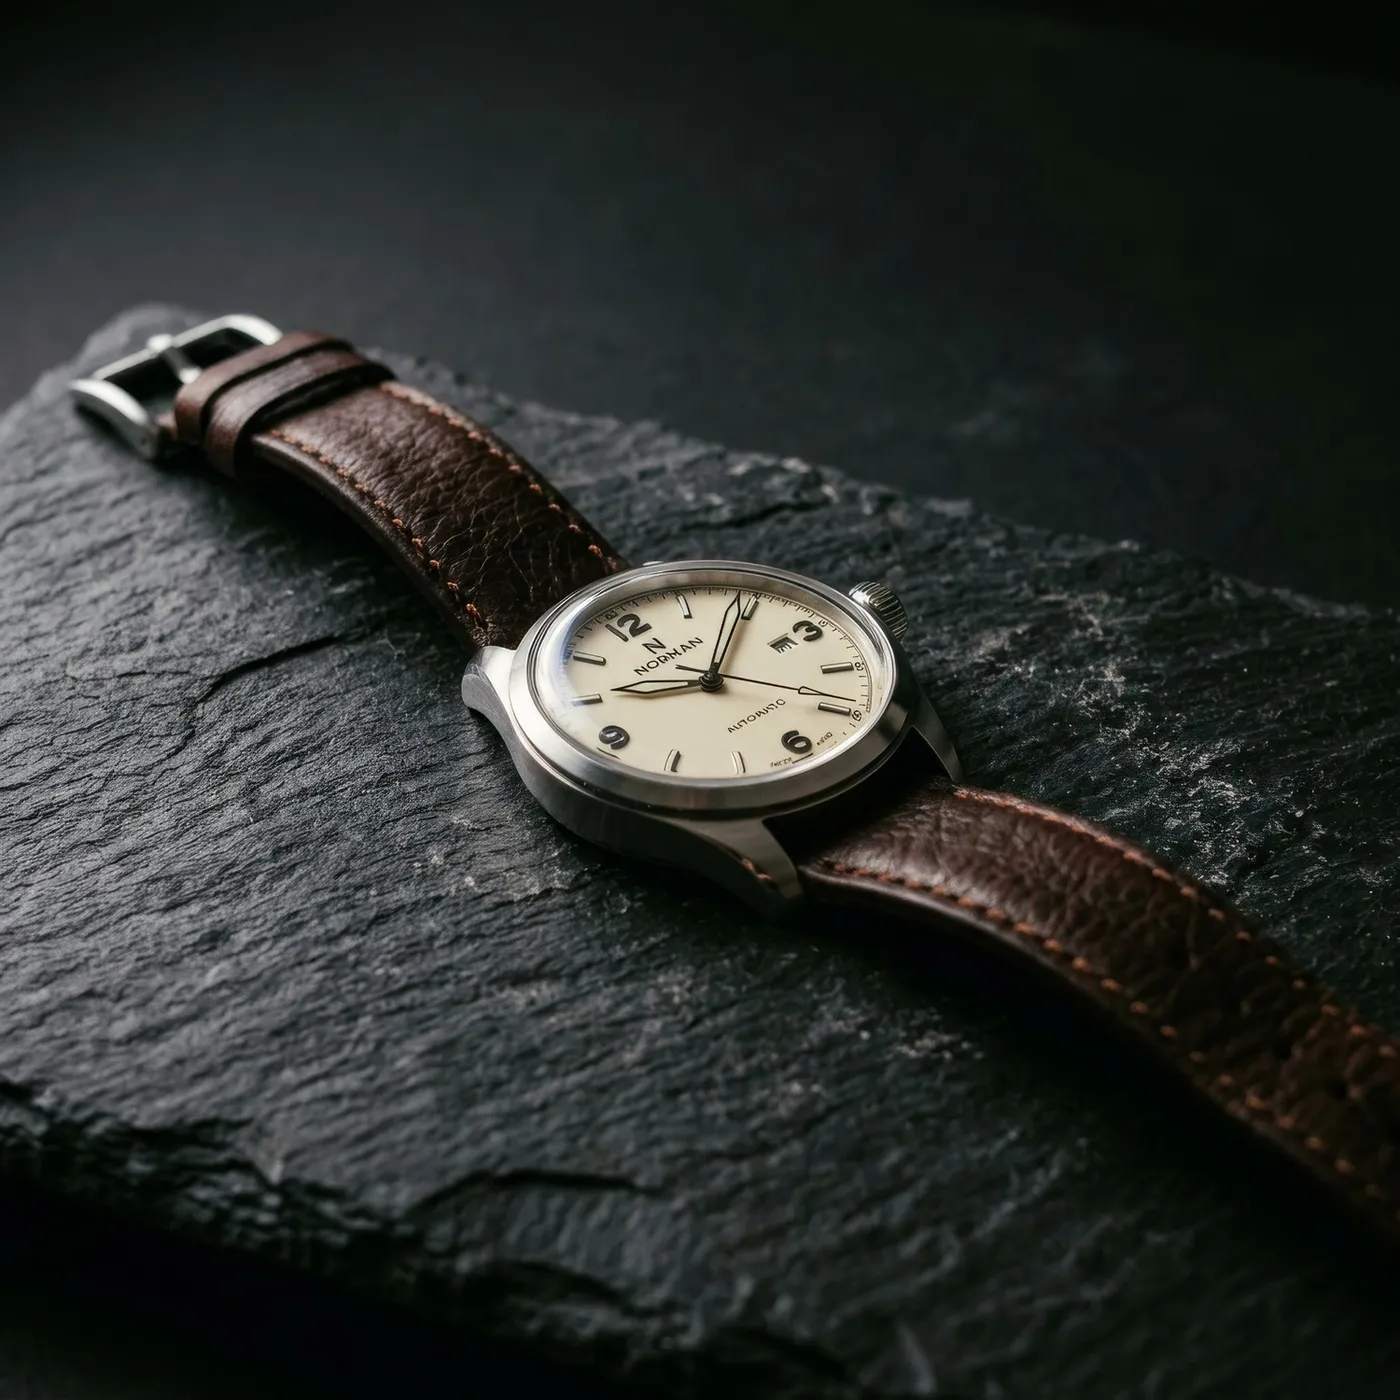
Upscale AI-Generated Images
Generations land at the model's native resolution. That is enough to pick a direction and not enough for a poster, a print run, or a full-width hero.
Generate, pick the winner, upscale it, then keep going in the same workspace: remove the background, resize for another channel, or turn it into video. The file never leaves getimg.ai and the original generation stays in your gallery.
Restore Clarity in Old and Low-Resolution Images
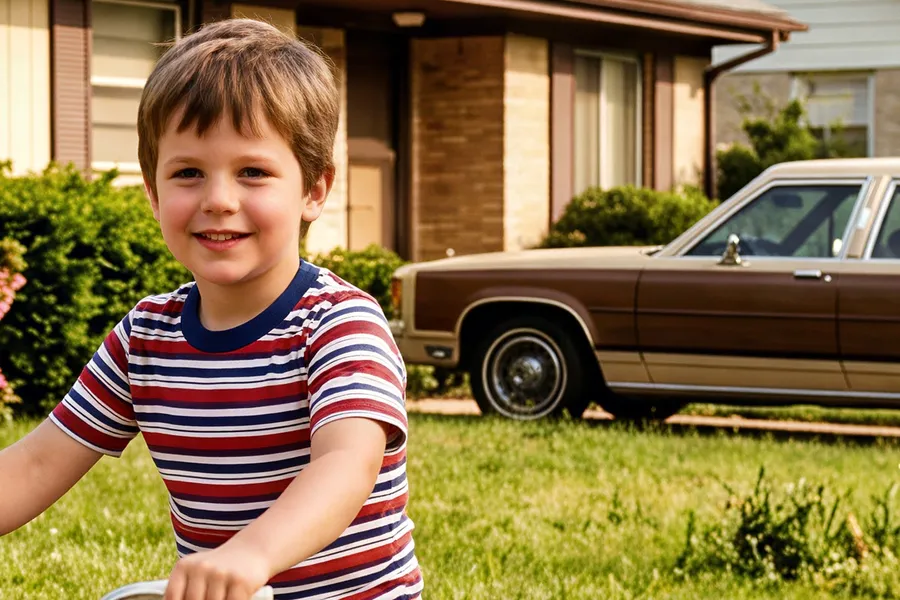
Old scans, low-resolution downloads, and screenshots from another era respond well to upscaling. A classic model reduces perceived softness and compression artifacts. A creative model goes further and reconstructs detail the source can no longer show.
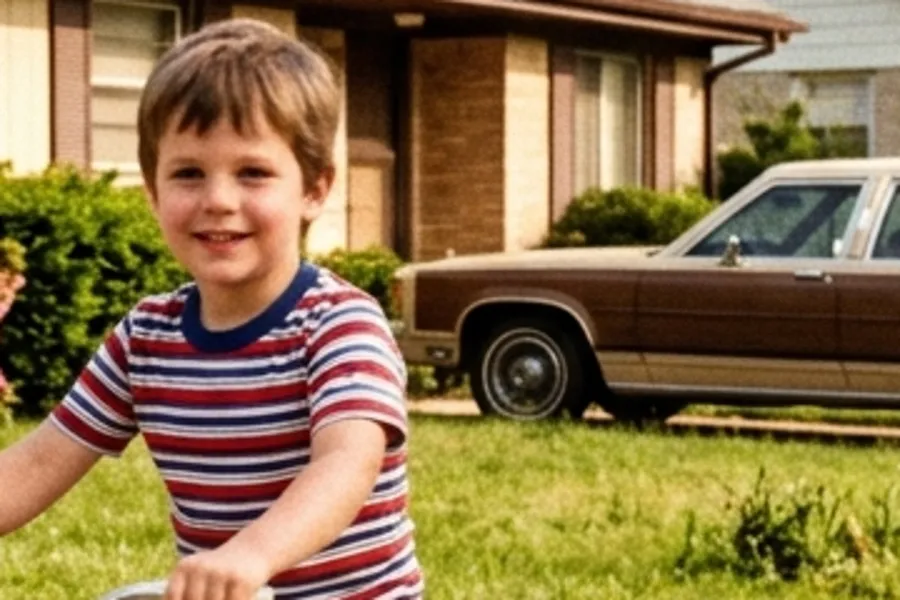
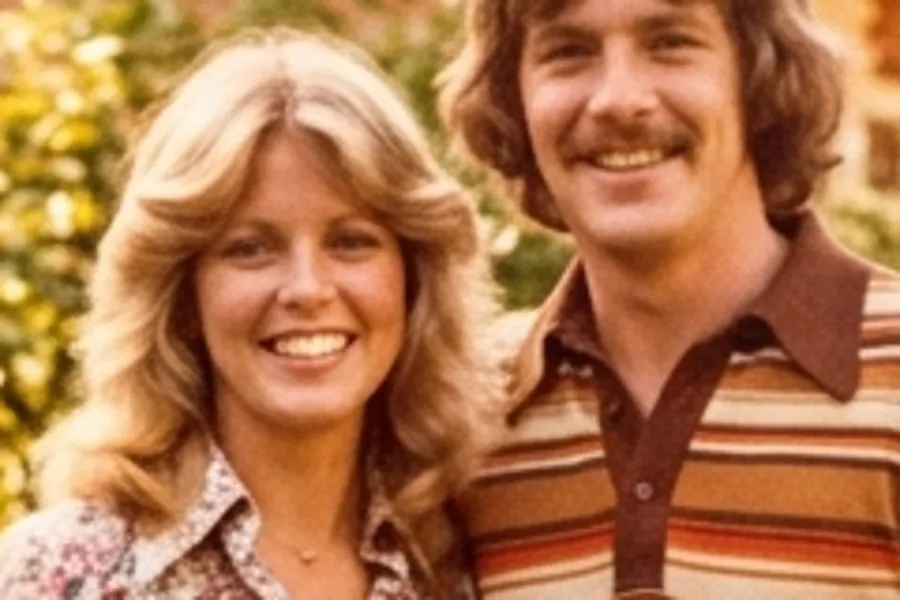
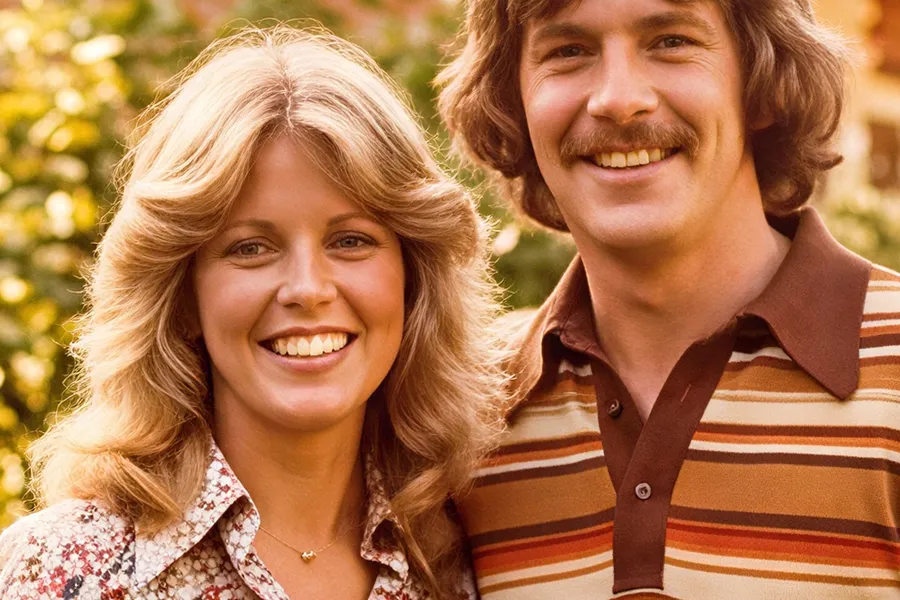
Be clear about what that means. If the information is not in the source file, the detail you get back is interpreted by the model rather than recovered from the original. We ran a faded 1970s snapshot through Topaz Wonder 3.5 and it rebuilt the floral print on a blouse into a crisper pattern. It looks far better. It is also not the same shirt.
Upscale for larger prints and displays
More pixels is the first requirement for posters, presentation graphics, large displays, and print workflows. It is not the only one, and 4K or 16K on its own does not make a file print-ready. Check the finished image at its target size and resolution before you send it anywhere.
How large can you print an upscaled image? Pixel dimensions are one part of the answer. The required PPI depends on the final physical size and the viewing distance, and a billboard needs far less of it than a business card. Divide your pixel width by the PPI your printer specifies and you have the physical width you can hold.
Batch Upscale Images
Drop in up to 50 images at a time and each one comes back as its own upscaled file. For a single image that is a convenience. For a product catalogue, a campaign set, a folder of generations, or an archive, it is the difference between one pass and an afternoon of opening files one at a time.
Your originals are never overwritten, so a batch that goes the wrong way costs you a re-run and nothing else.
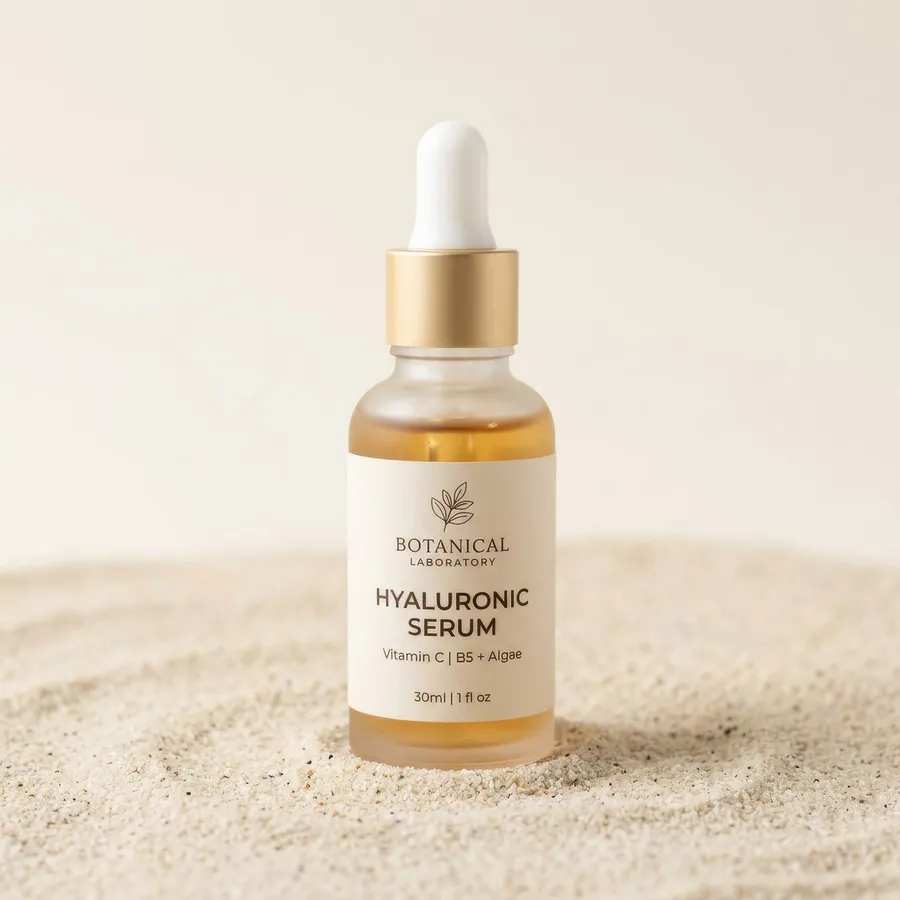
We Tested the Upscalers on the Same Images
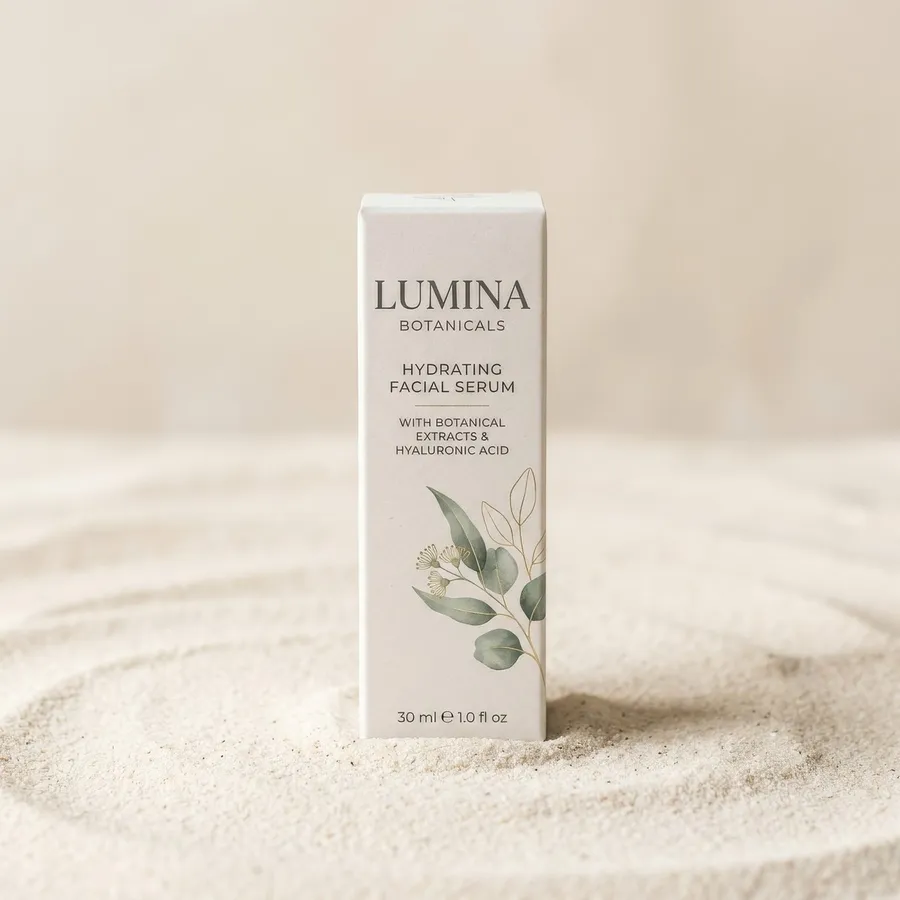
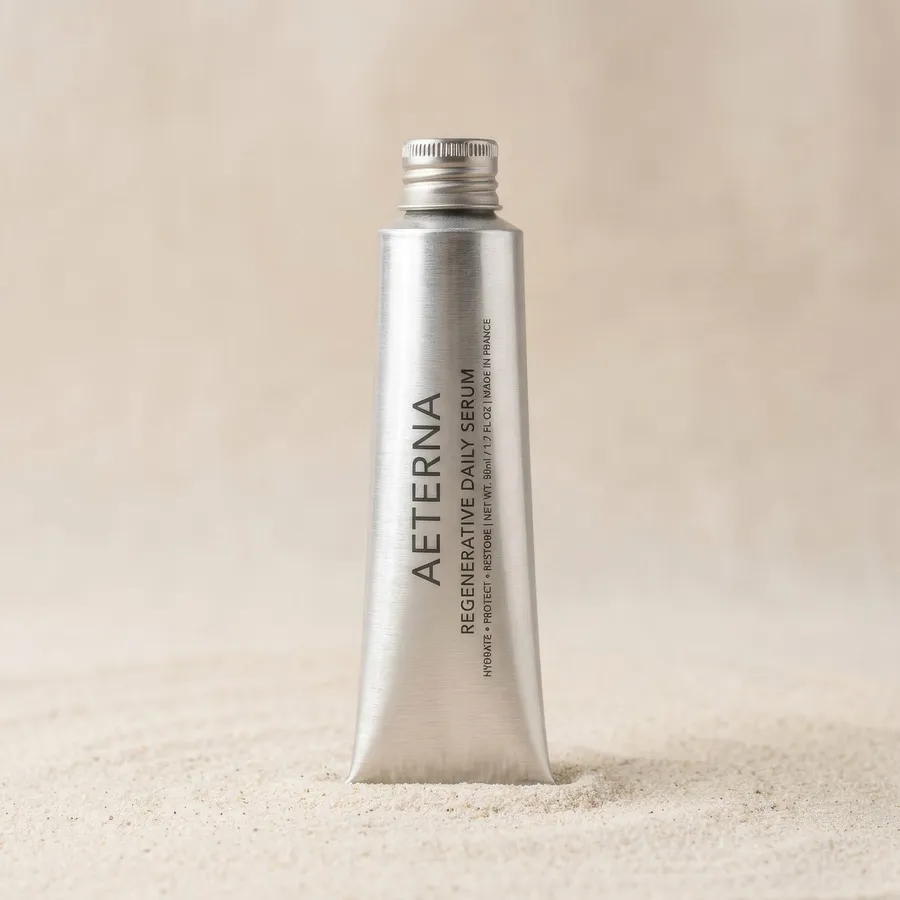
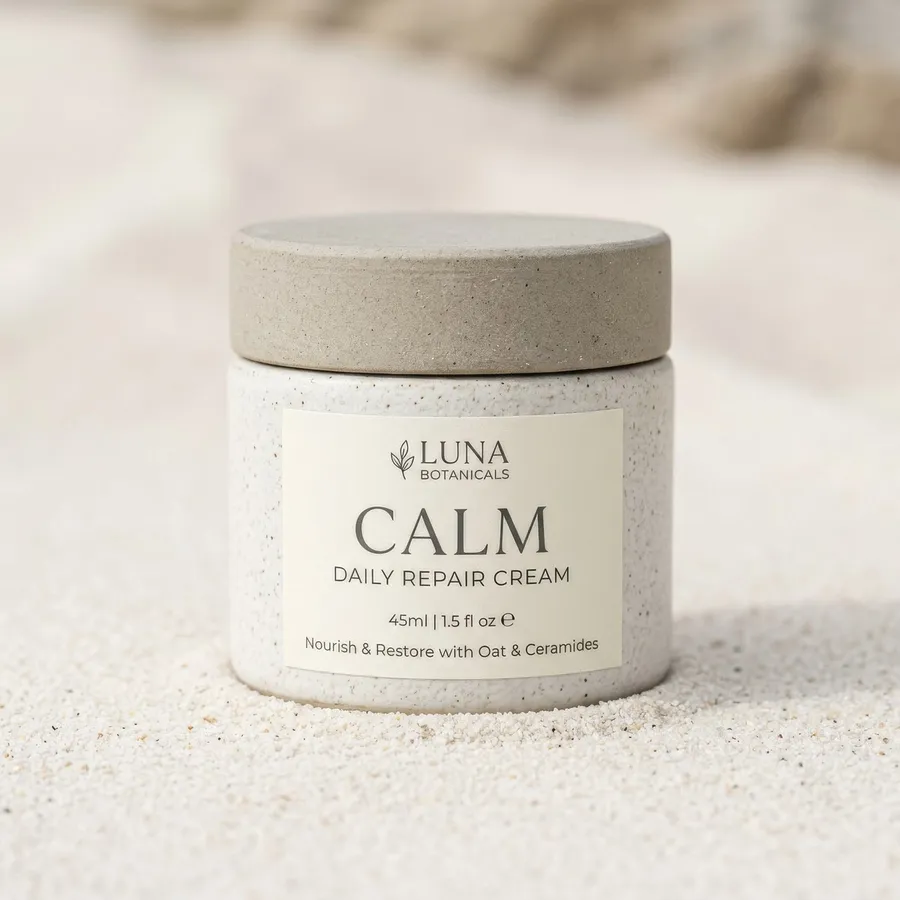
Six source images generated on getimg.ai at 1024x1024, each upscaled 4x to 4096x4096. The portrait and the product shot went through all five upscalers, the rest through one classic and one creative model. Drag each slider: the left side is the source scaled up with standard resampling, the right side is the same crop from the 4K upscale.
Product label and barcode
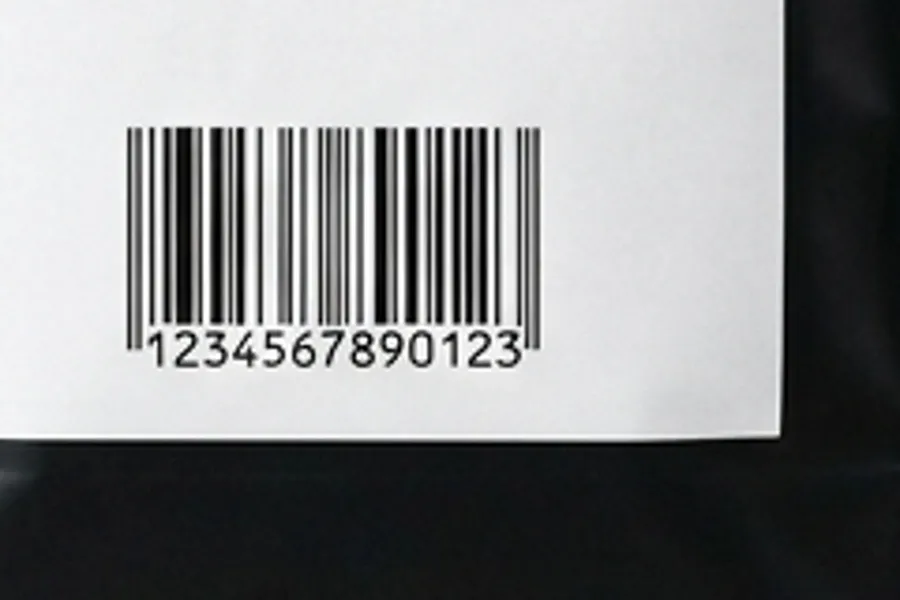
Source digits: 1234567890123. Topaz Standard 2, SeedVR2, Topaz Wonder 3.5, and Crystal Upscaler all returned them unchanged. Topaz Bloom 2 returned 1234567390123 and altered the bar pattern with it. Shown here: Topaz Bloom 2.
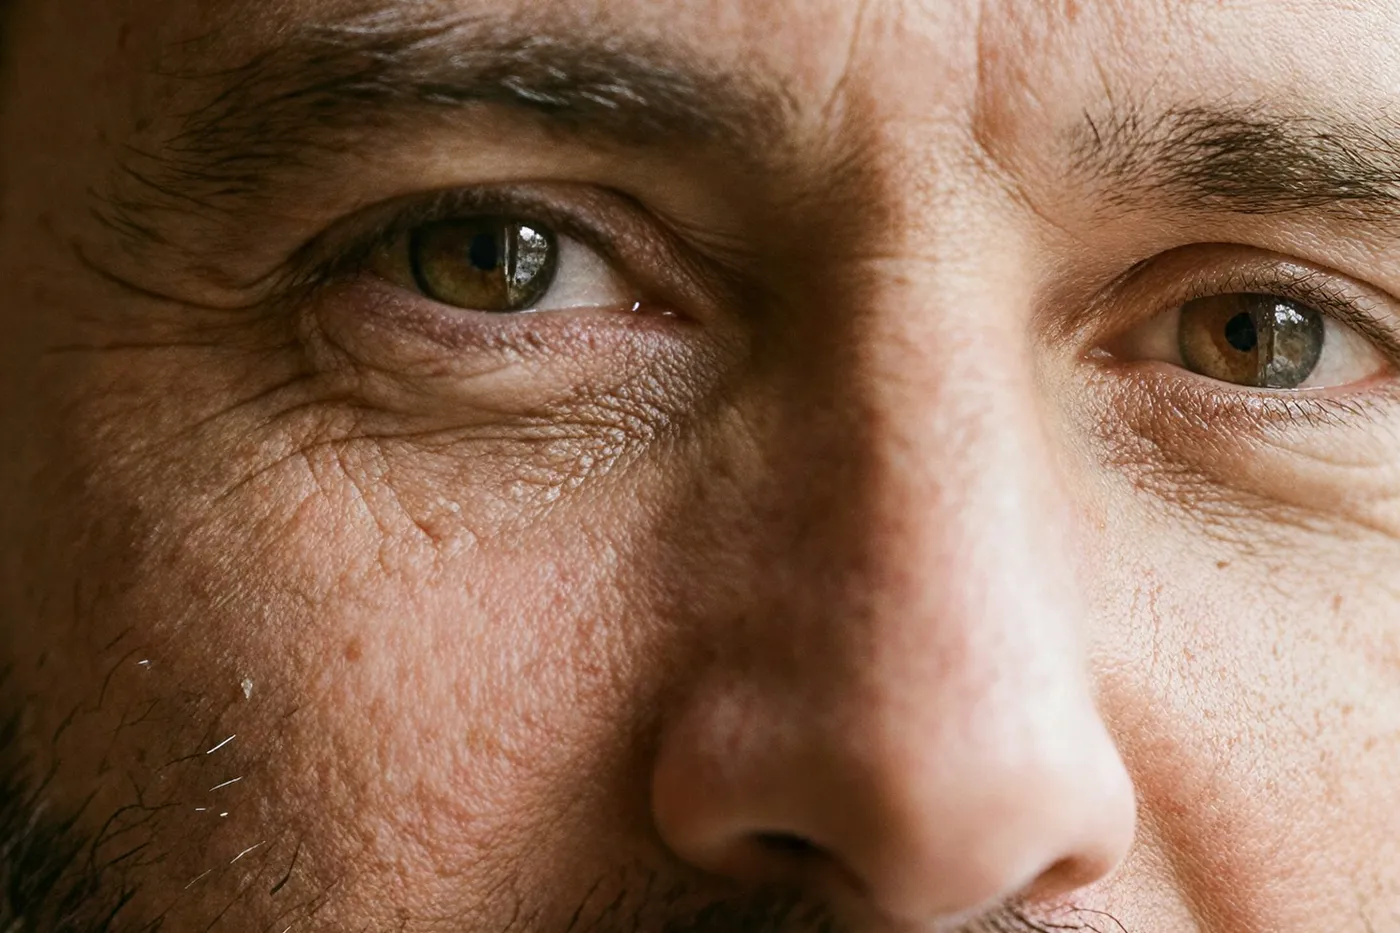
Portrait skin and hair
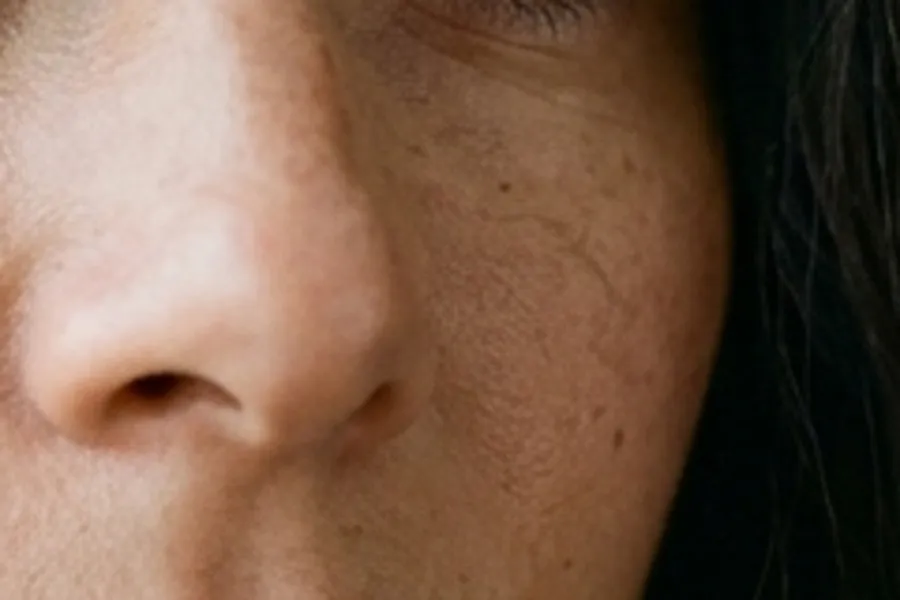
Topaz Bloom 2 added pores across the nose and individual cheek hairs that are not resolvable anywhere in the 1024px source. Flattering on a portrait, and worth knowing before you use it on a face that has to match a real person. Shown here: Topaz Bloom 2.
Flat vector wordmark
The counter-intuitive one. Topaz Standard 2, a classic model, added a light halo along the letter edges and a soft emboss inside the flat fills, turning a two-colour design into something closer to a moulded sign. Shown here: Topaz Standard 2.


Where creative upscaling changes the image
Three more results from the same test set. These are the cases where reconstruction is the point, and where you can see how much of the output is interpretation.
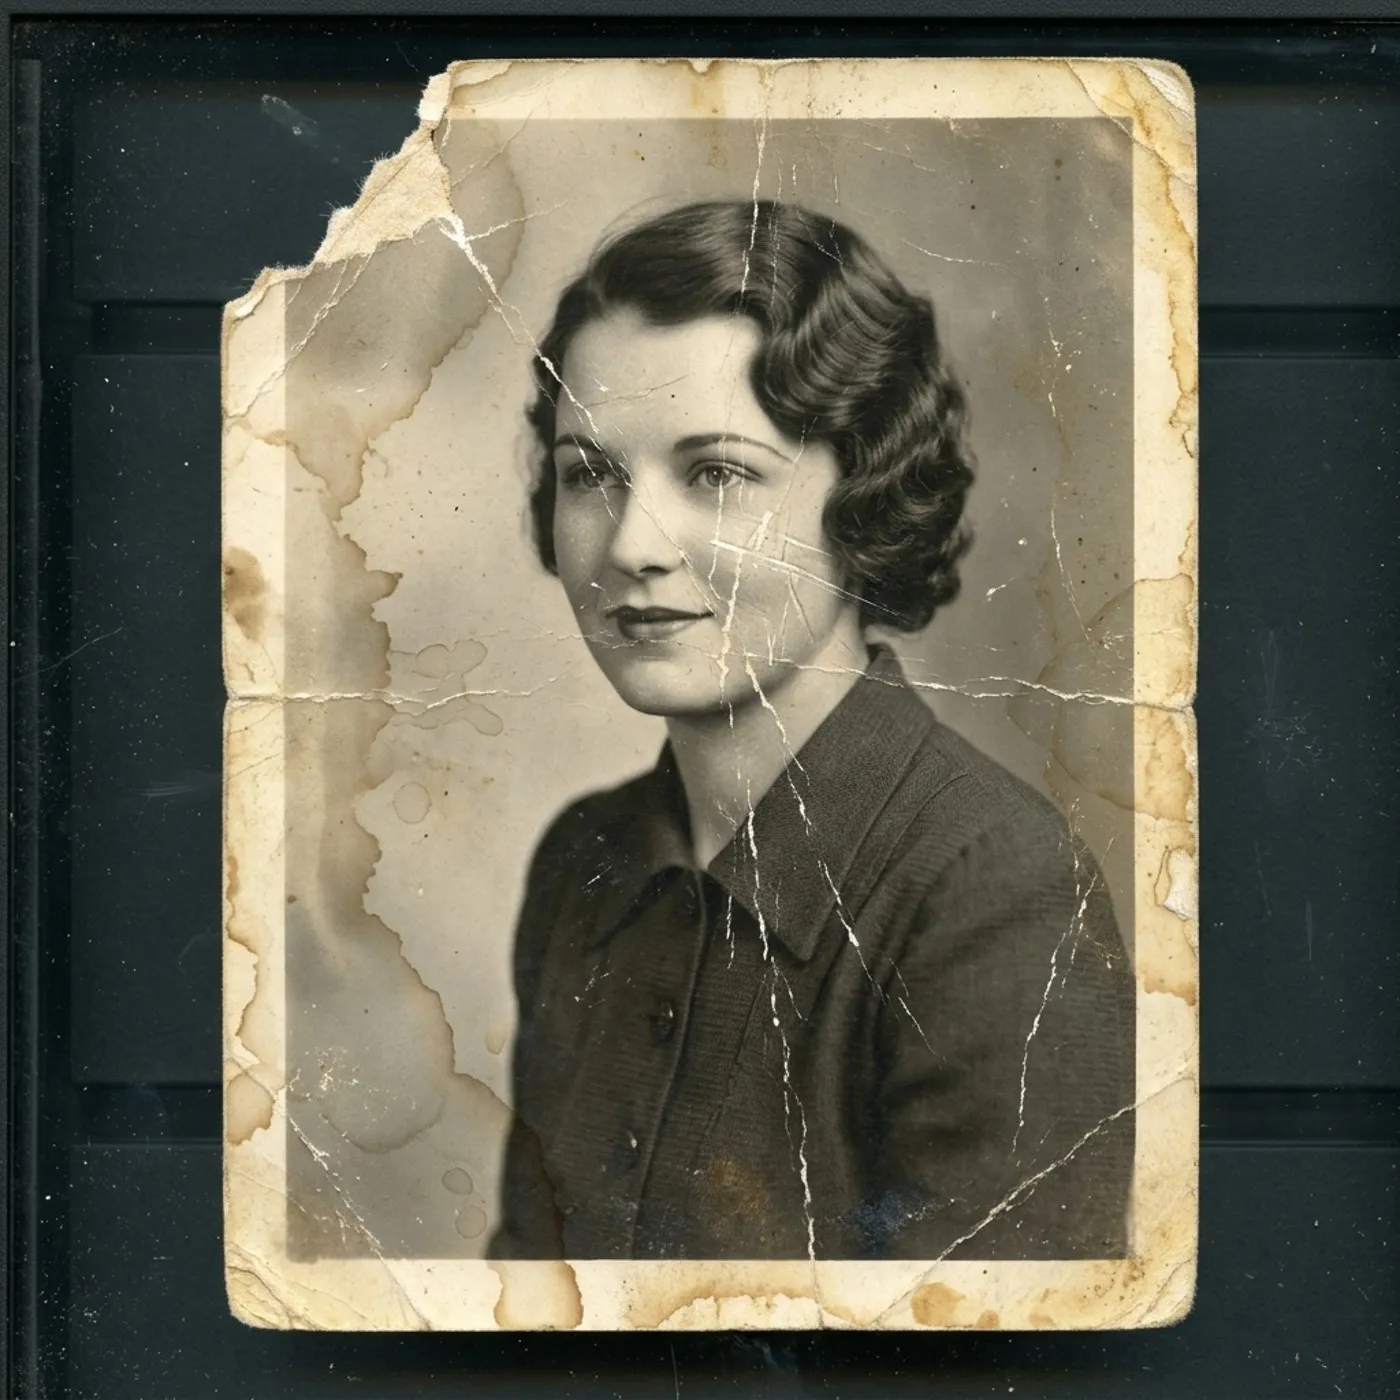
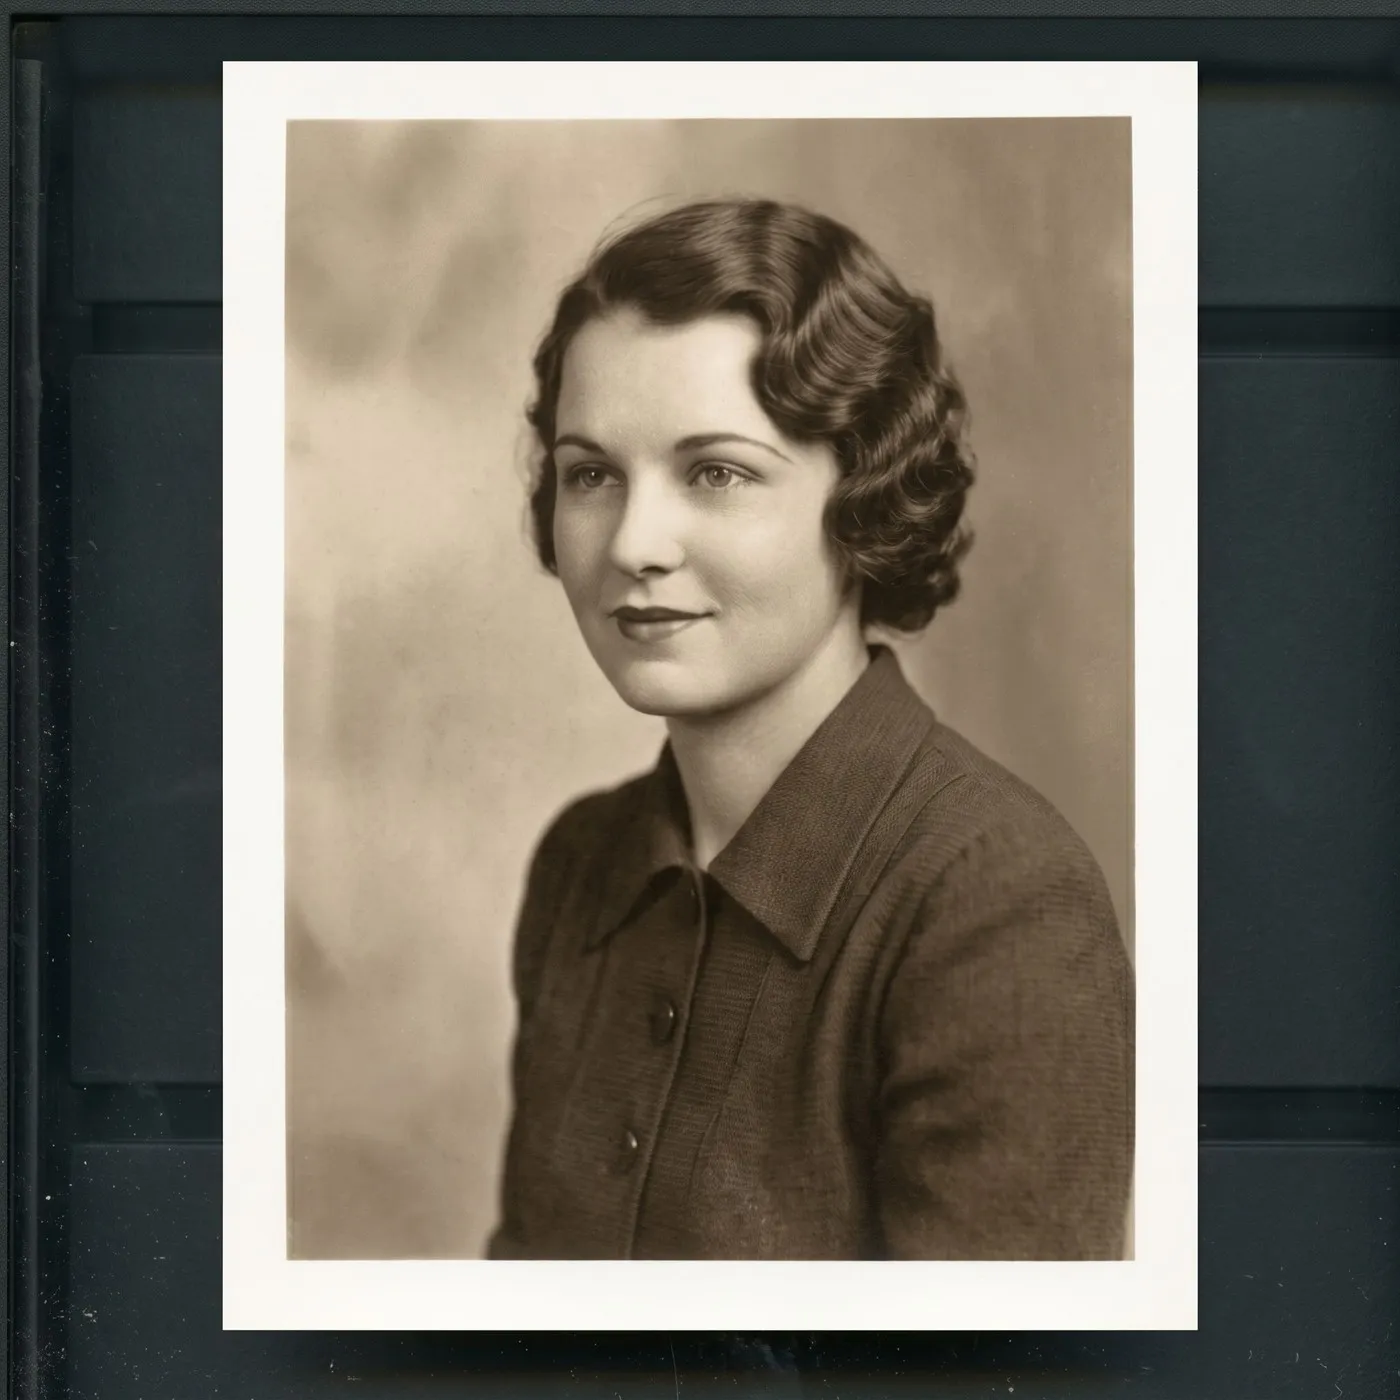
Faded 1970s snapshot
Topaz Wonder 3.5 rebuilt the floral blouse print, individual hair strands, teeth, and eyes. The output is dramatically better than the source, and the fabric pattern it produced is not the pattern in the original file. SeedVR2, run on the same source, stayed close to the soft original instead.
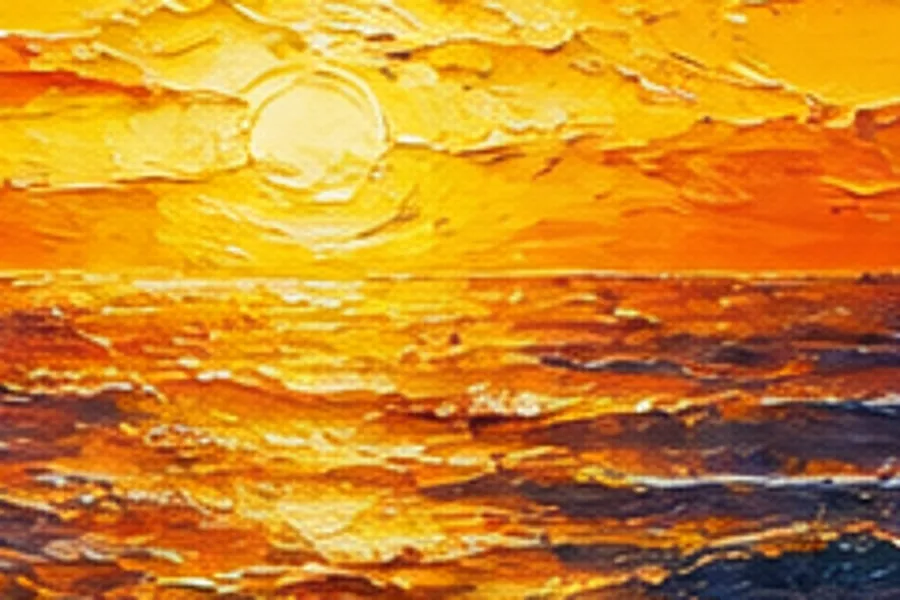
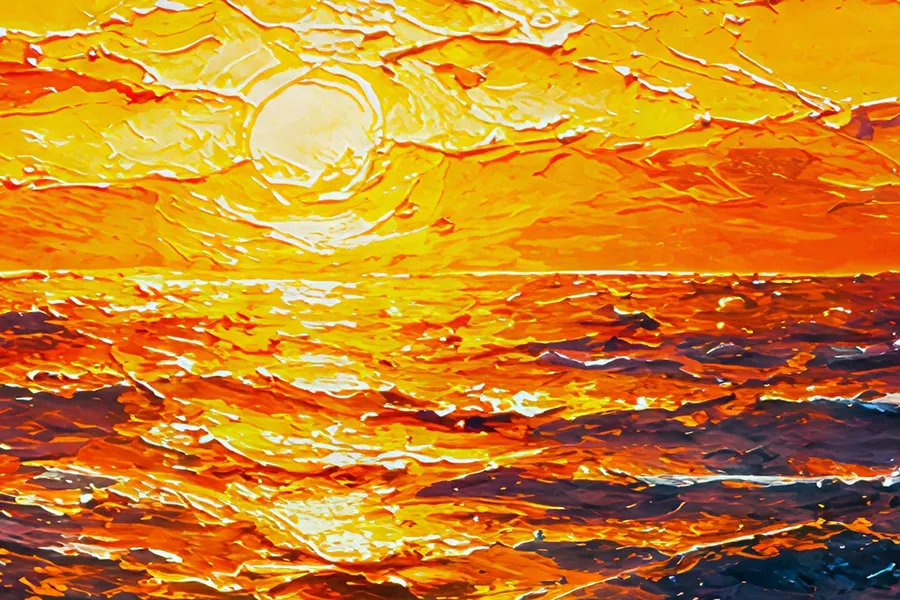
Painterly artwork
Topaz Bloom 2 raised contrast and saturation and resolved the brush strokes into distinct impasto ridges. On artwork, where added material is the point rather than a risk, this was the strongest result we got.
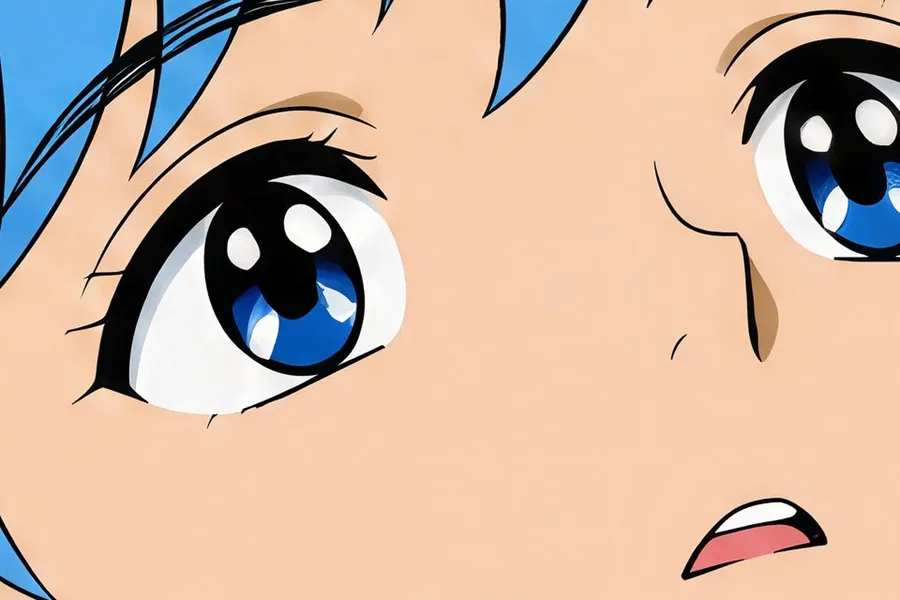
Anime line art
Crystal Upscaler kept outlines clean and flat colour flat, with no texture introduced into the cel shading. SeedVR2 gave a near-identical result on the same frame. Line art was the least contentious category in the whole test.

What should we check after upscaling?
Every upscale estimates information. The question is where that estimate shows, and the answer is predictable: wherever a human eye already knows what the detail is supposed to look like. These are the six places to look before you publish.
Upscale vs Resize: which one do you need?
These two get mixed up constantly and they do different jobs. One changes how many pixels the image has. The other changes the shape of the frame.
Upscaler
Increases resolution and pixel dimensions while keeping the composition. A 1000x1000 source becomes 4096x4096 at 4K. The framing, the aspect ratio, and the subject all stay where they were.
Use it when the file is too small for where it has to go.
Five models, targets up to 16K, batches of up to 50 images.
Upscaling vs Photo Restoration
A creative upscaler improves perceived detail, which can make an old photo look restored. It is not the same operation. Upscaling works on resolution and detail. Restoration repairs damage and fills in areas that are missing.
If the photo has scratches, tears, missing corners, heavy colour fading, or a damaged face, the upscaler is the wrong first step. getimg.ai has a dedicated Photo Restoration Action for exactly that, and the repaired file can be upscaled afterwards.
Upscaler specs
What the Upscale image Action accepts and what it hands back.
Explore More AI Tools & Use Cases
Frequently Asked Questions
Classic upscalers, Topaz Standard 2 and SeedVR2, are designed to stay closer to the source image, sharpening existing structure while minimising creative reinterpretation. Creative upscalers, Topaz Wonder 3.5, Topaz Bloom 2, and Crystal Upscaler, can introduce additional texture and interpreted detail when enlarging low-resolution sources.
Pick classic when the source is clean and you want a bigger version of the same file. Pick creative when the source is small, compressed, or soft, and sharpening alone has nothing to work with.
To some degree, always. Even a faithful upscaler has to estimate the information needed to fill a larger pixel grid, because those pixels do not exist in the source. It does not recover the original detail, it produces a plausible version of it.
How much gets invented is the real variable. Classic models keep the estimate close to the existing structure. Creative models deliberately add texture and detail. In our own test set a creative model added pores and fine hairs to a portrait that were not resolvable in the source, and rewrote a digit in a product barcode.
Every model reaches 4K. Topaz Standard 2, Topaz Wonder 3.5, Topaz Bloom 2, and Crystal Upscaler also offer 8K and 16K. Crystal Upscaler and SeedVR2 add a 2K target, and SeedVR2 tops out at 4K. For reference: a 1000x1000 source upscaled to 4K becomes 4096x4096.
No. The maximum target is not automatically the best result. If the source is weak, a larger target gives the model more empty pixels to fill, which can make artifacts and interpreted detail more obvious rather than less.
Pick the resolution from the final use. A product listing, a social post, and a large-format print have very different requirements, and the biggest number is rarely the right one for the first two.
It can, and this is the single most important thing to check. In our test set a creative upscaler changed a digit in a product barcode and altered the bar pattern with it, while four other models left it untouched. Start with a classic model when typography or branding matters, and always open the output and read the small text before you publish.
Either order works. Upscaling first can give the background remover more edge information to work with, but the right order depends on the source and on what the file has to do next. Both steps live in getimg.ai, so testing both costs you a re-run and nothing else.
Five upscalers under one Action, split between classic and creative, with target resolutions up to 16K and batches of up to 50 images. What changes the workflow is what sits next to it: the same file goes straight into resizing, background removal, image editing, or a new generation, without an export.
Partly. Upscaling reduces perceived softness and can rebuild plausible detail, which makes a soft photo read as sharper. It does not undo motion blur or a missed focus, because the information about what was actually in focus is not in the file. A creative model will give you the most usable result, as long as you treat it as a reconstruction rather than a recovery.
Pixel dimensions are only half the answer. The required PPI depends on the final physical size and the viewing distance, and larger formats viewed from further away need less of it. Divide your pixel width by the PPI your printer specifies to get the physical width you can hold.
Then check the file at that size. Source quality, artifacts introduced during the upscale, and your colour workflow all still apply, and none of them are solved by a larger pixel count.
Yes, and line art was the least contentious category in our test set. Both a classic and a creative model kept outlines clean and flat colour flat on an anime frame. On painterly artwork a creative model added the most, resolving brush strokes into distinct ridges, which reads as welcome detail on a painting and as noise on clean vector-style work.
Yes, and it is one of the most common uses. The one caution is packaging: labels, printed text, barcodes, and exact edge geometry are where reinterpretation shows up first. Start with a classic model, then read the label at full size before the image goes on a listing.
No. Every upscale produces a new file and leaves the source untouched, so you can re-run it with a different model, aim at a different target resolution, or go back to the original at any point.
Pick the model. Set the target. Ship the file.
Your next upscale is one upload away.