Guide to Upscaling Images with AI
Unlock the power of AI image upscaling with our step-by-step guide. Learn how to use getimg.ai to increase your image resolution up to 4x.
What is AI upscaling?
Upscaling is a feature that uses our own fine-tuned AI model to recreate an identical-looking picture with an increased resolution - 4x higher than the original. No visual changes are made to the original image in the upscaling process. That is because upscaling, unlike image generation, does not use a diffusion-based process.
The maximum resolution we accept for upscaling is 1024x1024 pixels. If you upload a larger image, our system will automatically resize it, scaling the longest edge down to 1024 pixels while maintaining the original aspect ratio. Since our AI upscales images by 4x, this means your final output can reach up to 4096x4096 pixels (4 times 1024 in both dimensions), equivalent to 16 megapixels.
Note that upscaling differs from generating images using our High-Res feature. But of course, you can upscale images previously generated with it.
You can upscale up to 10 images at once, depending on your subscription plan.
How to use the Upscaler?
Upscaler is extremely fast and easy to use, no matter your experience level. Here's how to do it:
- Navigate to the Upscaler tool.
- Drop an image (or images) into the upload area, or click on it and select the files from your device. You can also click on the "Gallery" button and choose image(s) created with any of our tools.
- Wait for the upscaling process to finish. Afterward, you can download your high-resolution image, delete it, or give it a "Like".
Within moments, you'll have a high-quality image four times larger than your original creation, with enhanced clarity and detail. After upscaling, you can leverage our suite of AI-powered editing tools to perfect your image, e.g., remove the background.
Upscaling through Image Generator
While the Upscaler is a standalone tool, we've made it easily accessible from anywhere in our ecosystem. To quickly upscale an image created with AI Generator, simply follow these steps:
- Open the Image Generator and locate the image you wish to upscale.
- Look for the three dots in the upper right corner of your chosen image and click to open the context menu.
- From the menu options, select "Upscale x4".
- You will be transported to the Upscaler tool. The upscaling process will begin automatically: wait for it to complete.
Upscaling through the Gallery
In the Gallery, you can easily upscale images you have created using any of our tools, such as AI Generator, AI Resizer, or Uncrop. All you need to do is:
- Head to the Gallery.
- Click on your chosen image and use the "Upscale" button.
- You'll be taken to the Upscaler tool, where upscaling will begin automatically—just wait for it to finish.
Comparison
To truly appreciate the power of upscaling, let's examine a side-by-side comparison:


Default settings (512x512 pixels)
Generated with default settings, then upscaled (2048 × 2048 pixels)
The first image shows the result of using default settings, producing an image at 512x512 pixels. While this resolution is suitable for many purposes, you may notice that some details are limited.
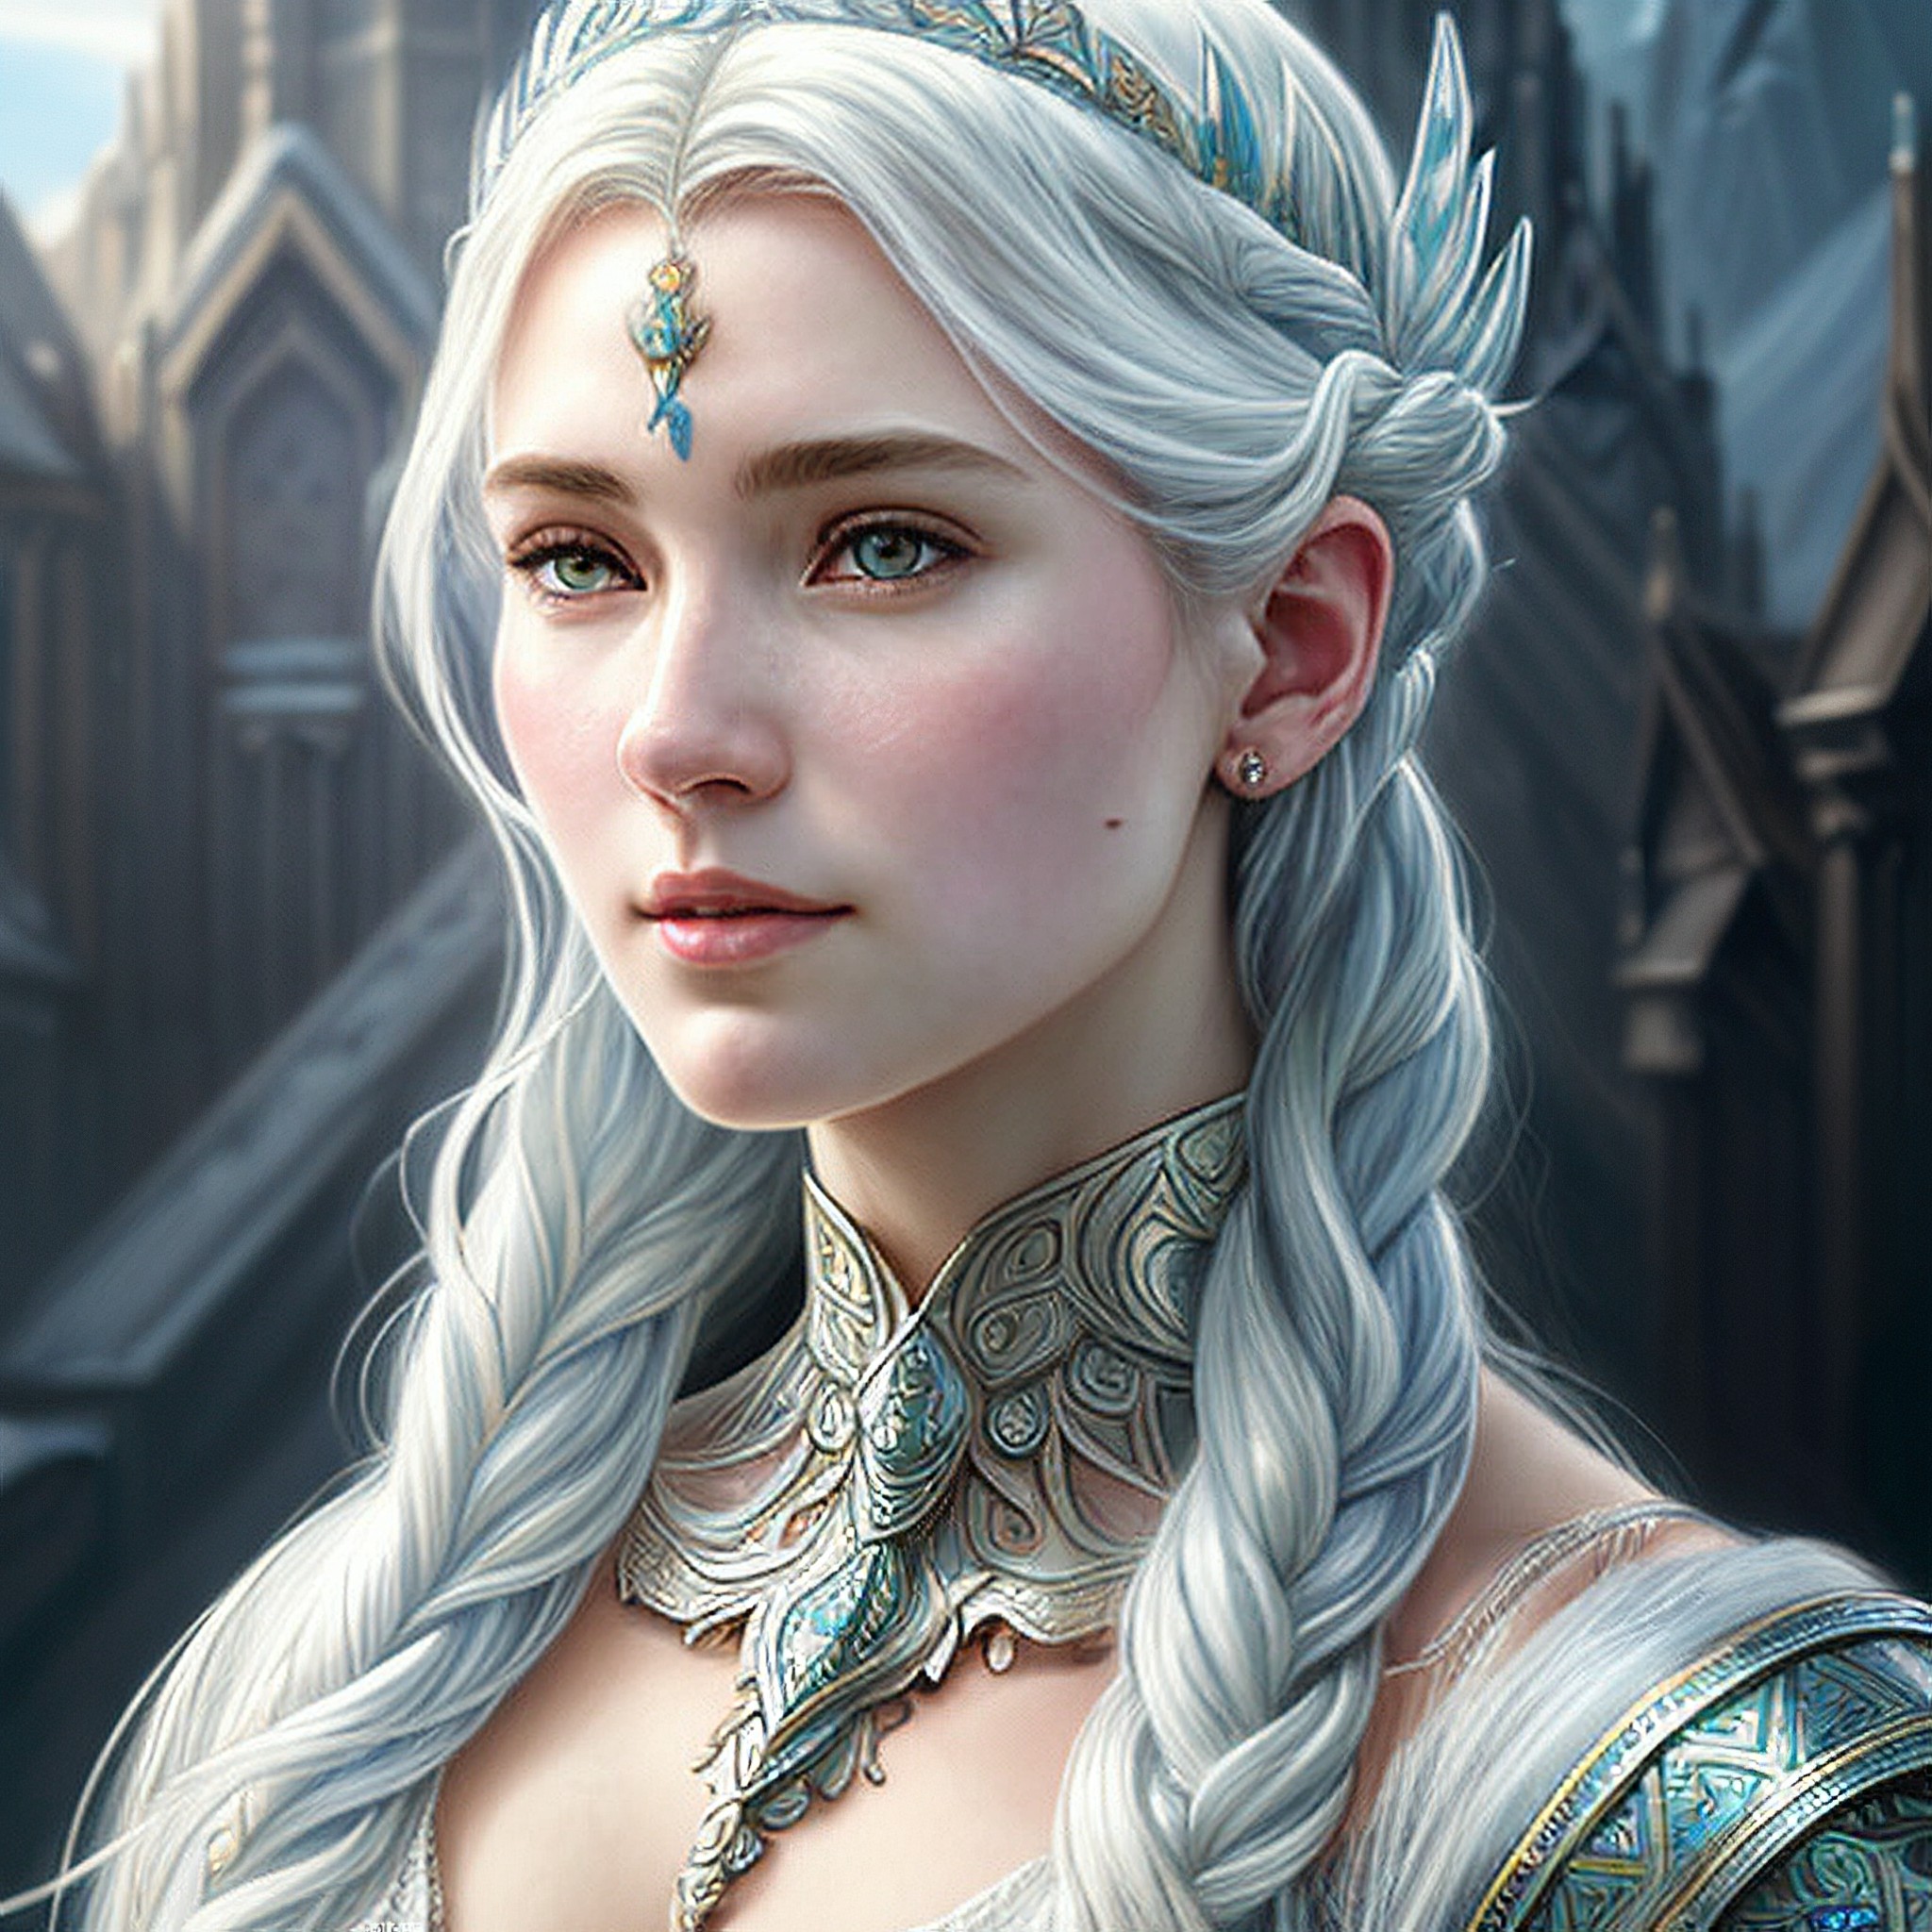
Now, look at the second image. This is the same image after being upscaled to 2048x2048 pixels. The upscaled version showcases significantly higher quality, with sharper details and improved visibility of fine elements.
It's your turn now: embrace the power of AI upscaling and watch your creative visions come to life with unprecedented clarity and detail.
Frequently Asked Questions
How does AI upscaling work?
Our Upscaler uses a top-of-the-line upscaling model to increase an image's resolution by 4x while preserving its original visual content.
Can I upscale images that were generated using High-Res?
Yes, you can upscale images that were previously generated using the High-Res feature.
What is the maximum resolution I can achieve with upscaling?
You can upscale images up to a maximum resolution of 4096x4096 pixels, starting from a base image with a resolution of up to 1024x1024 pixels (when you upload larger images, we automatically scale the longest edge to 1024 pixels).
Can I upscale multiple images at once?
Our bulk upscaling feature allows you to process multiple images simultaneously. Depending on your subscription plan, you can upscale up to 10 images at once.