Guide to Restoring Old & Damaged Photos
Learn how to restore old or damaged photos in getimg.ai. Fix scratches, fading, and quality loss with a simple prompt.
How It Works
Image restoration brings damaged, faded, or low-quality photos back to their original state.
You can remove scratches, smooth artifacts, sharpen blurry details, and recover natural colors. All inside getimg.ai, no external tools needed.
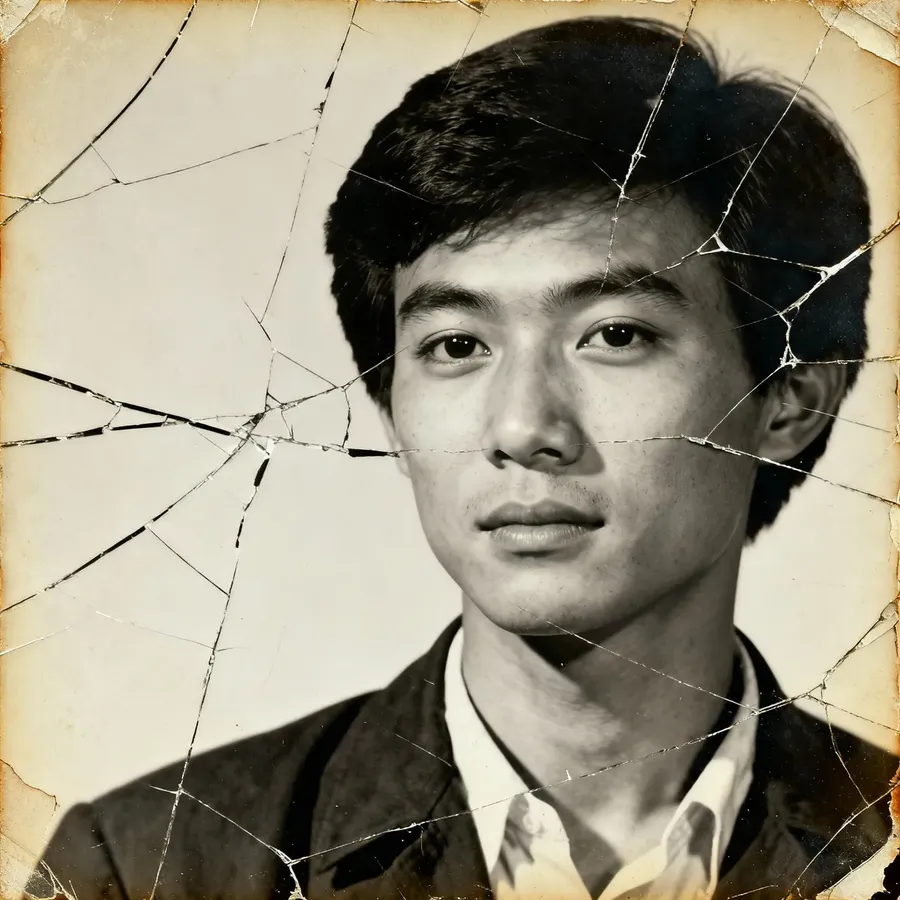
Before
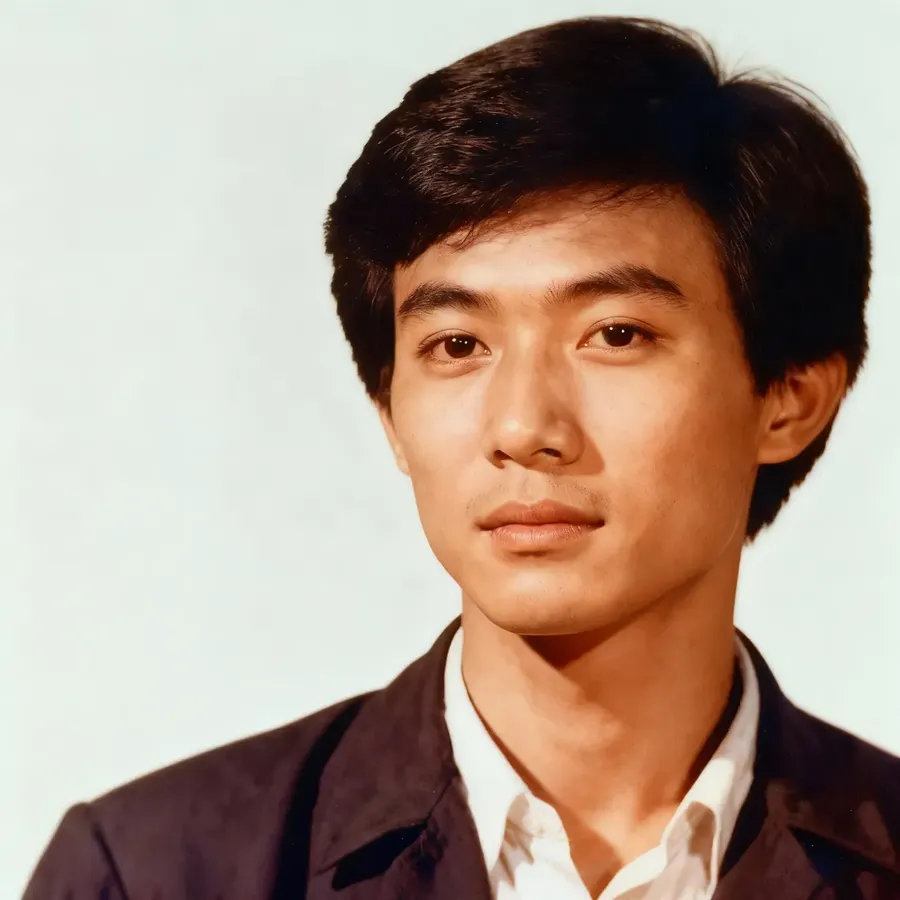
After
Restoring a Photo Using the Create Image Prompt Box
Step 1. Add the Image You Want to Restore
Log into getimg.ai and open "Image", then "Create image" from Actions in the sidebar. You can attach the photo you’d like to restore in a few ways:
- Click the Reference button in the prompt box and press Upload file or Select existing.
- Drag and drop an image straight from your gallery into the prompt box.
- Hover over an image in your gallery, click ⋯, and pick Use as reference.
This attaches your photo as a reference for editing.
Step 2. Write Your Restoration Prompt
In the prompt box, describe what you’d like to fix. A simple “restore this photo” will work. You can also add more details, like “fix scratches and colorize”.
Step 3. Generate
Click the arrow in the prompt box to start restoration.
Your restored version will appear as a new image, while the original stays untouched.
Restoring a Photo Using the Edit Prompt Box
To easily restore a photo that you've previously generated or uploaded, simply:
- Click an image in your gallery (e.g., in All media, Uploads, or any folder) to open it in the full view.
- In the prompt box below the image, describe what you want to do, for example: "restore and colorize this photo".
- Press the arrow in the prompt box and wait a moment.
Your restored photo will be generated as a new image.