How to Create Product Photos with AI

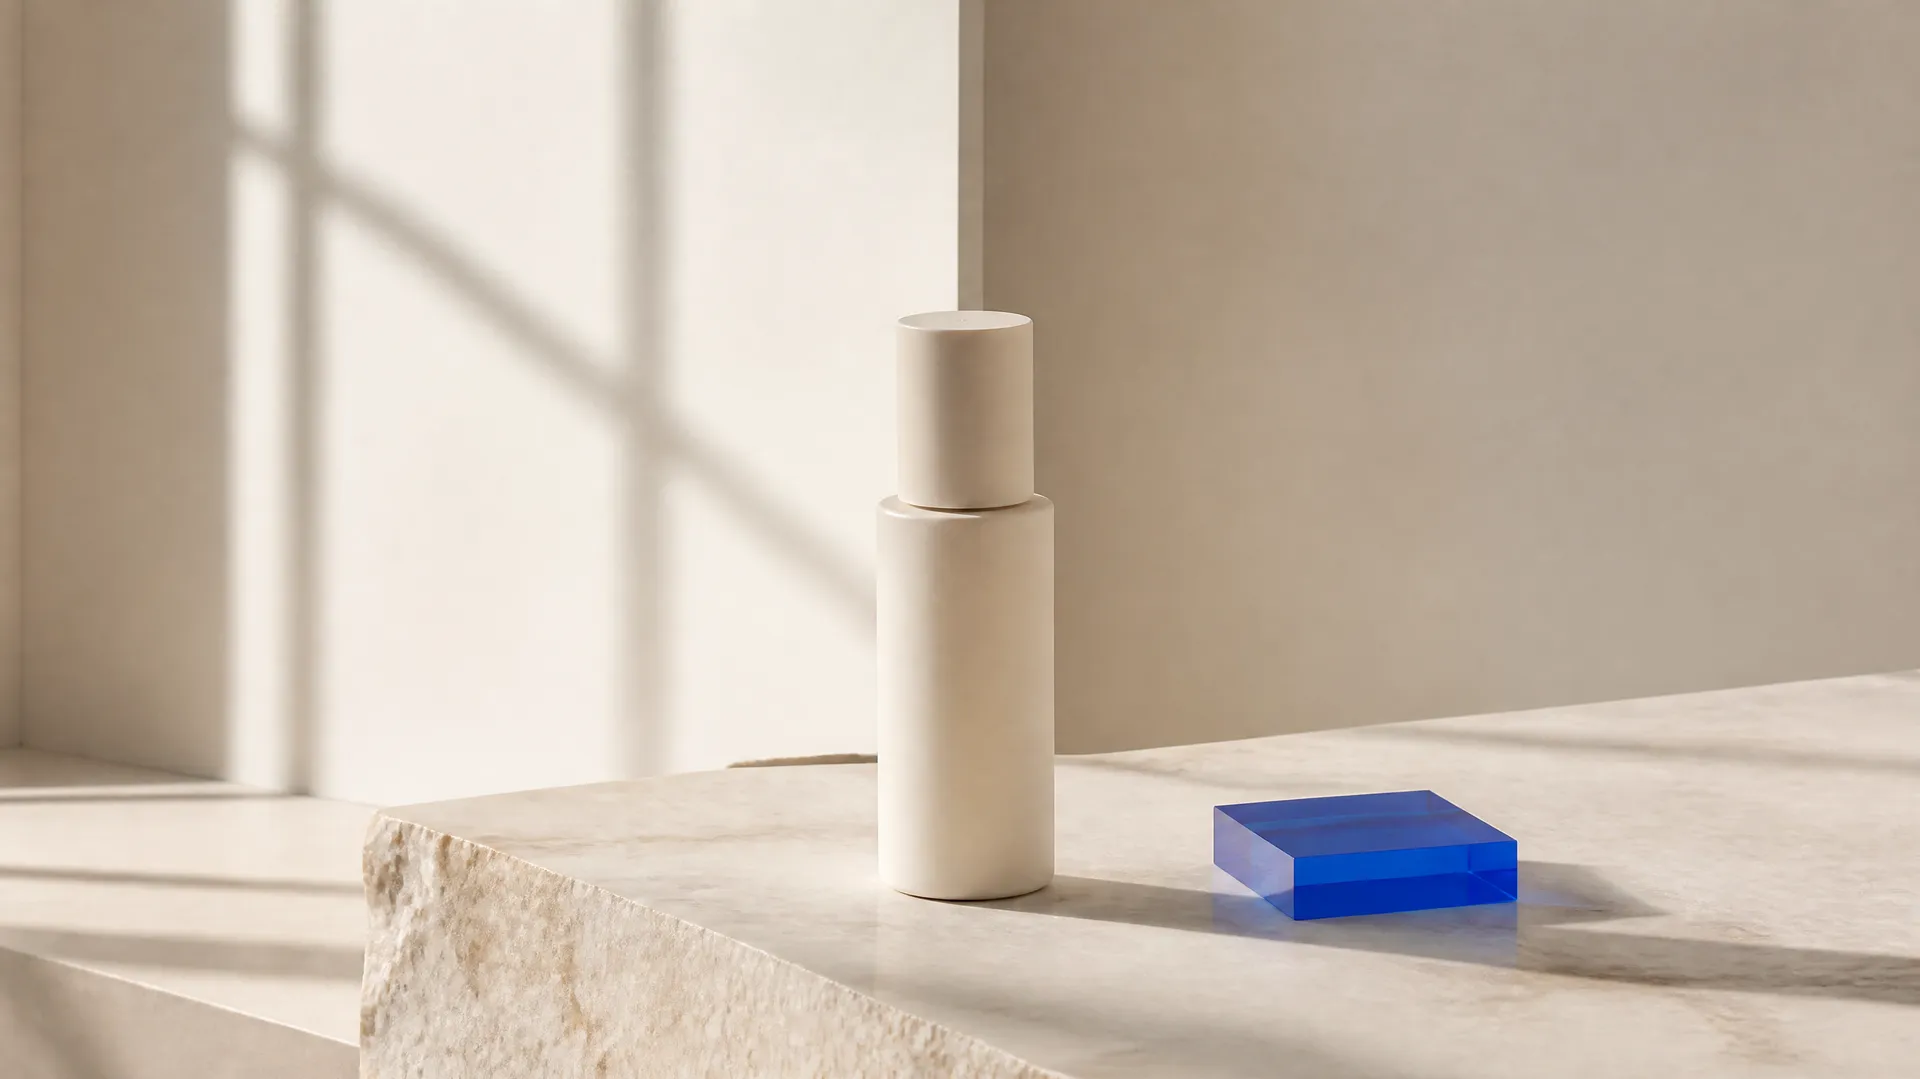
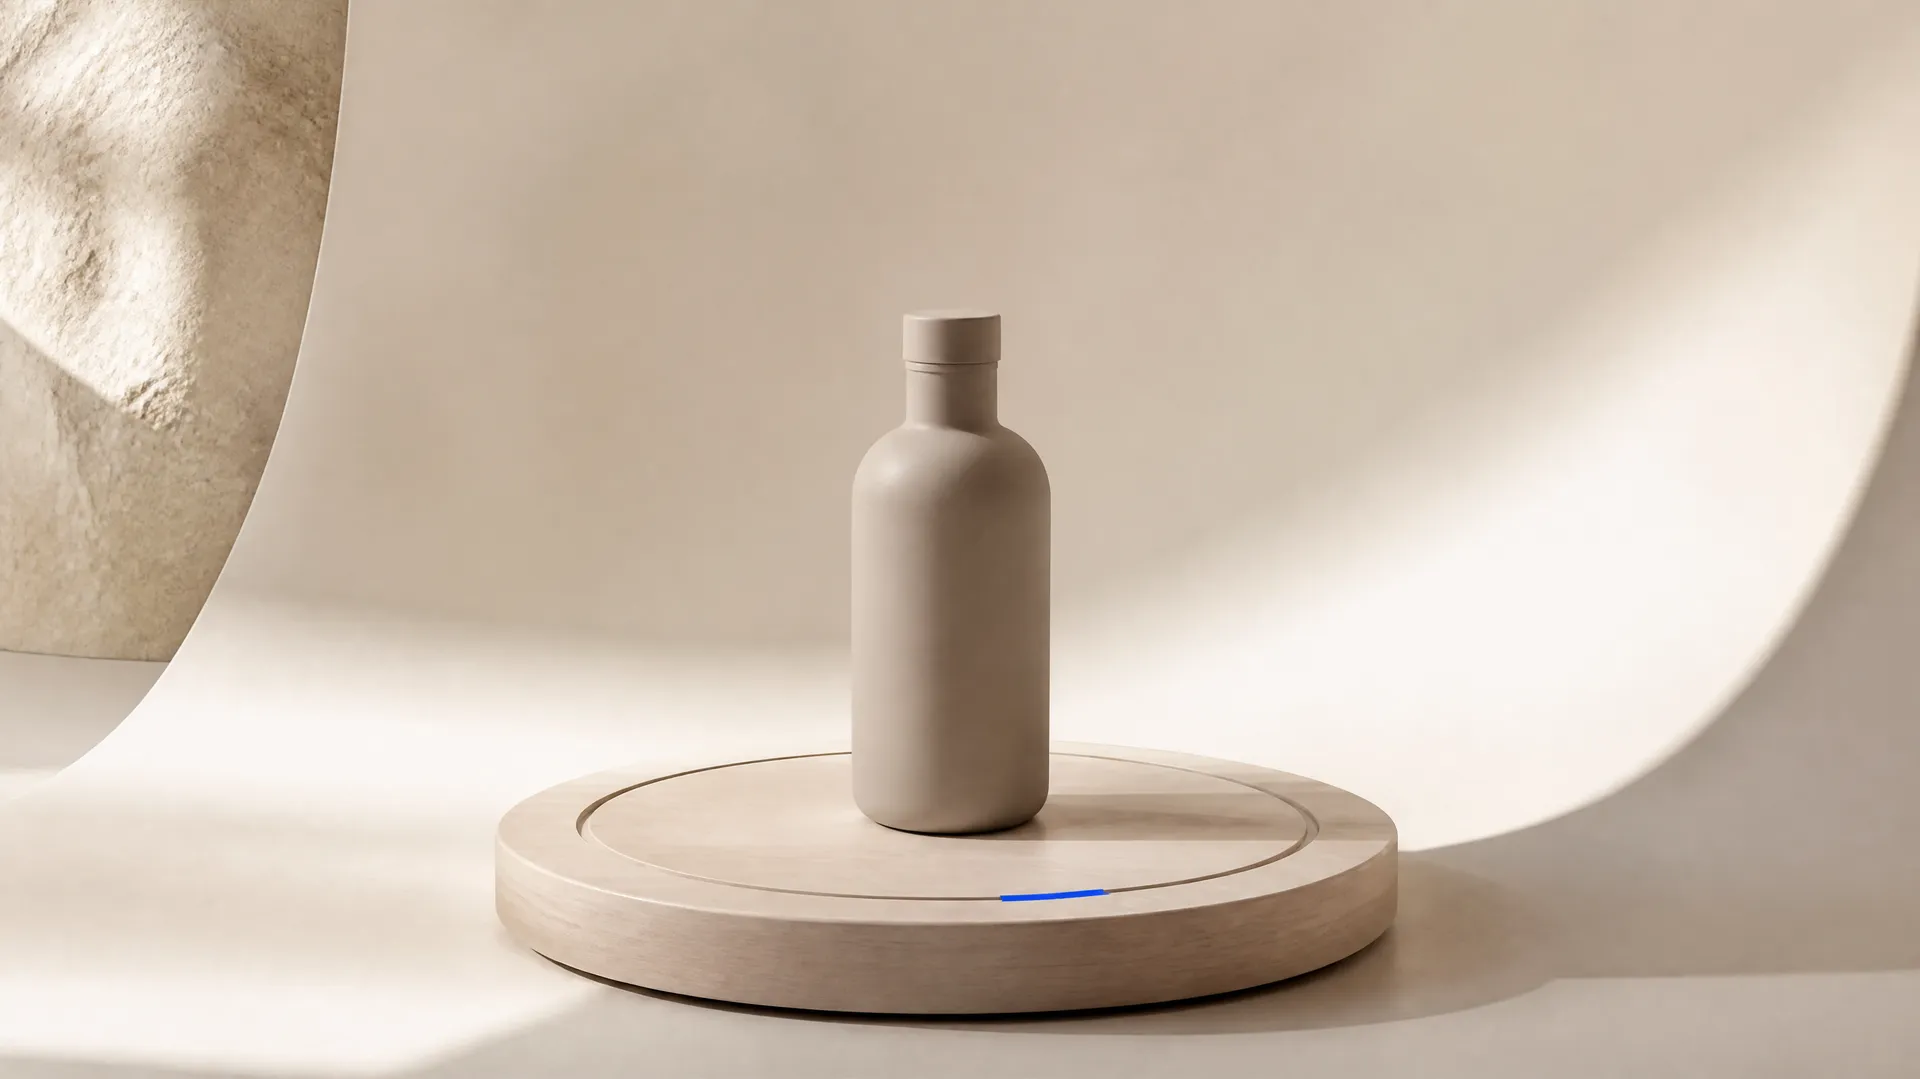
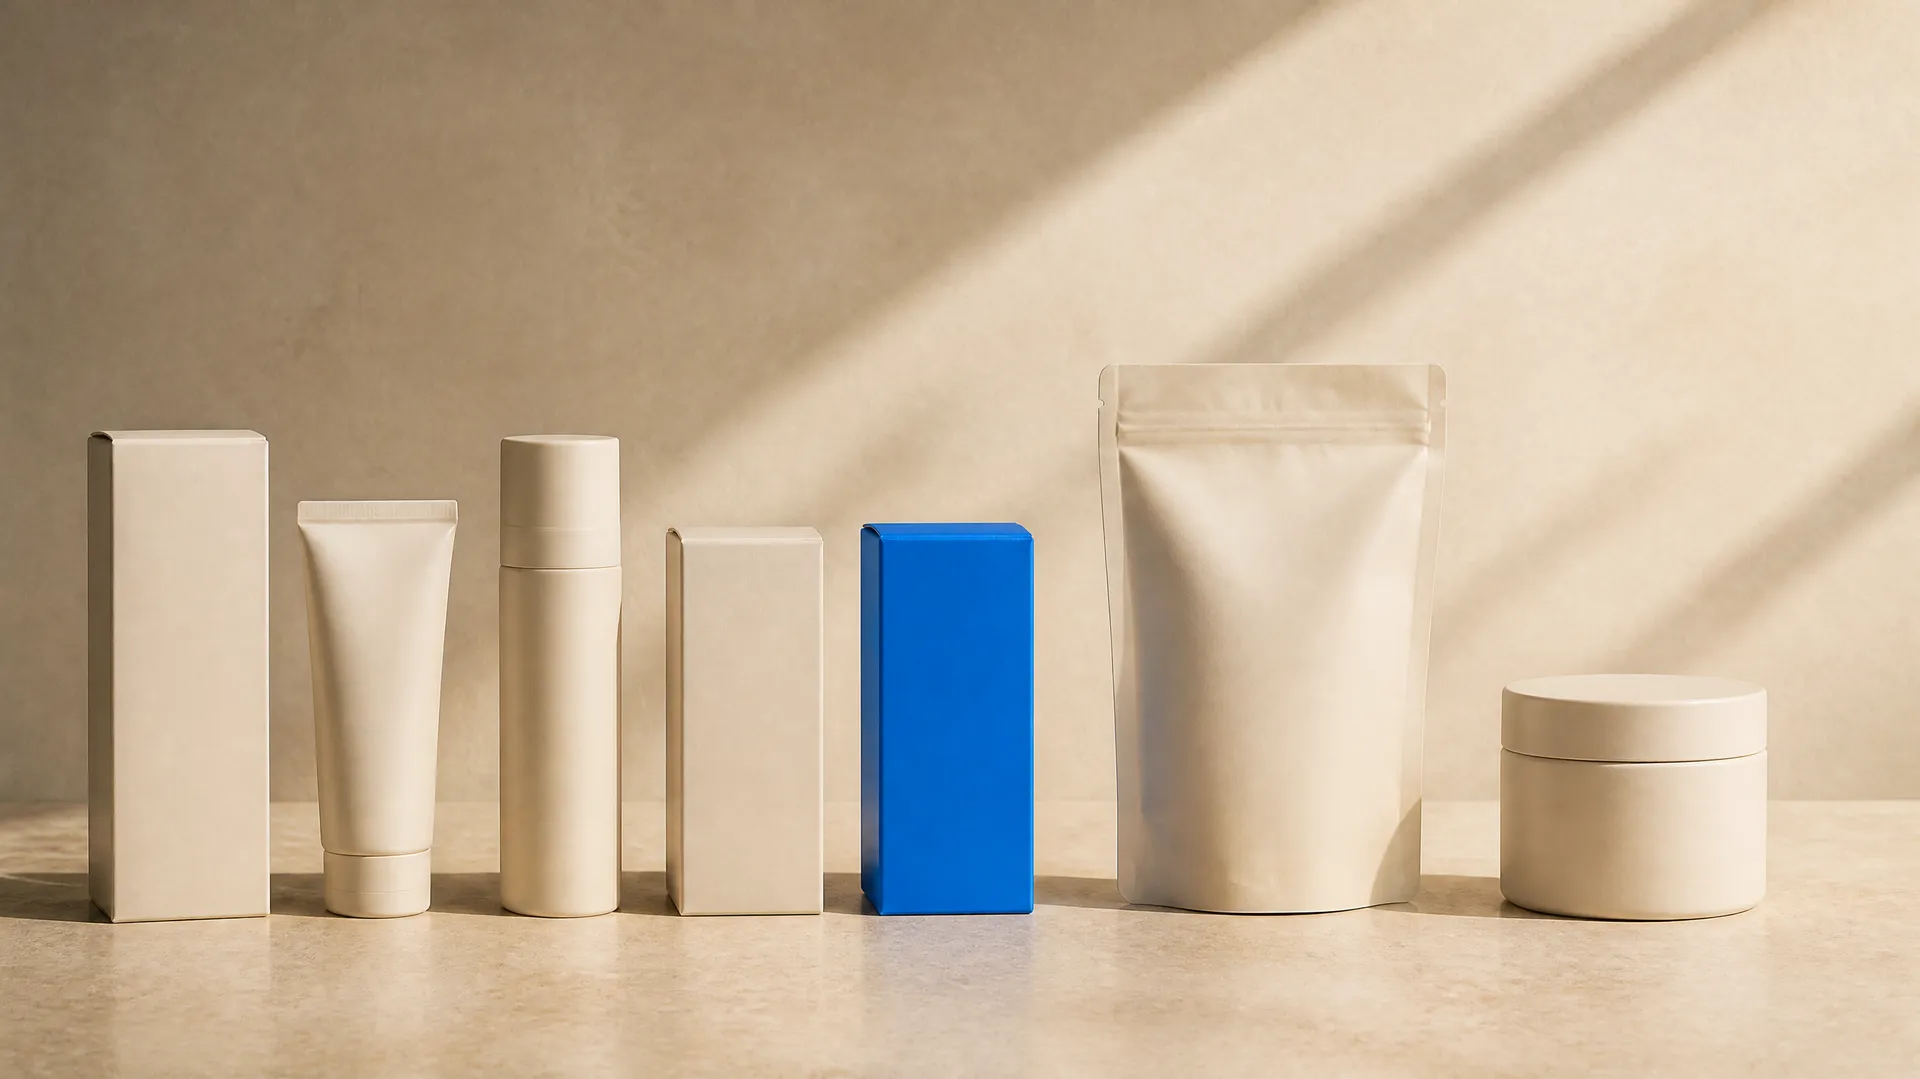
Creating product photos with AI means turning ordinary shots of an item into polished, studio-style photography. You add a few reference images of the product, choose a scene such as a white studio, marble, or a kitchen, and the model places the product in it under clean, consistent light. On getimg.ai the Product shots Action does this from up to three reference images, so it can see the product from more than one side and keep it accurate in the new setting.
TL;DR
- AI product photography places your product into a studio-quality scene from a few reference shots.
- In getimg.ai, open the Product shots Action, add up to three product images, and choose a scene.
- The 12 scenes are white studio, dark studio, marble, wood, concrete, linen, plinth, water, gradient, kitchen, bathroom, and outdoor.
- Use the text field to add detail like the surface, setting, or light; set the quality, aspect ratio, and 1 to 4 variations.
- Giving several accurate reference angles keeps the product true to life.
What AI Product Photography Is
Good product photography is expensive and slow: a studio, lighting, props, a surface, and a photographer, repeated for every new product, backdrop, or seasonal refresh. For a growing catalogue, that cost is the bottleneck between having a product and having images that sell it.
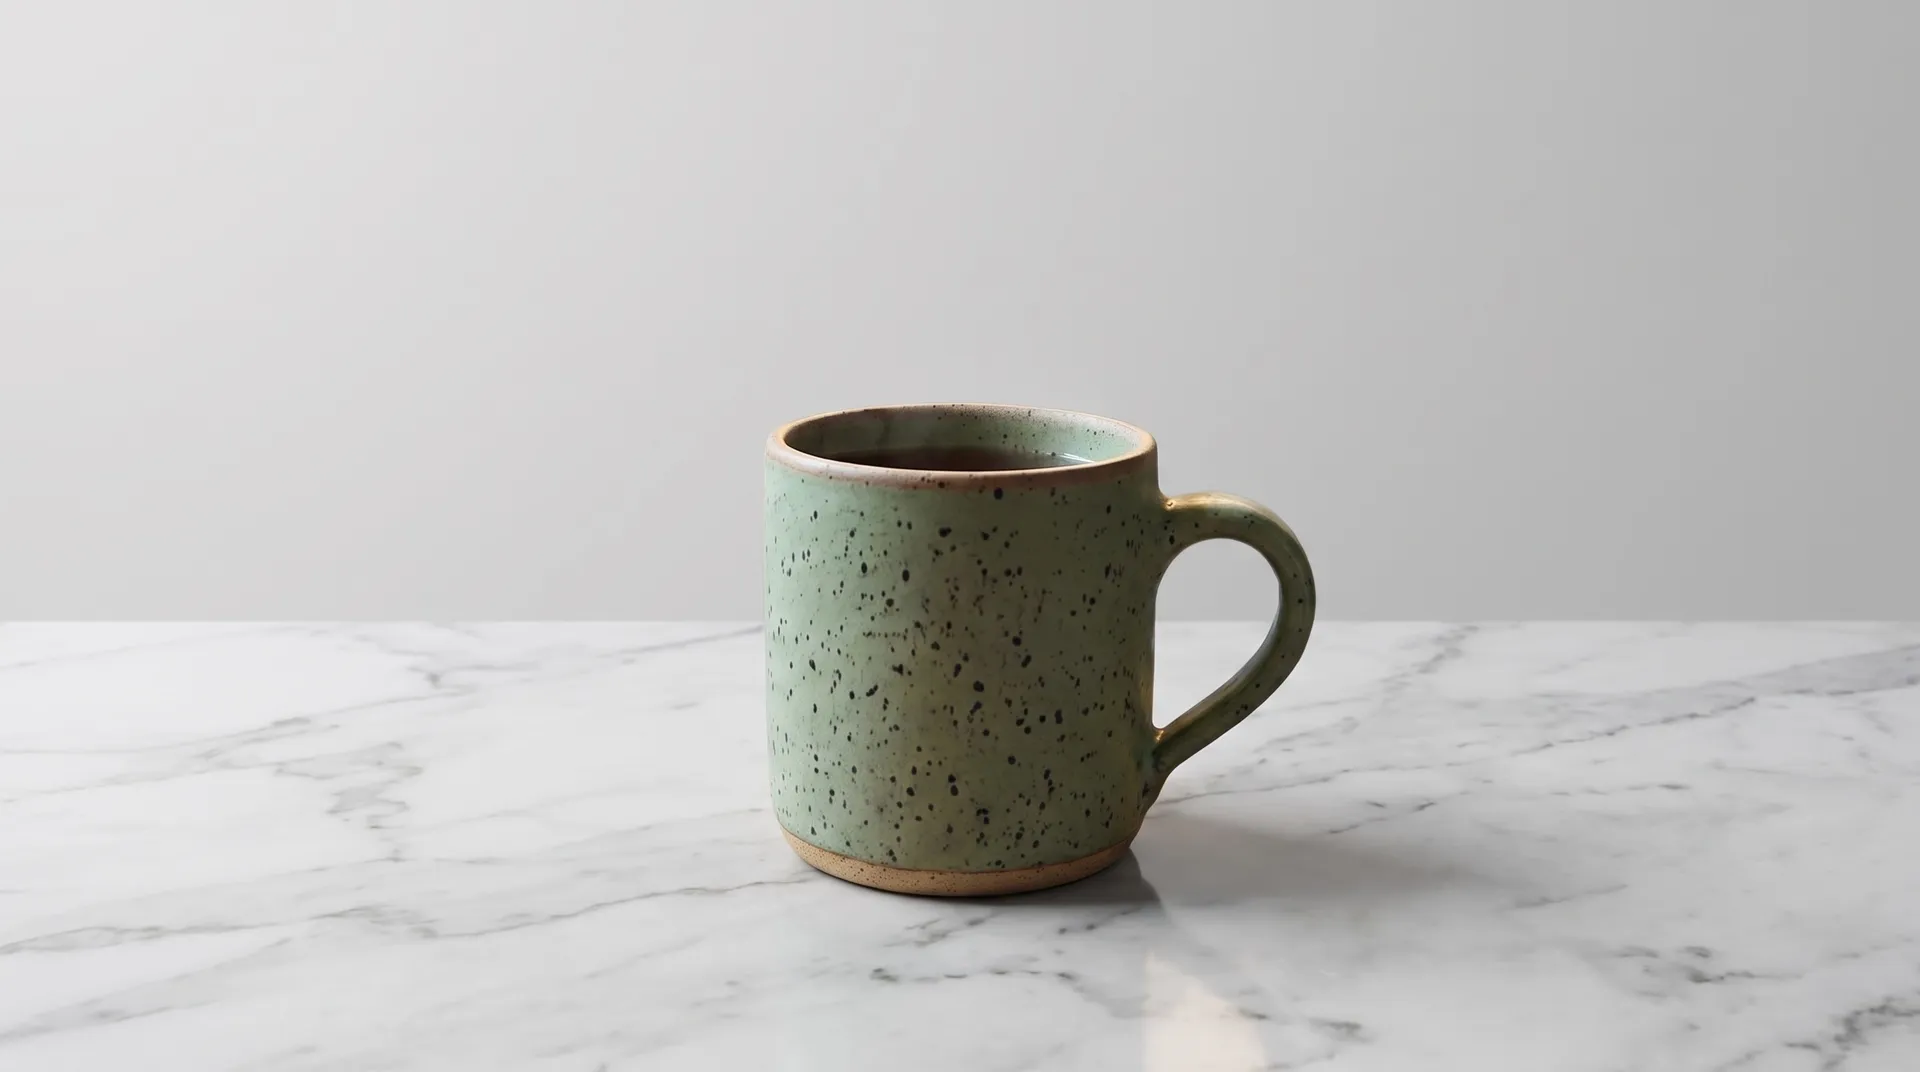
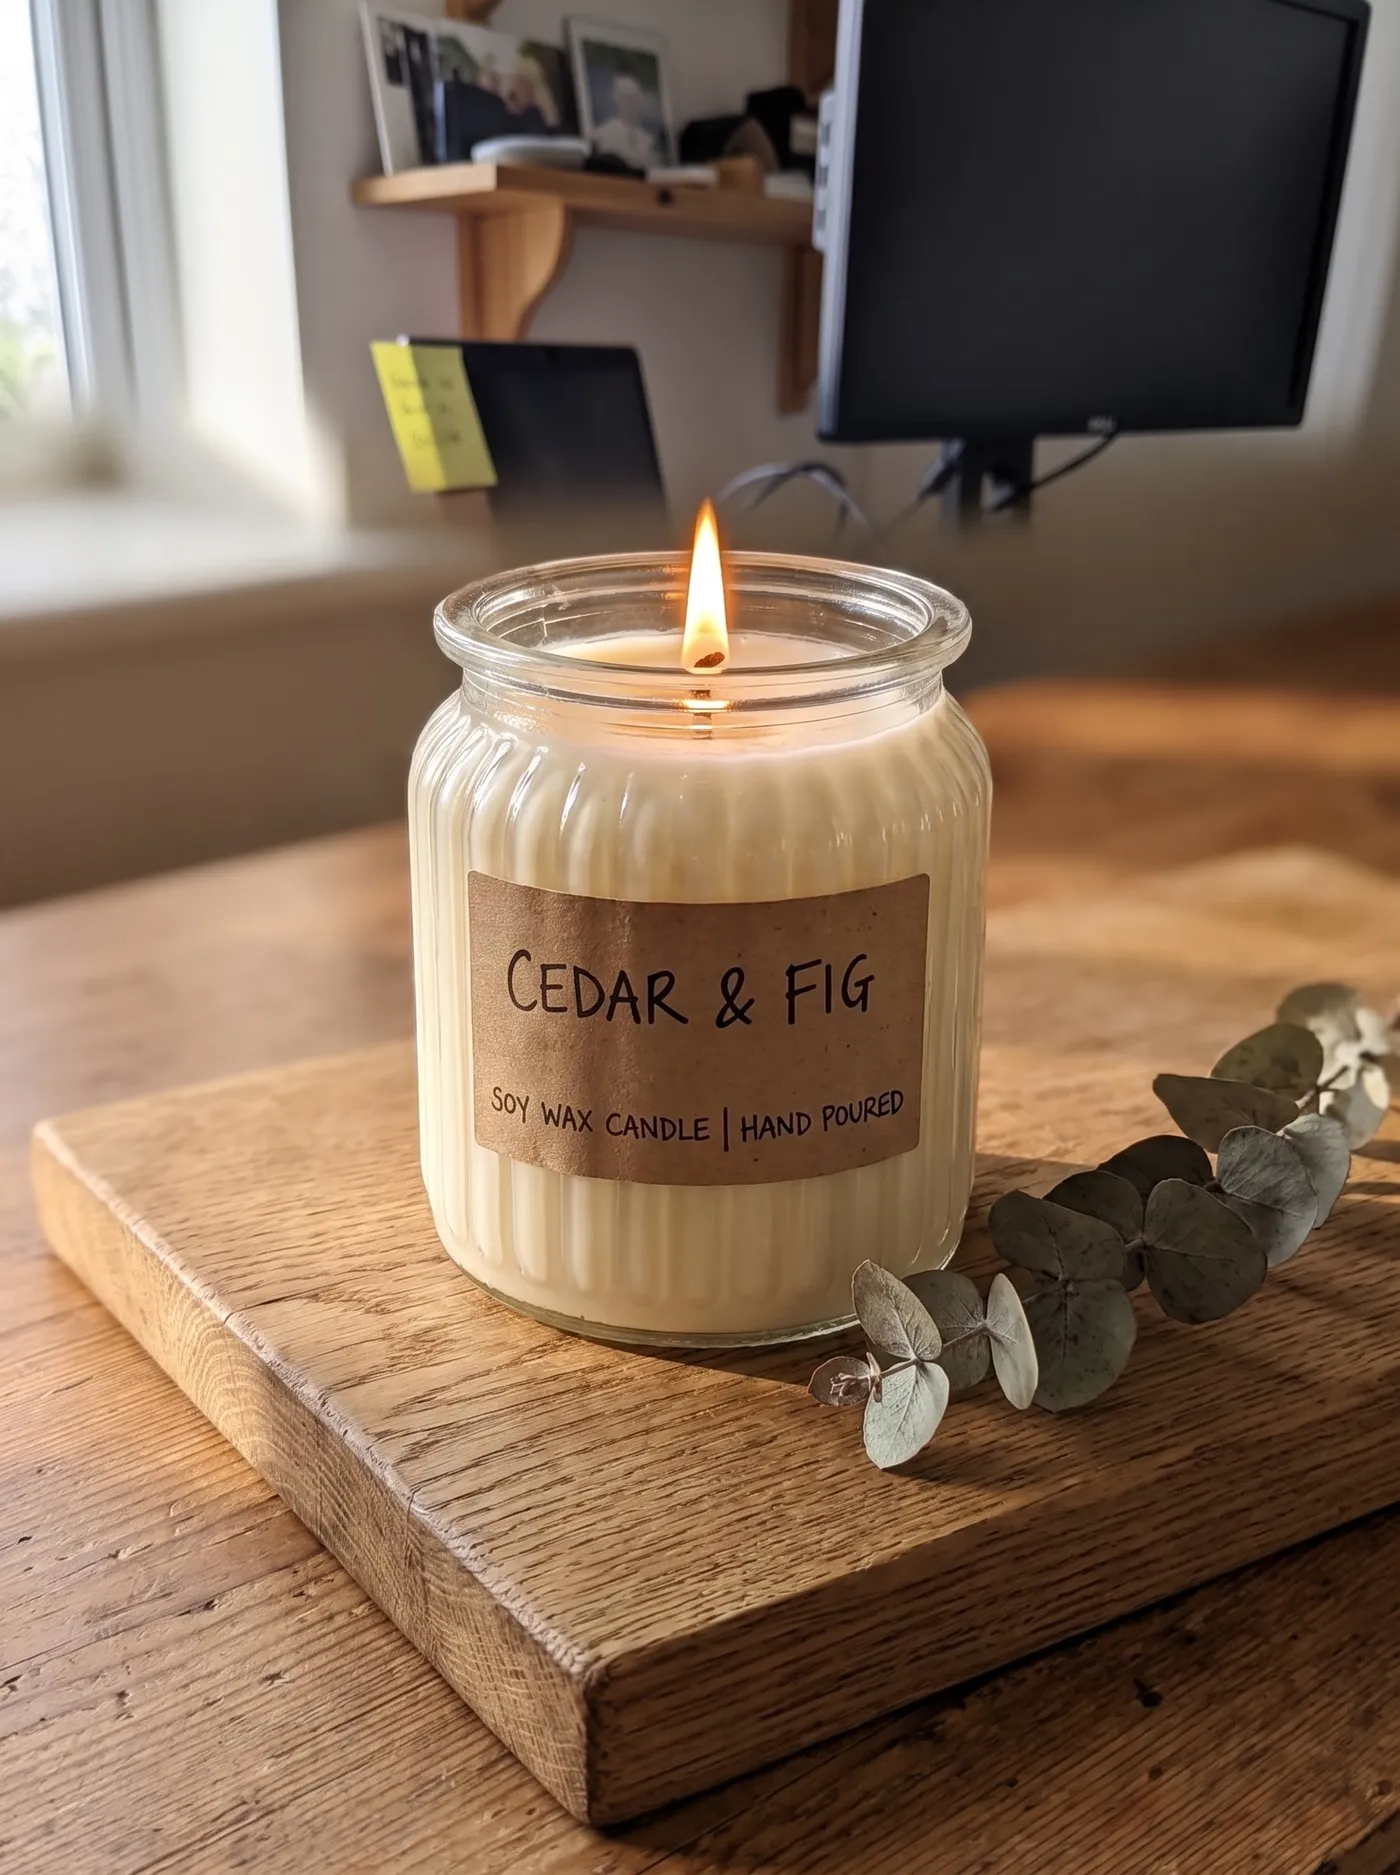
AI product photography compresses that into a preset flow. You supply reference shots of the real product, which is what keeps the result accurate, and choose the scene you want it in. The model composes the product into that setting with studio lighting, matching the surface and the shadows so the item looks photographed rather than pasted. The key difference from a generic image generator is that the Action is built around your actual product, so the output is your item in a new scene, not a lookalike.
When to Use It (and When to Book a Shoot)
Product shots earn their place across most catalogue and marketing needs:
- E-commerce listings, giving every product a clean, consistent set of images without a studio day per item.
- Seasonal and campaign variants, placing the same product on new surfaces and settings as themes change.
- Marketplace and social content, producing scene-based shots that stand out from plain white-background listings.
- Concepts and pitches, showing how a product would look in a styled setting before committing to a shoot.
Booking a shoot still wins when absolute material fidelity is critical and hard to convey from a few photos: complex reflections on glass or metal, exact fabric texture, or fine engraved detail that a buyer will scrutinise. AI product photography is at its strongest for scale and variety, many products and many scenes, and for anything where a clean, appealing setting matters more than documentary precision. Keeping the product accurate is largely about the reference images you feed it.
How to Create Product Photos with AI, Step by Step
Here is the workflow in getimg.ai. Open the Product shots Action to follow along.
1. Add your product images
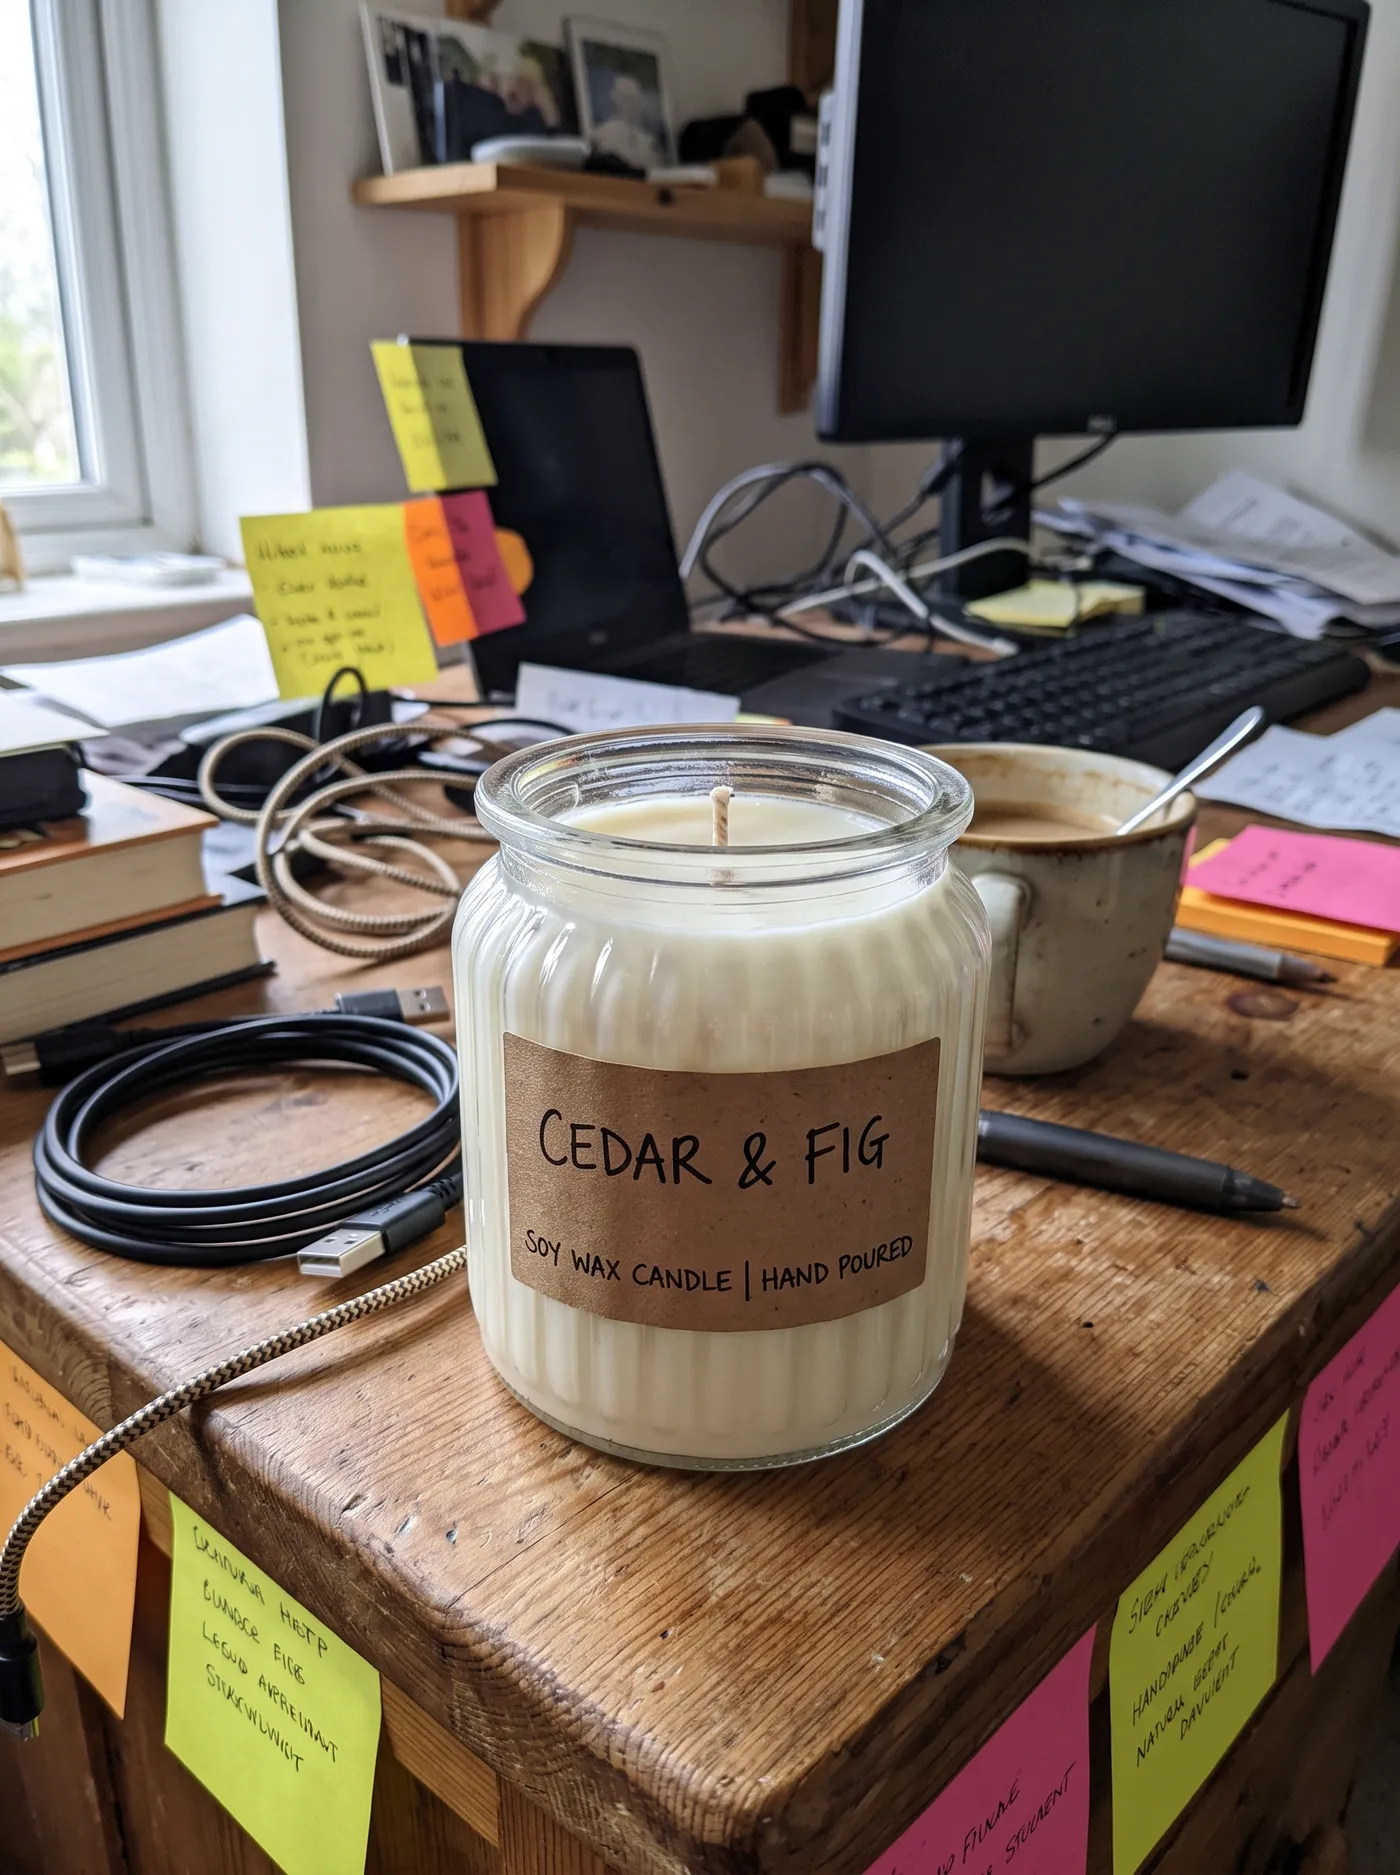
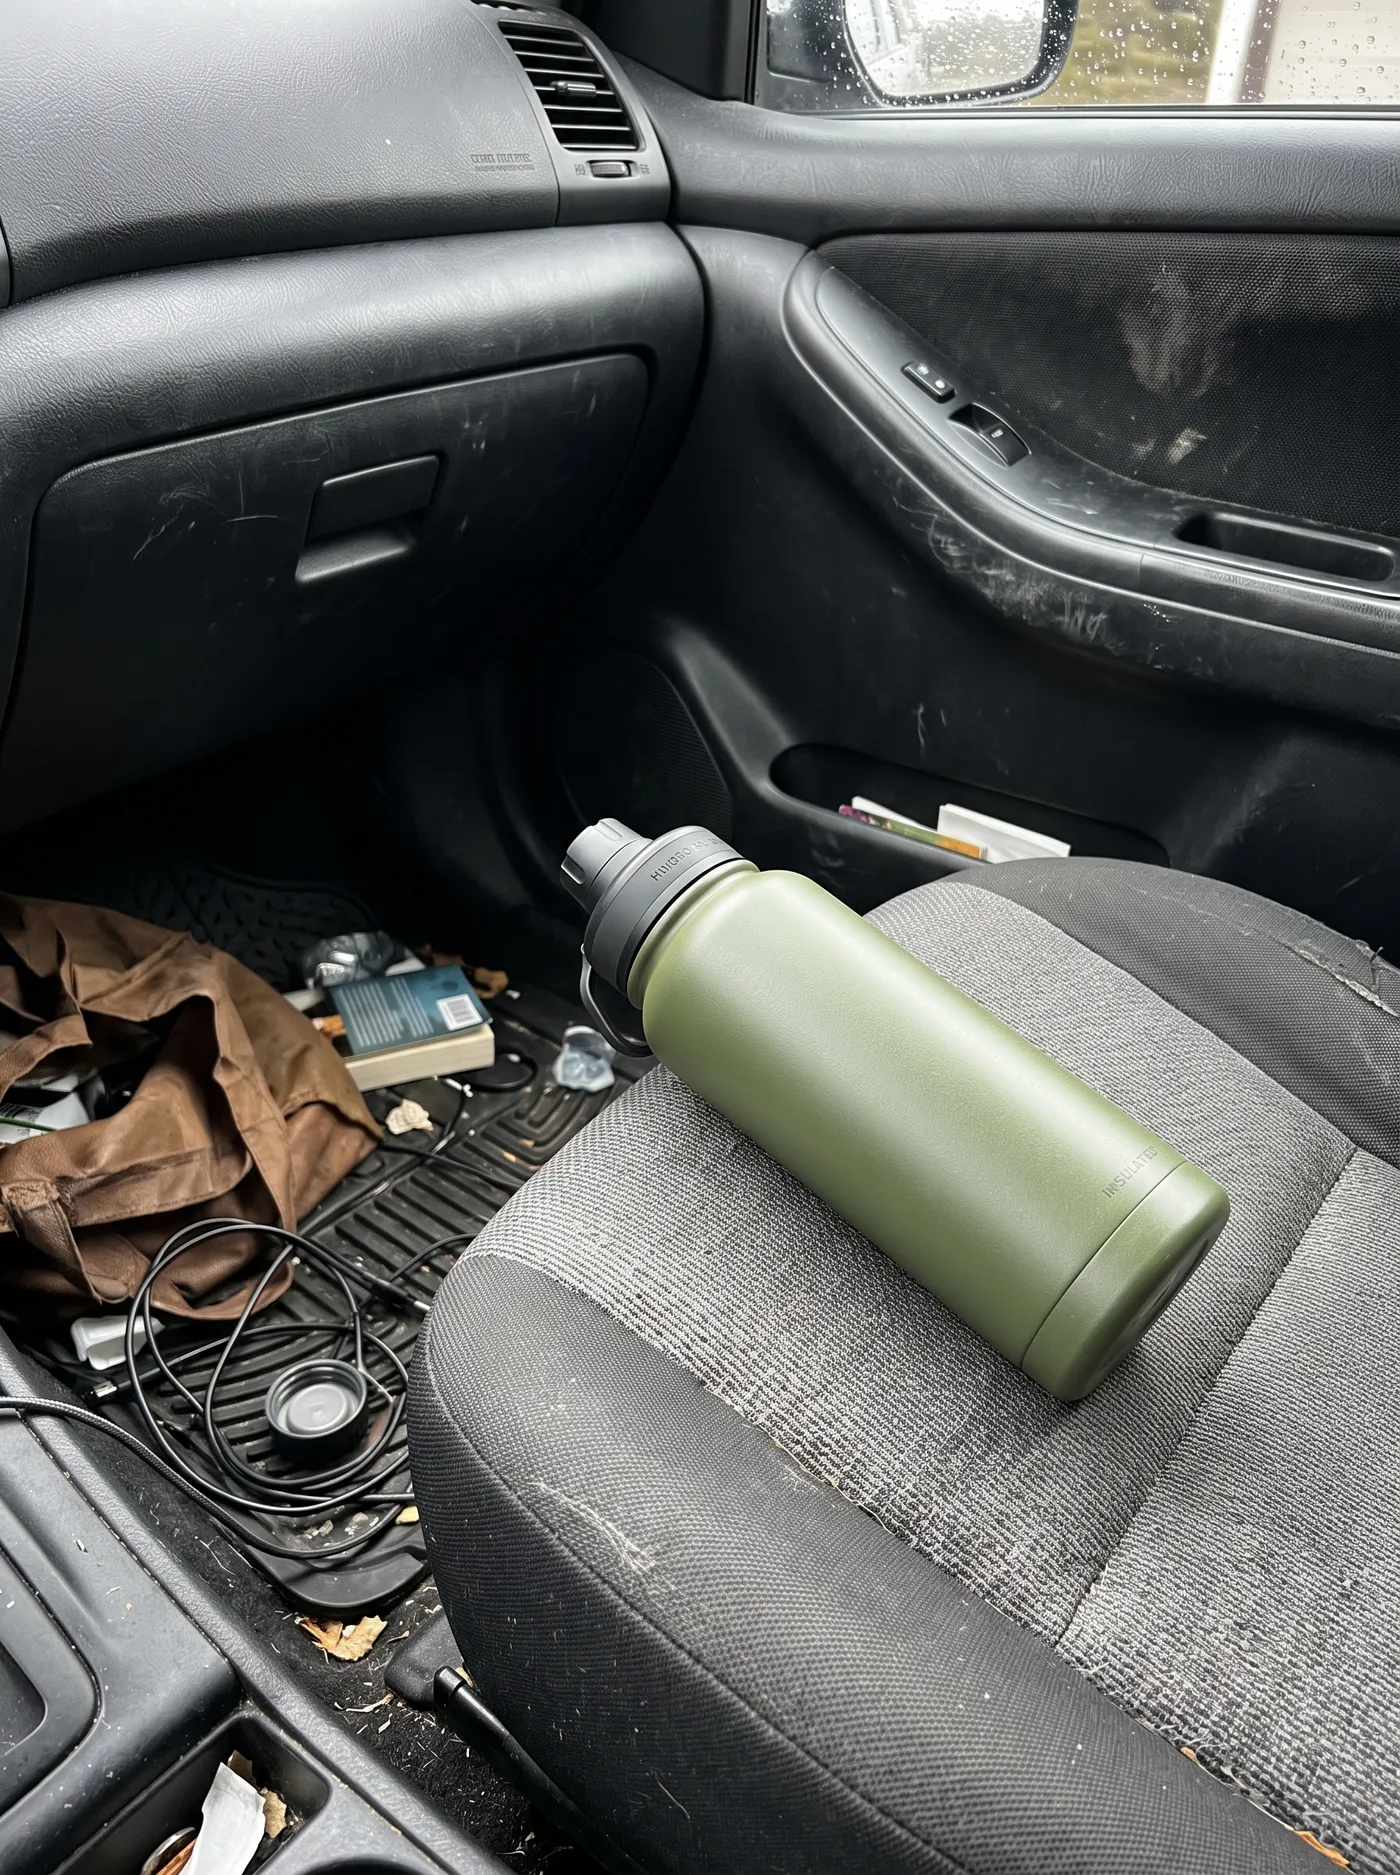
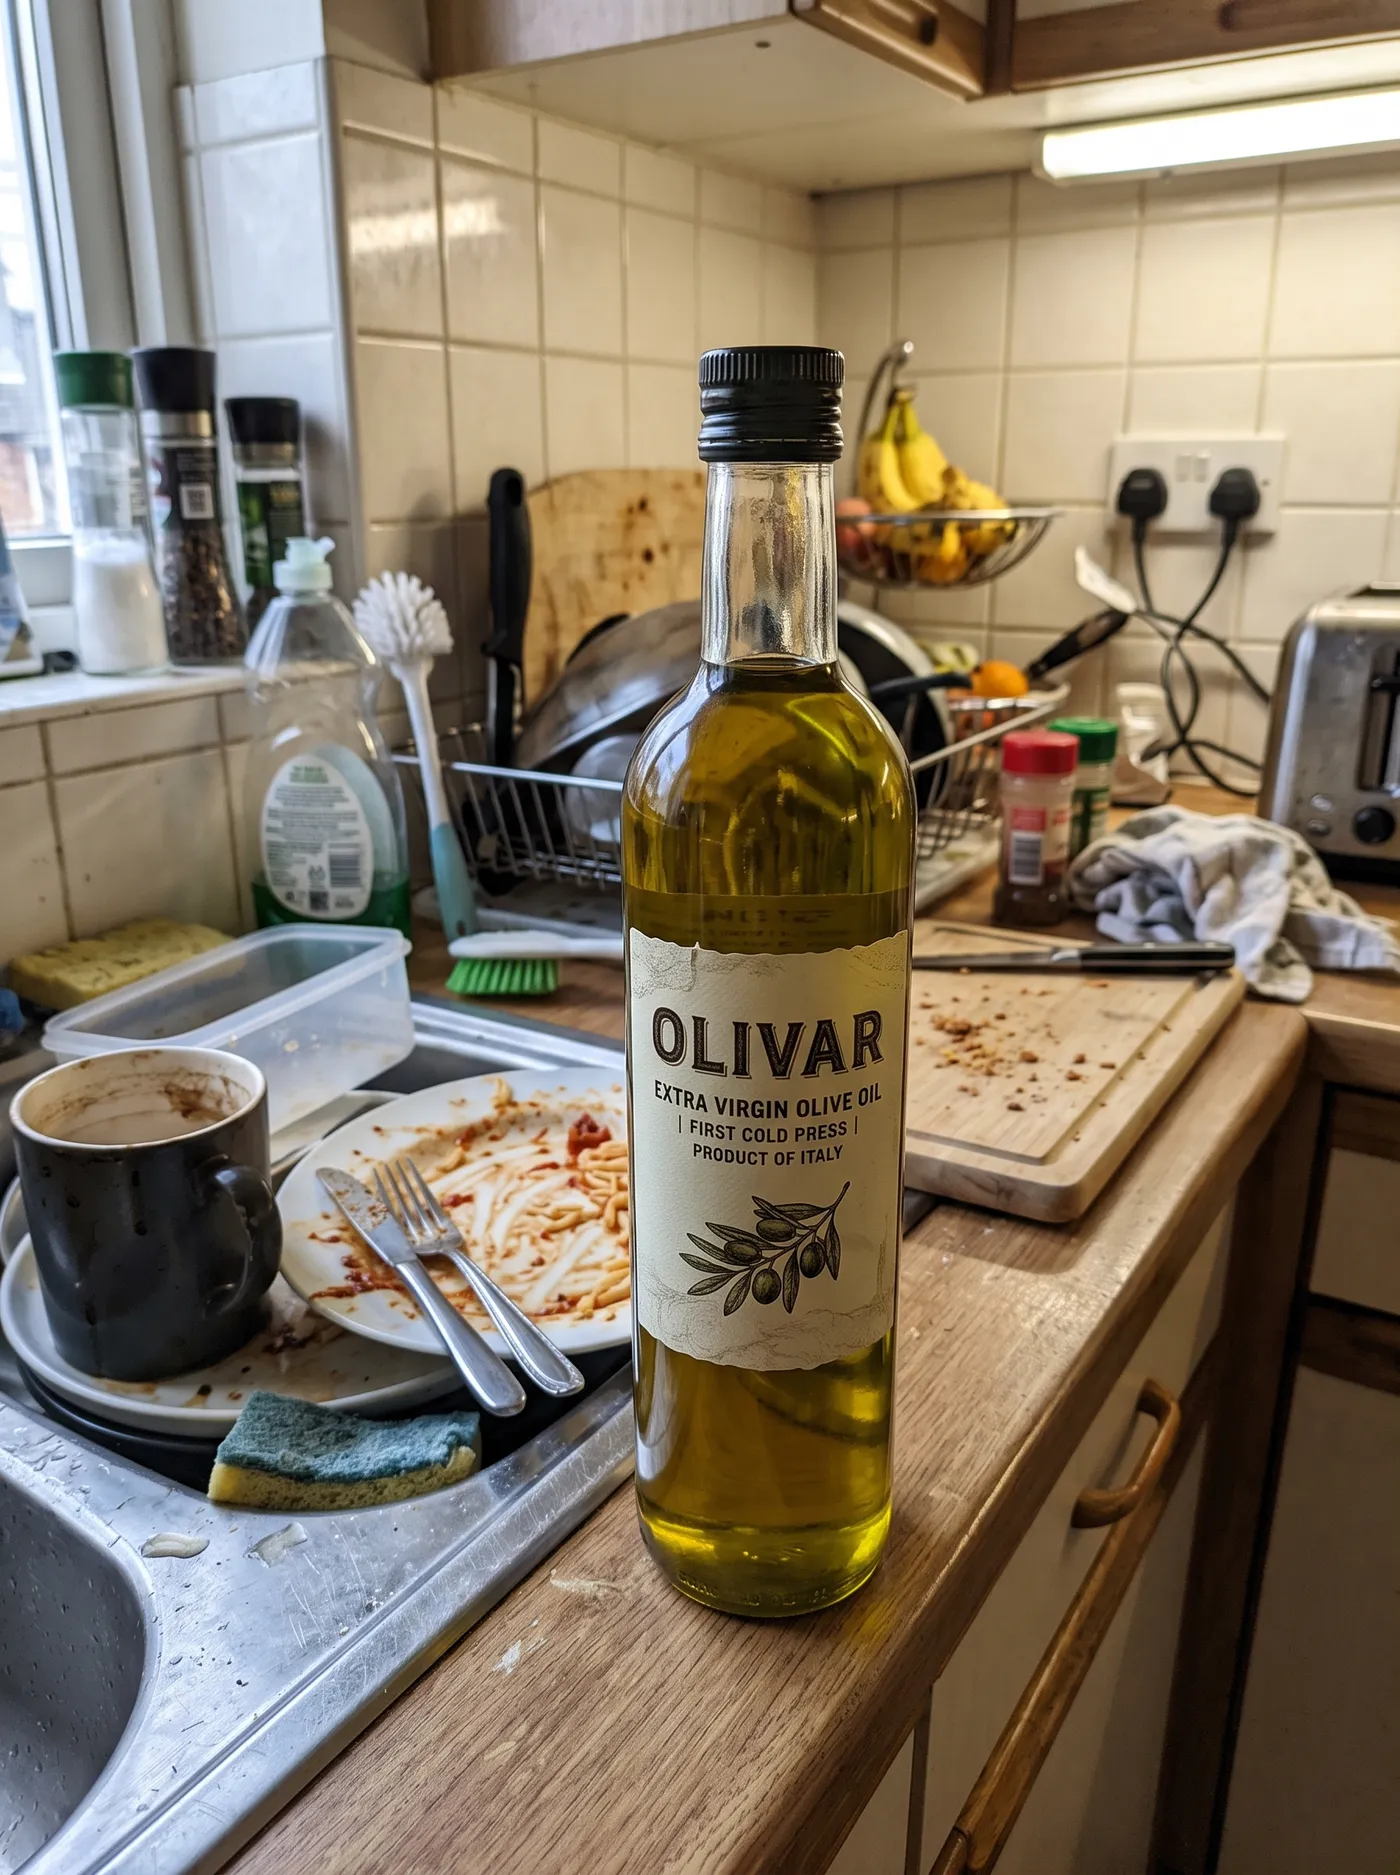
Add up to three images of the product. Use different angles, the packaging, and an in-use shot if you have one. The more clearly the references show the real product from multiple sides, the more accurately the model can render it in a new scene, so this is the step that most affects fidelity.
2. Choose the scene
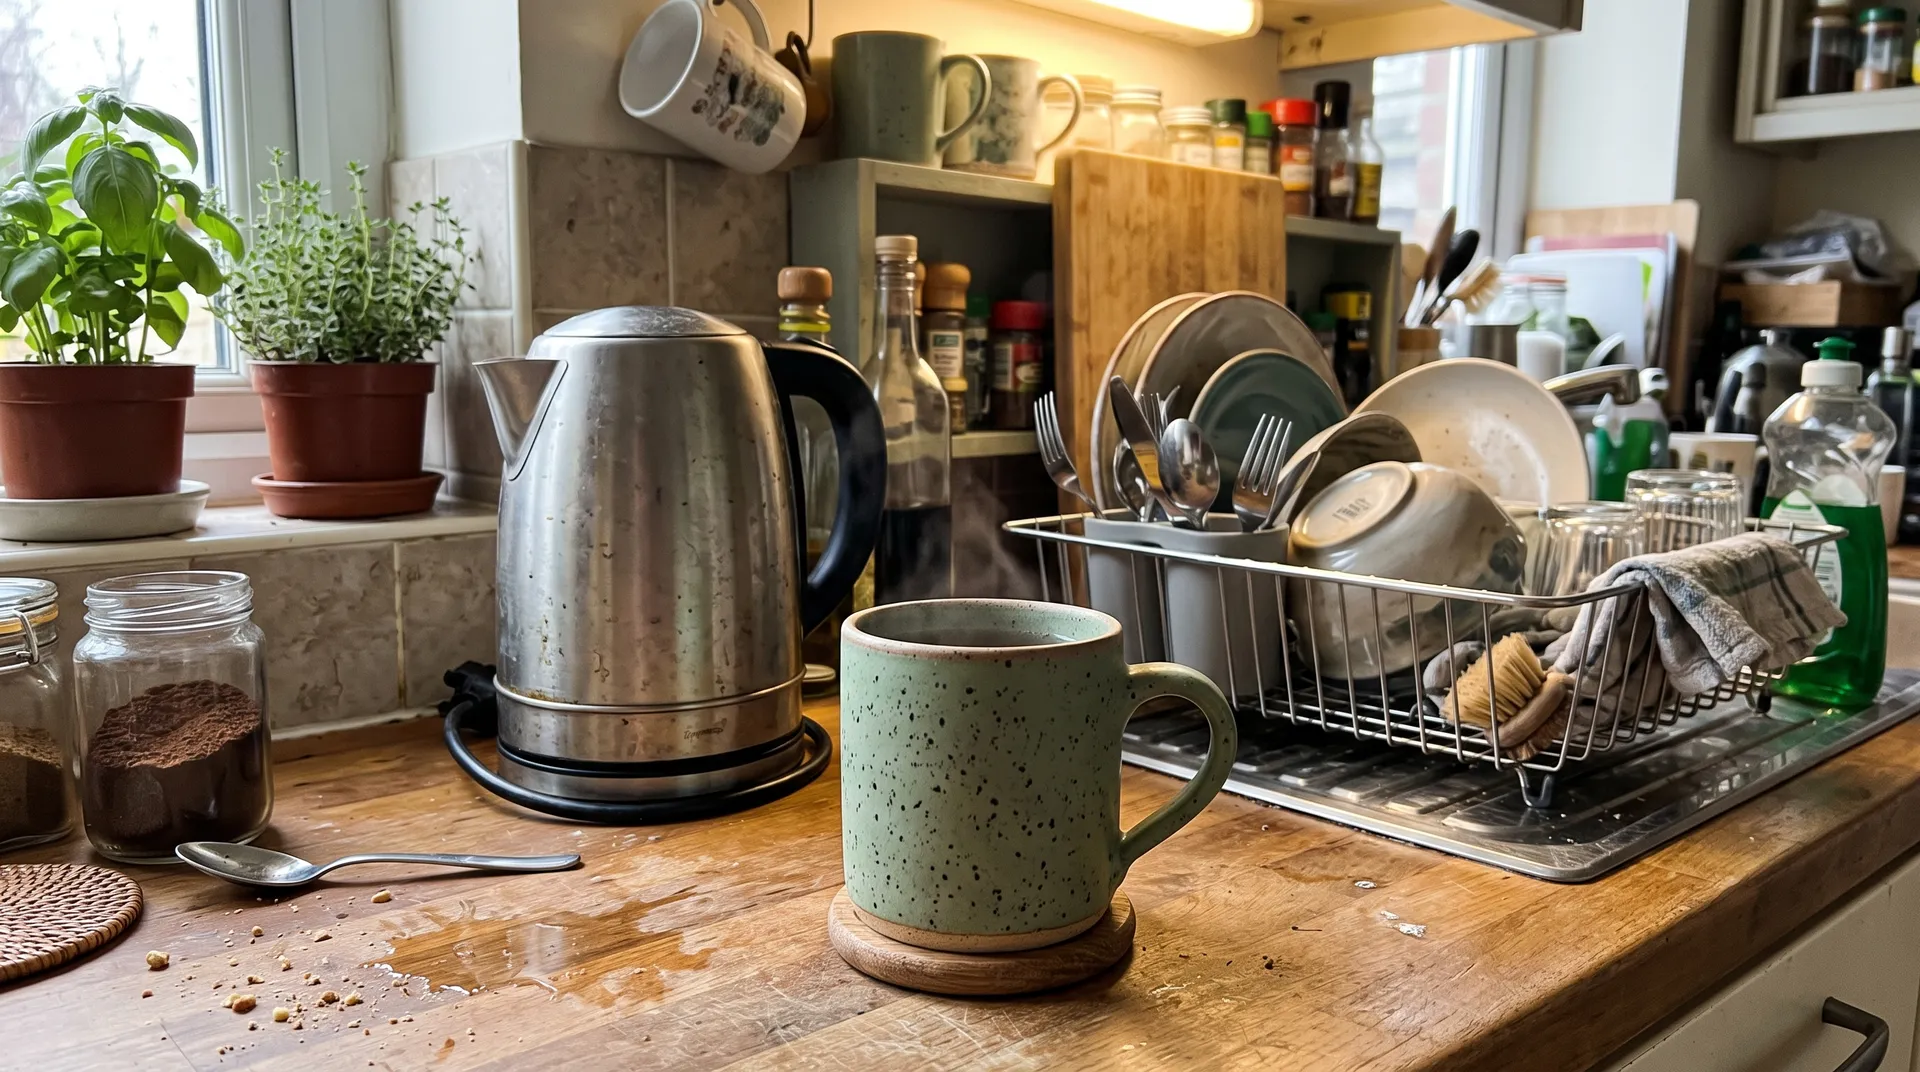
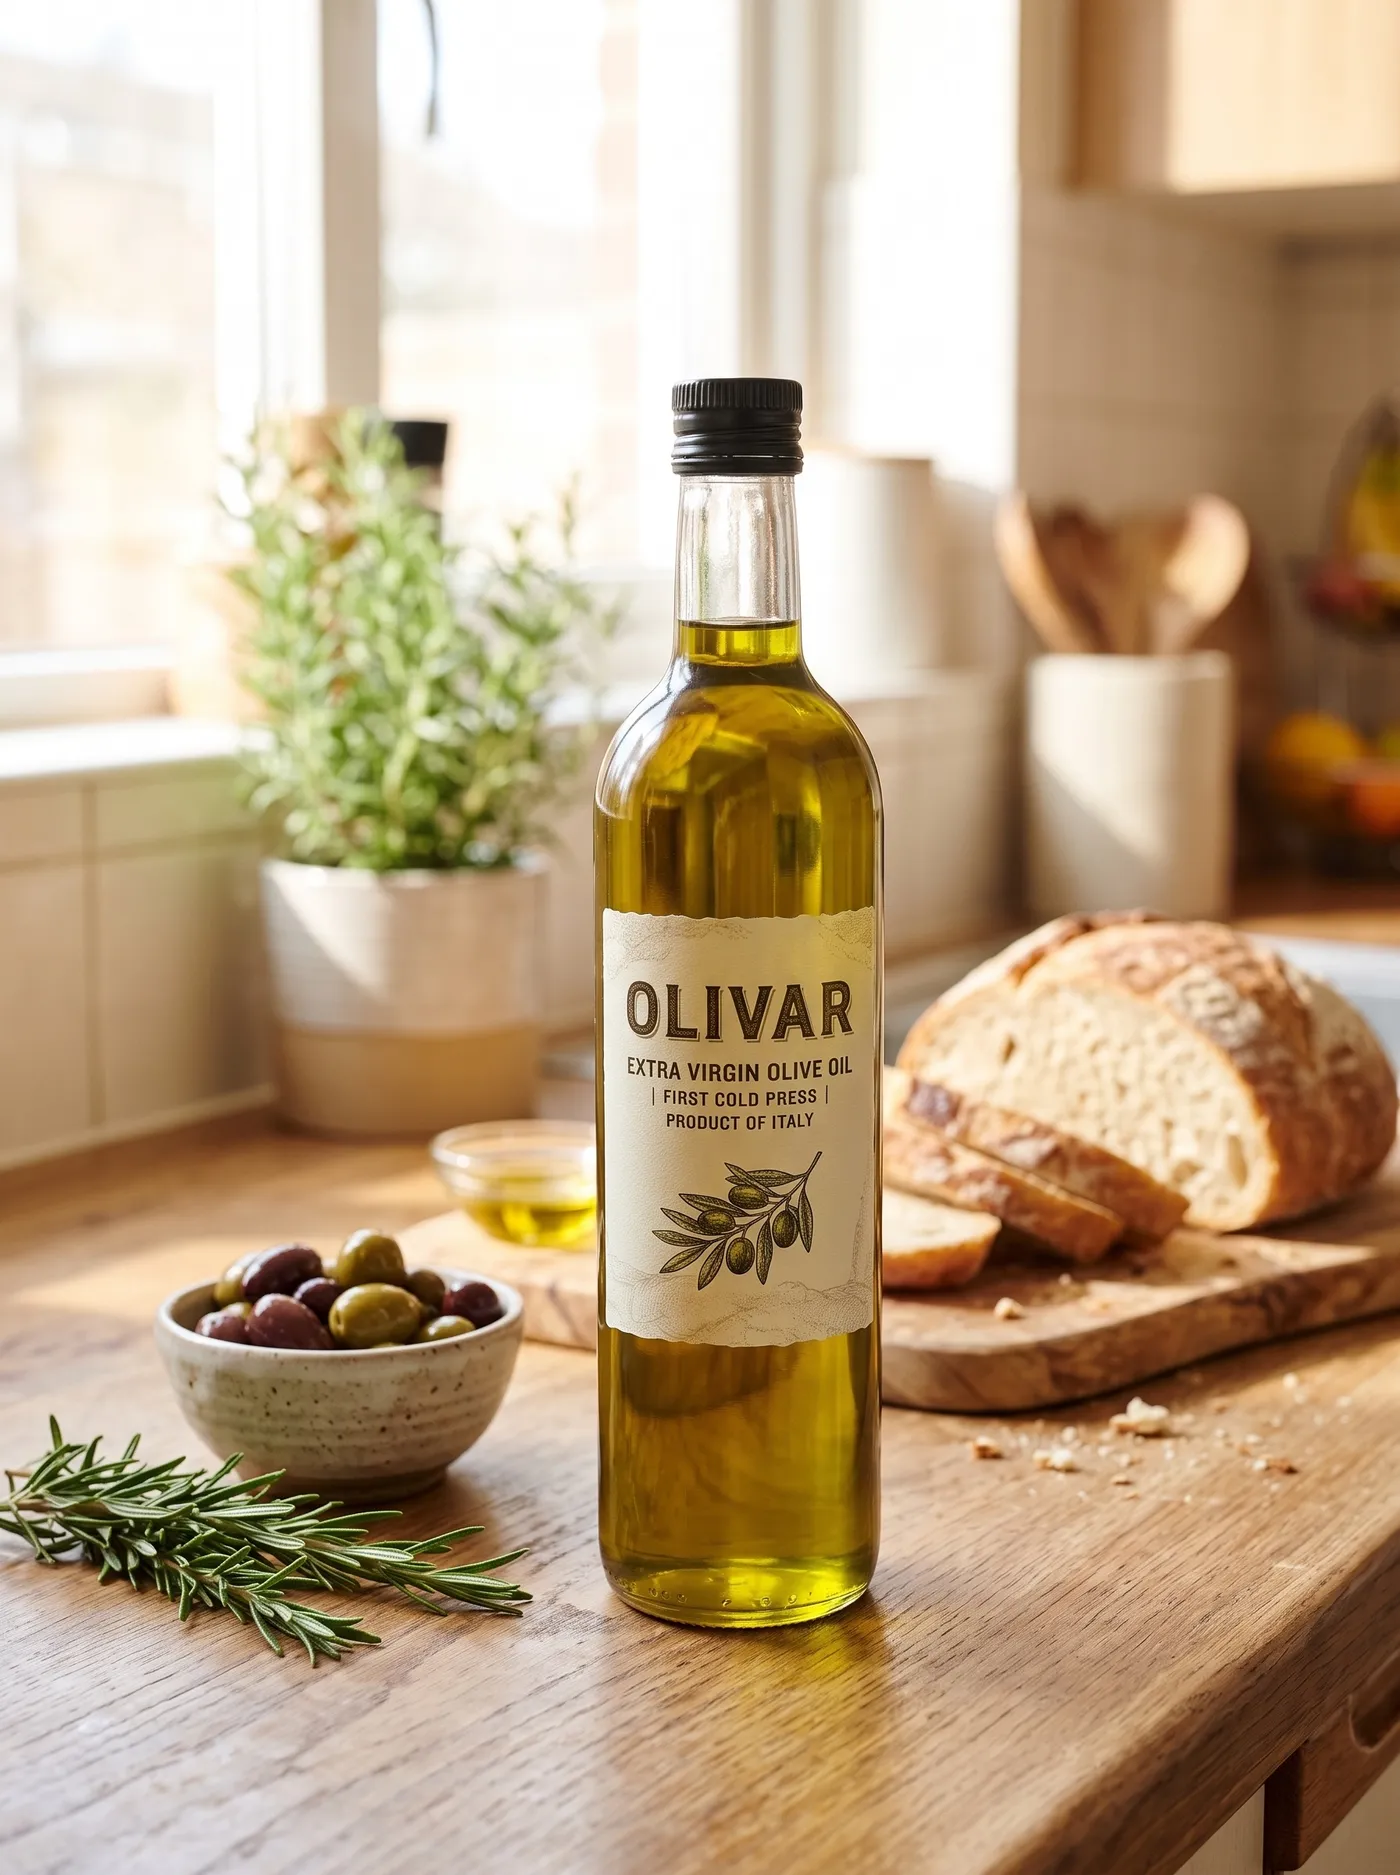
Pick the setting from 12 scenes: white studio for a clean, neutral catalogue look, dark studio for a premium, moody one, marble, wood, linen, or concrete for a textured surface, a plinth for a display-stand look, water for drinks and skincare, kitchen or bathroom for a lifestyle context, outdoor for a fresh, in-the-world feel, or gradient for a modern, colourful backdrop. Match the scene to the product and the brand.
3. Add any extra detail
Use the text field to describe anything the scene presets do not cover: a specific surface, a prop, a setting, or a lighting direction. This is optional refinement on top of the scene, not a required prompt.
4. Set quality and aspect ratio, then generate
Choose an output resolution of 1K or 2K, an aspect ratio to fit where the image goes (1:1 for listings and social, 4:3 or 3:4 for standard product crops, or 16:9 for banners), and 1, 2, 3, or 4 variations. Run the Action and the shots appear in the gallery to the right of the controls, with your reference images left untouched.
How to Get Accurate, Sellable Product Shots
- Give it good references. Accuracy comes from the input. Clear, well-lit reference images from several angles let the model keep the product's shape, colour, and labelling true. A single low-quality photo limits how faithful the result can be.
- Show more than one side. Using the full allowance of up to three images, including packaging and an in-use shot, gives the model a fuller understanding of the product than a single front view.
- Match the scene to the product. A premium item suits marble, a plinth, or a dark studio; a food or home product suits a kitchen or wood; a clean catalogue needs white studio. The scene sets the positioning.
- Check the label and logo. Text and branding are where product renders are most likely to slip. Look closely at any labelling and regenerate if it is not right.
- Keep a consistent look across a catalogue. Using the same scene and aspect ratio across a product line makes the listings read as one coherent set.
Product Shots in a Wider Workflow
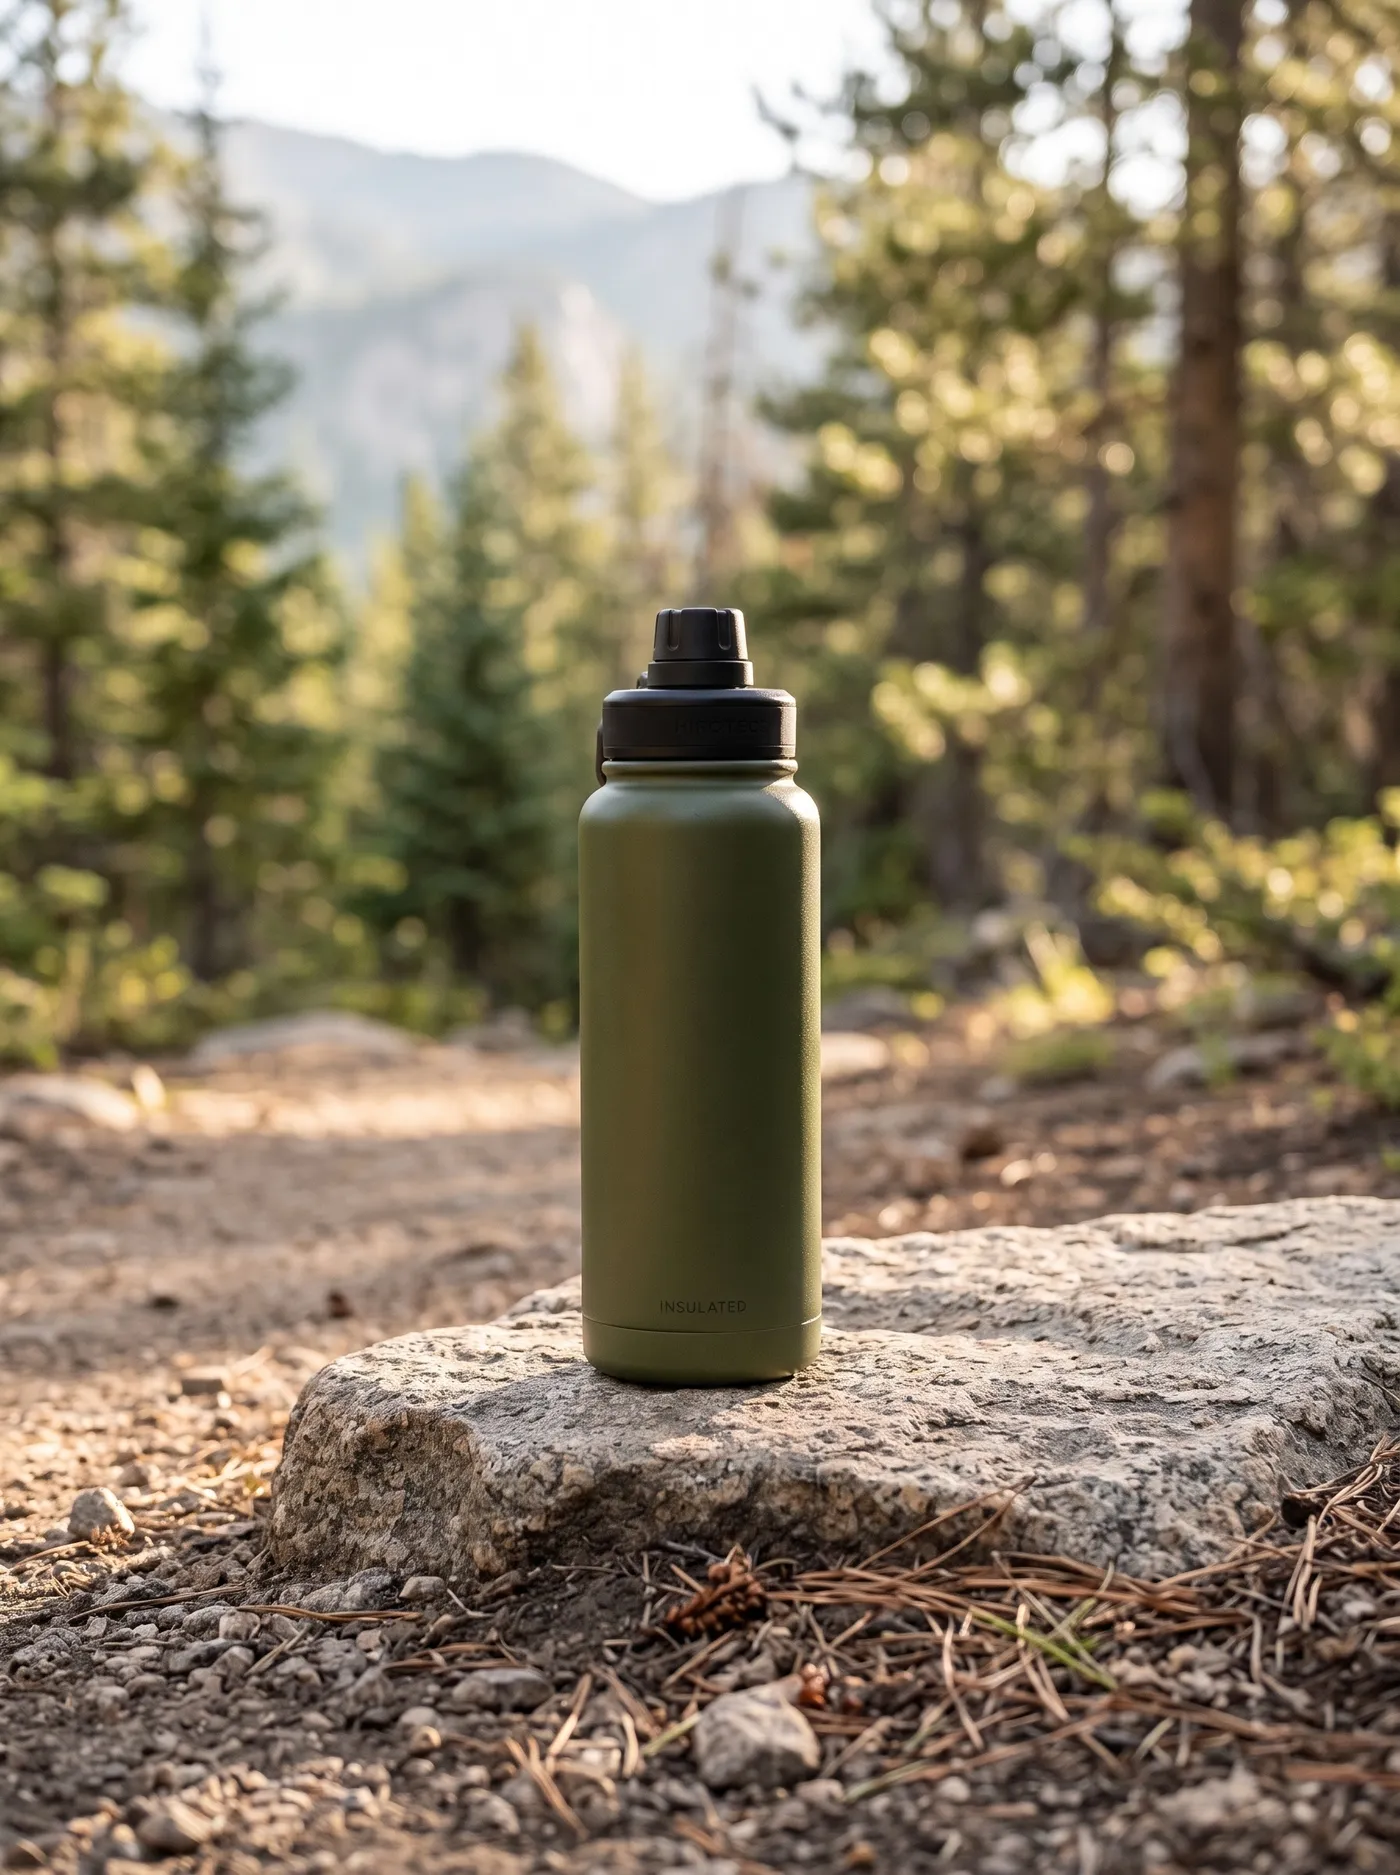
Product photography rarely stops at a single still. A set of scene-based shots pairs naturally with the Every angle Action for multi-view listings and with the Product orbit Action when a listing benefits from a 360 video. For a full picture of building images that convert, product photography is a core part of any e-commerce visual workflow.
The Bottom Line
AI product photography turns a few reference shots into studio-quality images: add up to three photos of the real product, choose a scene from white studio to marble, and generate. Because it builds on your actual product, the result is your item in a new setting, and the accuracy comes down to the quality and range of the references you supply.
Open the Product shots Action in getimg.ai, add a few angles of a product, and drop it onto marble or into a kitchen. Commercial rights are included, subject to our terms and applicable third-party rights.
Frequently Asked Questions
You can add up to three, and using all three helps. Different angles, the packaging, and an in-use shot give the model a fuller understanding of the real product, which keeps it accurate when it is placed in a new scene. A single photo works but limits how faithfully the product can be rendered from other angles.
The Product shots Action offers 12 scenes: white studio, dark studio, marble, wood, concrete, linen, plinth, water, gradient, kitchen, bathroom, and outdoor. White studio suits clean catalogue listings, dark studio, marble, and a plinth suit premium products, wood, linen, and concrete add natural texture, kitchen, bathroom, water, and outdoor add lifestyle context, and gradient gives a modern backdrop. The text field lets you add a specific surface, prop, or light on top.
It stays as accurate as your reference images allow. The Action is built around the product you supply, so clear references from several angles produce a faithful result. The details most worth checking are labels and logos, where text can slip; look closely and regenerate if the branding is not exactly right.
You can generate 1, 2, 3, or 4 variations at 1K or 2K, with aspect ratios of 1:1, 4:3, 3:4, and 16:9. Use 1:1 for listings and social, 4:3 or 3:4 for standard product crops, and 16:9 for banners.
For scale and variety, it does a lot: many products and many scenes without a studio day each. A photographer still wins when material fidelity is critical and hard to convey from a few photos, such as complex reflections on glass or metal or fine engraved detail. Many teams use both, AI for volume and variants, a shoot for hero images.
Commercial rights are included, subject to our terms and applicable third-party rights. Make sure you hold the rights to the product images you upload.
Related Articles