How to Create Packaging Mockups with AI

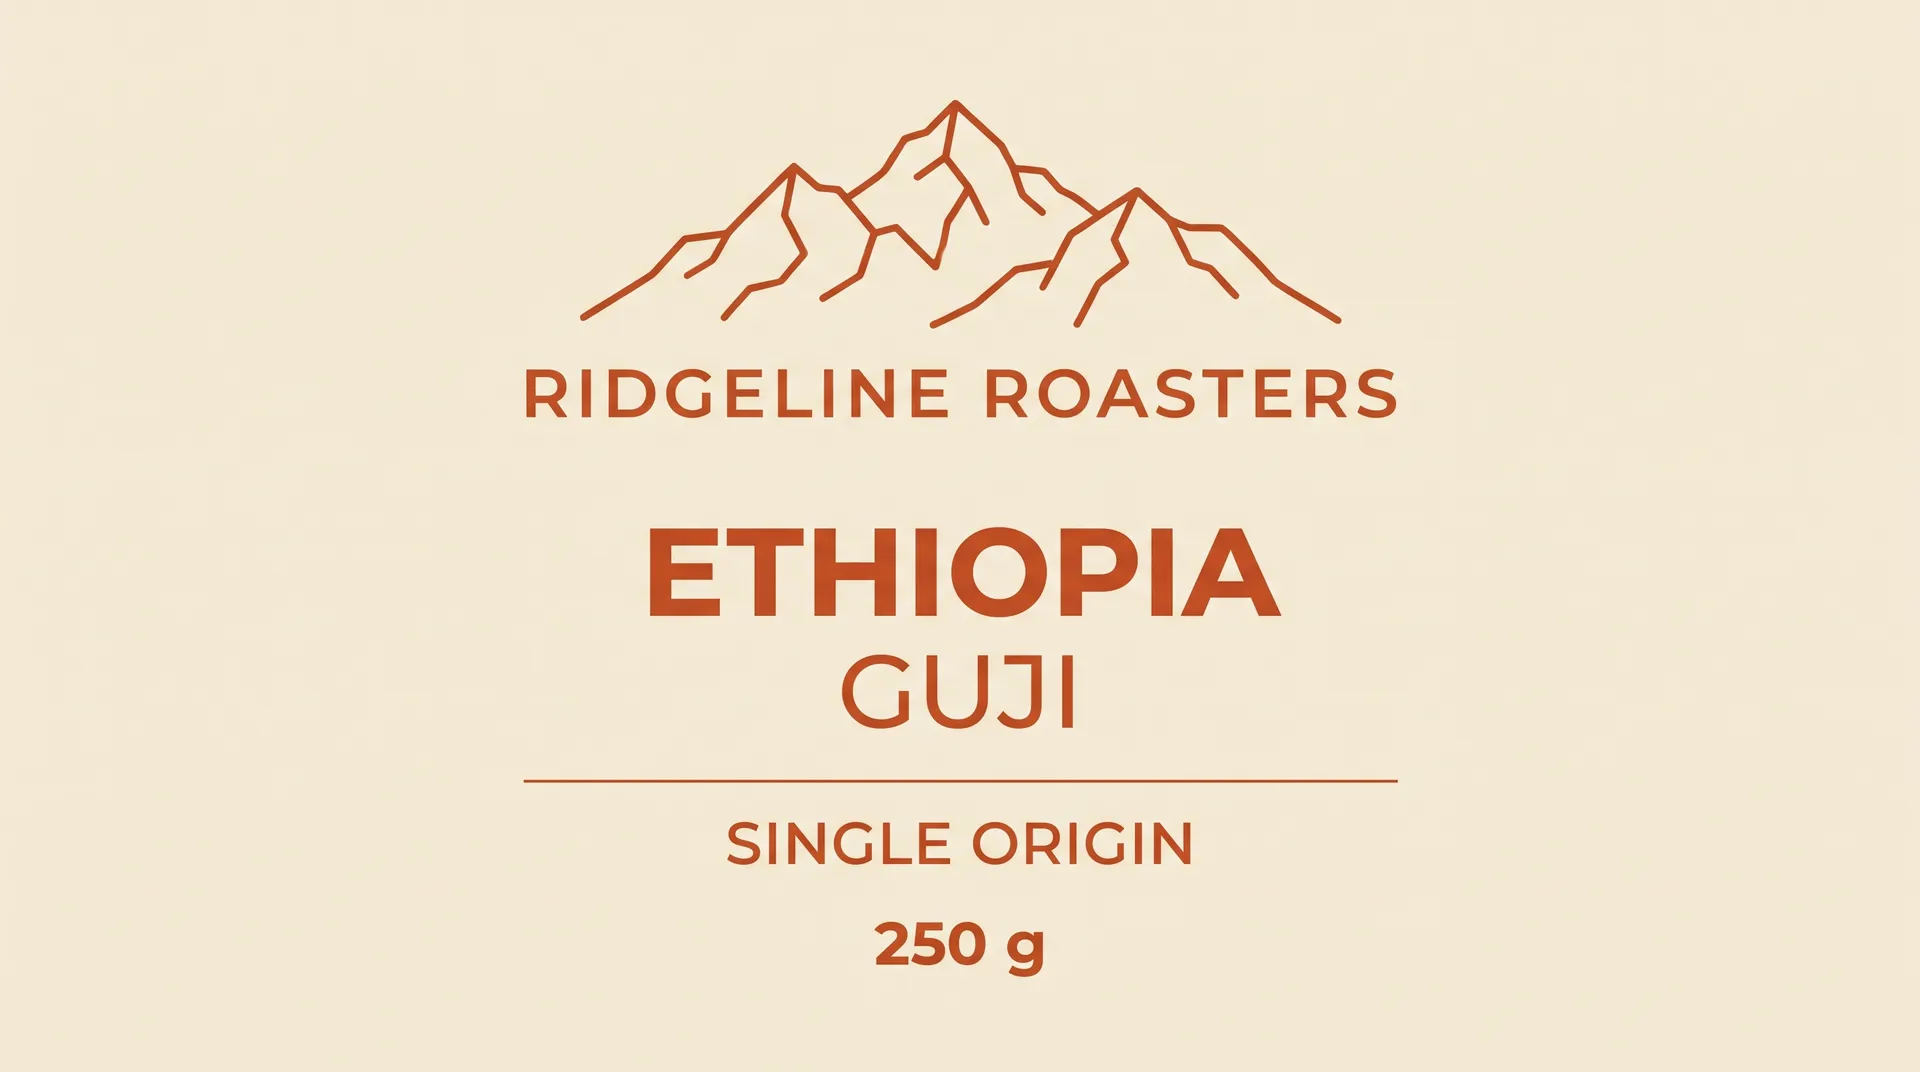
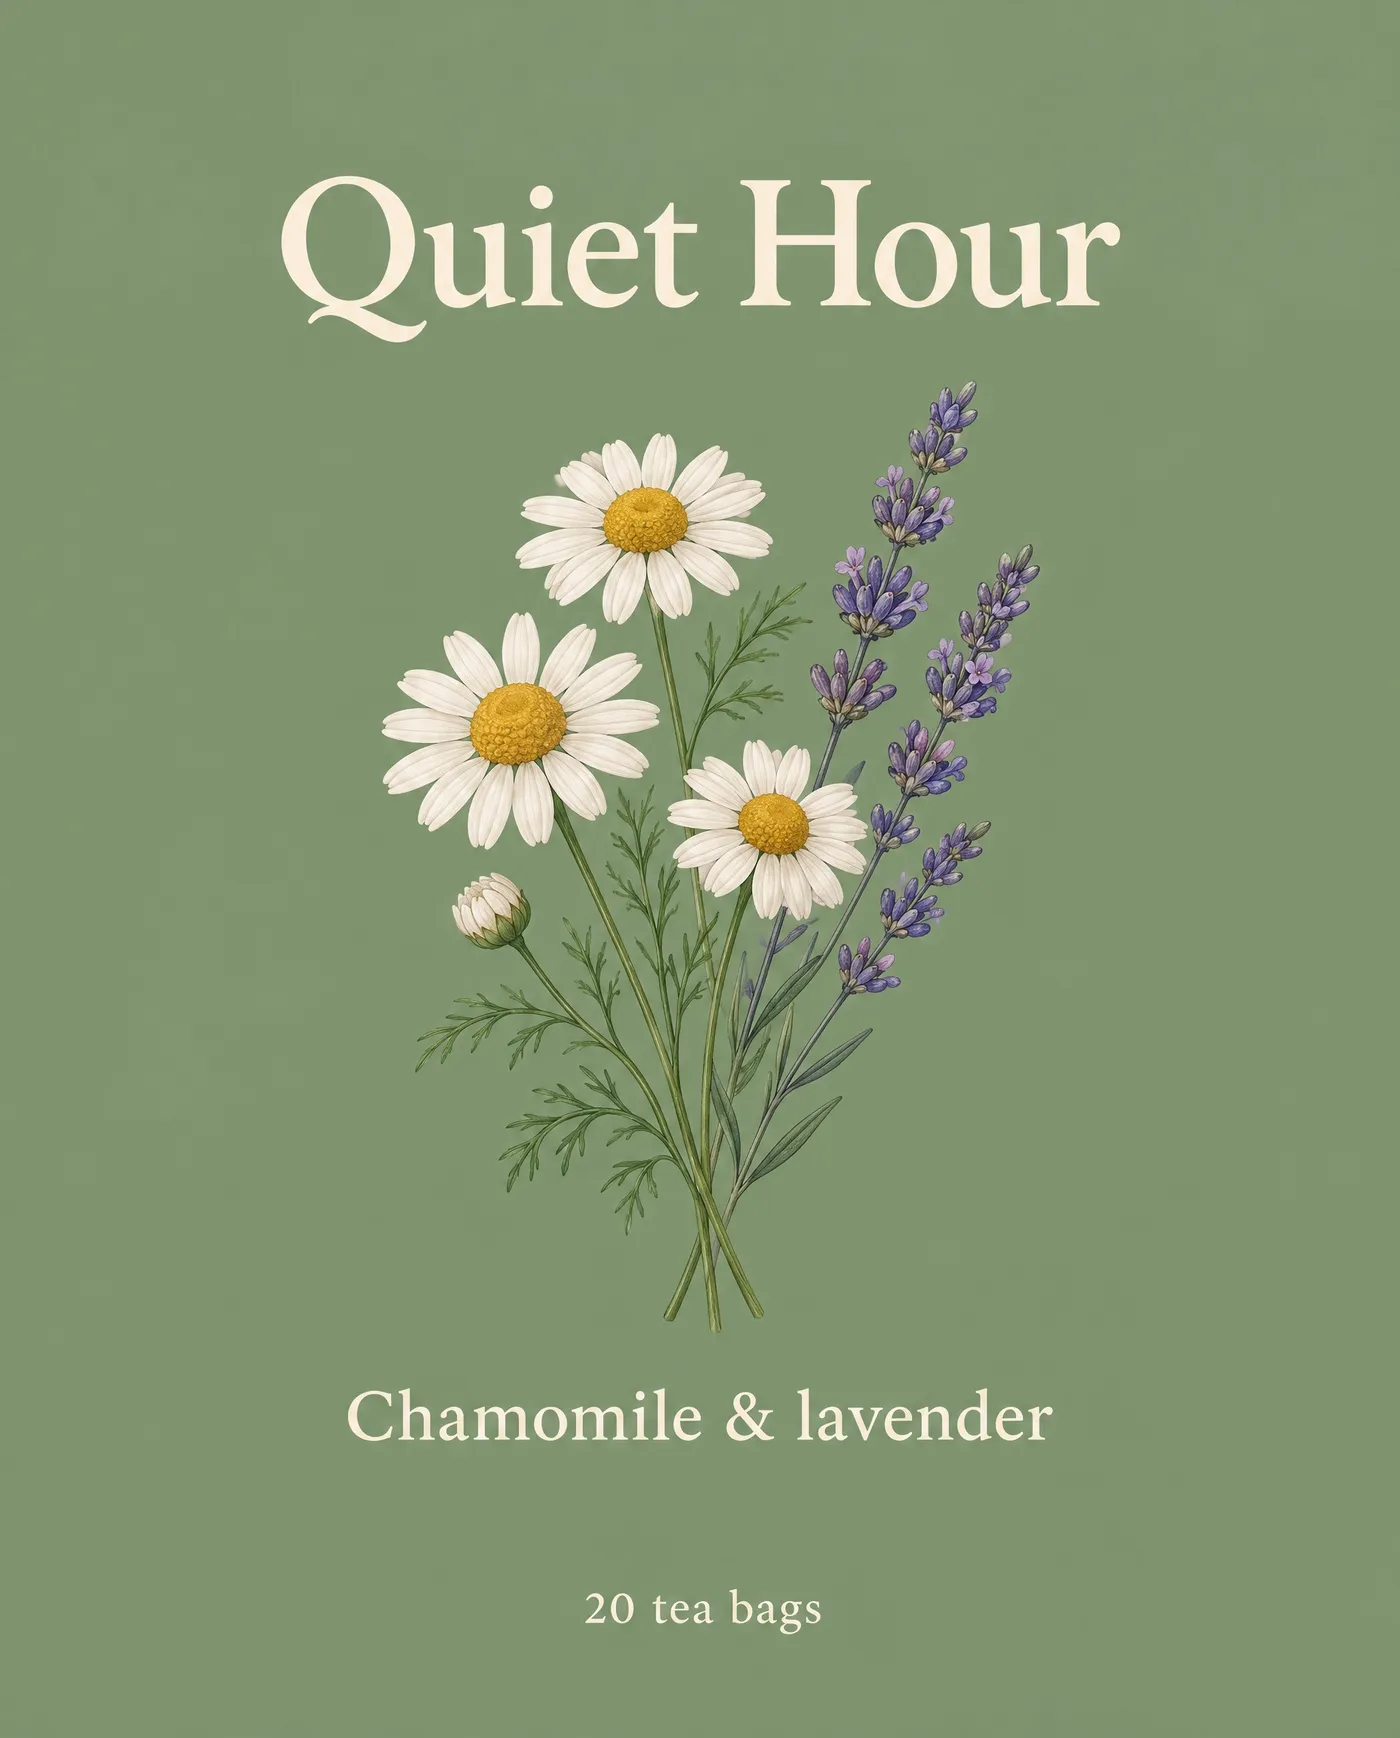
A packaging mockup shows your artwork on the real thing: a label on a bottle, a wrap on a coffee bag, a front panel on a carton. Creating one with AI means taking your print-ready design and having the model apply it to a chosen package in a realistic setting, so you can see the finished product before anything is printed. You add the artwork, pick the packaging type and a setting, and generate. On getimg.ai the Packaging mockups Action does this without a template file or a 3D scene to set up.
TL;DR
- A packaging mockup applies your print-ready artwork to a realistic package so you can see the finished product.
- In getimg.ai, open the Packaging mockups Action, add the artwork, and choose a packaging type and a setting.
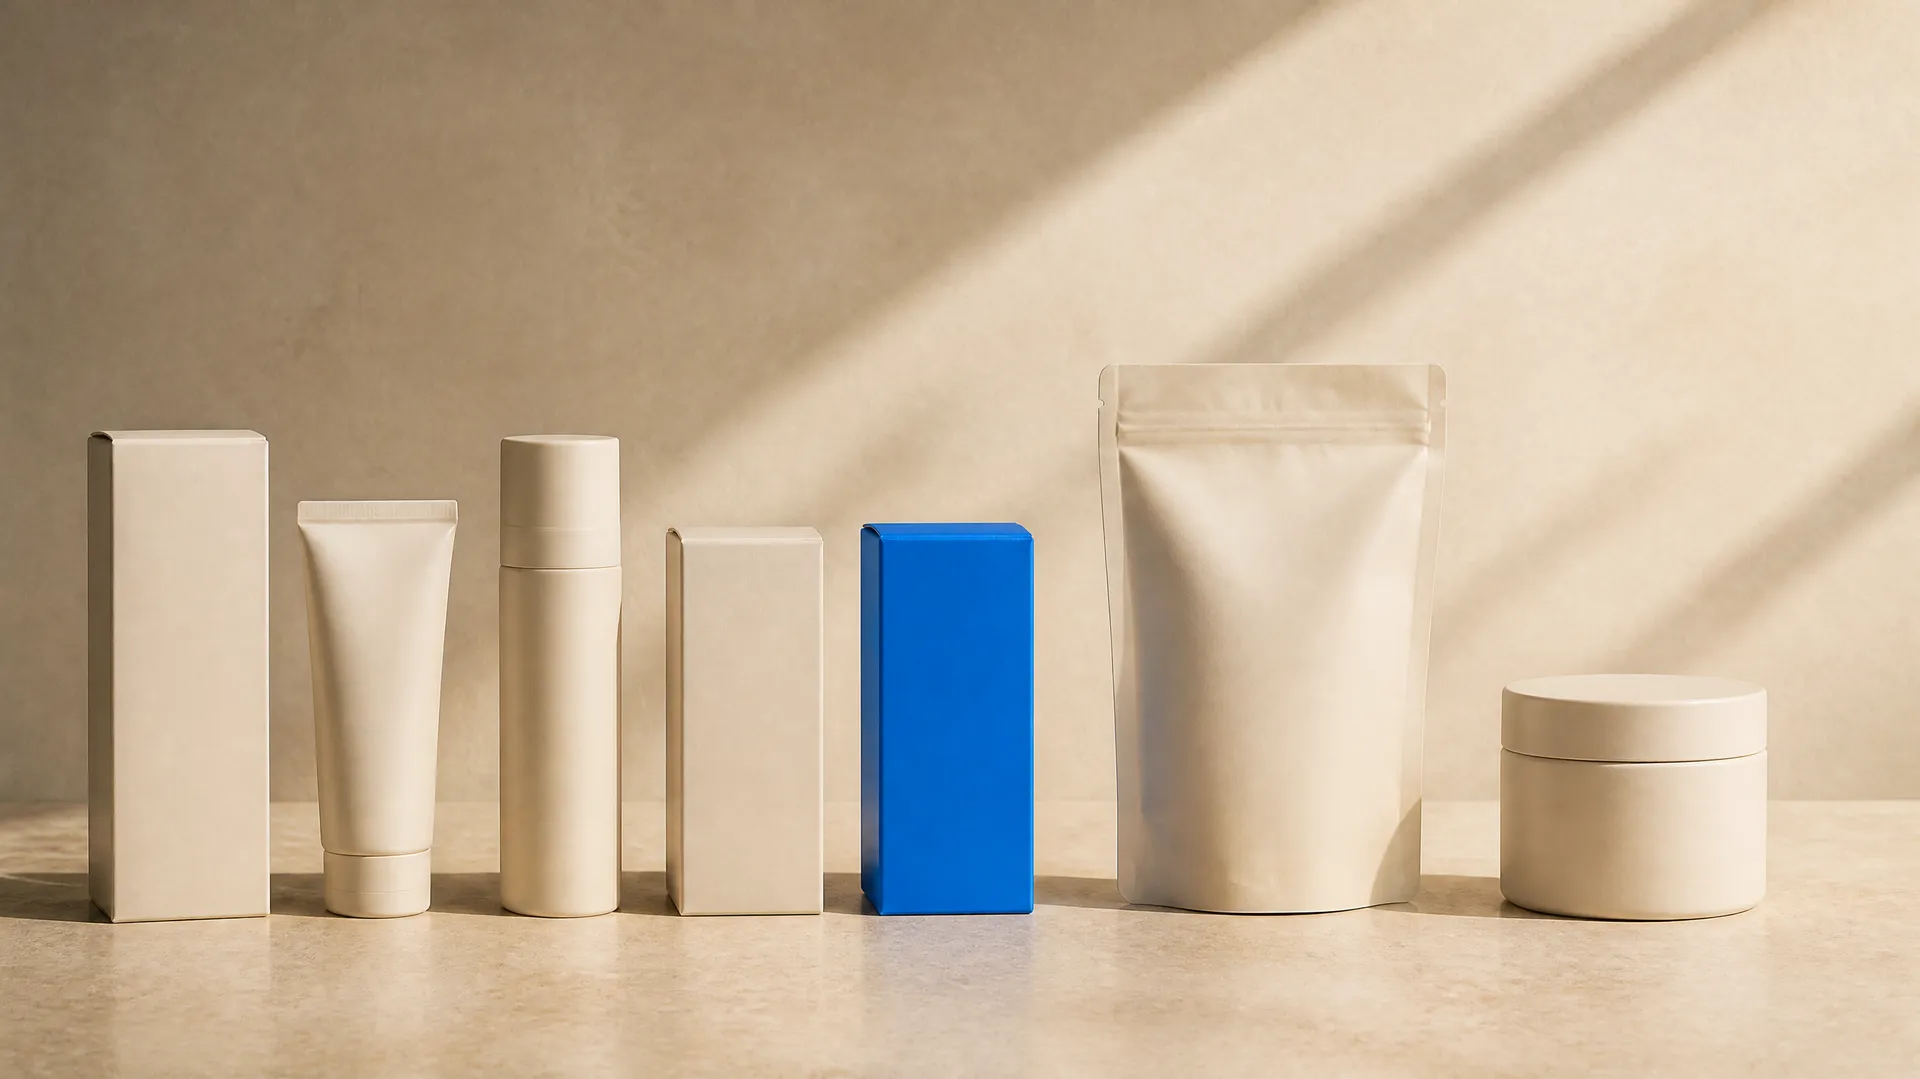
- There are 13 packaging types, from folding carton, stand-up pouch, and drinks can to shipping box, blister pack, and shrink sleeve.
- Seven settings range from studio and flat lay to on the shelf, market stall, unboxing, in use, and where it lives.
- It generates 1 to 4 variations at 1K or 2K.
What an AI Packaging Mockup Is
A mockup is how a design becomes a decision. Flat artwork on screen tells you little about how a product will actually look on a shelf, in a hand, or next to competitors. Traditionally, getting a realistic mockup meant either a photorealistic 3D render, which is skilled and slow, or buying a smart-object template and hoping it matched your exact package, then still fighting to place the artwork correctly on curved or folded surfaces.
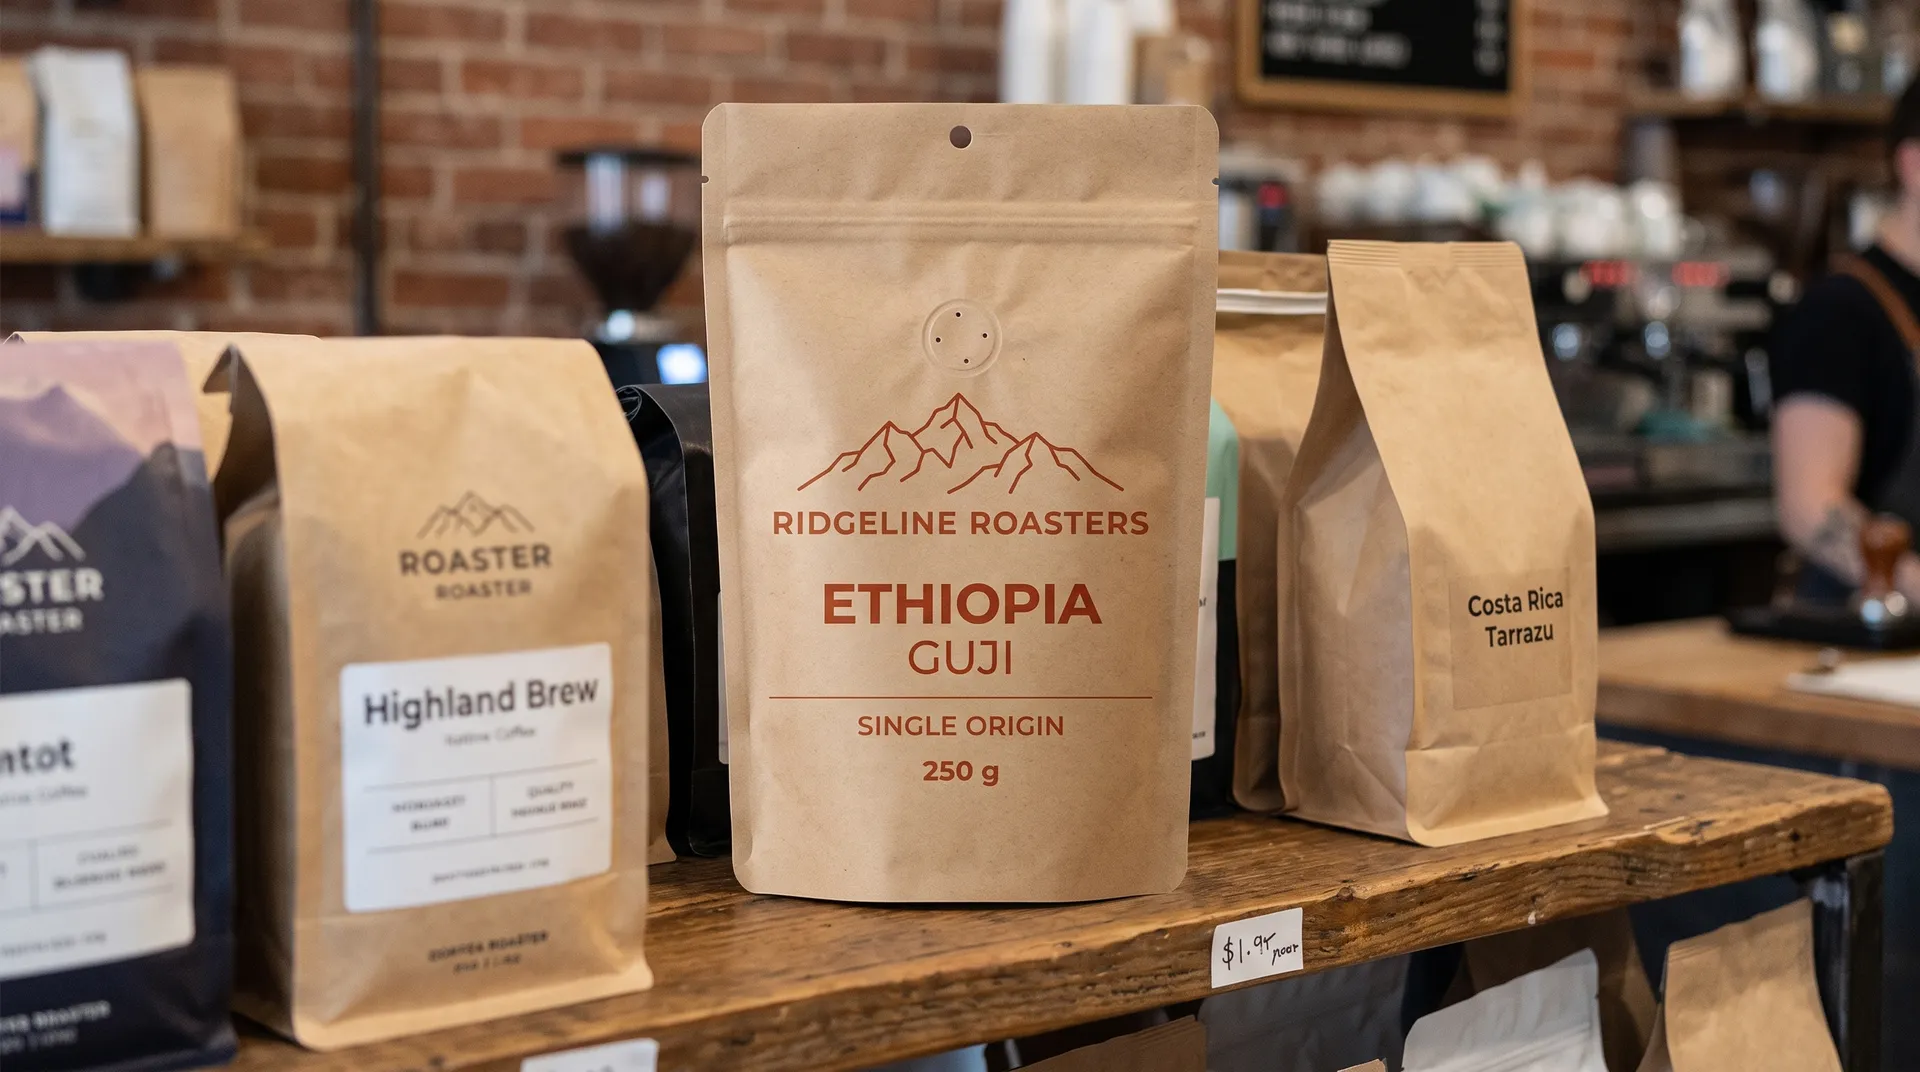
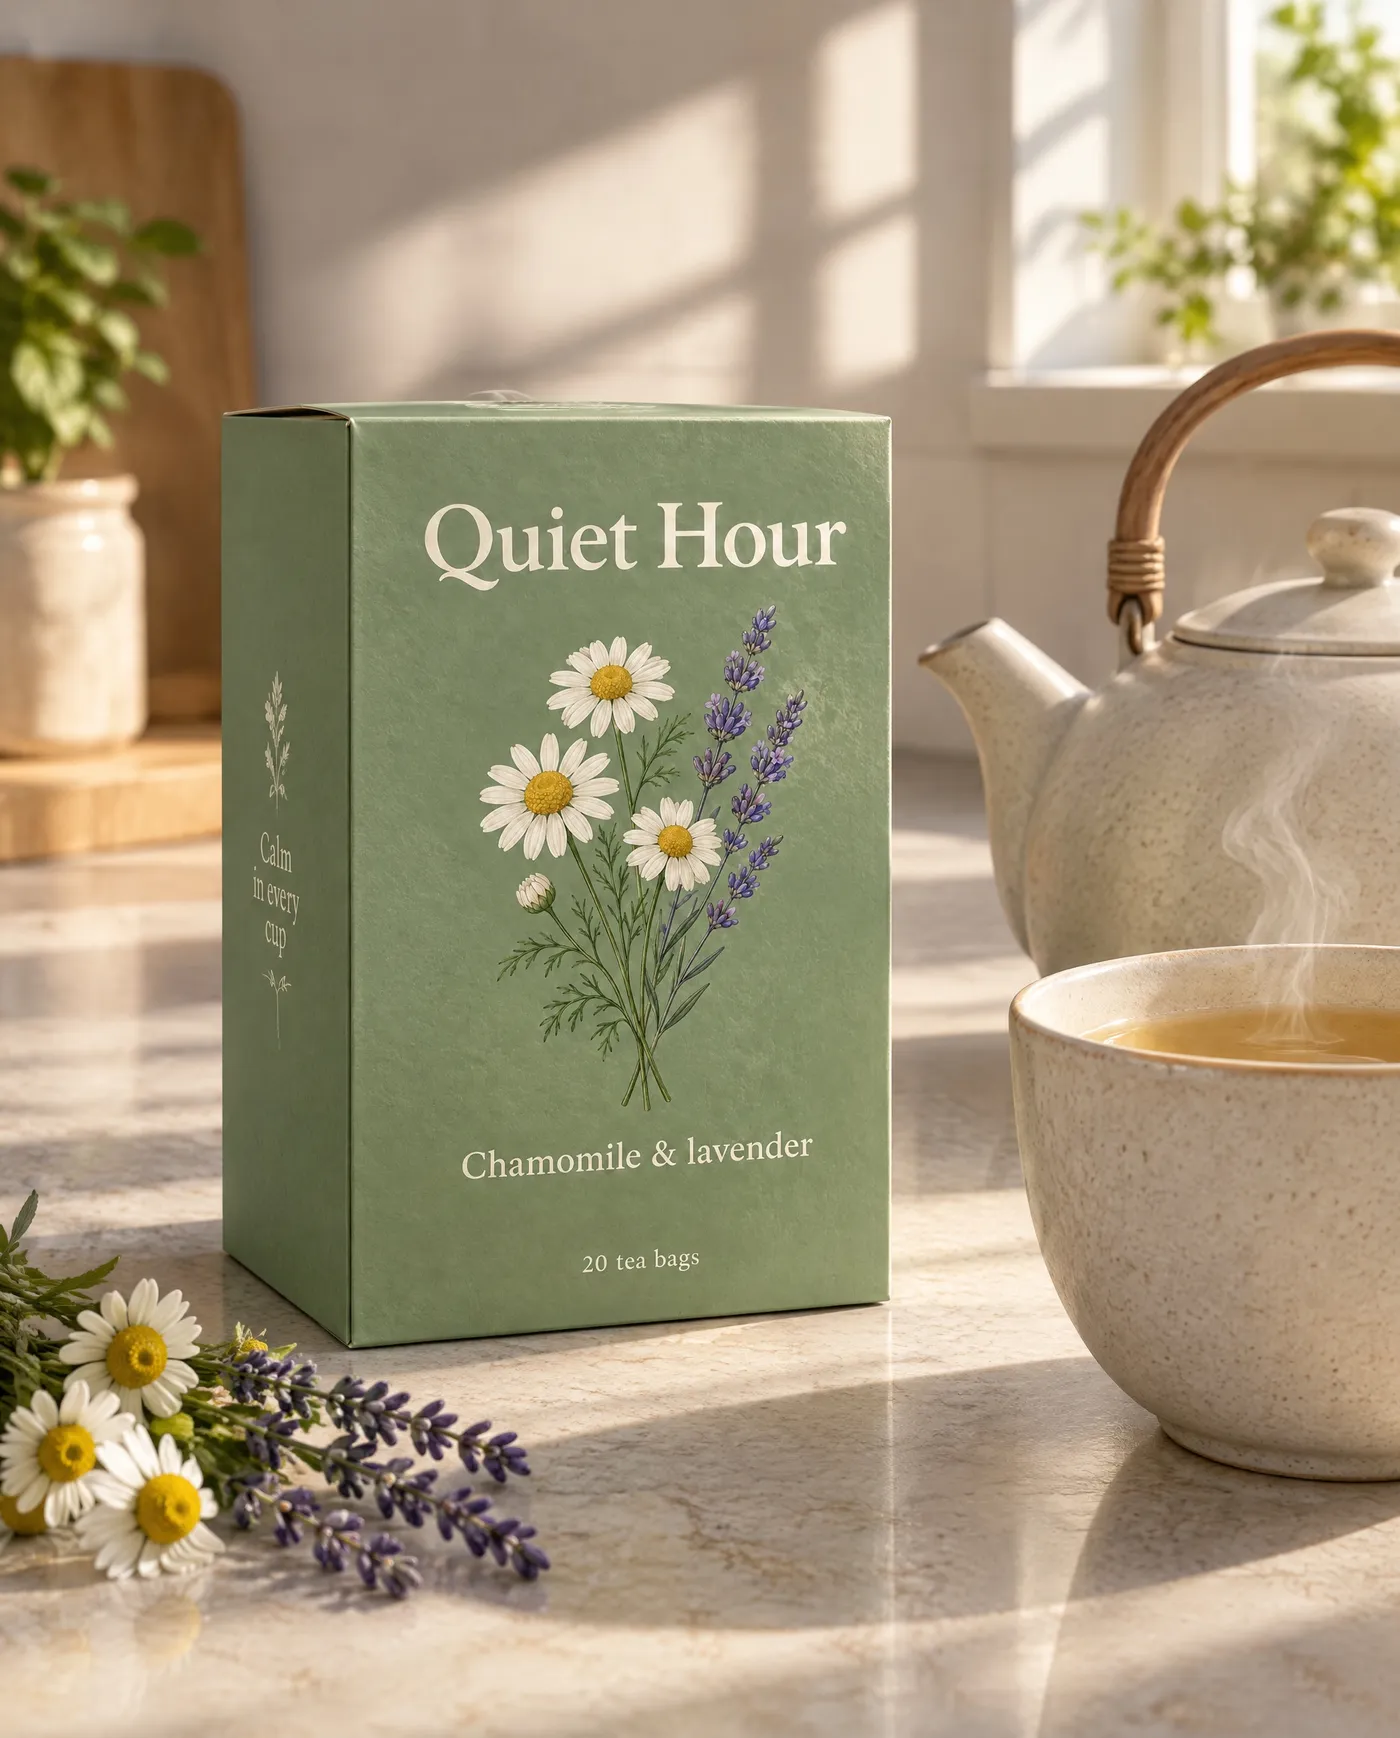
AI packaging mockups skip the template and the render setup. The model takes your print-ready artwork and applies it to the chosen package, wrapping it around a can, curving it onto a bottle, or laying it across a carton panel, with realistic lighting and materials. Because you supply the actual design, the mockup shows your product, not a generic stand-in, which makes it useful for real design and approval decisions rather than just a pretty preview.
When to Use It (and When to Prototype for Real)
Packaging mockups fit any point where you need to see a design on the package:
- Design reviews and approvals, showing stakeholders the artwork on the real format before print.
- Pitches and concepts, presenting a range of packaging directions quickly.
- Listings and marketing, producing shelf-ready product images before physical stock exists.
- Comparing formats, seeing the same artwork on a pouch, a carton, and a jar to decide which suits the product.
Prototyping for real still wins at the final stage, when you need to check physical properties a mockup cannot show: the exact feel of a finish, how a foil or spot varnish catches light, how a fold or seam sits, or how the material behaves in a hand. AI mockups are for visualising and deciding fast; a physical proof is for confirming the production reality before you commit to a print run.
How to Create a Packaging Mockup with AI, Step by Step
Here is the workflow in getimg.ai. Open the Packaging mockups Action to follow along.
1. Add your print-ready artwork
Add the artwork you want on the package: a label, a wrap, or a front panel. The cleaner and higher-resolution the design, the better it holds up when the model applies it to the package, especially any small text or fine detail.
2. Choose the packaging type
Pick the format from 13 types: folding carton, stand-up pouch, bottle with a label, drinks can, jar with a label, cosmetic tube, coffee bag, takeaway cup, wrapped bar, canvas tote, shipping box, blister pack, or shrink sleeve. Choose the one that matches your actual product so the artwork sits the way it will in production.
3. Choose the setting
Pick where the package appears from seven settings: studio for a clean product shot, flat lay for a top-down layout, on the shelf for a retail context, market stall for a local, handmade feel, unboxing for e-commerce and social, in use for a lifestyle feel, or where it lives for the product in its natural environment. The setting changes how the mockup reads, from catalogue-clean to real-world.
4. Set quality and variations, then generate
Choose an output resolution of 1K or 2K, an aspect ratio (1:1, 4:5, 3:2, or 16:9), and how many variations to generate (1, 2, 3, or 4). Run the Action and the mockups appear in the gallery to the right of the controls. Your artwork file is left untouched.
How to Get a Convincing Mockup
- Supply clean, high-resolution artwork. The mockup is only as sharp as the design you give it. High-resolution artwork keeps text and detail crisp when it is wrapped onto the package.
- Match the format to the real product. Choosing the packaging type that matches your actual product gives a mockup you can trust for decisions, rather than a rough approximation on the wrong shape.
- Use the setting to tell the story. A studio shot is best for approvals; "on the shelf" is best for showing retail presence; "in use" suits marketing. Pick the setting for the audience.
- Generate variations. Asking for two or four gives you a choice of angles and presentations of the same design, which is useful for reviews and listings.
- Check the readability of text. Small print and logos are where any mockup is most likely to slip. Look closely and regenerate if the type is not clean.
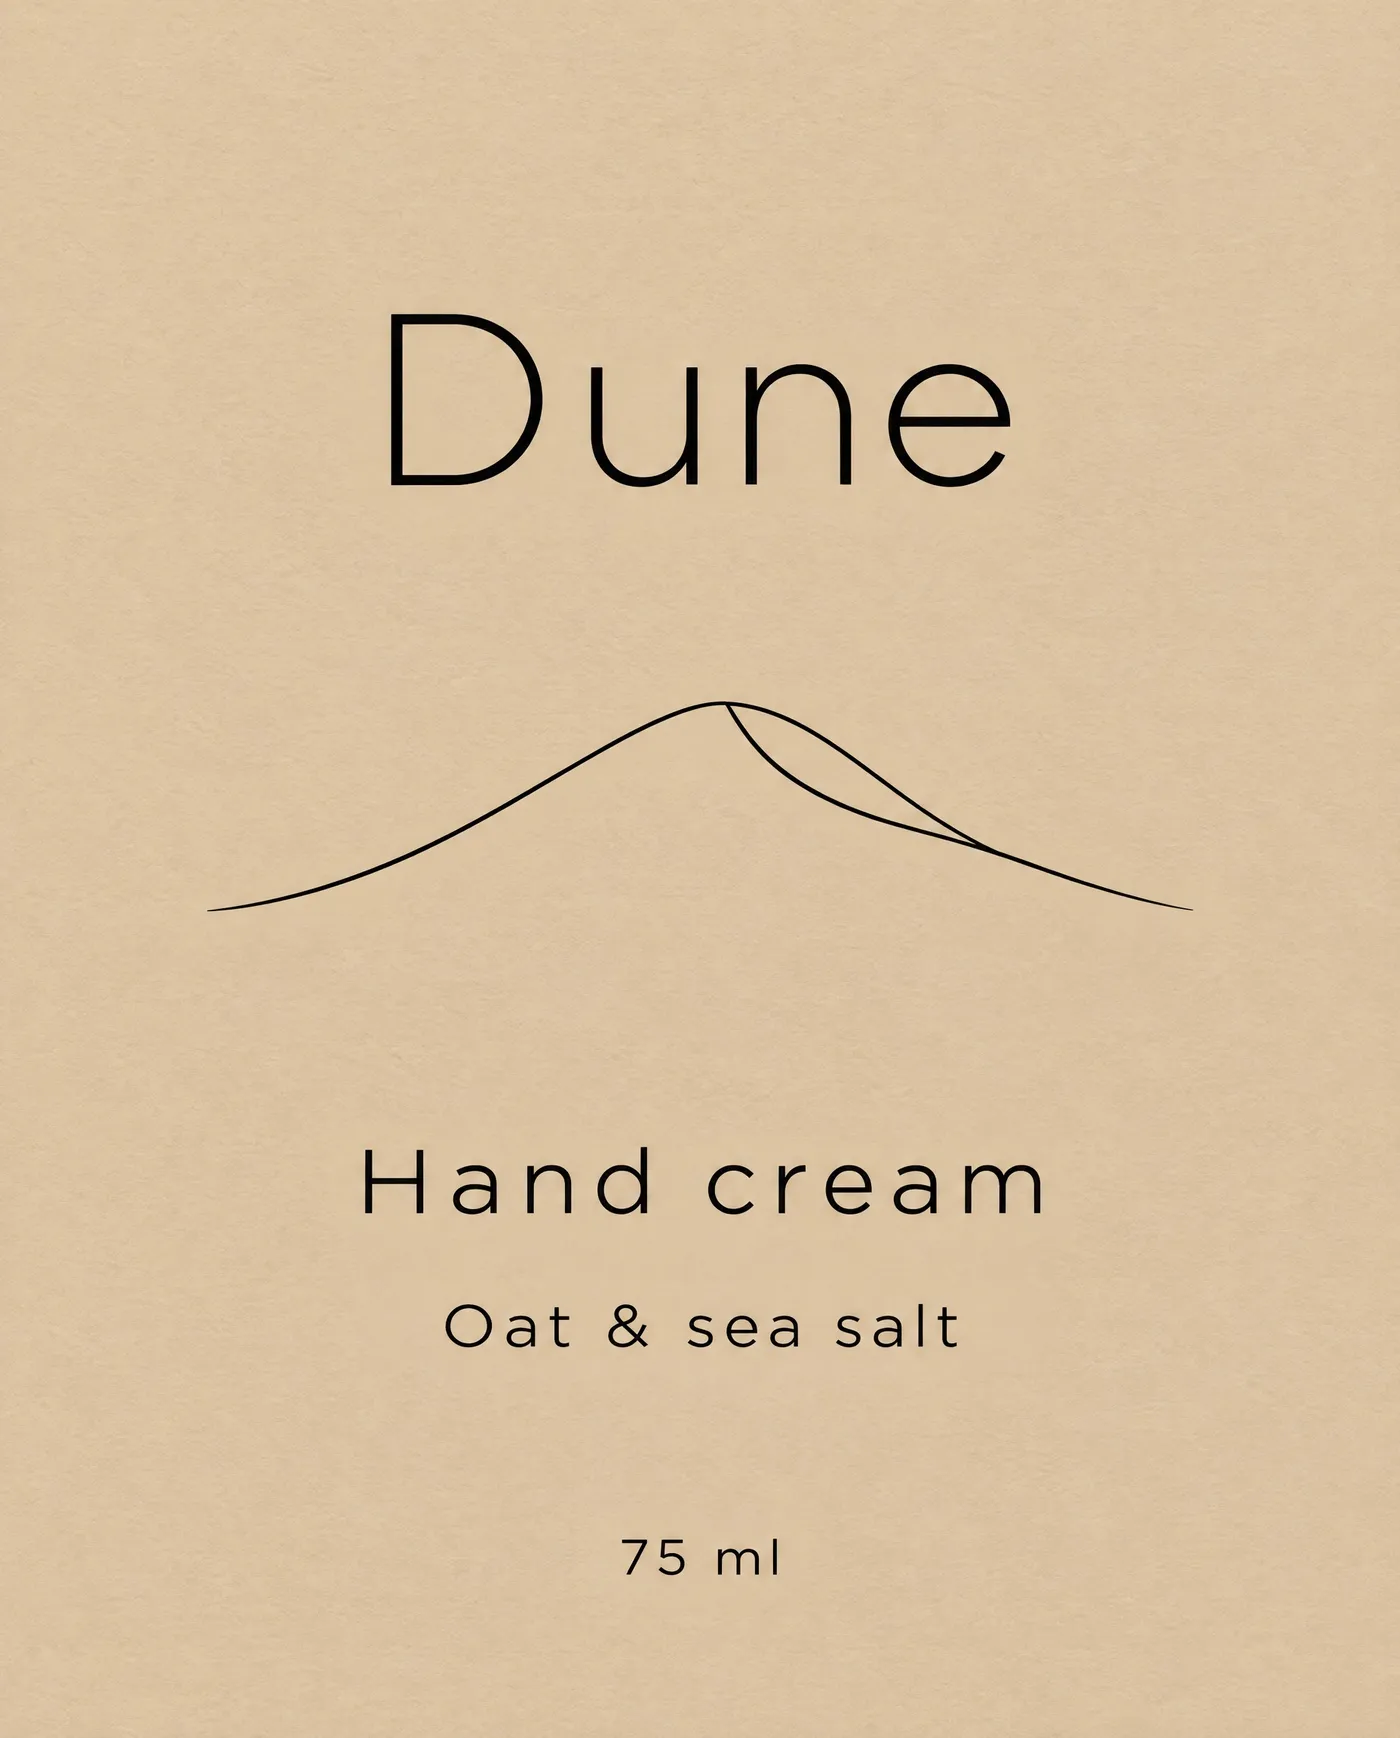
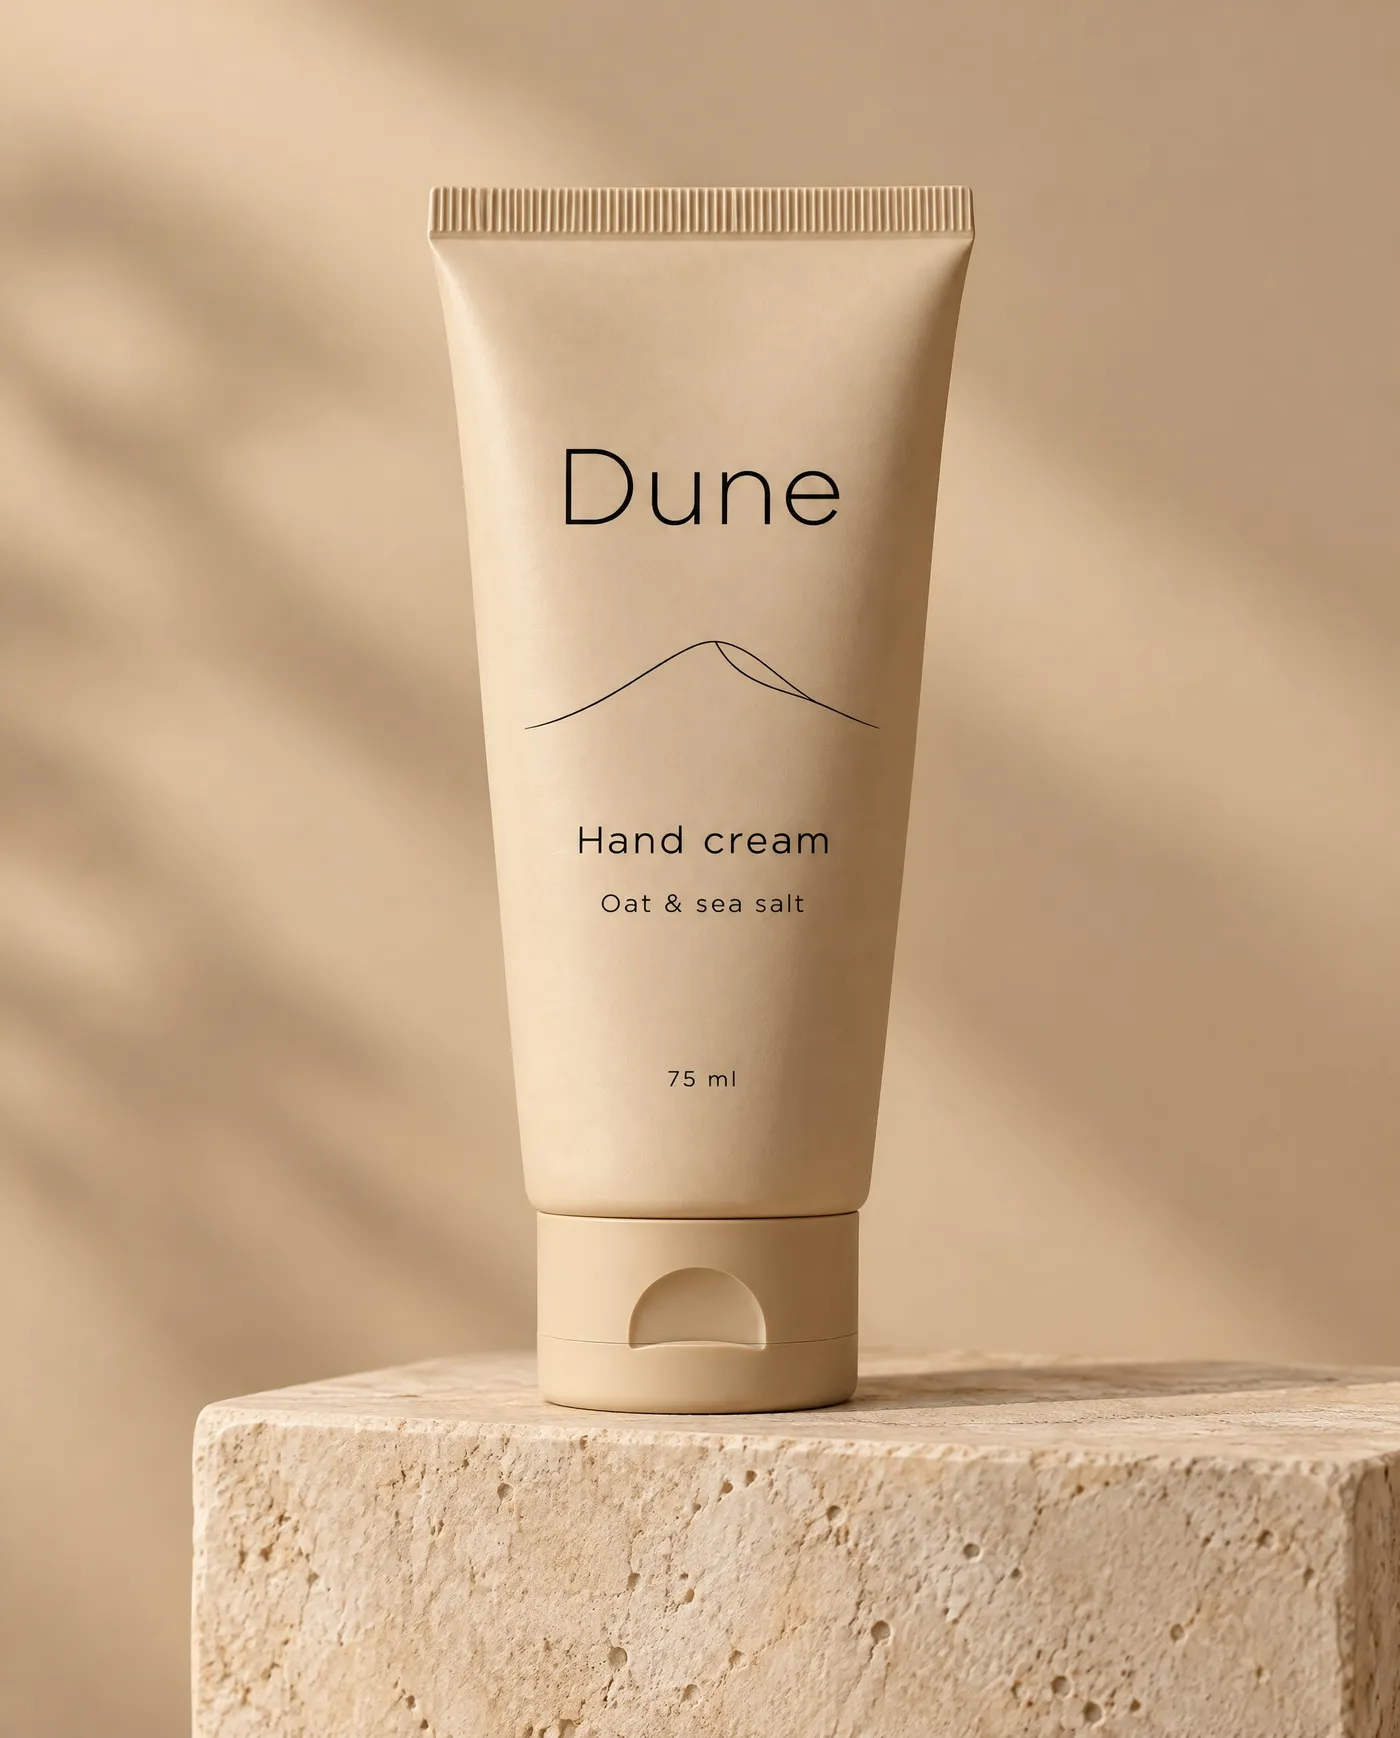
Mockups Alongside Product and Ad Visuals
Packaging mockups are one piece of a product's visual story. Once the package is decided, the Product shots Action places the finished product in styled scenes for listings, and the Ad mockups Action shows a finished ad in a real-world placement. Together they take a design from flat artwork to shelf-ready product to campaign, all before anything is printed or shot.
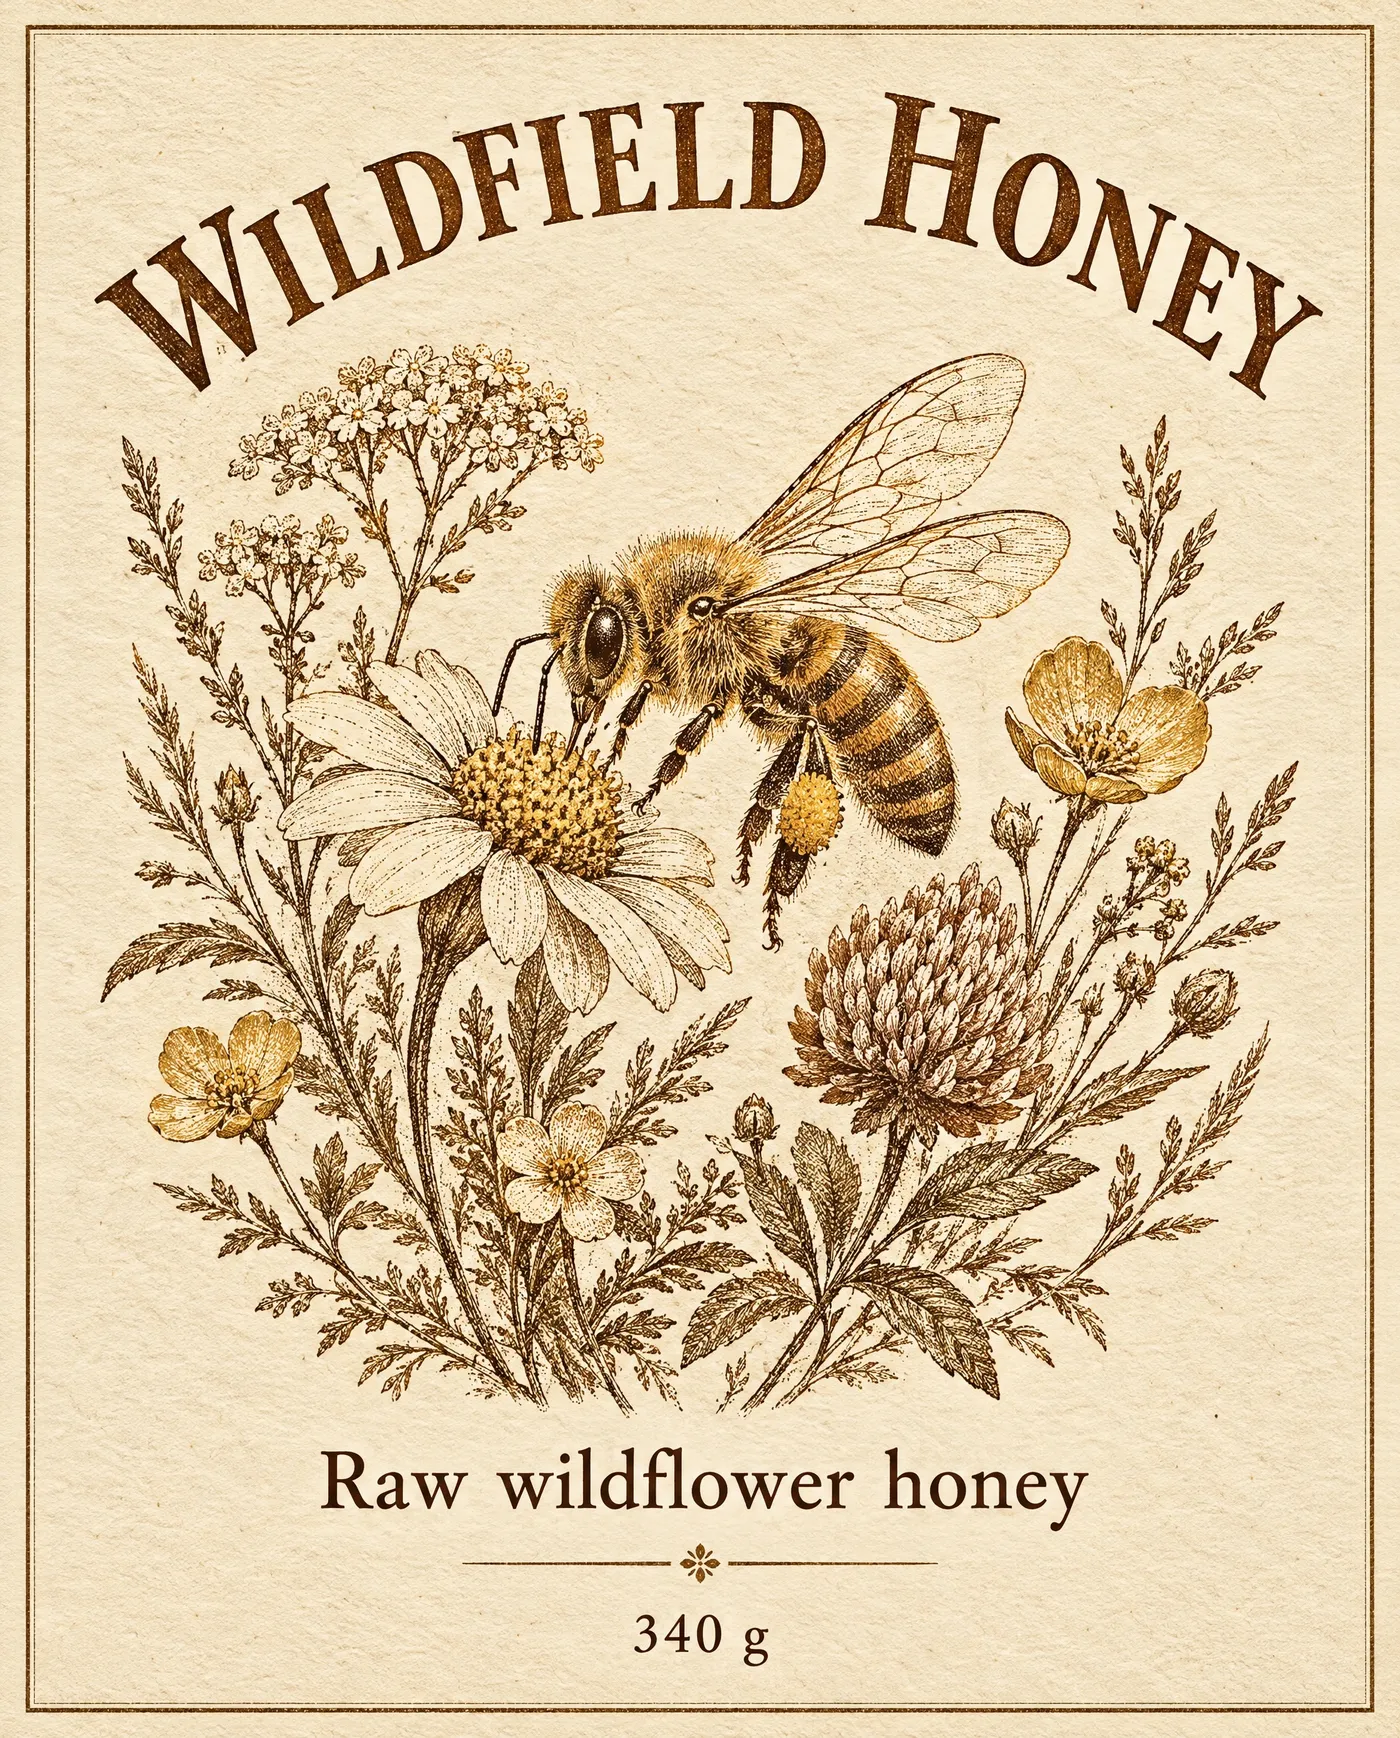
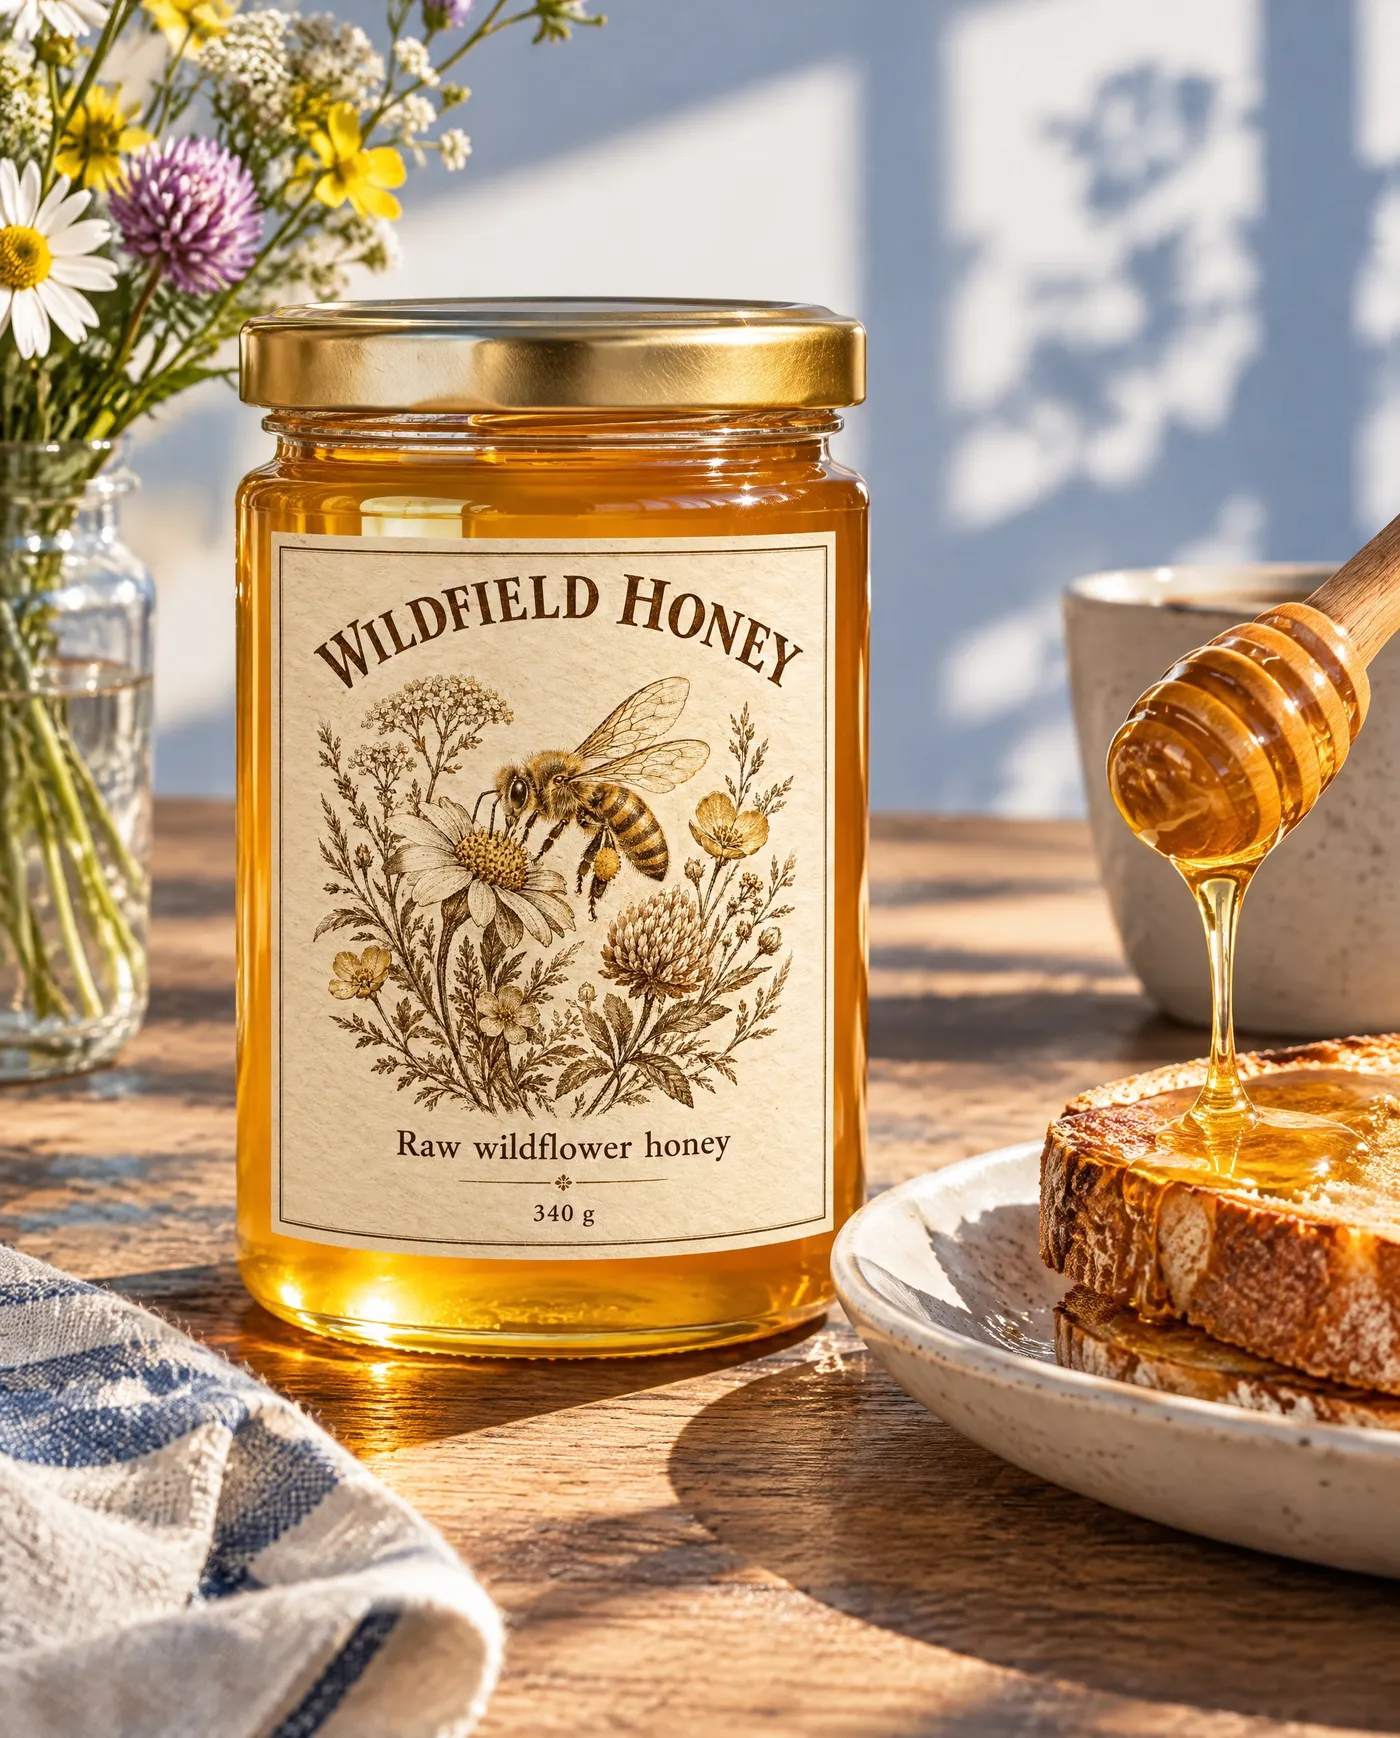
The Bottom Line
AI packaging mockups turn print-ready artwork into a realistic product image: add the design, choose the package and the setting, and generate. Because it uses your actual artwork, the mockup is good enough for real design and approval decisions, with the caveat that a physical proof is still the right final check before a print run.
Open the Packaging mockups Action in getimg.ai, add a label or panel design, and see it on a bottle, a pouch, and a carton. Commercial rights are included, subject to our terms and applicable third-party rights.
Frequently Asked Questions
The Packaging mockups Action supports 13 types: folding carton, stand-up pouch, bottle with a label, drinks can, jar with a label, cosmetic tube, coffee bag, takeaway cup, wrapped bar, canvas tote, shipping box, blister pack, and shrink sleeve. Choose the one that matches your real product so the artwork sits the way it will in production.
Add your print-ready design: a label, a wrap, or a front panel, at the highest resolution you have. The model applies it to the chosen package, so clean, high-resolution artwork keeps text and fine detail crisp when it is wrapped onto a curved or folded surface.
Yes. The seven setting options are studio, flat lay, on the shelf, market stall, unboxing, in use, and where it lives. "On the shelf" shows retail presence, "in use" gives a lifestyle feel, and studio is best for clean approval shots. The setting changes how the mockup reads for its audience.
You can generate 1, 2, 3, or 4 variations per run, at 1K or 2K, with aspect ratios of 1:1, 4:5, 3:2, and 16:9. Generating a few at once gives you a choice of presentations of the same design.
It is good enough to visualise and decide, and to present to stakeholders, because it uses your actual artwork on the correct format. For the final go-ahead before a print run, a physical proof is still the right check, since it confirms things a mockup cannot show, such as the exact finish, foil, and how the material behaves.
Commercial rights are included, subject to our terms and applicable third-party rights. Make sure you hold the rights to the artwork you upload.
Related Articles