How to Replace Product Photo Backgrounds With AI (2026 Guide)

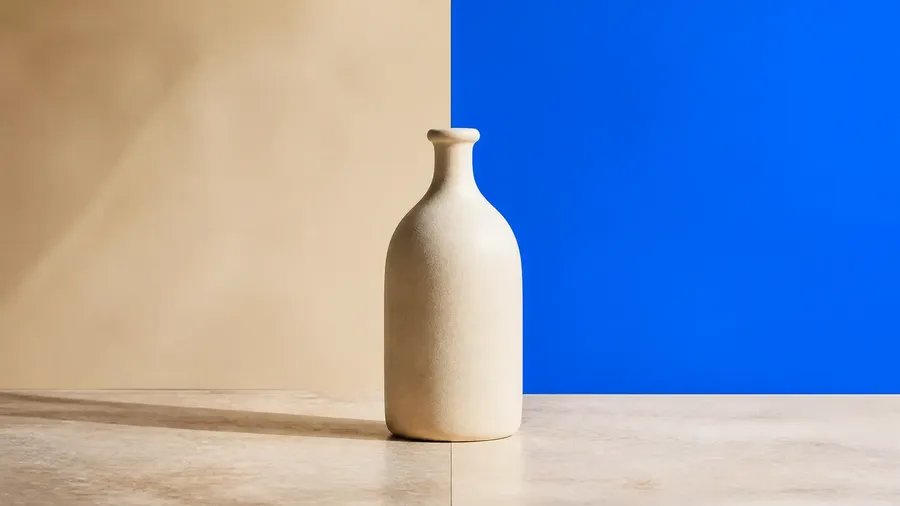
To replace a product photo background with AI, attach the product photo and prompt the new background you want: the product stays and a fresh environment is generated around it. You do not need to cut the product out first, and even a plain white background is just a prompt. Remove the background only when you need a transparent PNG to composite into a layout. getimg.ai does both, with prompt-based background changes, one-click removal when you need transparency, and reusable references that keep the product accurate across every background.
Why the Background Decides Whether a Product Image Works
The background does two different jobs, and white or transparent is only right for one of them. For a marketplace main image the rules are strict: Google Merchant Center image guidelines call for a solid white or transparent background, ban promotional text, watermarks, and borders, and specify that the product fill between 75% and 90% of the frame, and marketplaces like Amazon enforce similar pure-white rules. Break those specs and the listing gets disapproved.
But most of the images a brand runs are not marketplace mains. Secondary listing photos, ads, social posts, and email headers usually sell better with a lifestyle background that shows the product in a real setting. So background replacement serves two goals: clean white or transparent for compliance, and rich, in-context scenes for persuasion. Choose the background that fits the placement rather than defaulting to white.
Guide to Changing Product Backgrounds with AI
Step 1: Set Up Your Product
Decide how you will bring your product into the generator, because that determines how you prompt. There are two main ways, plus a separate option for when you need transparency.
Setup | How You Use It | Best For |
Reference Image | Attach the photo, then prompt: "change the background to..." | Keeping the original shot while changing only the background |
Product Element | No attachment required; reference | Generating the same product in new angles, compositions, or aspect ratios |
Remove Background | One click, no prompt needed | Creating a transparent PNG for compositing into other designs or layouts |
(a) Reference your photo, or step up to an Element
For a plain background change where you keep the same product shot, attach the photo as a reference and prompt the new background: the product carries through exactly as shot, so there is no reason to cut it out first.
When you instead want fresh images of the product at new angles, compositions, or formats, build a reusable Product Element from several real photos and call it in the prompt with @ElementName, no attachment needed, so the product is re-rendered consistently rather than reused. Either way, keeping products accurate in AI-generated scenescomes down to referencing the real item rather than describing it using only text.
(b) Remove the background when you need transparency
When you need a transparent PNG, for example to composite the product into a designed layout, use [one-click background removal: drop the photo into the Remove background Action and it isolates the subject on transparency, with no masking and batch support.
You do not need this for a white or colored background, since that is just a background change you prompt directly with option (a). Reach for removal only when you truly need transparency.
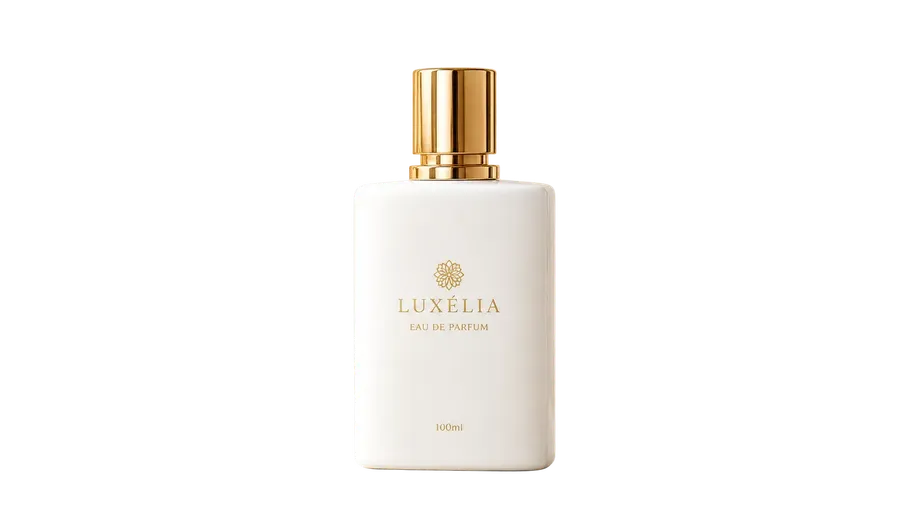
Before
After
Step 2: Swap the Background and Describe the Scene
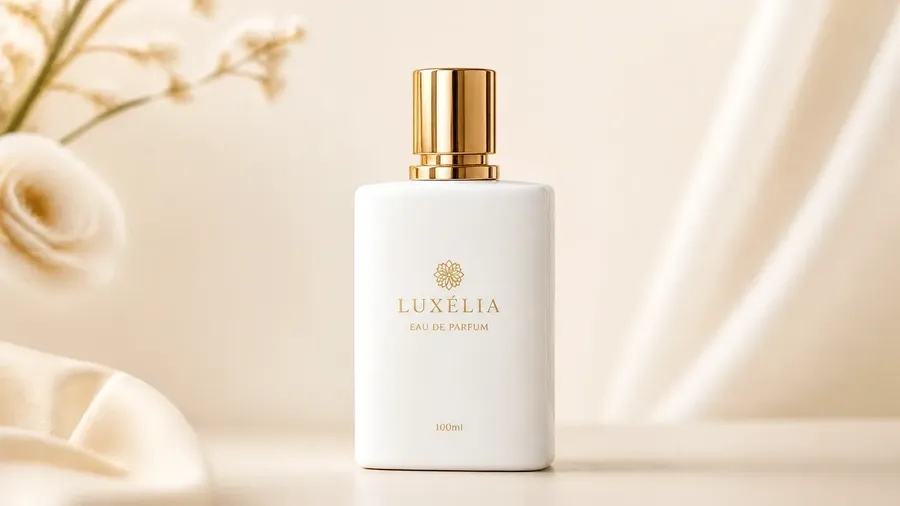
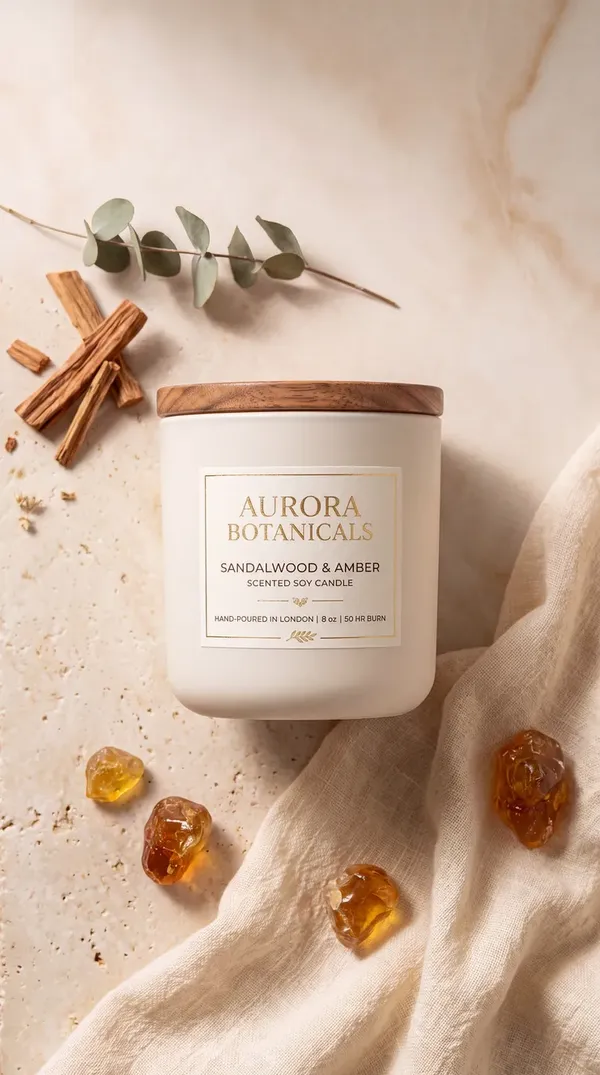
How you prompt depends on which setup you chose. With a reference image attached in the AI image generation Action, tell the model what to change: "change the background to a sunlit marble kitchen counter," or "change the background to plain white" for a clean, marketplace-style shot.
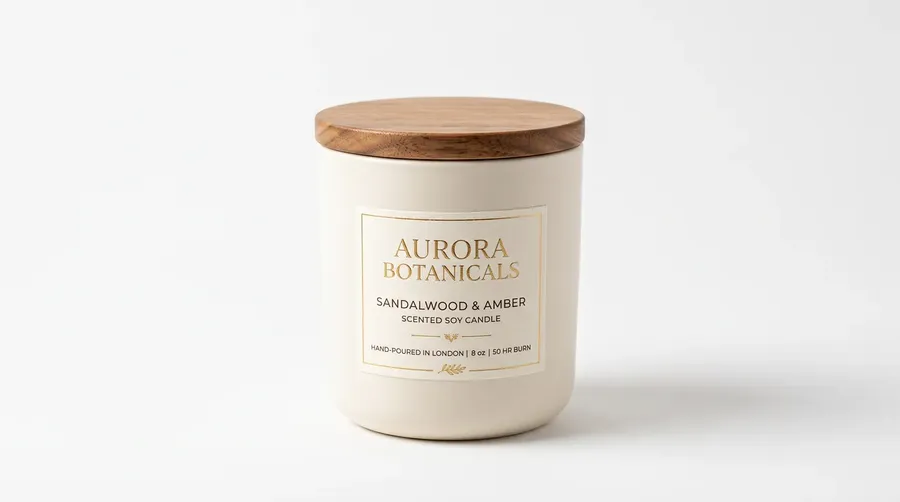
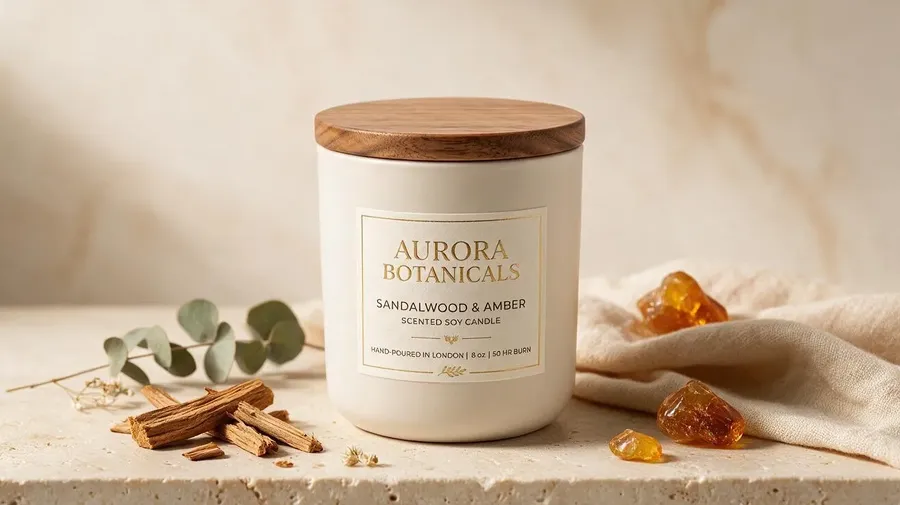
Before
After
With a Product Element you attach nothing and instead write the scene around the name: "@ProductName on a sunlit marble counter, three-quarter angle." Be concrete either way: name the surface, the setting, the props, and the mood, since "a sunlit marble counter with a soft morning glow" gives the model far more to work with than "a kitchen."
A capable model then integrates the product into that scene on its own, matching perspective, light, and shadow so it looks photographed rather than pasted, so you are not hand-fixing any of that. Generate several options in one run and shortlist the strongest.
Step 3: Export Every Size
One replaced background usually feeds several placements. A marketplace needs a square, a paid ad needs a vertical, and a web banner needs a wide crop. Rather than regenerating the scene at each shape, adapt the approved image with an AI resizer: getimg.ai's Smart Resize regenerates the composition at a new aspect ratio, while Outpainting keeps the original pixels and extends the canvas outward to fill a wider or taller frame.
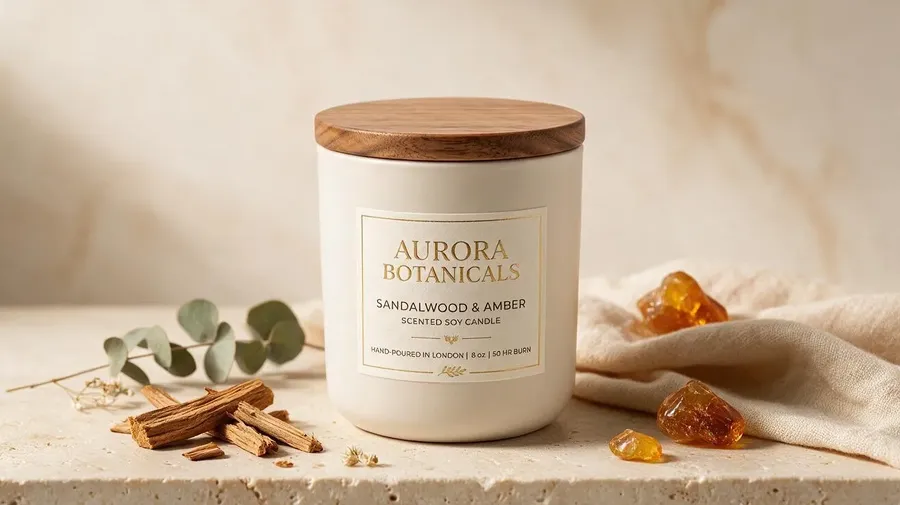
-900x900.webp)
16:9
1:1
9:16
Working from one approved master keeps every version visually identical, which matters when the same product appears across a marketplace, a store, and an ad set. Build the scene once, then produce the format set, and the whole line stays consistent across channels. Done this way, background replacement scales cleanly across an entire e-commerce catalog.
AI Background Replacement vs a Reshoot
Factor | Reshoot on a New Set | AI Background Replacement |
Time to a New Background | Hours to days | Minutes |
Cost per Additional Scene | High (studio, stylist, travel) | Marginal |
Marketplace Transparent-Background Version | Requires a separate setup | One-click background removal |
Lifestyle & Seasonal Scenes | Requires a new location or set for every shoot | Created from a text prompt |
Product Consistency Across Scenes | Manual matching | Locked with a reusable Element |
The takeaway is that a photograph of the product is now an input, not a finished asset. One clean shot of the real item can become a dozen lifestyle scenes, and, when you need one, a compliant white-background listing, plus every placement ratio your channels need, all without another shoot.
Start Replacing Backgrounds with getimg.ai
Attach your product photo, prompt the new background, and export every size from one approved master. Keep the same shot and change only the backdrop when that is all you need, and step up to a reusable Element when you want fresh angles and formats. Remove the background only when you need a transparent PNG to composite into a layout; a white background is just a prompt.
getimg.ai handles all of it in one place, with commercial rights on every paid plan so your product images are cleared to publish and sell.
Replace your product backgrounds on getimg.ai.
Frequently Asked Questions
For most images, attach the product photo as a reference and prompt the new background, so the environment is generated around the unchanged product. This works directly on the original photo, so you do not need to cut the product out first, and a white background is simply "change the background to white." Only remove the background when you need a transparent PNG to composite into a layout. In getimg.ai these options live in the same place, and originals are never overwritten.
You do not need to cut the product out. Attach the photo as a reference and prompt "change the background to plain white," and the model places the product on a clean white field while keeping it exactly as shot. That covers a plain white main image with the product filling most of the frame and no text, watermarks, or borders.
Give the model a clear reference and a concrete scene, and it does most of the work. Capable models automatically integrate the referenced product into the new background, matching perspective, light, and shadow, so a swapped background usually looks photographed without any manual compositing. If you want a particular look, describe the mood and lighting you are after as part of the scene, such as warm morning light, soft overcast, or a moody low key, and generate a few options to compare.
The realism comes from a good reference plus a specific description, not from hand-fixing shadows, and the e-commerce prompt examples are a useful starting point for writing one.
Related Articles