How to Make AI Product Photos Look Real

To make AI product photos look real, start in getimg.ai by uploading your product photo as an accurate reference, then generate a clean studio shot and build a single, consistent lighting setup around it. Add a soft contact shadow so the object has weight, use materials a viewer can instantly recognize, and edit the strongest result instead of regenerating from scratch. Realism does not come from more detail. It comes from physical consistency: light, shadow, reflections, and materials that all belong to the same scene.
You do all of this in one place, without exporting to a separate editor between generating the shot and fixing it. The sections below break down each step, from uploading the reference to editing the final shot.
Why AI Product Photos Often Look Fake
AI product photos look fake for a specific reason: the image is too clean, too even, and too controlled to read as a real photograph. The problem is rarely resolution or sharpness. It is physical logic. A real object interacts with its environment. Light hits it from one direction, it casts a shadow that agrees with that light, its surface shows small imperfections, and its reflections match what surrounds it.
AI often breaks these rules without you noticing. The product is lit from the left while the shadow also falls to the left. The surface is flawless in a way no manufactured object ever is. The object appears to float with nothing anchoring it to the ground. These are the same contradictions image forensics experts use to spot a doctored photo: shadows that disagree with the light, reflections that do not match the scene, surfaces too clean to be real.
Each mistake is small, but the viewer runs the same check without naming it, and the picture reads as fake. Creating convincing photorealistic images is less about adding detail and more about removing those contradictions.
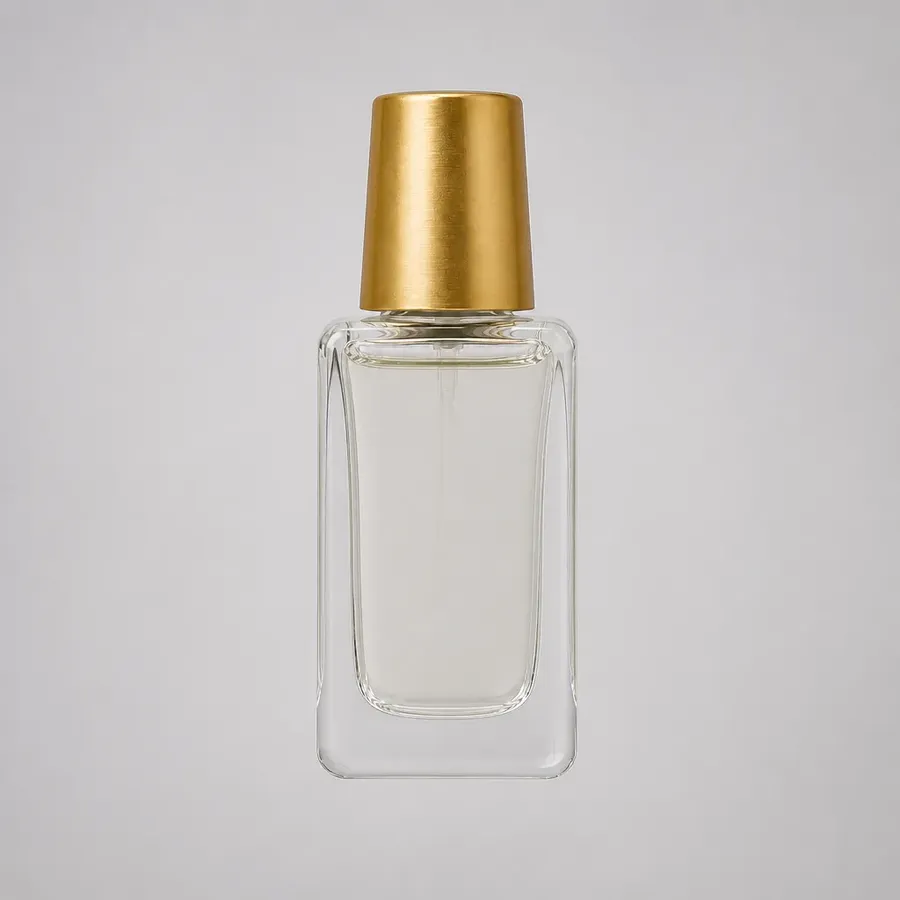
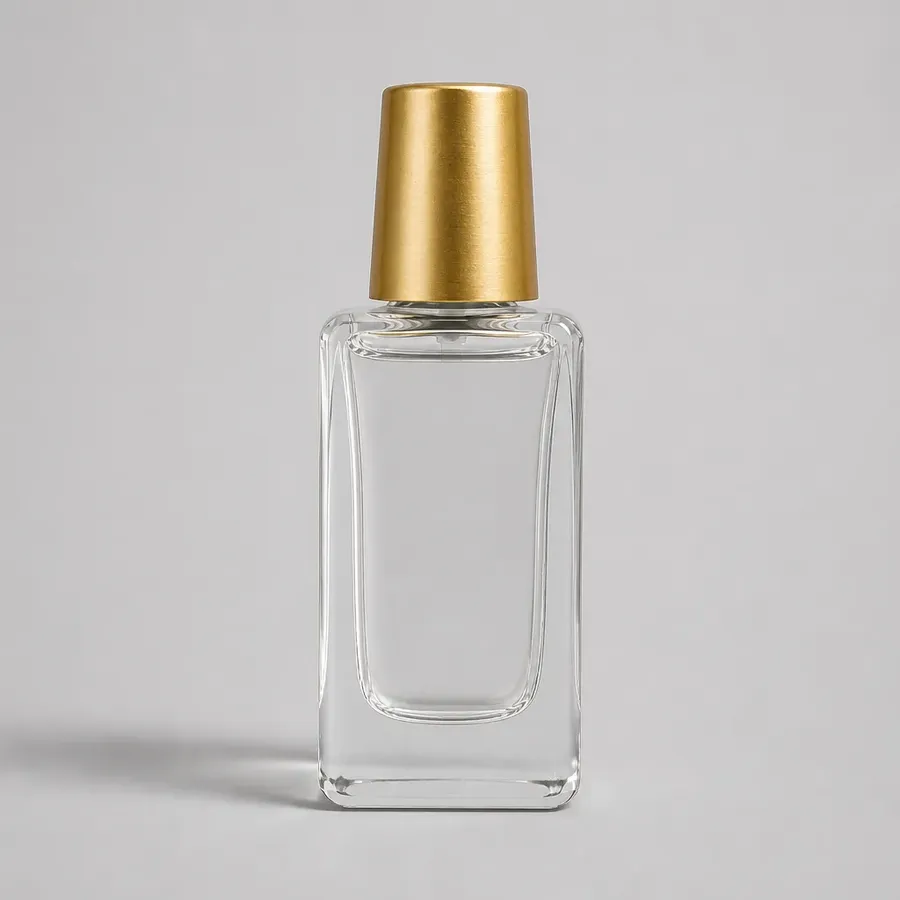
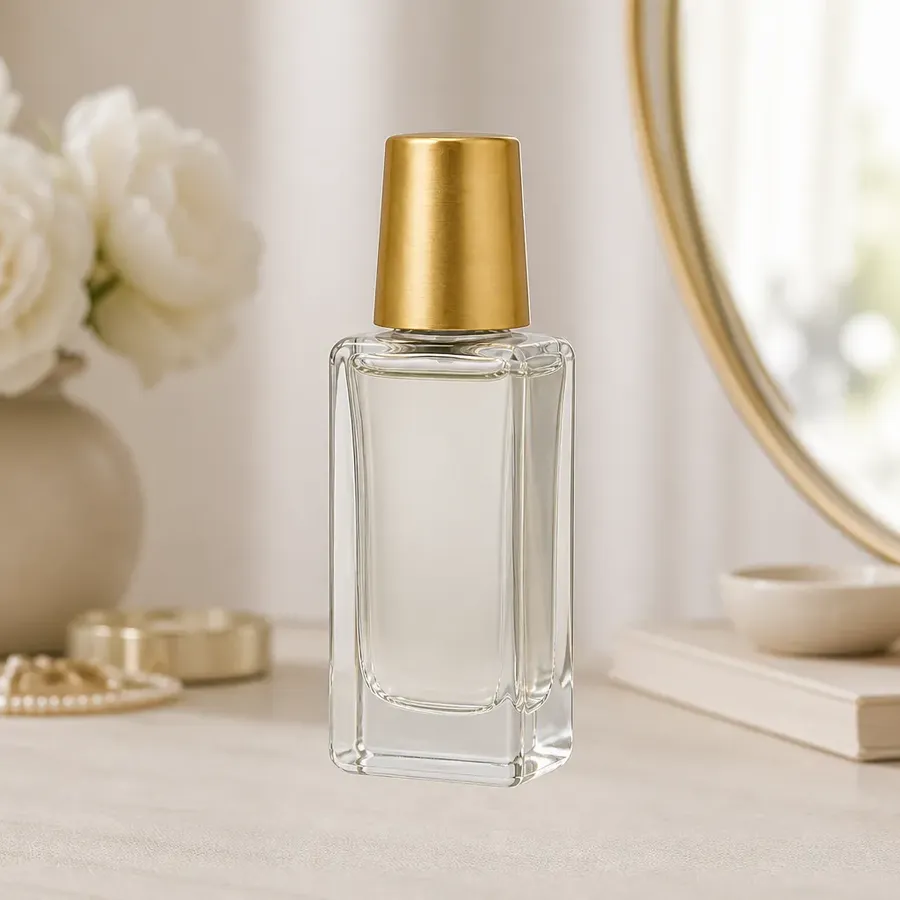
Common AI product photo mistakes: lack of shadow;
inconsistent lighting and shadows;
product "floating" in the air.
A Step-by-Step Guide to Making AI Product Photos More Realistic
Realism is built one decision at a time, not in a single perfect prompt. Each step below fixes one physical property of the scene: the product, the light, the shadow, the material, the composition, the imperfections, and the shot itself.
Work through them roughly in order, get each one right before moving on, then assemble everything into one prompt and edit the result. The e-commerce prompt book collects product prompts you can adapt as you work through these steps.
1. Start with an Accurate Product Reference
The most common mistake is asking AI to generate the product, background, props, lighting, and mood in a single prompt. When the model has to solve everything at once, product accuracy is the first thing to slip. Labels distort, packaging changes, and proportions drift.
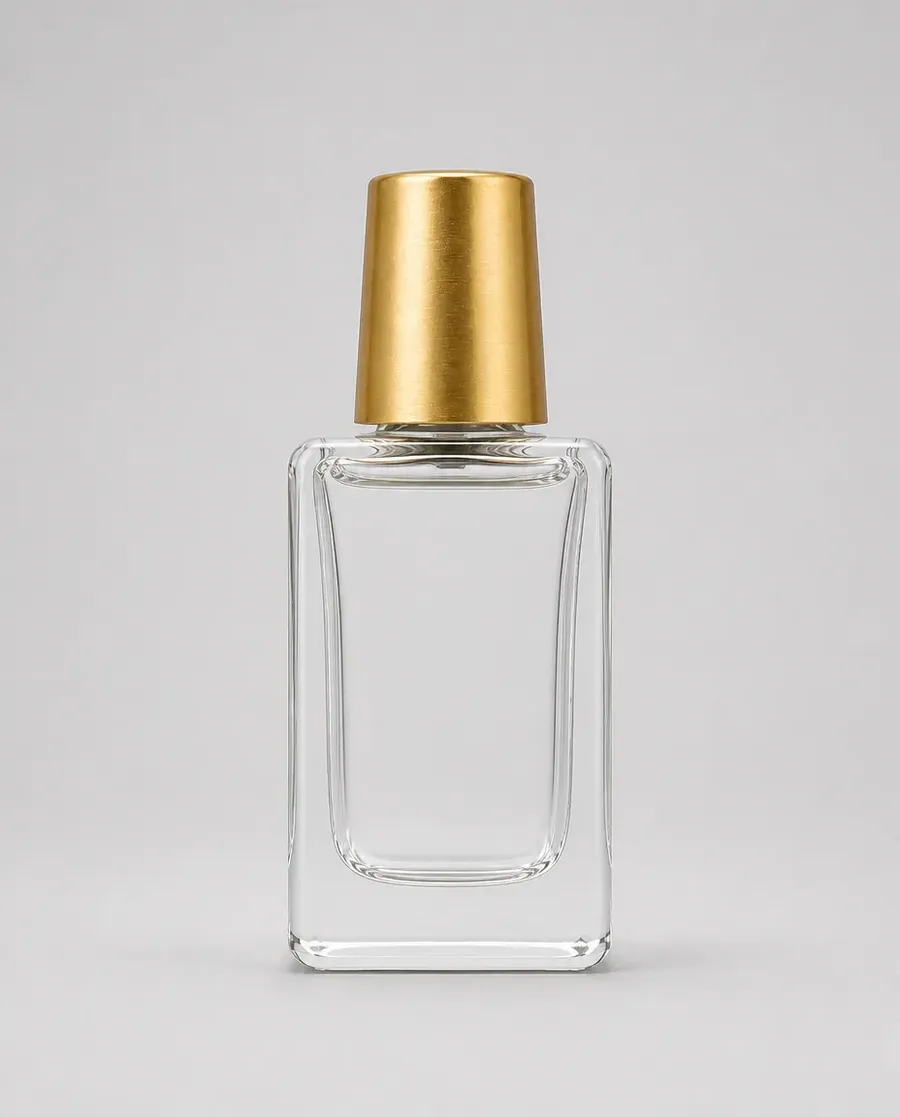
Work in the opposite order. Upload your product photo as a reference image inside getimg.ai, and start with a plain studio setup:
- a neutral background
- a clear, single camera angle
- soft, even lighting
- a realistic surface.
At this stage, judge one thing only: does the product look correct? Check the shape, the proportions, and any text on the packaging. Accuracy matters most here because e-commerce product shots have to match what the customer actually receives, not just look good on screen. Once the product is accurate, keep it fixed and build the campaign around it.
2. Match The Lighting Across the Entire Scene
One inconsistent light source is enough to make a whole scene look fake. The product might be lit from the left while its shadow moves to the right. The background might read as bright daylight while the packaging reflects a dark studio. The viewer cannot always name the problem, but they feel it.
Describe the light precisely, as one setup for the whole shot. Name the source, the direction, and the resulting shadow:
- "Soft daylight entering from the left, casting a natural shadow to the right."
- "One large studio softbox above and slightly in front of the product."
The goal is a single, believable lighting environment. The highlight on the product, the shadow it casts, and any reflection in the surface should all agree on where the light comes from. When they agree, the scene holds together and the eye stops looking for the seam.
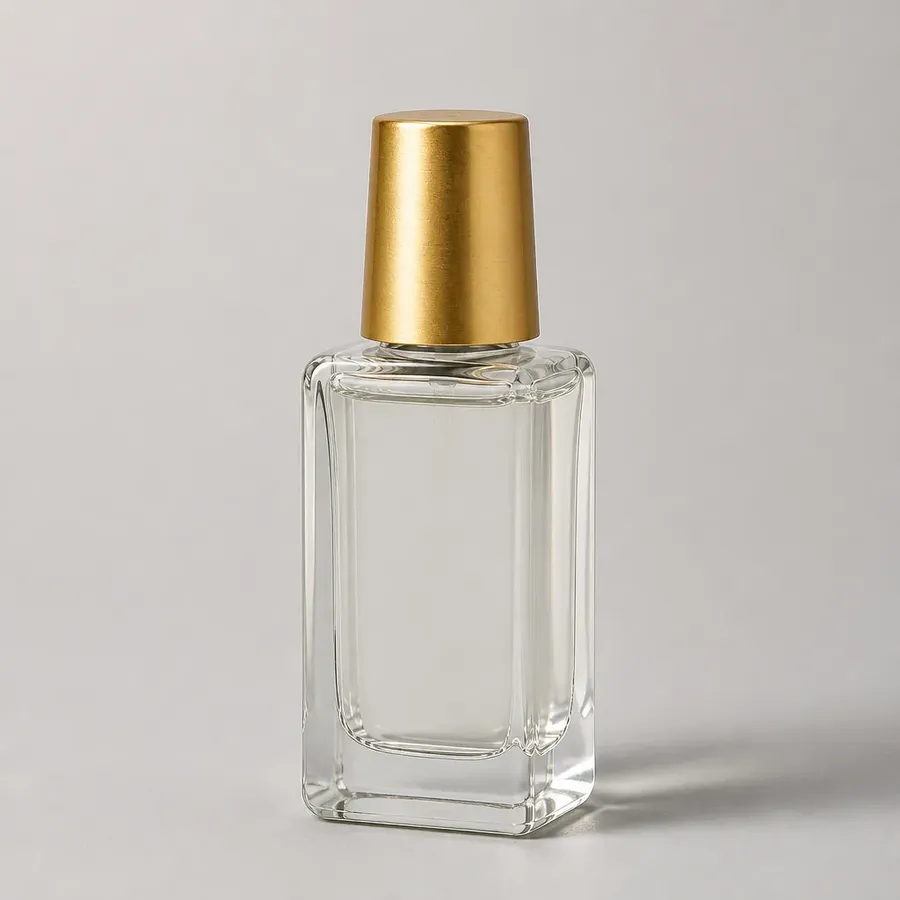
"soft daylight entering from the left, creating a natural consistent shadow falling to the right, reflections on the glass matching the same light direction, background lighting consistent with the product lighting, cohesive single-environment feel"
3. Give The Product Weight With a Contact Shadow
AI products often look like they are hovering a few millimeters above the surface. The fix is a contact shadow: the small, darker shadow directly beneath an object where it meets the surface. It is the single strongest cue that a product has weight and is actually resting on something.
Ask for it directly:
- "A subtle contact shadow directly beneath the product, becoming softer and lighter further away."
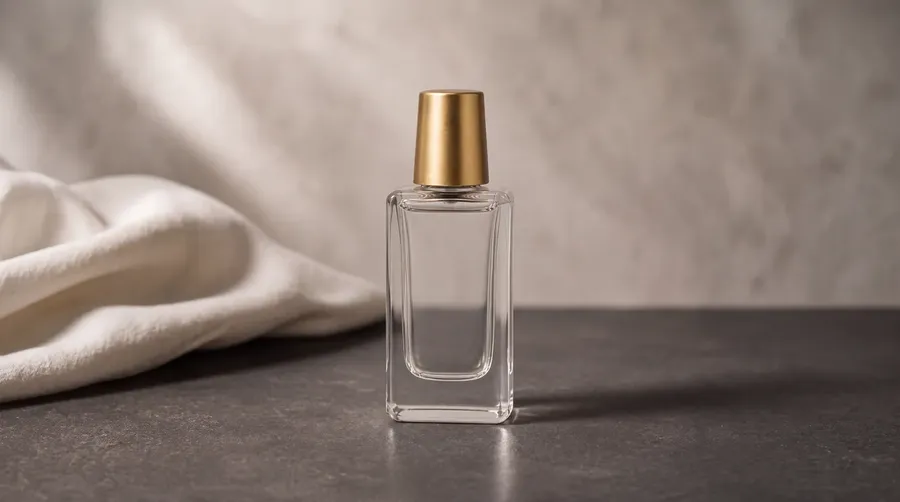
You can add a light reflection on glass, stone, or metal, but avoid a perfect mirror. Real reflections are slightly broken and uneven. A flawless mirror reflection reads as computer generated almost immediately, while a soft, imperfect one reads as a real surface catching real light. Together, a contact shadow and a restrained reflection anchor the product in the scene instead of pasting it on top of the background.
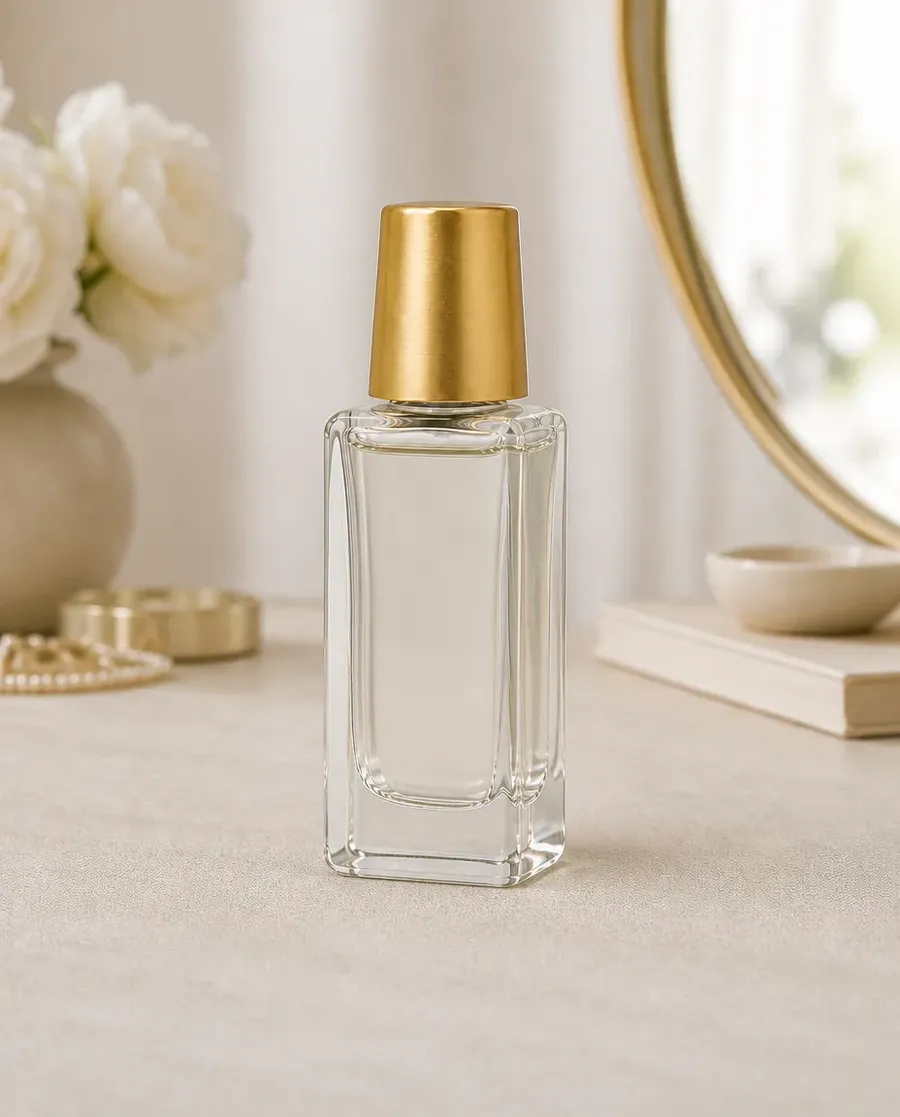
"a subtle contact shadow directly beneath the bottle that softens and fades further from the base"
4. Choose Materials People Can Recognize
AI might sometimes produce surfaces that look impressive but make no physical sense. A material that is glossy, matte, metallic, and translucent all at once has no real-world reference, and the eye quietly rejects it. Recognizable materials do the opposite: they give the viewer something familiar to trust.
Instead of asking for a vague "luxury surface," describe the physical qualities of a specific material:
Material | How to Describe It in a Prompt |
Brushed Metal | Brushed aluminum with a fine directional grain and soft, diffused highlights |
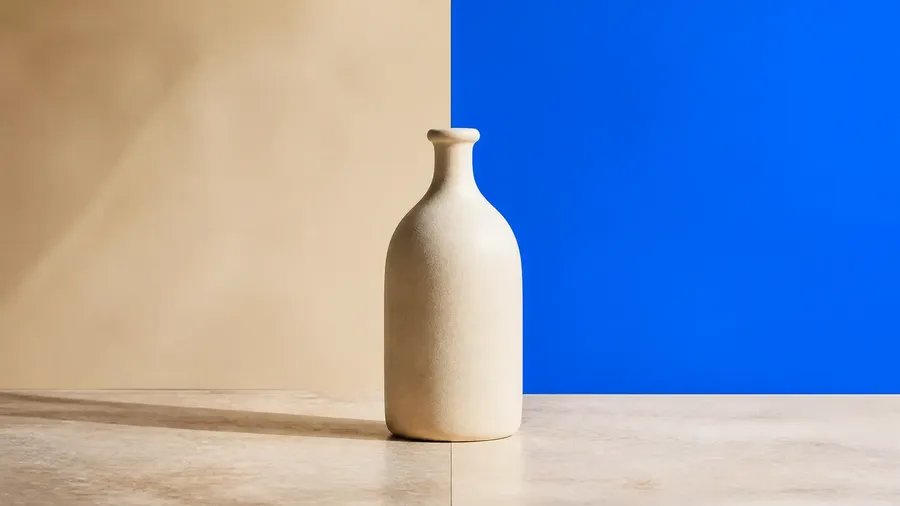
Matte Ceramic | Matte glazed ceramic with a slightly uneven surface and no harsh glare |
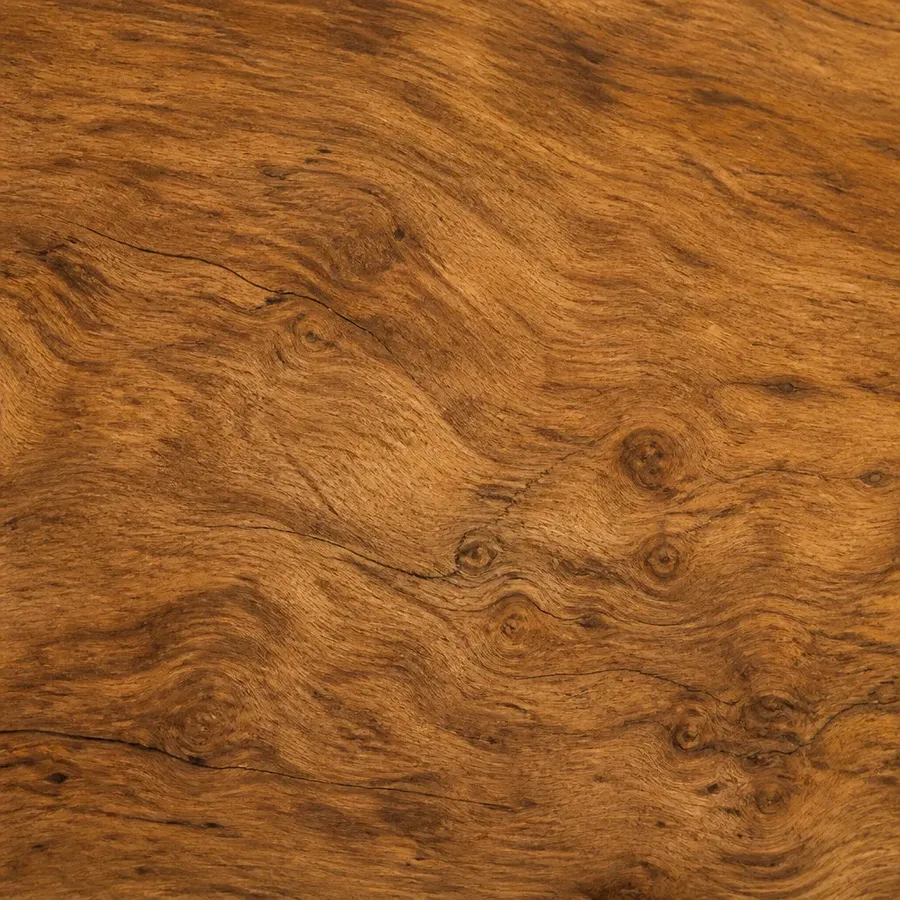
Natural Wood | Natural oak with visible grain, small knots, and a low satin sheen |
Linen Fabric | Natural linen with soft folds, a visible weave, and a slightly rough texture |
Frosted Glass | Frosted glass that scatters light softly, with a faint highlight along the edge |
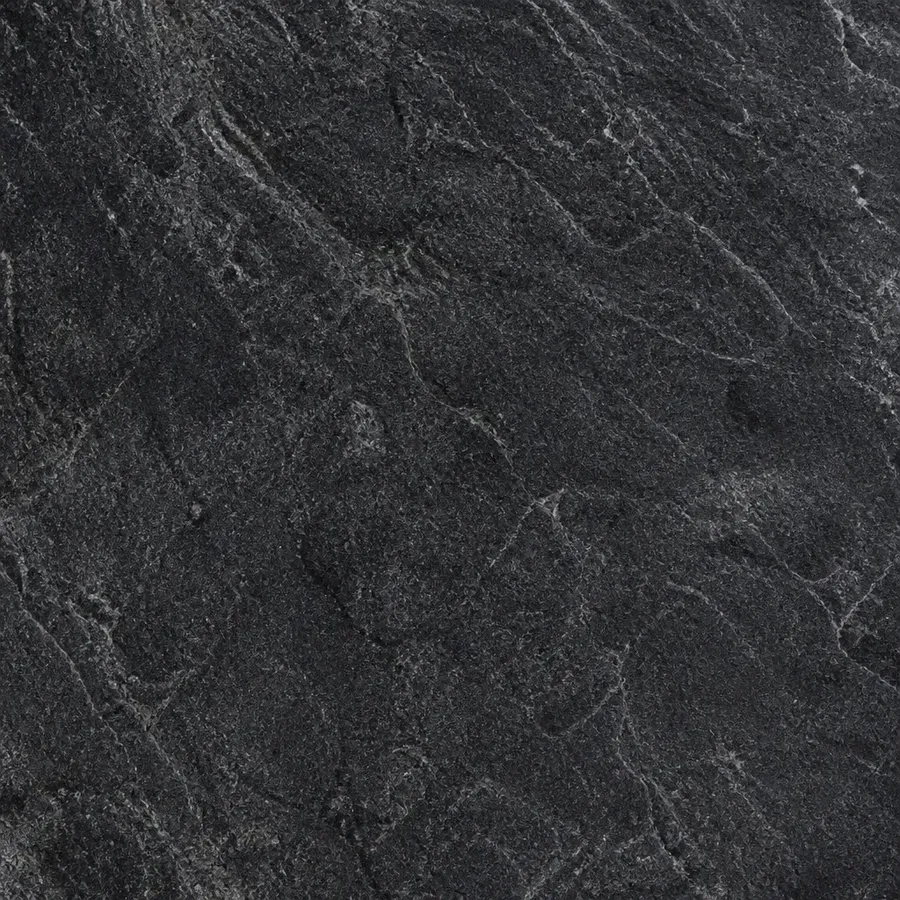
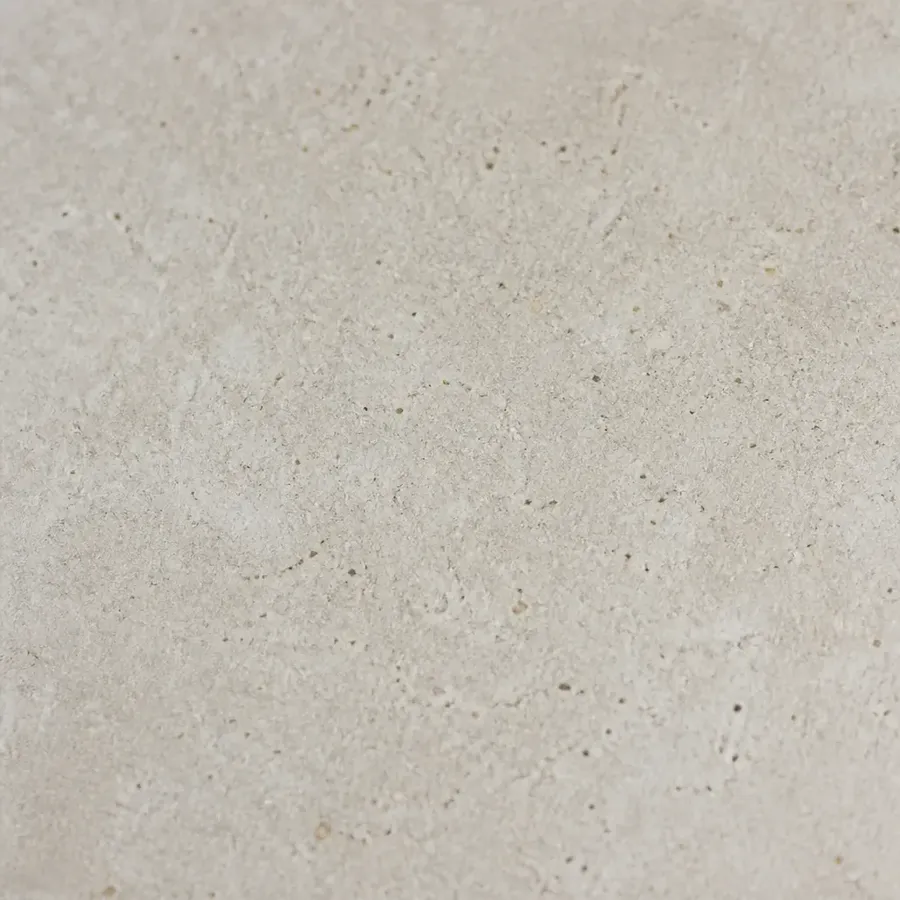
Dark Stone | Dark matte slate with subtle natural texture and soft, broken reflections |
The more specific the material, the more the model has to reason about how light behaves on it. That physical reasoning is exactly what makes the surface convincing.
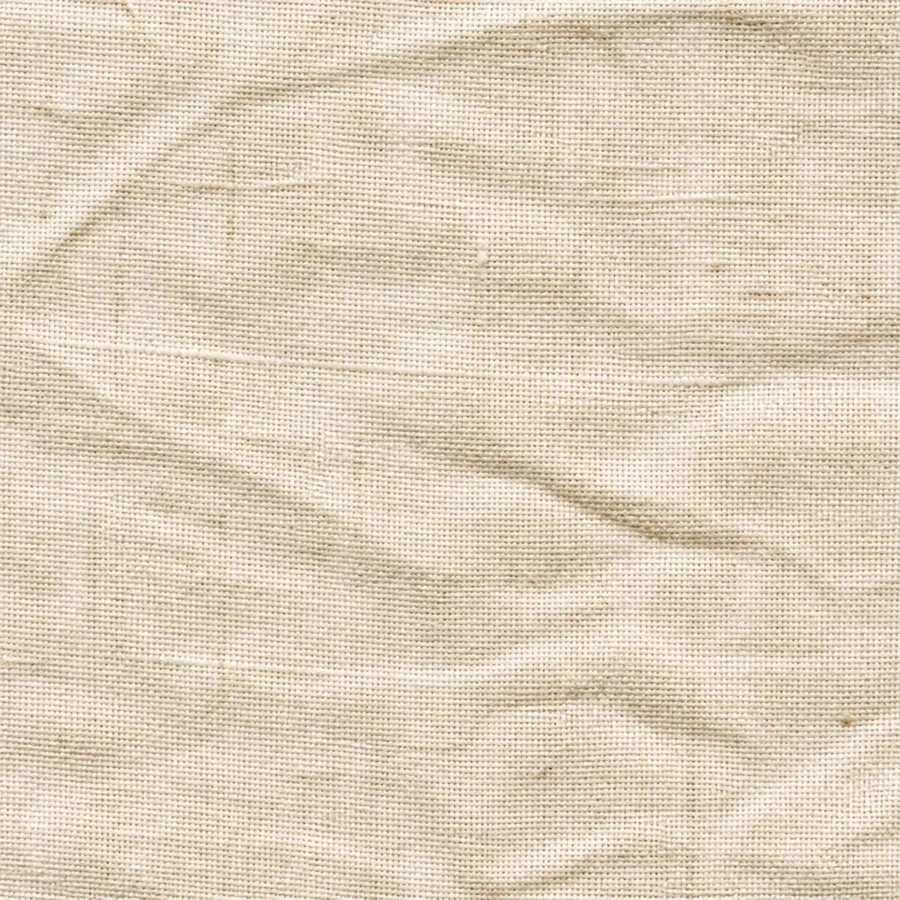
Linen Fabric
Dark Stone
Natural Wood
Matte Ceramic
5. Avoid Perfect, Symmetrical Compositions
Left to its defaults, AI tends toward symmetry. The product sits dead center. Props are evenly spaced. Nothing overlaps. That balance can work for clean e-commerce shots on white, but it makes lifestyle scenes look staged and artificial.
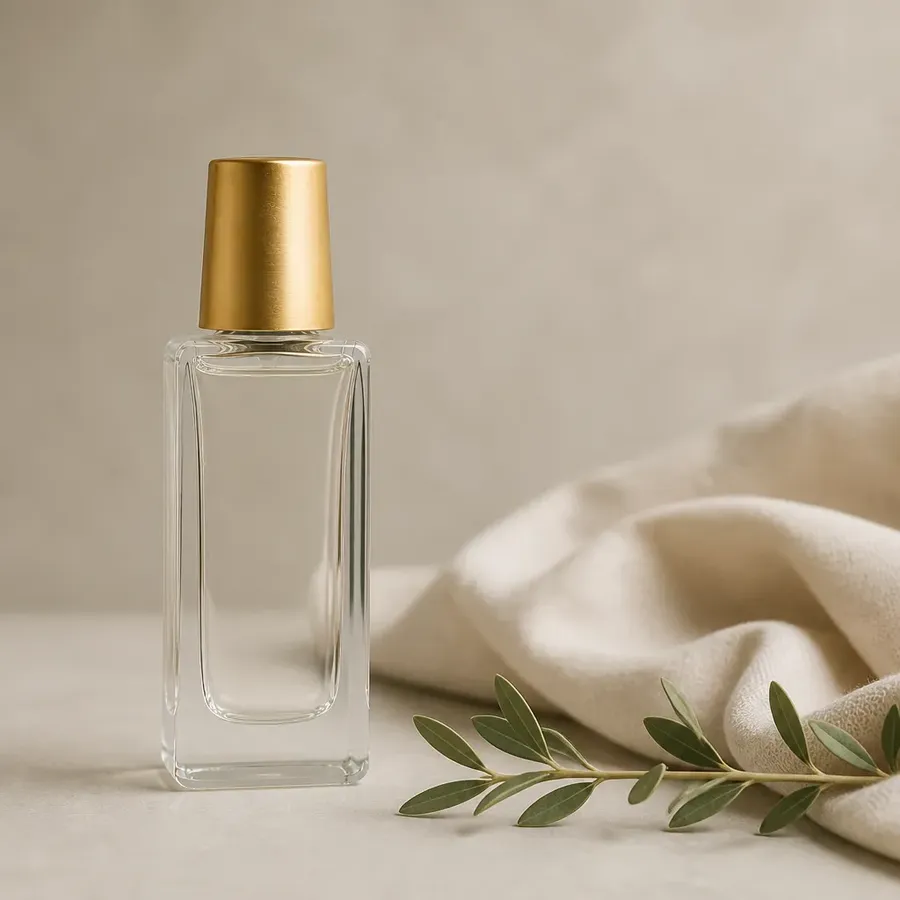
Real photographs contain small, intentional irregularities. Move the product slightly off center. Let a prop enter from the side of the shot rather than sitting fully inside it. Allow fabric to fold and gather instead of lying flat. Let one object partly overlap another to create depth.
The composition should still feel deliberate. You are not adding chaos, you are adding the natural asymmetry a photographer creates when arranging a real set. If a composition ends up too tight, you can extend the shot to open up negative space on one side instead of regenerating the whole image. The test is simple: it should look arranged by a person with taste, not measured out with a ruler.
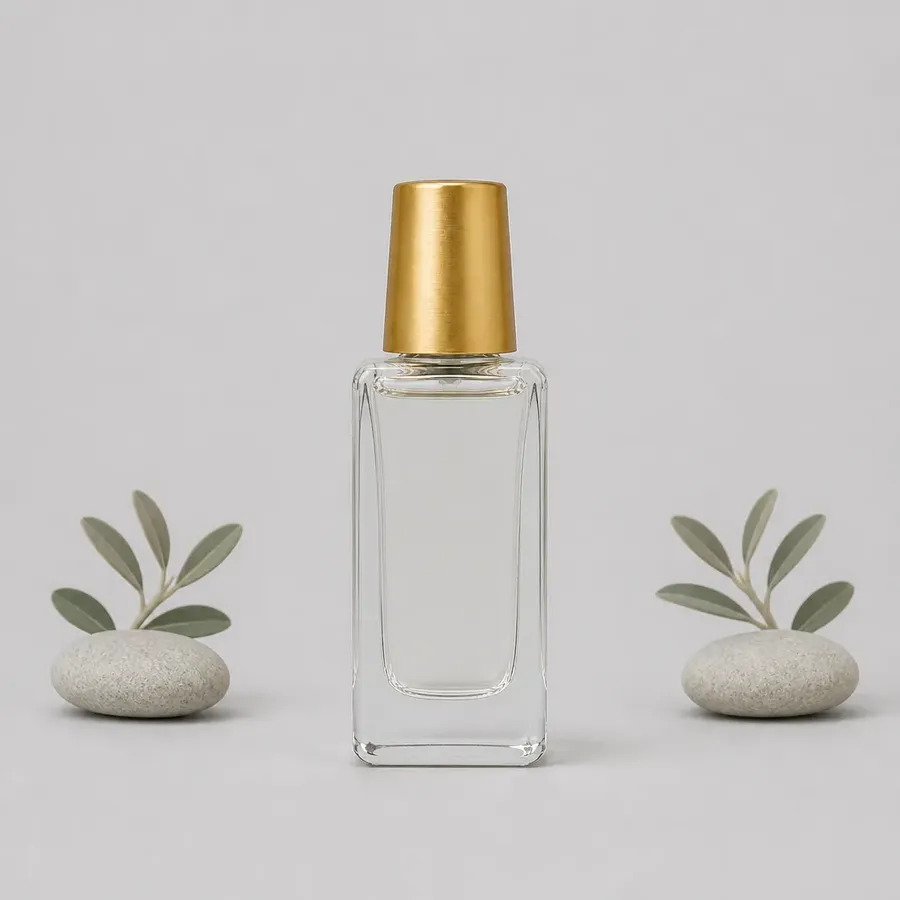
AI product photo that feels too symmetrical.
"positioned off-center in the frame (put the product in the left side on the frame), a small prop entering naturally from the edge of the frame, soft draped fabric with natural uneven folds nearby"
6. Add Controlled Imperfections
Real objects are almost never flawless, and small imperfections are one of the fastest ways to remove the sterile AI feeling. Glass carries faint traces of dust. Fabric creases. Water droplets vary in size and shape. Reflections are never perfectly uniform.
Add these cues explicitly, and keep them subtle:
- "Subtle natural surface imperfections."
- "Realistic fabric folds and creases."
- "Small, irregular water droplets of varying size."
- "Natural variation in the reflections."
A gentle analog film look is a useful shortcut here: subtle grain and slight color variation read as real without you having to specify every imperfection by hand. The viewer will rarely notice any single detail on purpose. What they notice is the absence of the plastic, too-perfect look that gives AI away. The line to hold is restraint: enough irregularity to feel real, not so much that the product looks damaged or dirty. Controlled is the operative word.
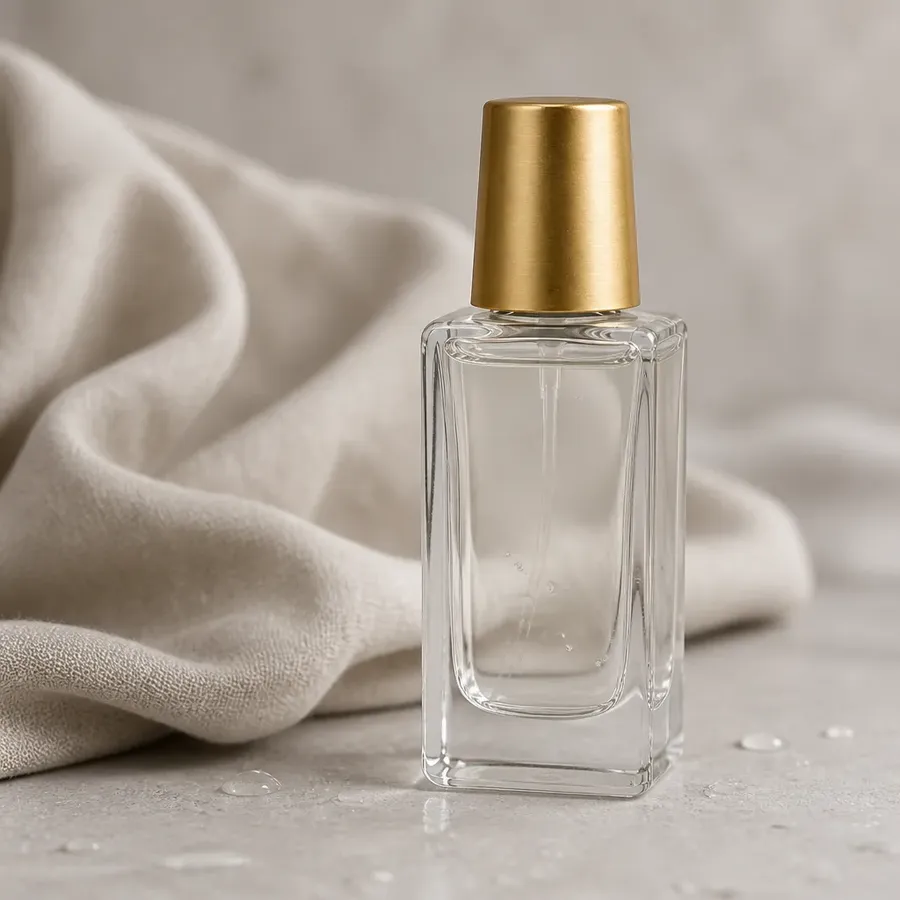
"subtle natural surface imperfections on the glass such as faint dust traces, nearby fabric with realistic natural folds, a few small irregular water droplets on the surface varying in shape"
7. Describe The Shot Like a Photographer
The prompt works better when it reads like a photographer's setup than a wish list. Specify the camera position, the perspective, the lens, and the depth of field, because those choices decide how the product sits in space.
A dependable starting point:
- "Photographed at product level with a medium telephoto lens, natural perspective, and a shallow depth of field."
Avoid extreme background blur. Too much blur can make the product look like a miniature or a toy, because the eye reads heavy blur as an object photographed very close up and very small. Keep the product sharp and the surroundings soft but still readable. The AI photography prompt book collects camera and lens language you can reuse across shots, so you are not rebuilding this description every time.
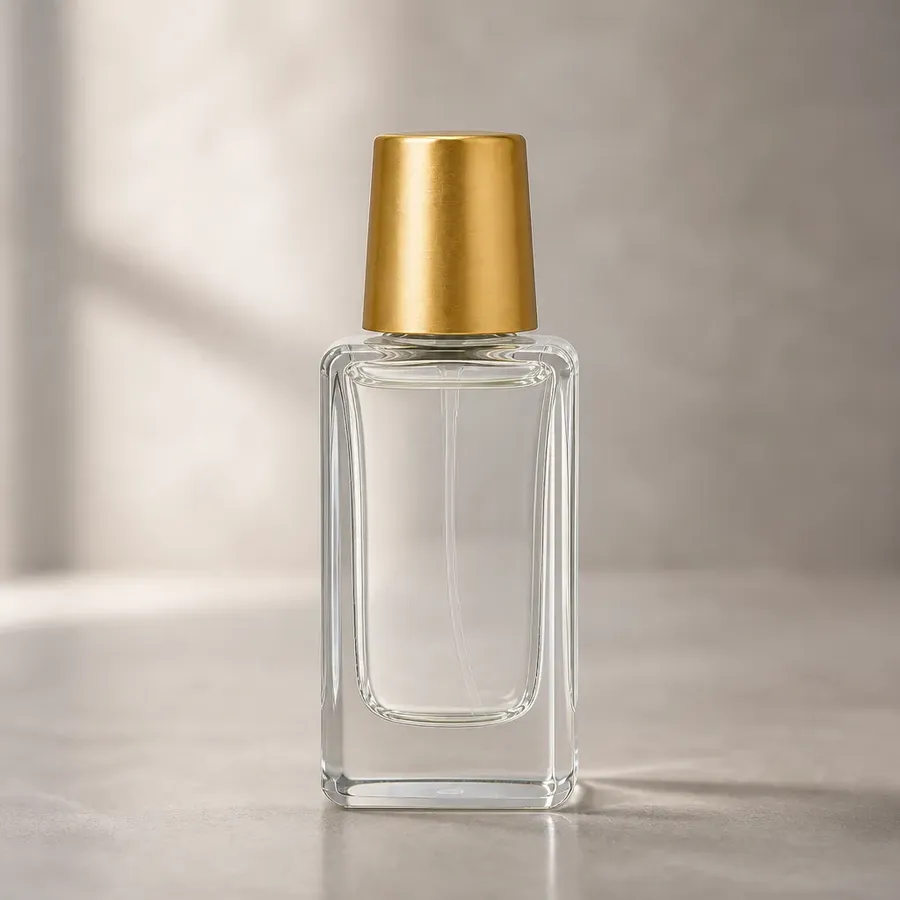
"photographed from product level with a medium telephoto lens, natural perspective, shallow depth of field"
8. Edit The Strongest Result Instead of Regenerating
The first generation does not need to be perfect, and treating it as pass or fail wastes the parts that already work. Maybe the lighting is right but the shadow is off. Maybe the product is accurate but the background is weak. Regenerating the whole scene throws away the good with the bad and rolls the dice again.
Keep what works and change only what looks artificial. Direct the AI to fix a single region, such as a distracting prop or a wrong reflection, without touching the rest of the image. Swap a weak backdrop while keeping the product fixed. Adjust one material, remove one object, refine one shadow.
Generation finds the direction. Editing makes it believable. Most convincing AI product photos are edited, not generated in a single lucky attempt.
Fake vs Real AI Product Photos at a Glance
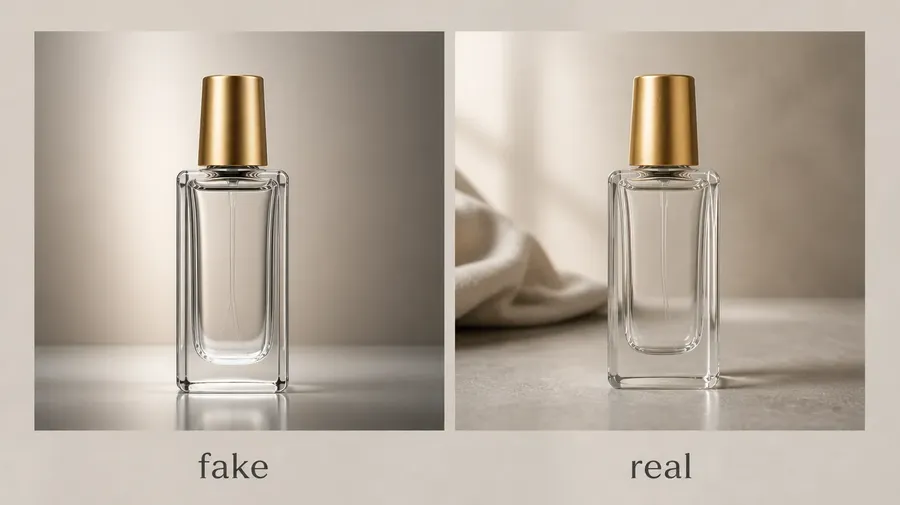
When a product photo feels off but you cannot say why, check it against these signals. Most unconvincing AI shots fail on more than one row.
Signals of a Fake-Looking Photo | Signals of a Real-Looking Photo |
Flawless, glossy, too-perfect surfaces | Subtle texture and small, controlled imperfections |
Light and shadow point in different directions | One consistent light source for the whole scene |
The product floats with no shadow beneath it | A soft contact shadow anchors it to the surface |
Vague or impossible materials | Specific, recognizable materials |
Dead-center symmetry and even spacing | Slightly off-center, intentional composition |
Mirror-perfect reflections | Slightly irregular, believable reflections |
A realistic product photo feels physically connected. The product has weight, the reflections match the environment, and the materials react to light the way real materials do. The goal is not more detail. It is making every detail belong to the same world.
Make your next product photo look real
Start with an accurate product reference, build one believable lighting setup, and edit anything that still looks wrong rather than starting over. When the shot is right, if needed, you can upscale it to the resolution your store or campaign needs. The best AI product photo should not make anyone ask which model made it. It should simply look ready to publish.
Create your realistic product photo in getimg.ai.
Frequently Asked Questions
AI product photos sometimes look fake because the image is too clean and too controlled, not because the quality is low. Real objects show small imperfections, sit on a surface with a contact shadow, and interact with a single, consistent light source.
AI might produce flawless surfaces, floating products, and lighting that disagrees with the shadows and reflections in the scene. Each error is subtle, but together they signal that the photo was never taken with a camera. Adding physical consistency, not more detail, is what fixes the fake look.
Start by uploading your real product photo as a reference and generating only the product in a simple studio setup, before adding any background or props. This lets you confirm the shape, proportions, and packaging text are correct while the model has one job instead of many.
getimg.ai's image-to-image generation uses your uploaded photo as a visual anchor, which holds the product far more accurately than describing it in words. Once the product reads correctly, keep it fixed and build the scene around it.
A contact shadow is the small, darker shadow directly beneath an object where it meets the surface it rests on. It matters because it is the strongest visual cue that a product has weight and is actually sitting on something, rather than floating above it.
Without a contact shadow, even a well-lit, accurate product looks pasted onto the background. Asking for a subtle contact shadow that softens as it moves away from the product is one of the quickest ways to make an AI product photo look grounded and real.
Edit it. If the lighting works but one reflection is wrong, or the product is accurate but a prop is distracting, regenerating the whole scene throws away the parts that already work and hands you a new set of problems.
Keep the strongest result and change only what looks artificial: fix a single region, swap the background, or refine one material. Editing an image preserves the accurate product and the good lighting while removing the specific detail that reads as fake.
Describe the shot the way a photographer would set it up: camera position, perspective, lens, and depth of field. A reliable default is a product-level camera height, a medium telephoto lens, natural perspective, and a shallow depth of field so the product stays sharp and the background falls softly out of focus. Avoid extreme background blur, which can make the product look like a miniature. The aim is a background that is soft but still recognizable, not erased.
On getimg.ai, every paid plan includes commercial rights, so product photos you generate can be used in ads, on product pages, and across campaigns. Terms vary by platform, so it is worth confirming the rules of whichever tool you use. For a fuller breakdown of what commercial use covers, see our article on whether AI images and videos can be used commercially.
Related Articles