AI Background Changer: Replace Photo Backgrounds Online
Upload a photo and describe the setting you want instead. Change a plain backdrop to a studio, outdoor scene, interior, branded environment, or simple color without manually masking the subject first.
Background replacement + image creation, editing, and resizing
All in one place, on leading AI image models.


Replace a Background with a Simple Prompt
Add the photo, describe the scene you want behind the subject, and generate. There is no mask to draw and no cutout stage before it. The replacement runs in one pass on the photo you started with.
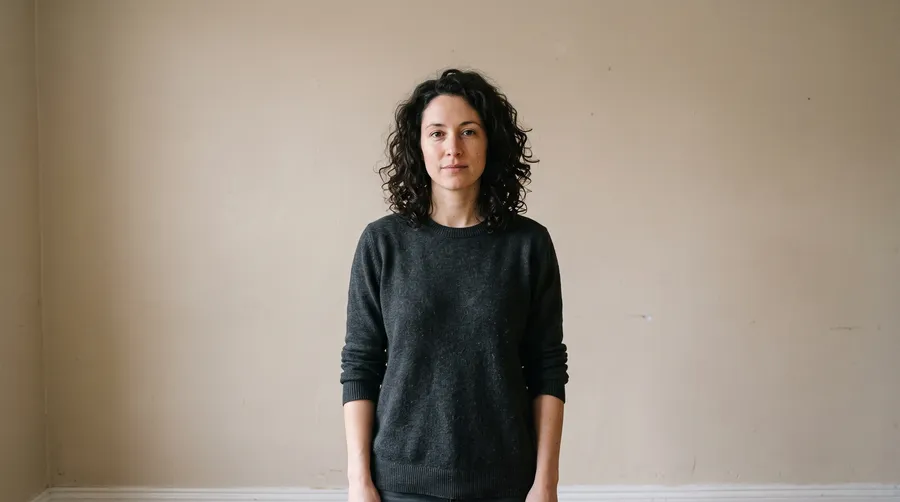
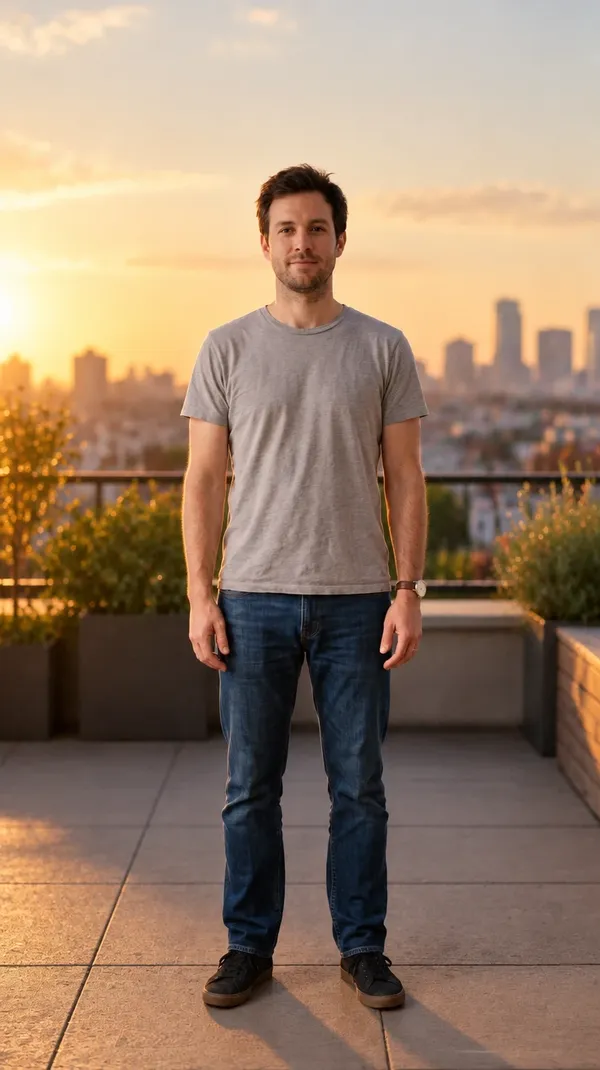
These four came from the same source photo: a white studio sweep, a modern office lobby, a sunlit kitchen counter, and a golden-hour street. One photo in, four separate images out.




Change Product Photo Backgrounds
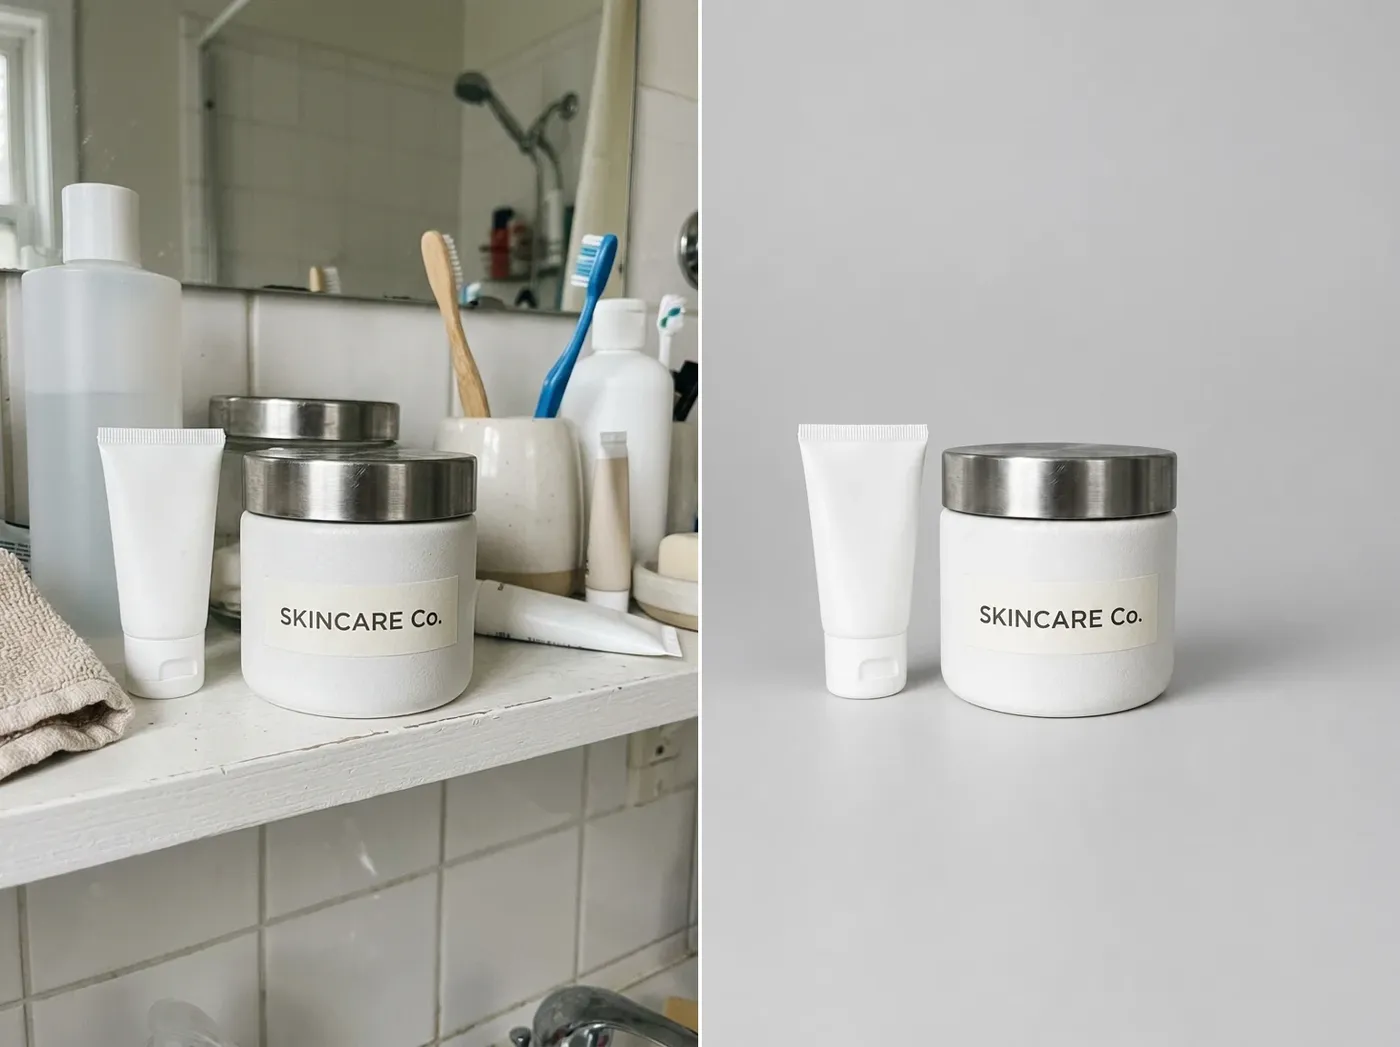
One product shot, four directions. Describe the setting and the product stays in frame while the scene changes around it. If packaging, a logo, geometry, or label text has to stay exact, compare the output with your original before publishing.
Clean studio
"Place the product on a light gray studio surface with soft diffused shadows." The neutral option for listings and spec pages, where the product has to carry the frame on its own.
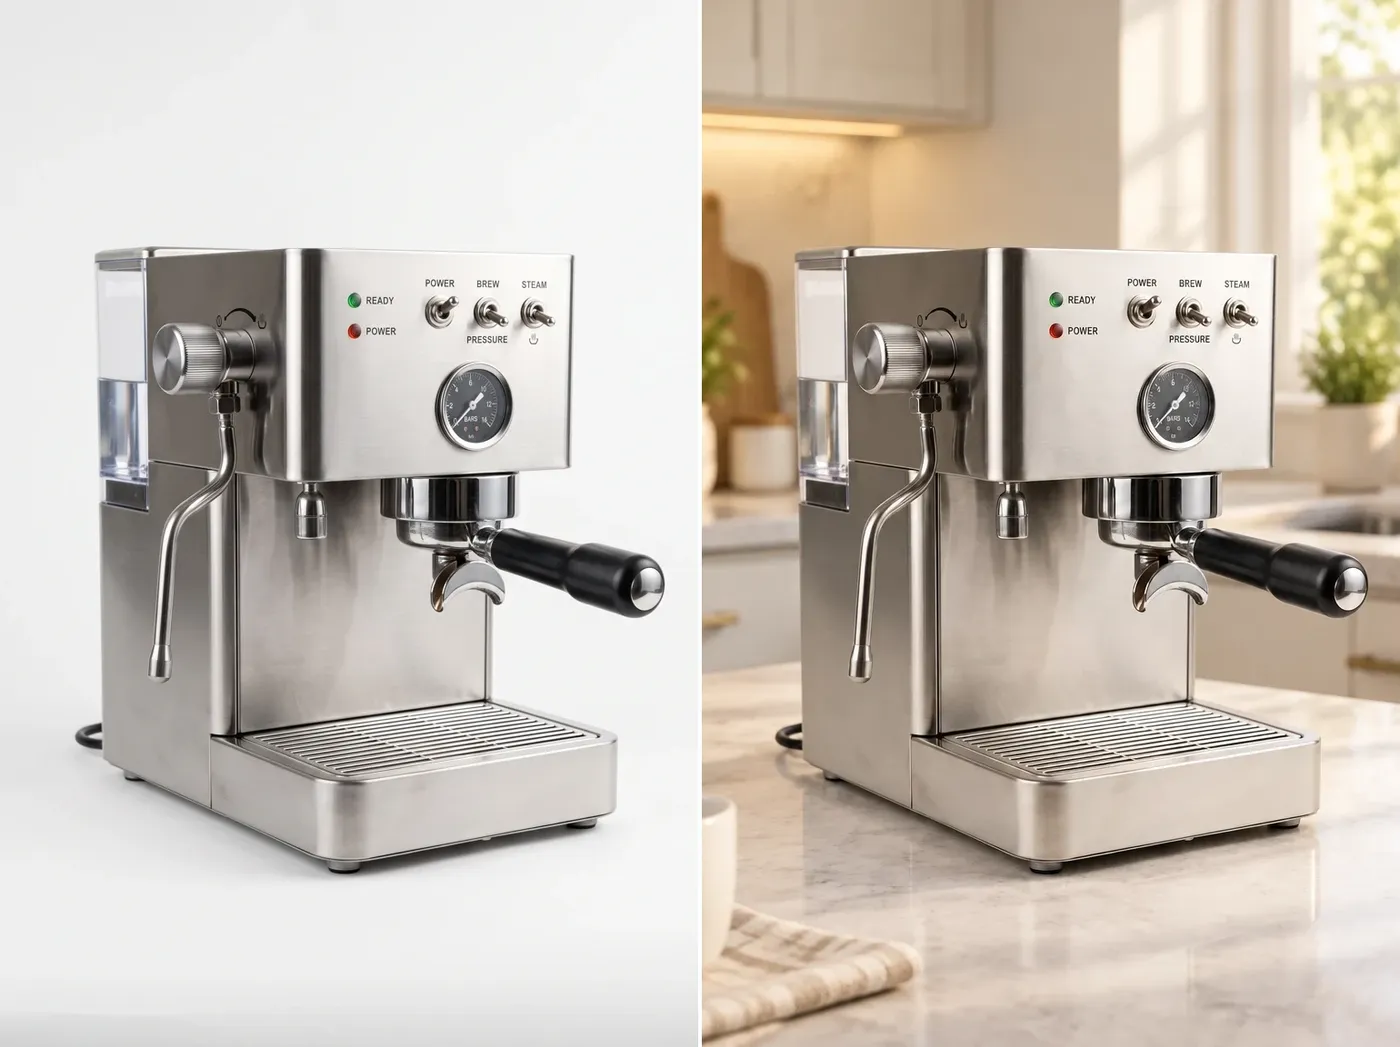
Lifestyle
"Place the coffee machine on a warm modern kitchen counter in morning light." Context does the selling: the product sits where the customer would actually use it.
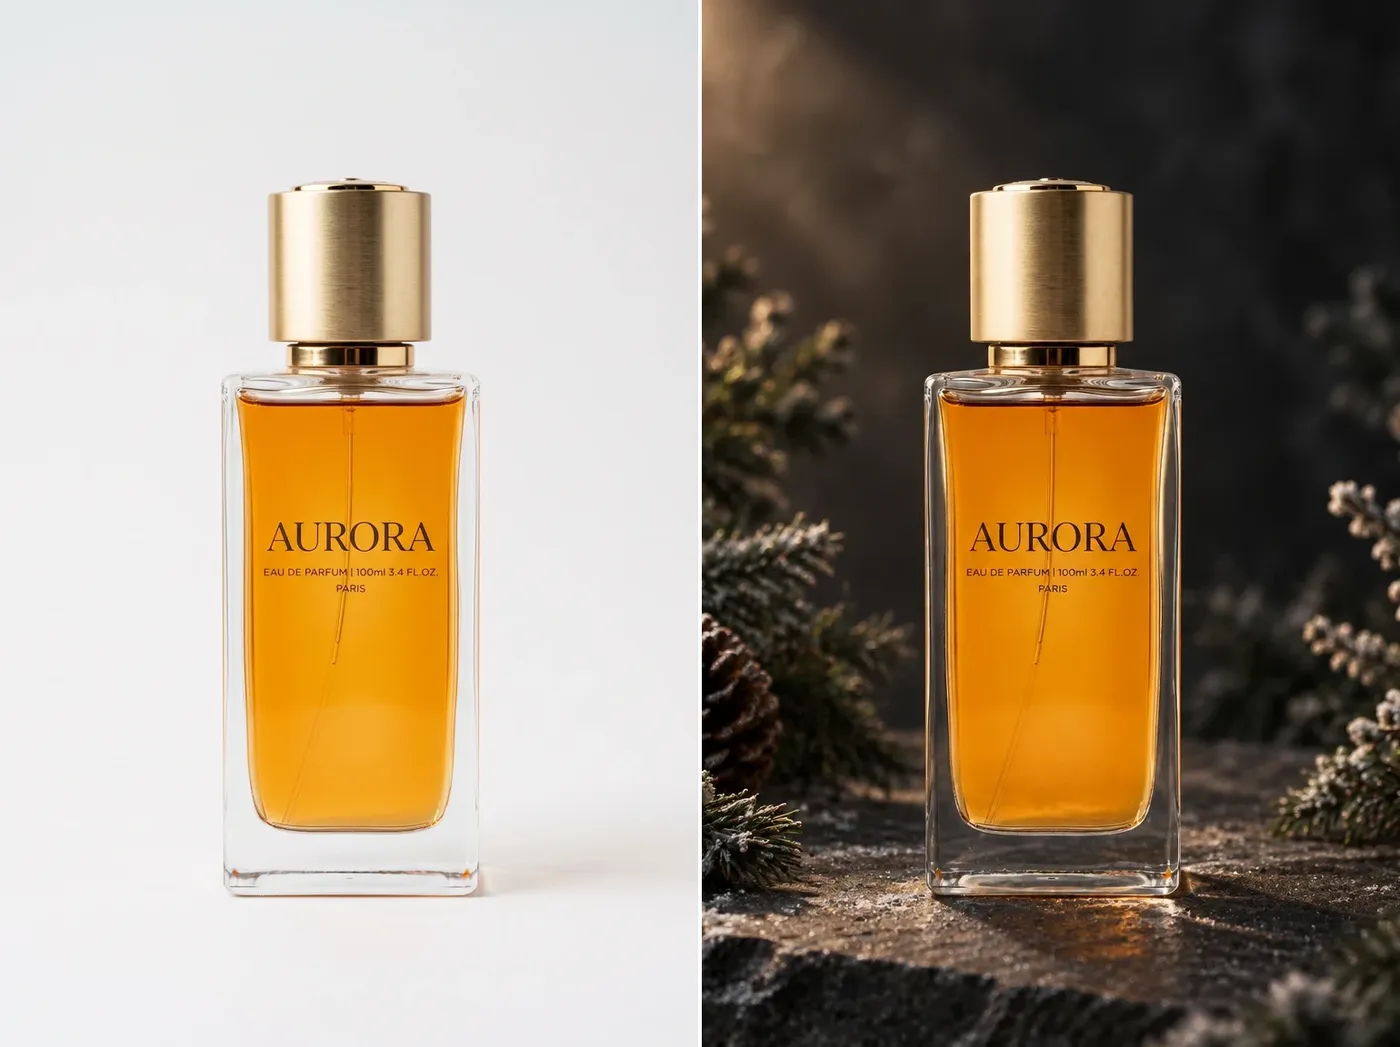
Seasonal
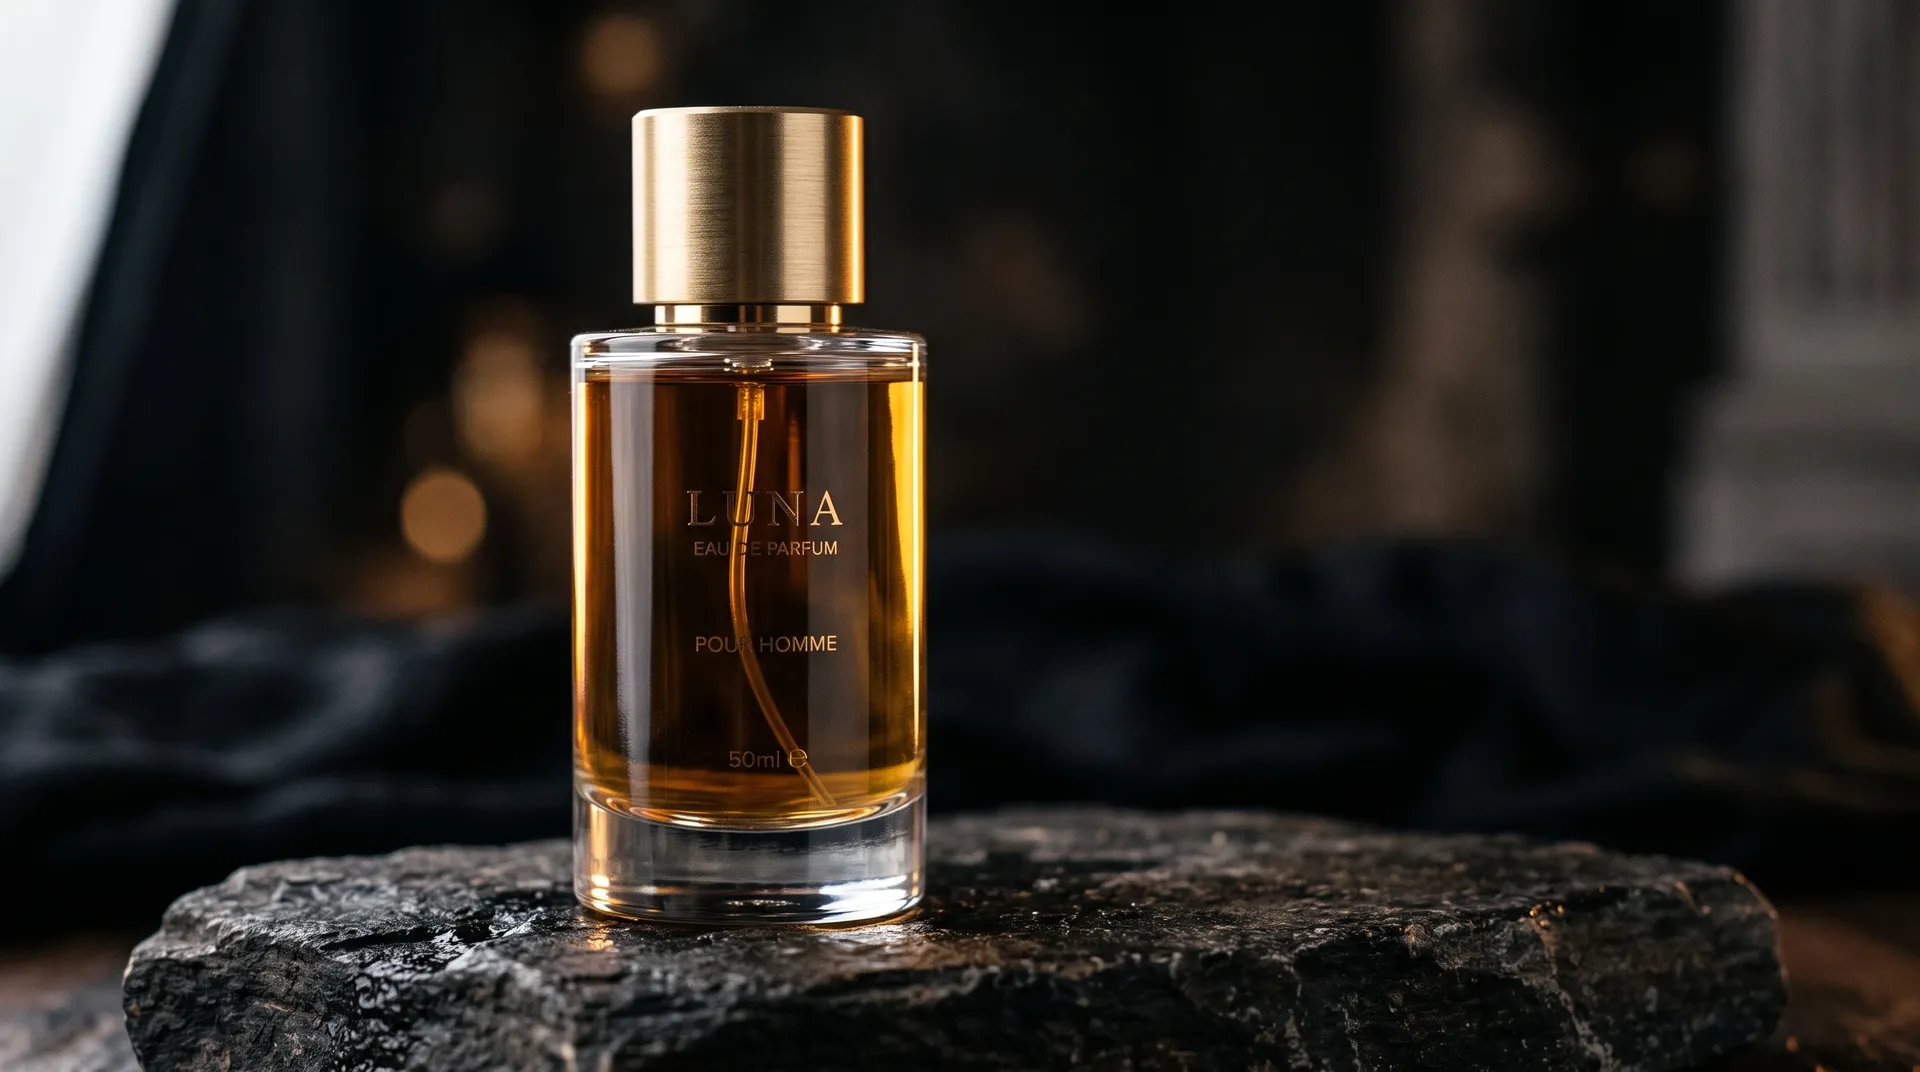
"Place the perfume bottle on dark stone surrounded by subtle winter greenery." The same hero shot re-dressed for the season instead of reshot for it.
Brand campaign
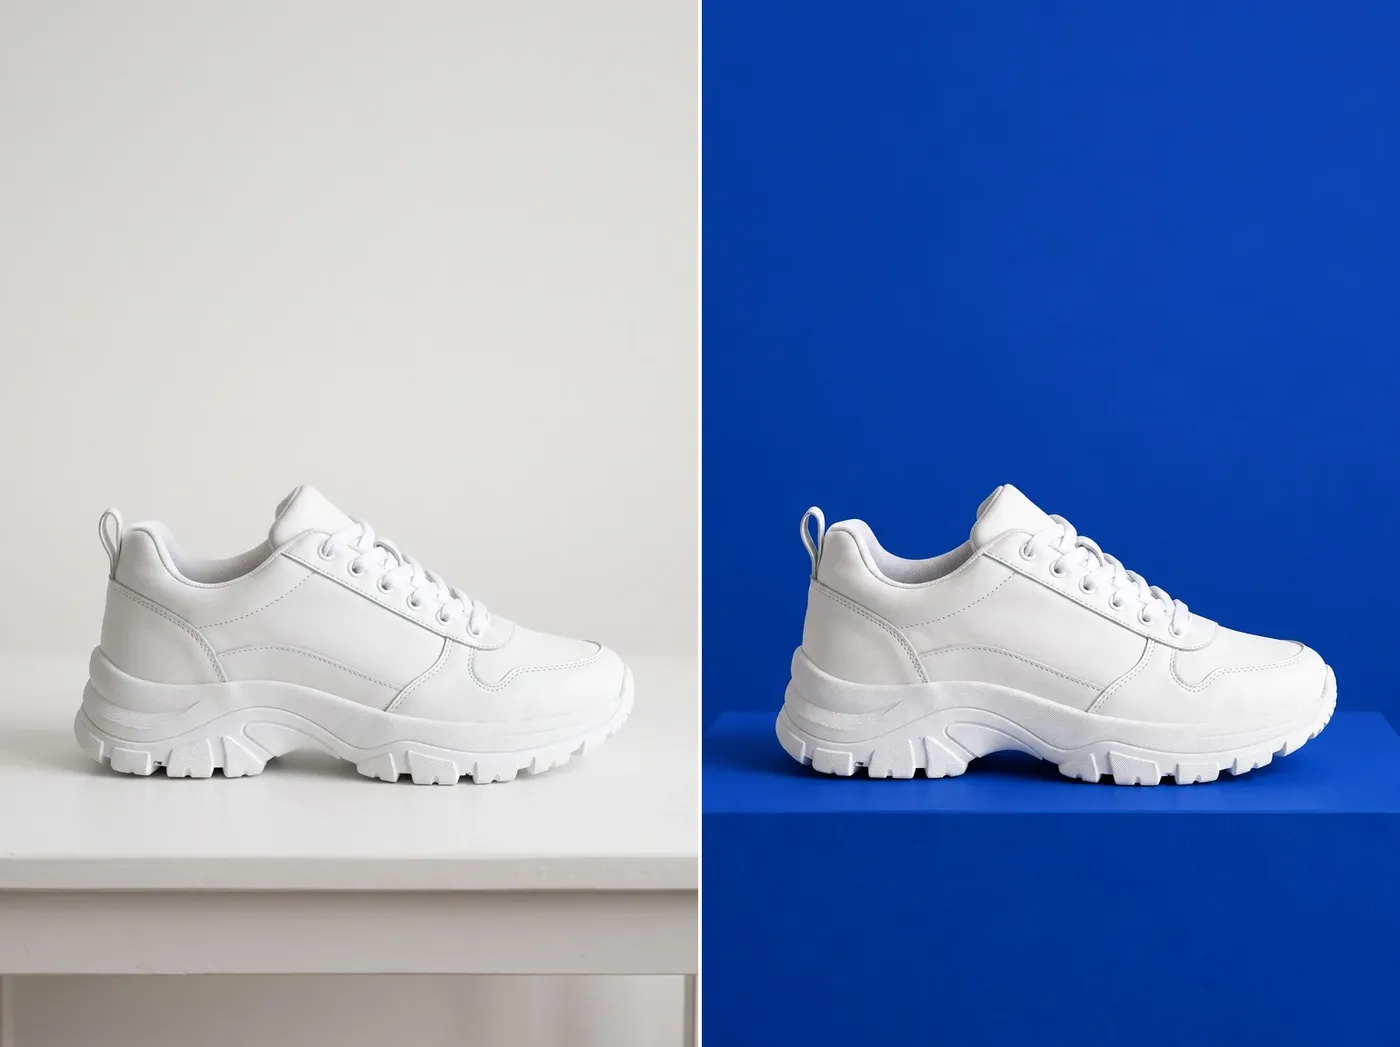
"Place the sneaker on a cobalt blue geometric pedestal in a minimal studio." Build a set of campaign frames around one product photo and keep the palette consistent.
AI Background Replacement vs Manual Compositing
Two different jobs. Prompt-based replacement is fast, generative, and good for exploring variants. Manual compositing is layer and mask based, more deterministic, and still the right call when an edge or a label has to be exact.
AI replacement on getimg.ai
Add your photo
Attach the image as a reference in Create image, or open it from your gallery.
Describe the new scene
Name the environment, surface, lighting, and mood you want behind the subject.
Generate a new version
The scene is rebuilt around the subject and saved as a separate image.
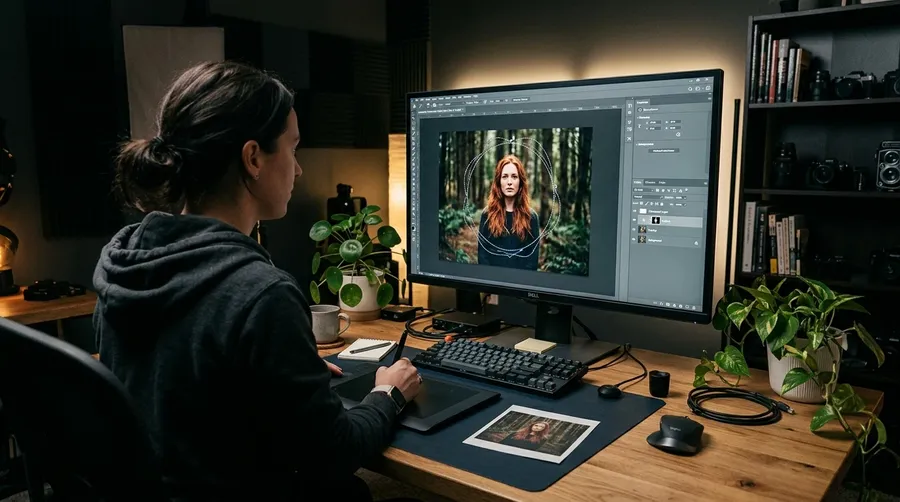
Manual compositing
- Open the file in a photo editor
- Cut the subject out by hand
- Refine the edge on hair and fine detail
- Source or shoot a new backdrop
- Match the backdrop perspective to the subject
- Match light direction and color temperature
- Paint in contact shadows and reflections
- Grade both layers so they sit together
- Repeat for every new background
Blend the Subject Into a New Scene
To make the subject sit in the new setting, the model can adapt surrounding lighting, reflections, shadows, and environmental color. That mechanism cuts both ways. Background replacement is a generative edit, so the subject can be subtly affected as the model adapts the image to the new environment. For product packaging, logos, faces, and exact clothing, compare the result with your original before you publish.
We Tested Background Changes on Difficult Subjects
Six source photos, each moved into a new setting on getimg.ai. Drag the slider on each one to compare the original with the replacement. We picked subjects where a generative edit is most likely to show: fine hair edges, glass, reflections, and printed detail.
Portrait with flyaway hair
A studio portrait moved into a modern office lobby. The hair edge held against the brighter window light and the face stayed recognizable. The strands at the crown picked up a warmer tone from the new room, which is the lighting adapting rather than an edge error.


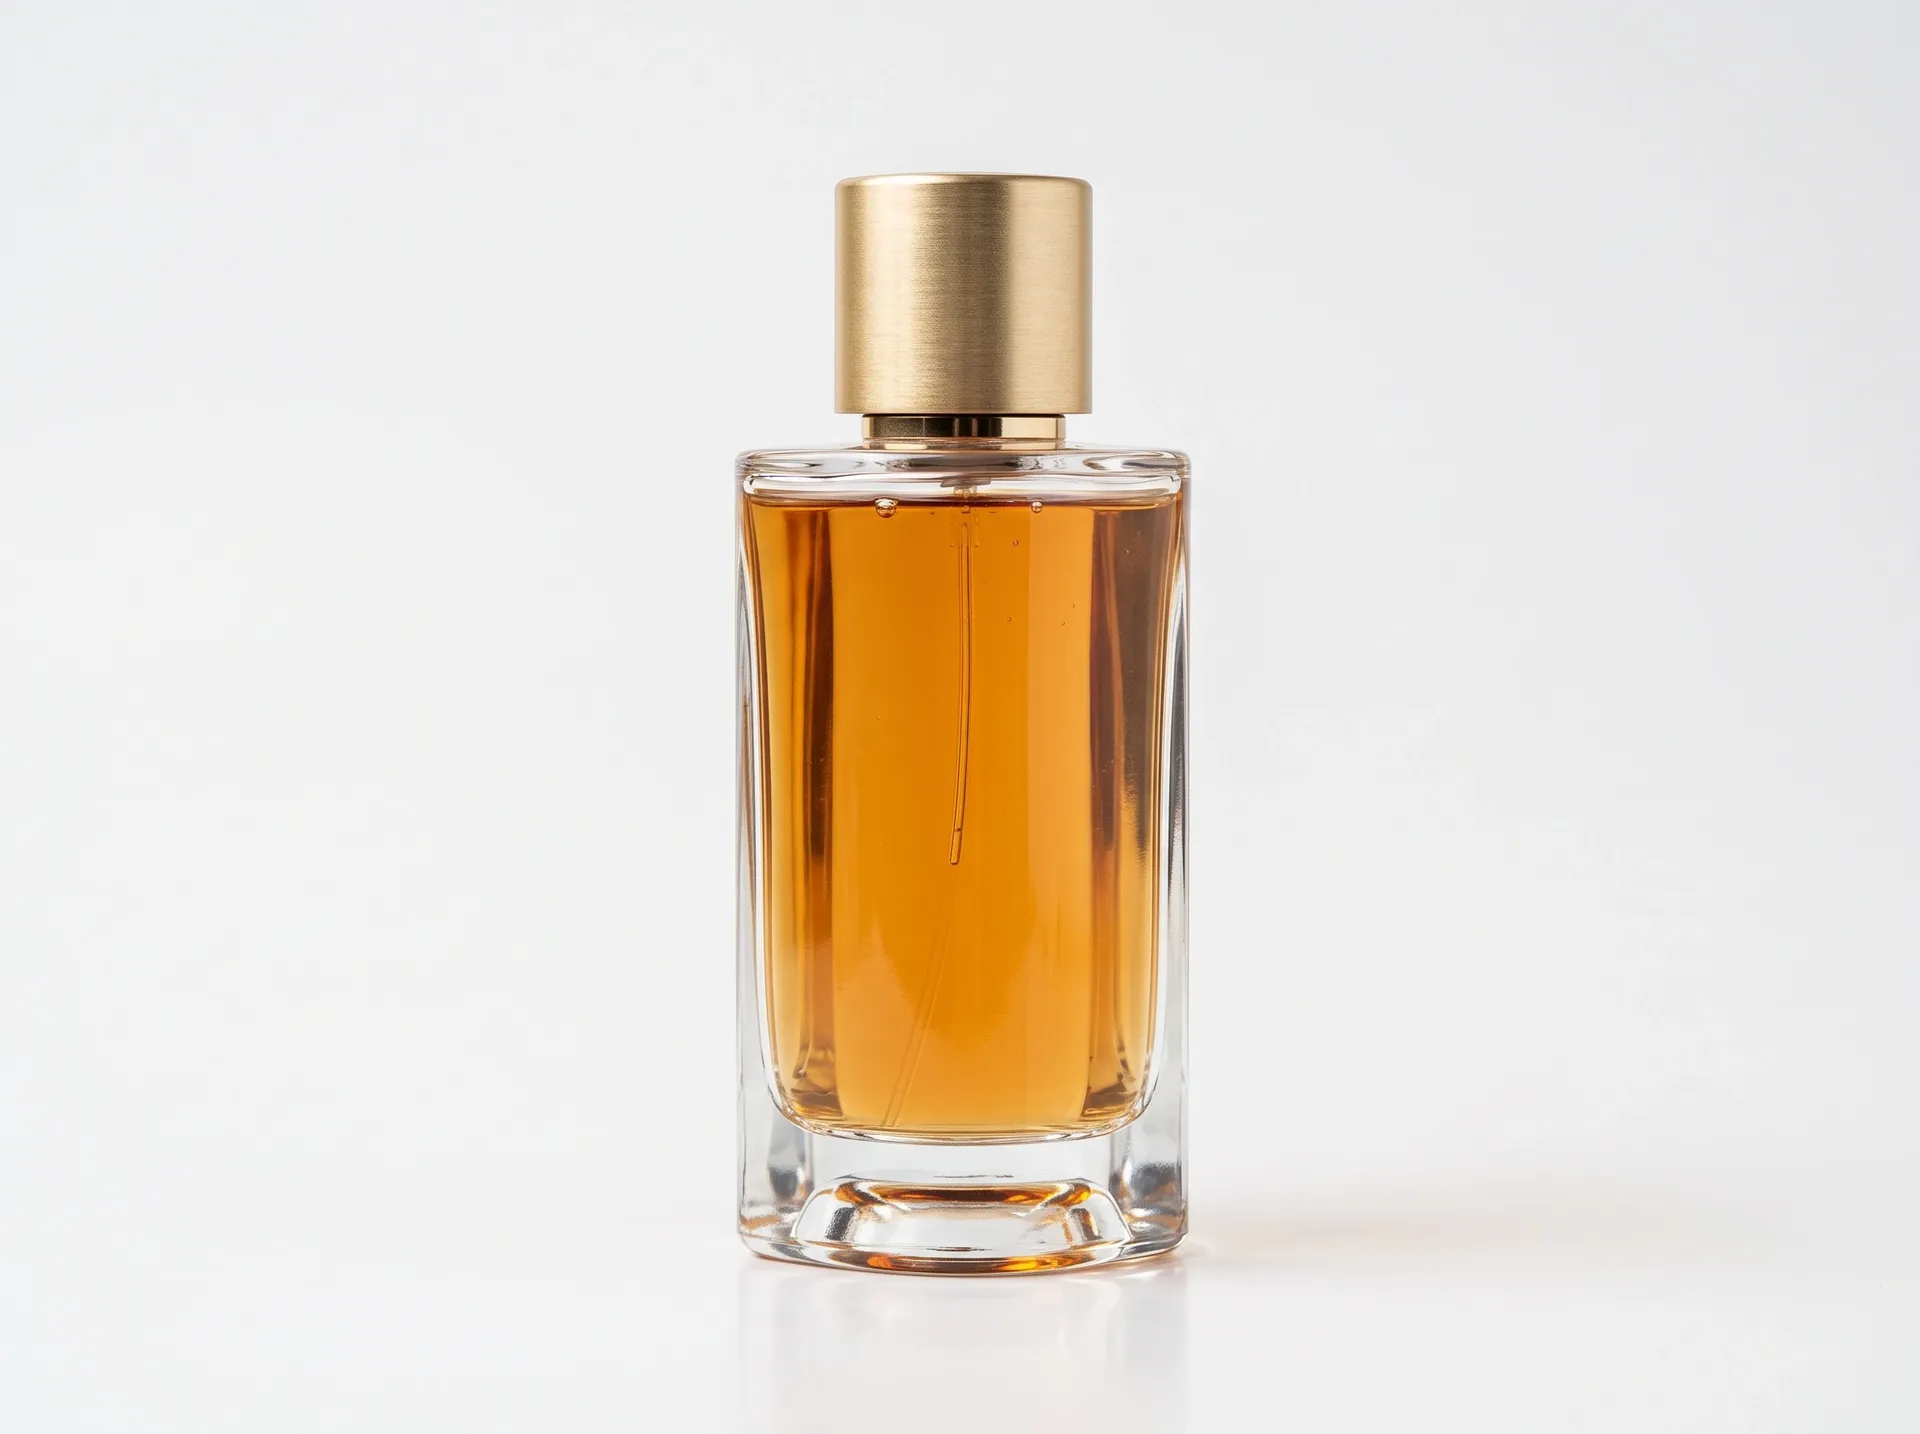
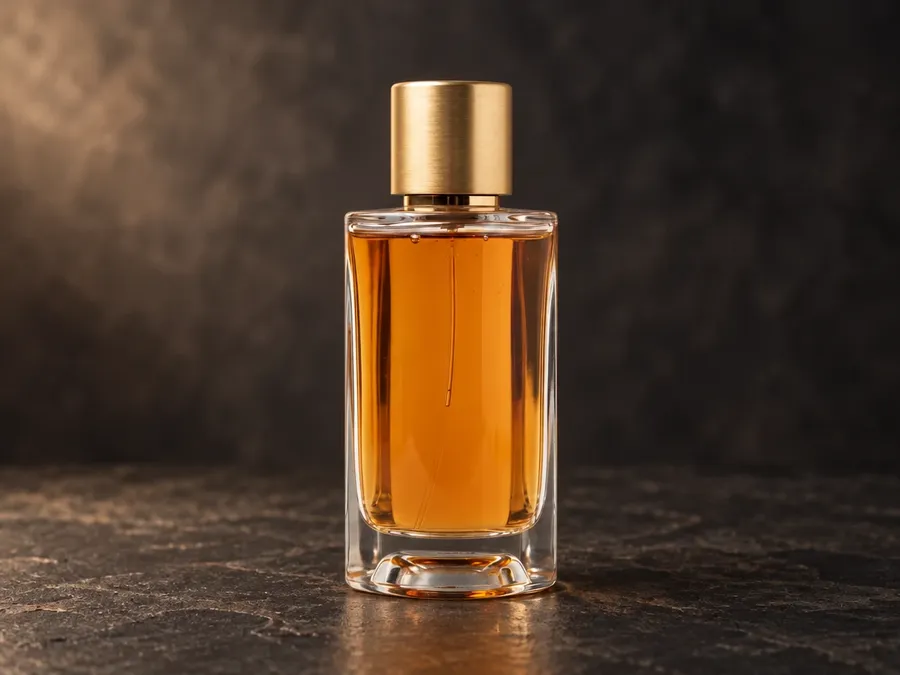
Perfume bottle
A glass bottle moved from a white sweep to dark stone. The new reflection under the bottle is the most convincing part of the result. The liquid read slightly darker as the model matched the scene, so on a real product shot this is one to compare against the original.
Metallic object
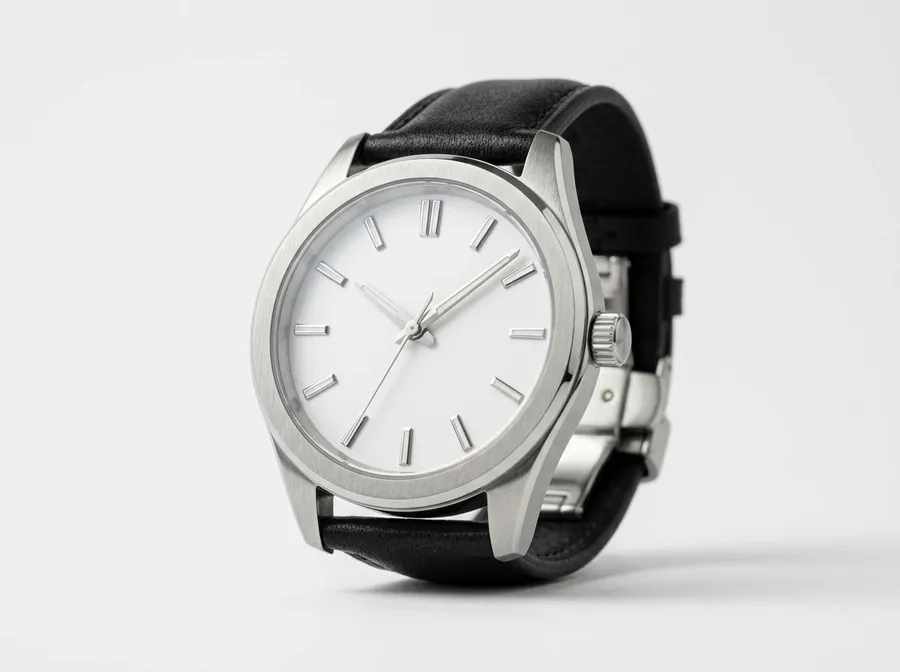
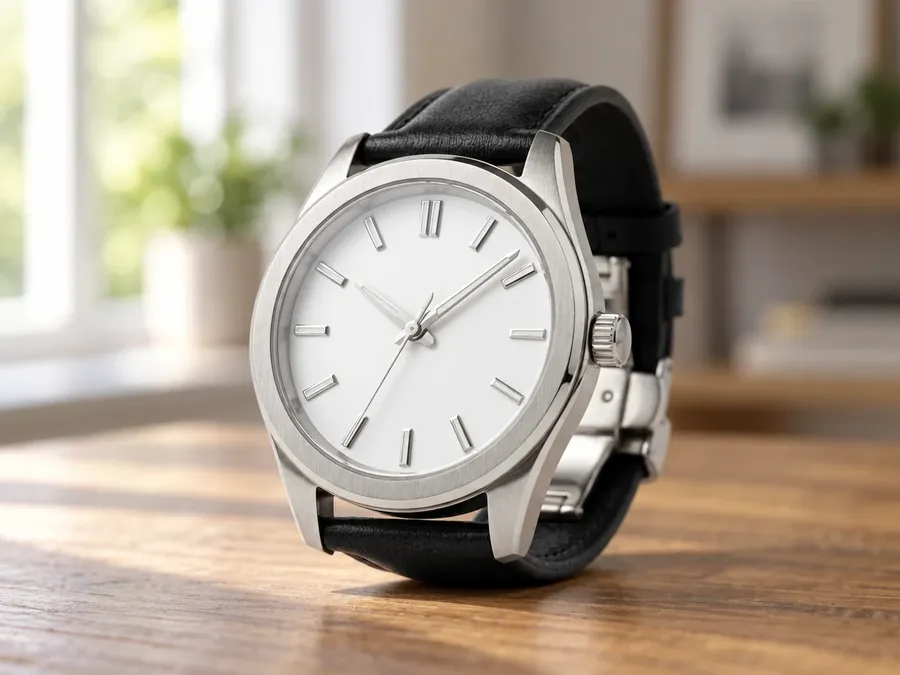
A brushed steel watch case moved into a window-lit interior. Reflections are rebuilt to match the new room, which is what makes it sit in the scene. It also means those reflections are no longer the ones your camera recorded.
Where Background Replacement Needs a Check
Printed detail, low contrast, and flat brand marks. Three more results from the same test set.
Packaging with label text
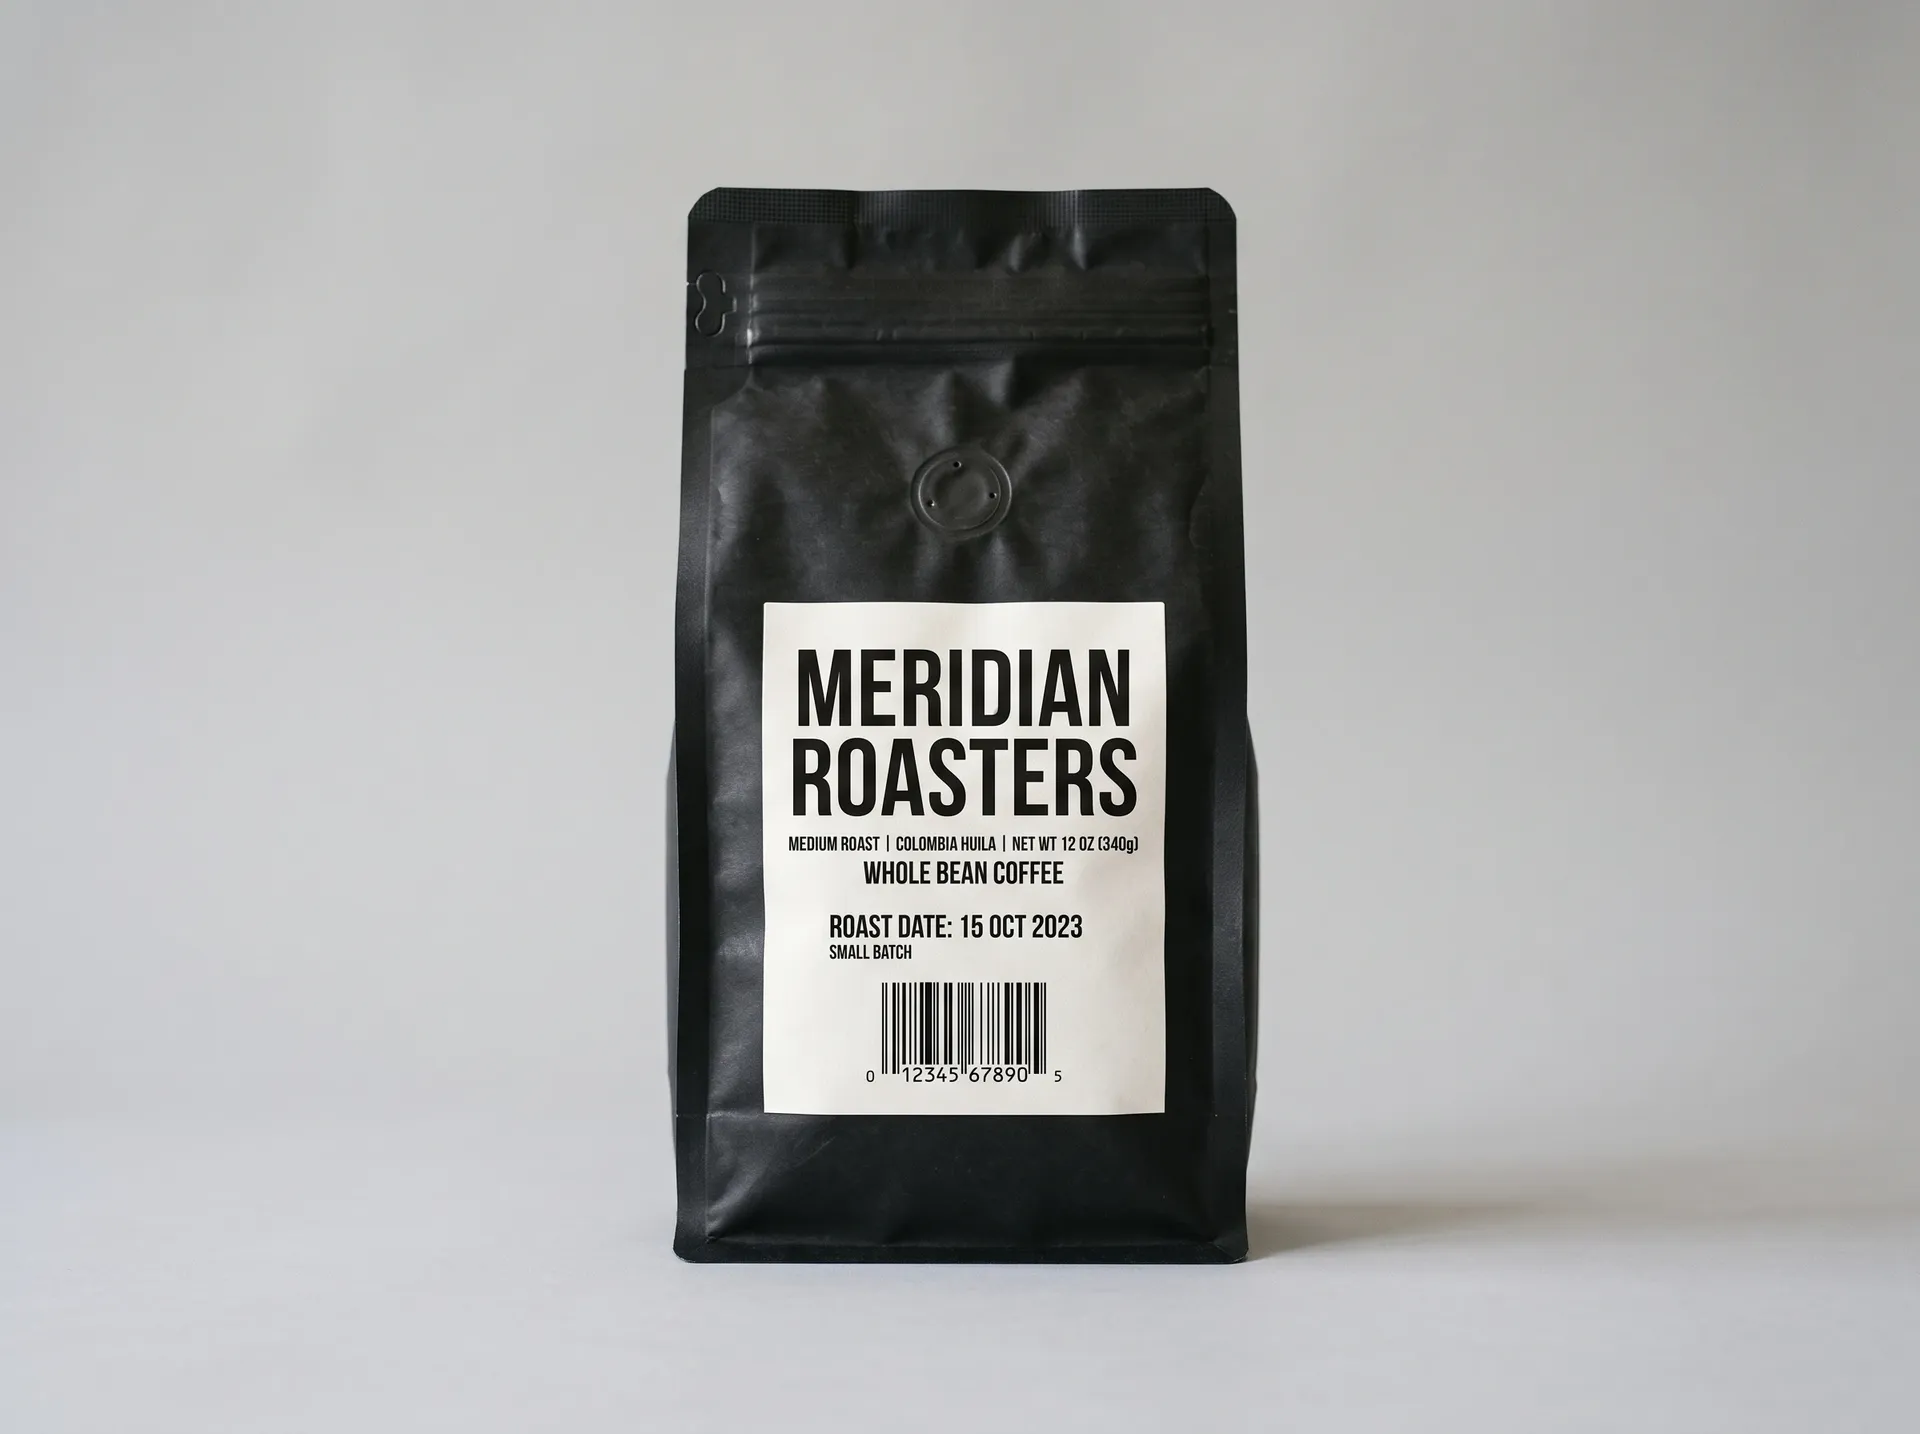
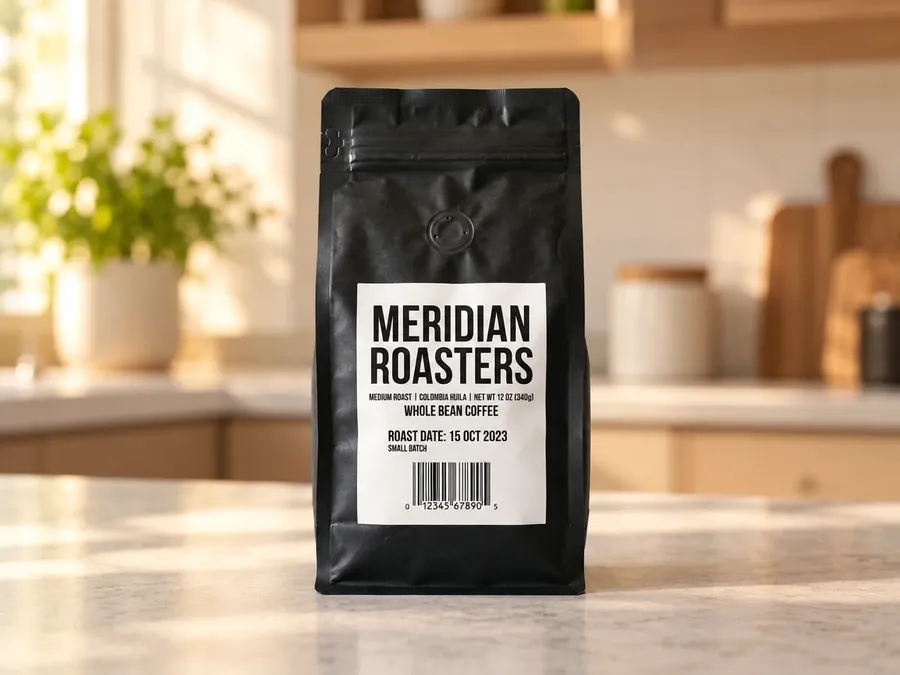
A coffee bag moved onto a warm kitchen counter. The scene is convincing and the large brand name stayed legible, but the small roast-date line came back softer than the source. Packaging with fine print is the clearest case for comparing output and original side by side.
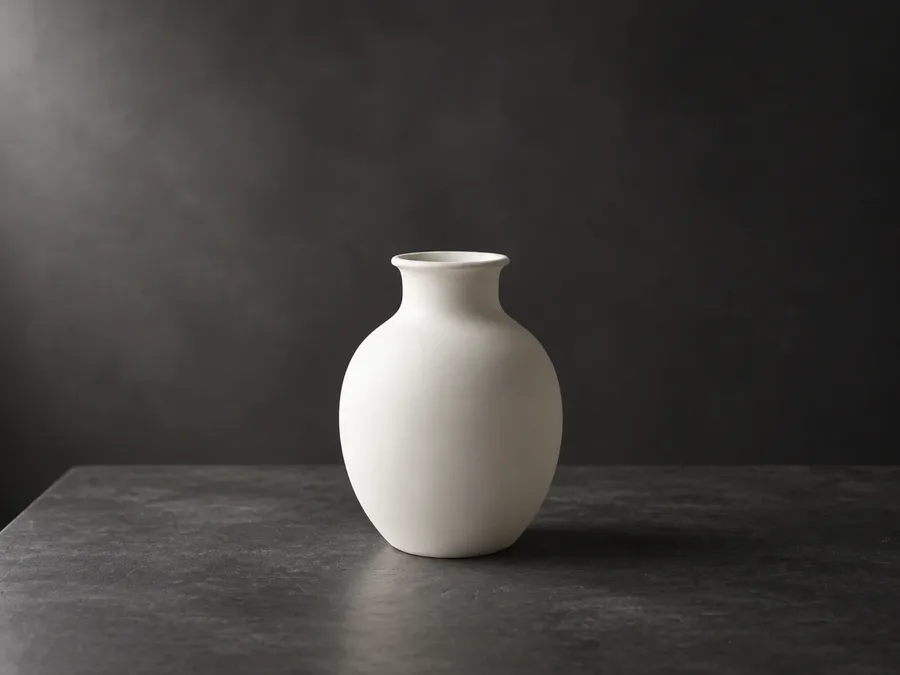
White product, low contrast
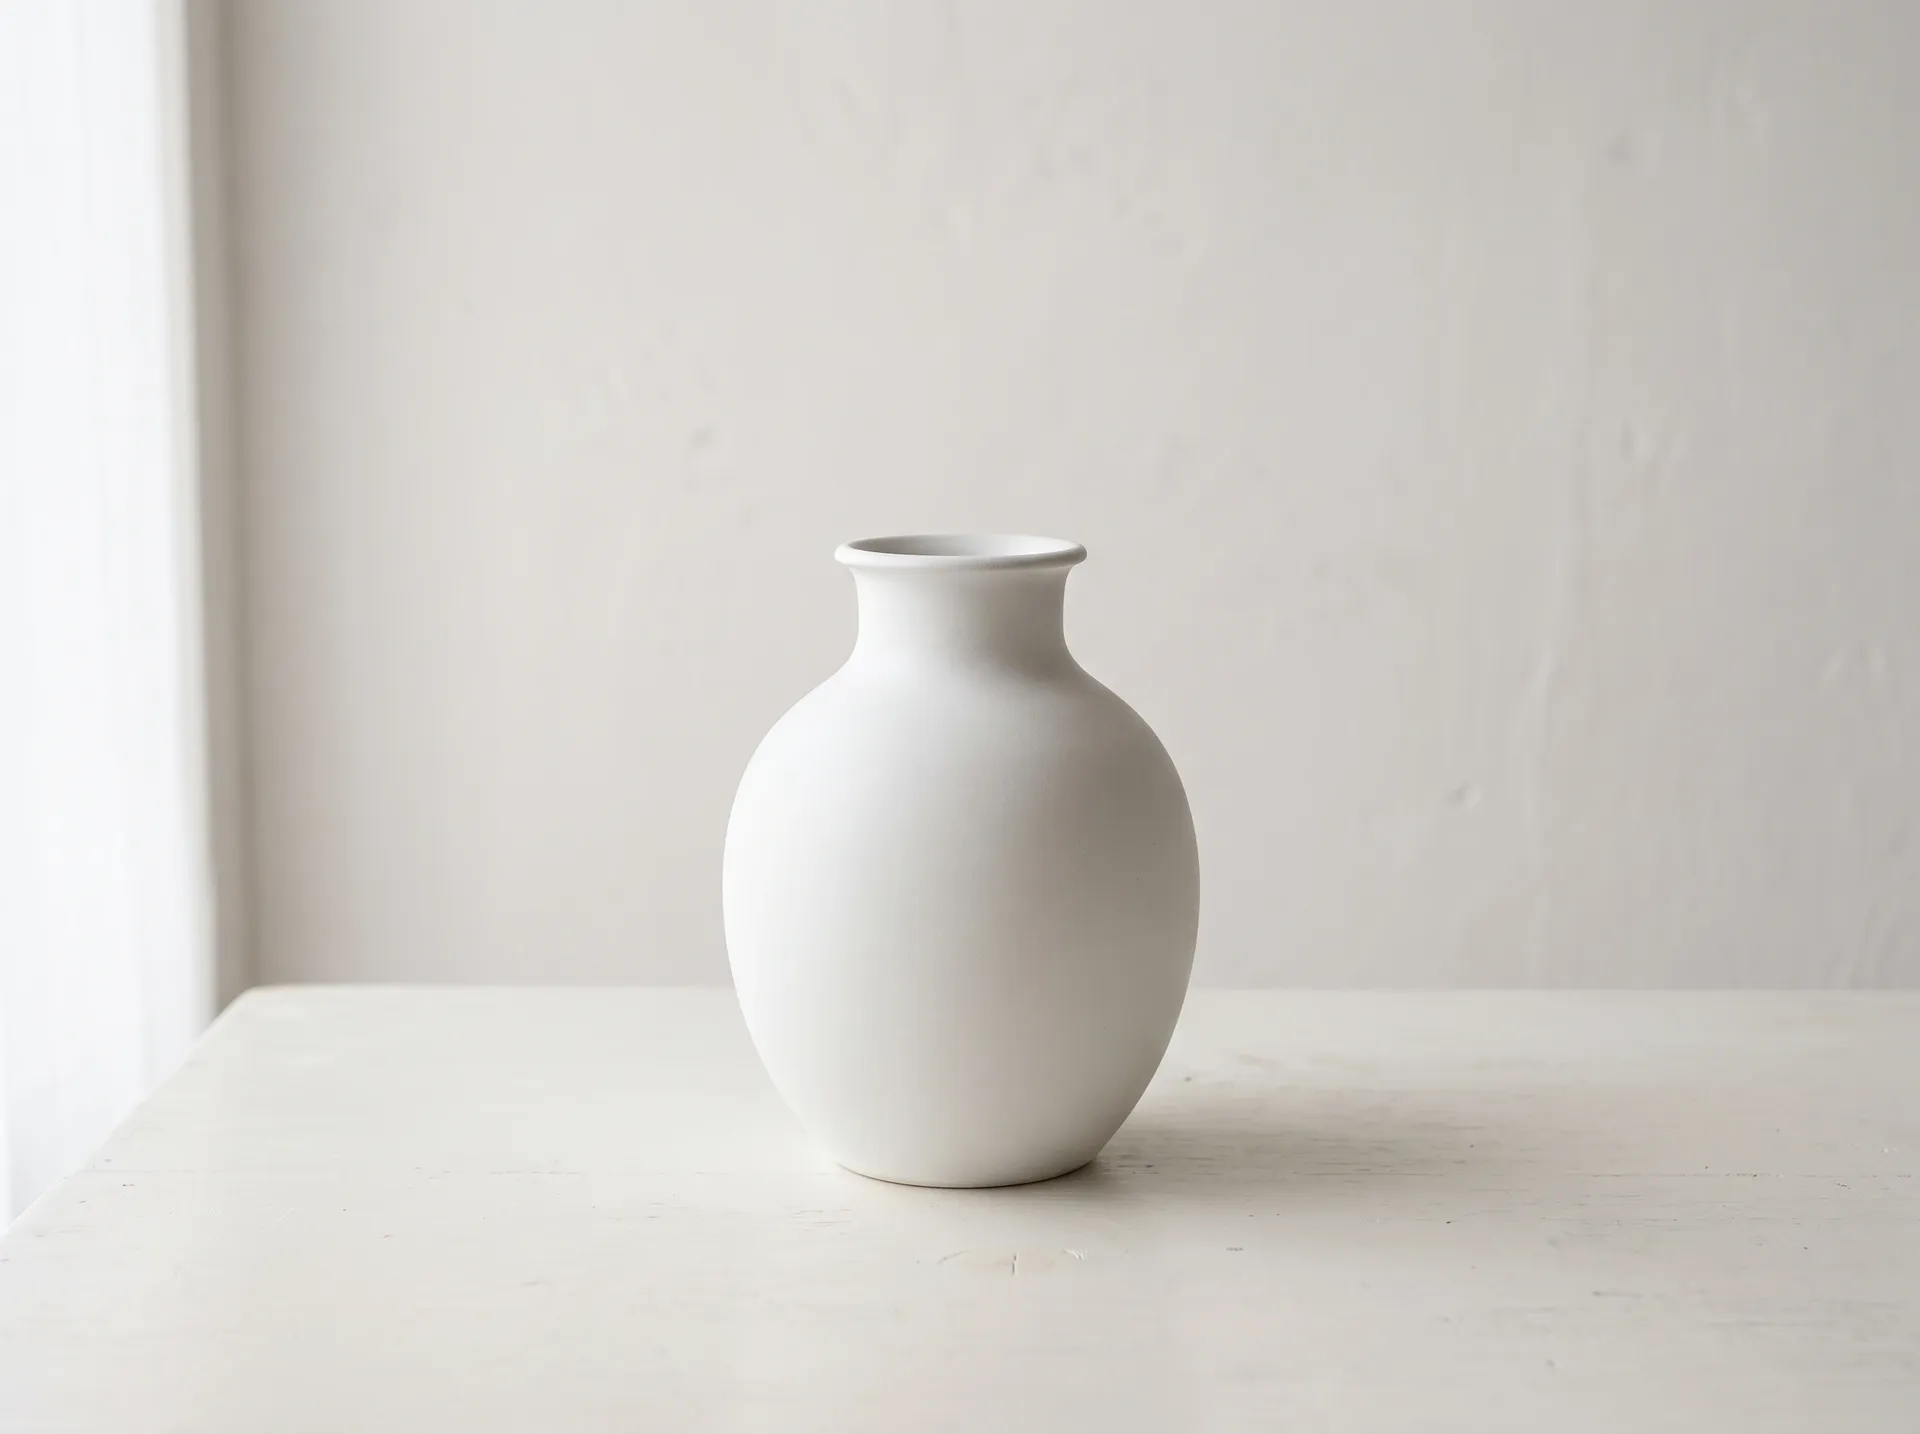
A white ceramic vase shot on an off-white table, moved to a dark studio. The silhouette survived the move cleanly, including the rim. Low separation in the source did not break the edit, but the vase picked up a cooler cast from the new backdrop.
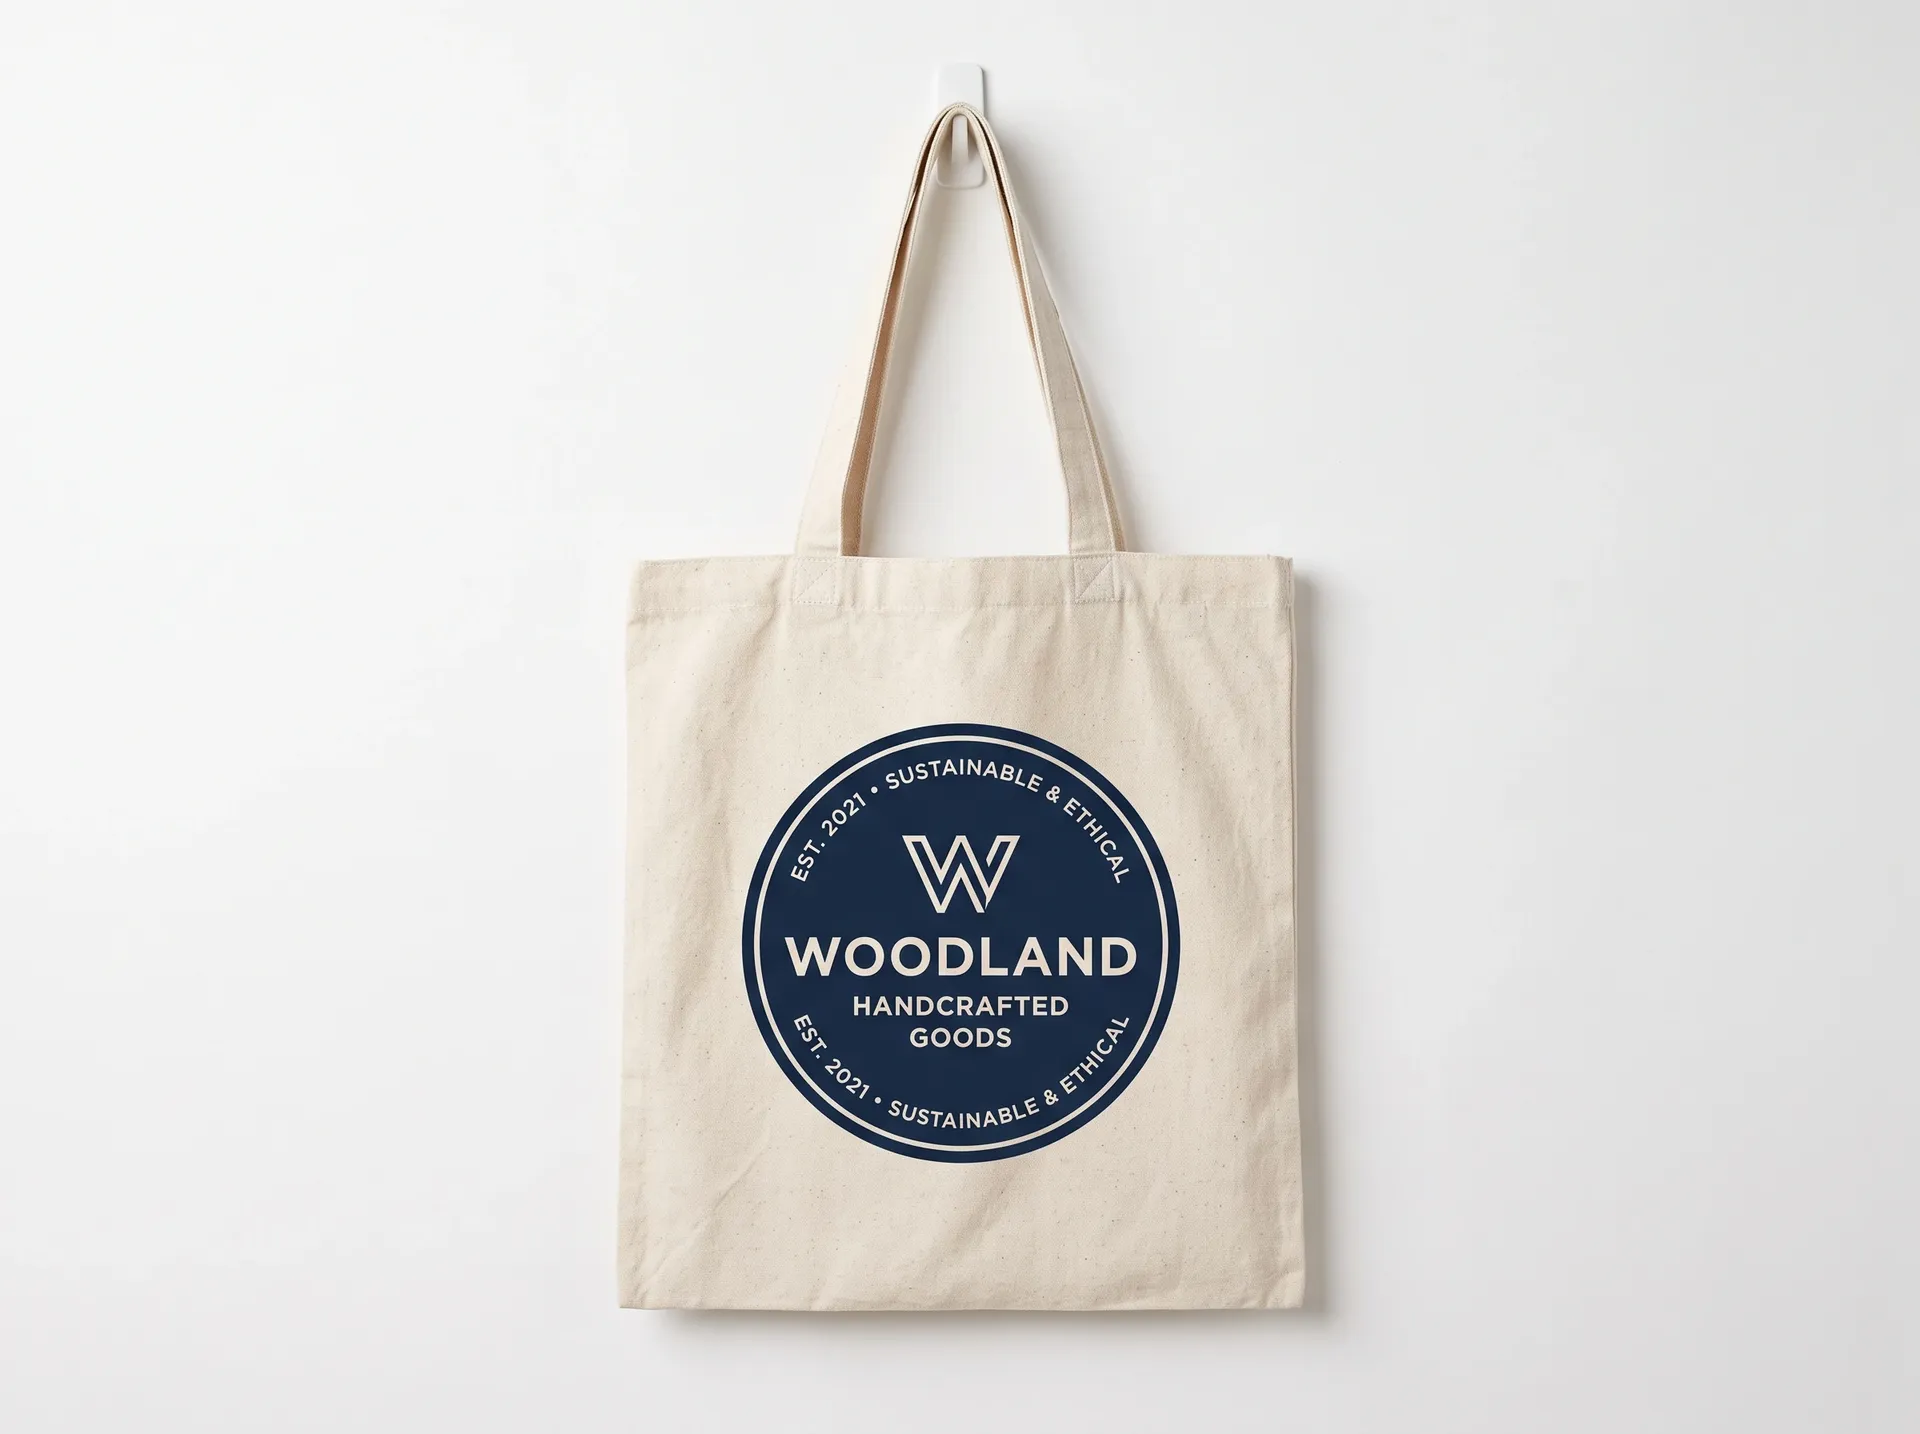
Flat logo on a surface
A printed logo on a tote bag moved into an outdoor market scene. Placement and perspective held. The mark itself re-rendered slightly, with letter spacing a touch tighter than the original, which matters when the mark has to be exact.

One Photo, Eight Backgrounds
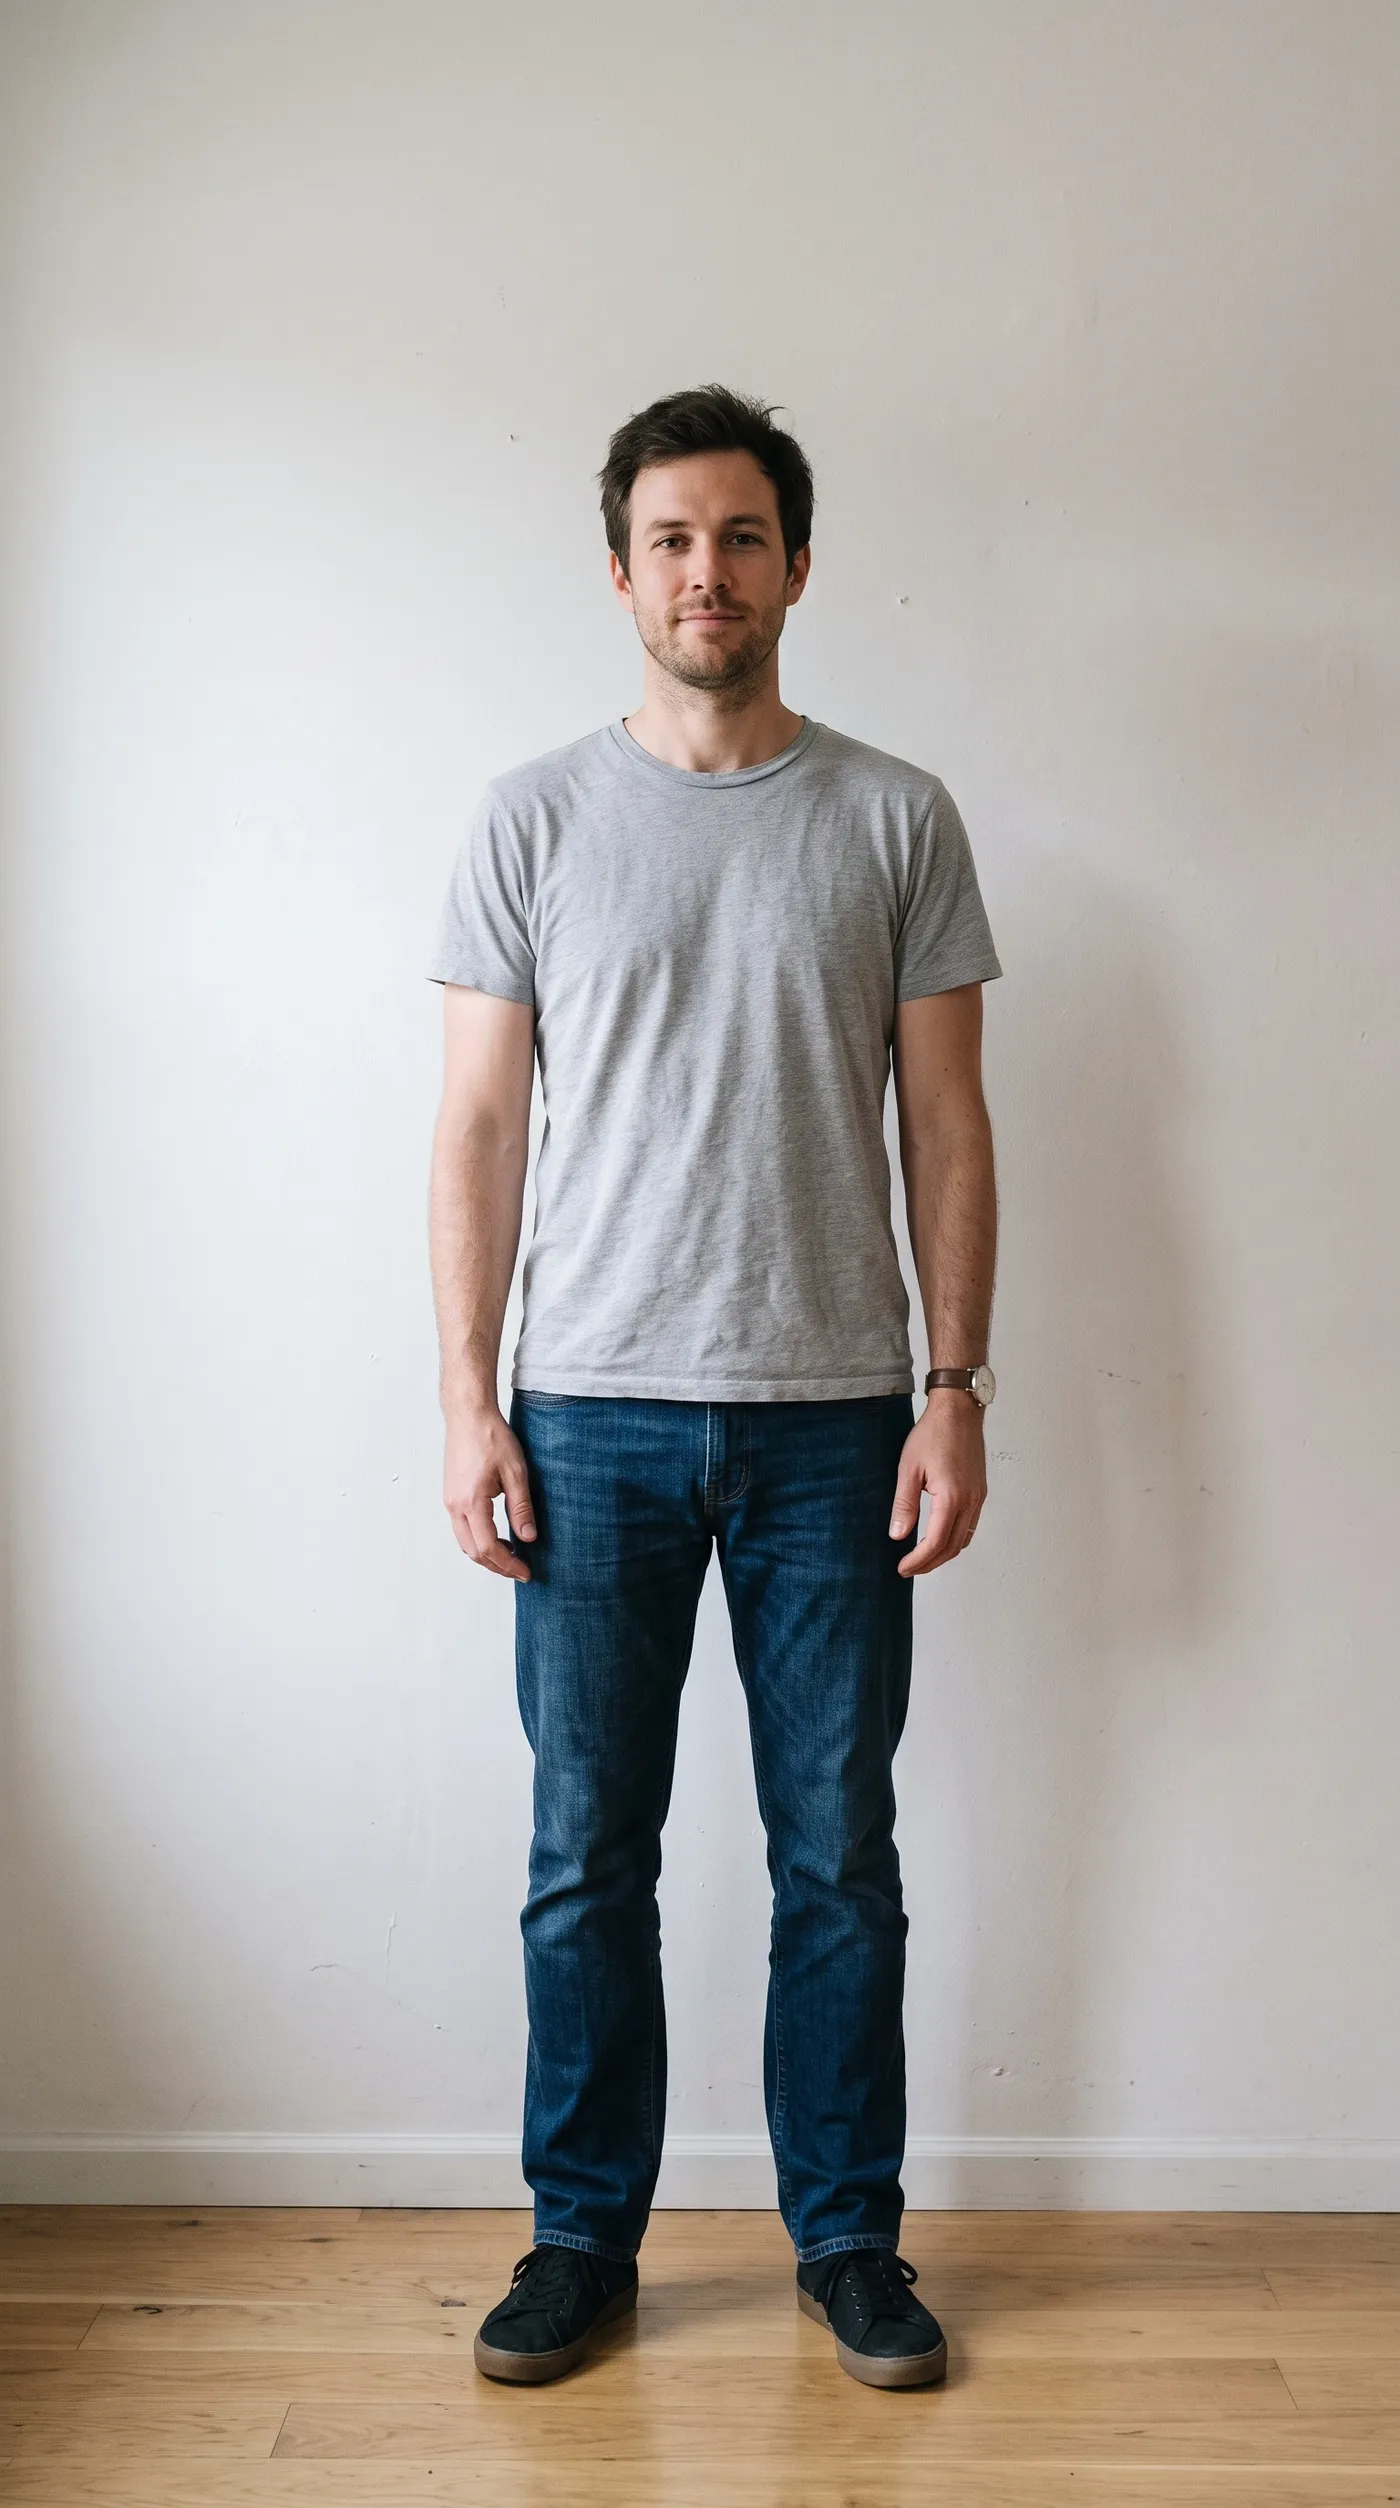
The same source portrait run through eight different prompts. Each result is a separate image and the original stays where it was. Because this is a generative edit, compare the subject with your source before publishing.
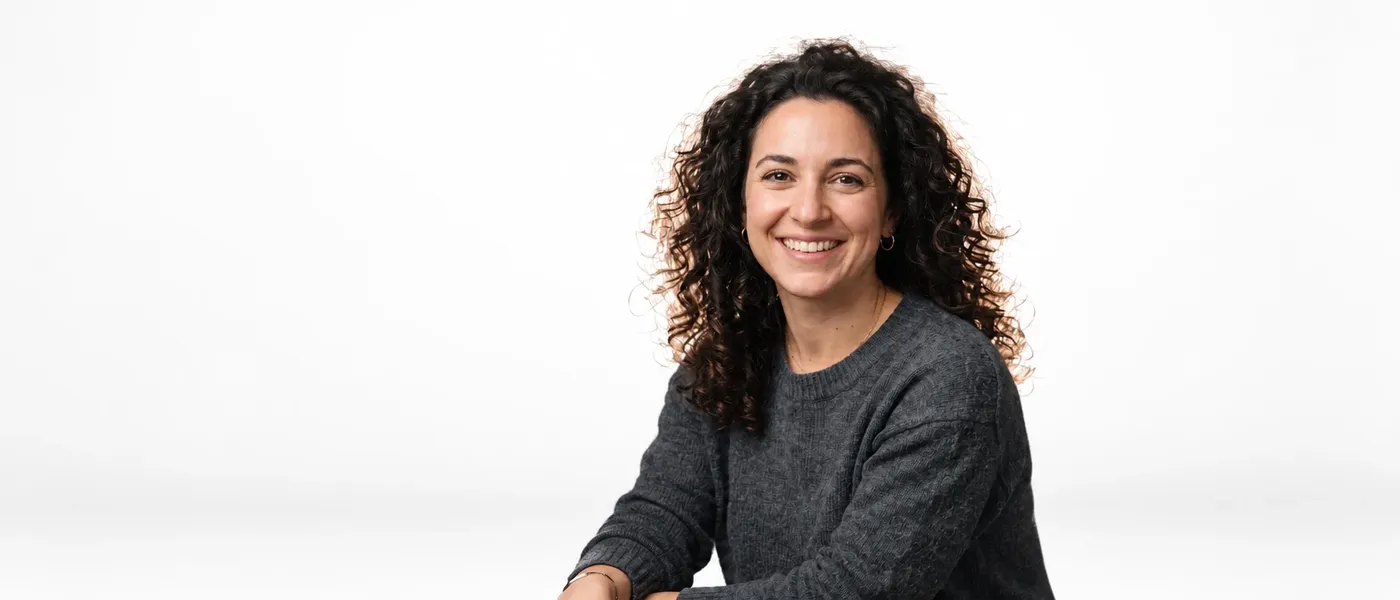
White studio
"Replace the background with a clean white studio sweep, soft even lighting, subtle floor shadow." The contact shadow under the subject was rebuilt to match the new floor.
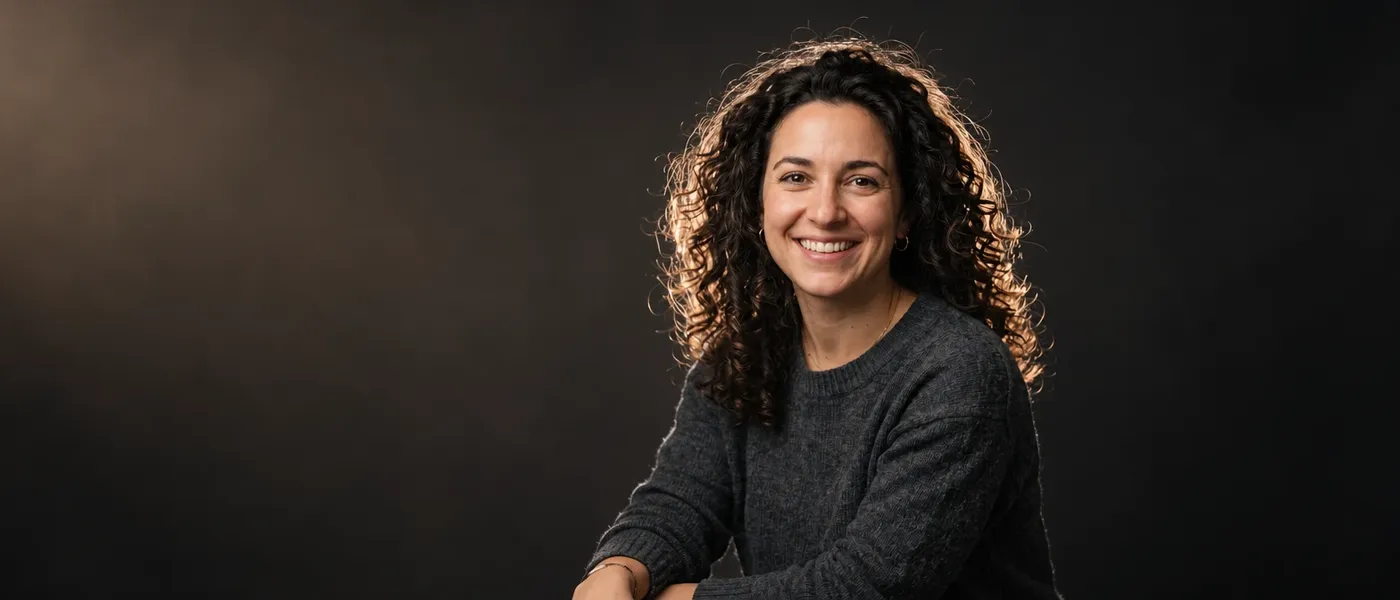
Dark studio
"Replace the background with a premium dark photography studio, softbox lighting from the left, subtle warm rim light, blurred dark backdrop." Rim light on the shoulder is new, added to separate the subject from the dark backdrop.
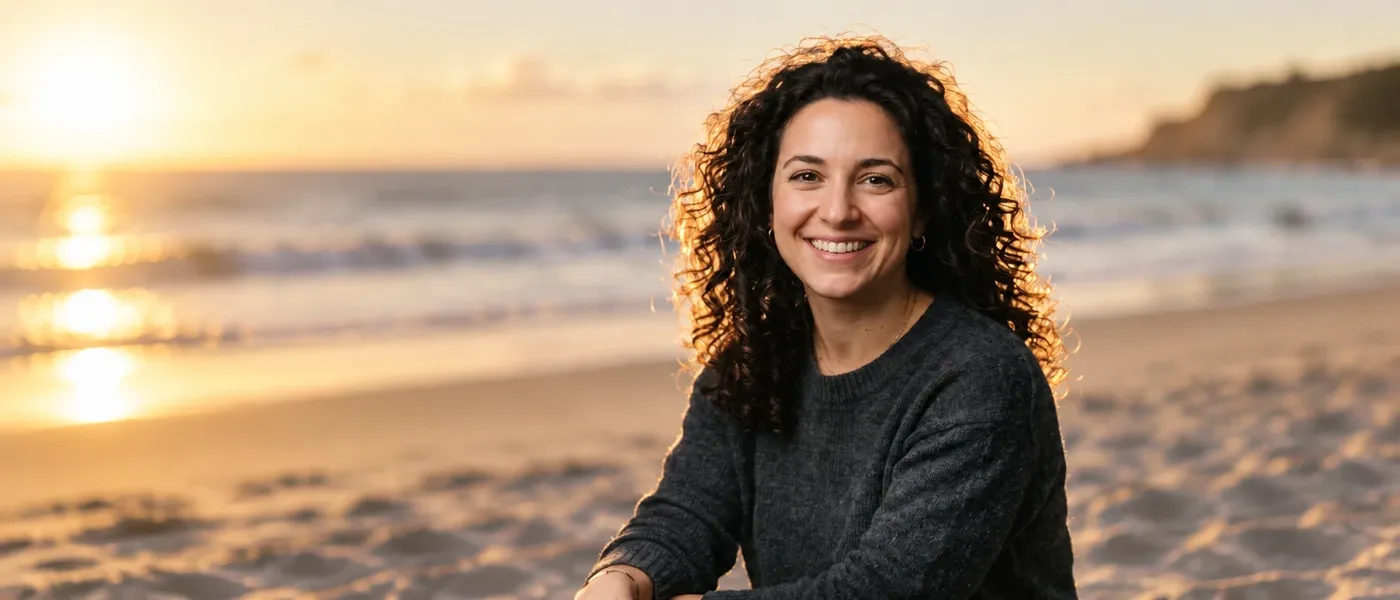
Beach
"Place the subject on a sunlit beach in late afternoon, soft sand, blurred ocean horizon, warm directional light." Skin tones warmed to match the low sun, the biggest subject change in the set.

Office
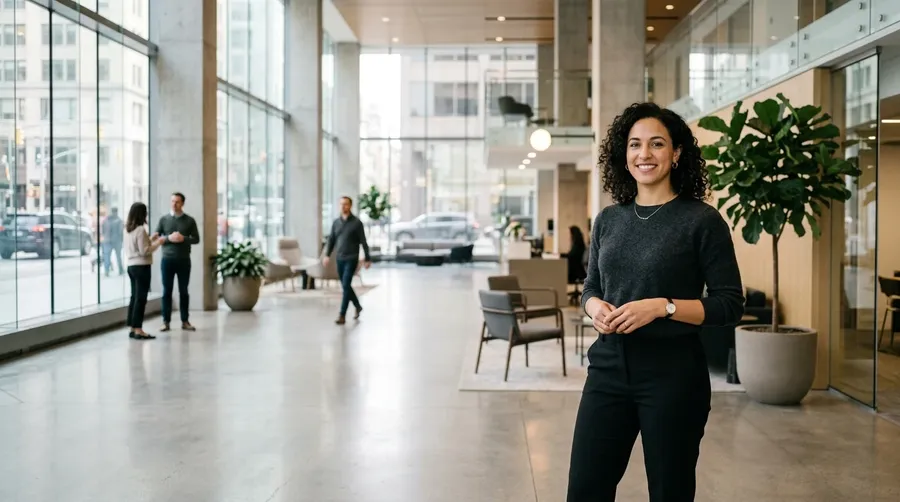
"Place the subject in a modern office lobby with large windows, soft daylight, shallow depth of field, neutral professional atmosphere." The most useful one for profile photos and team pages.
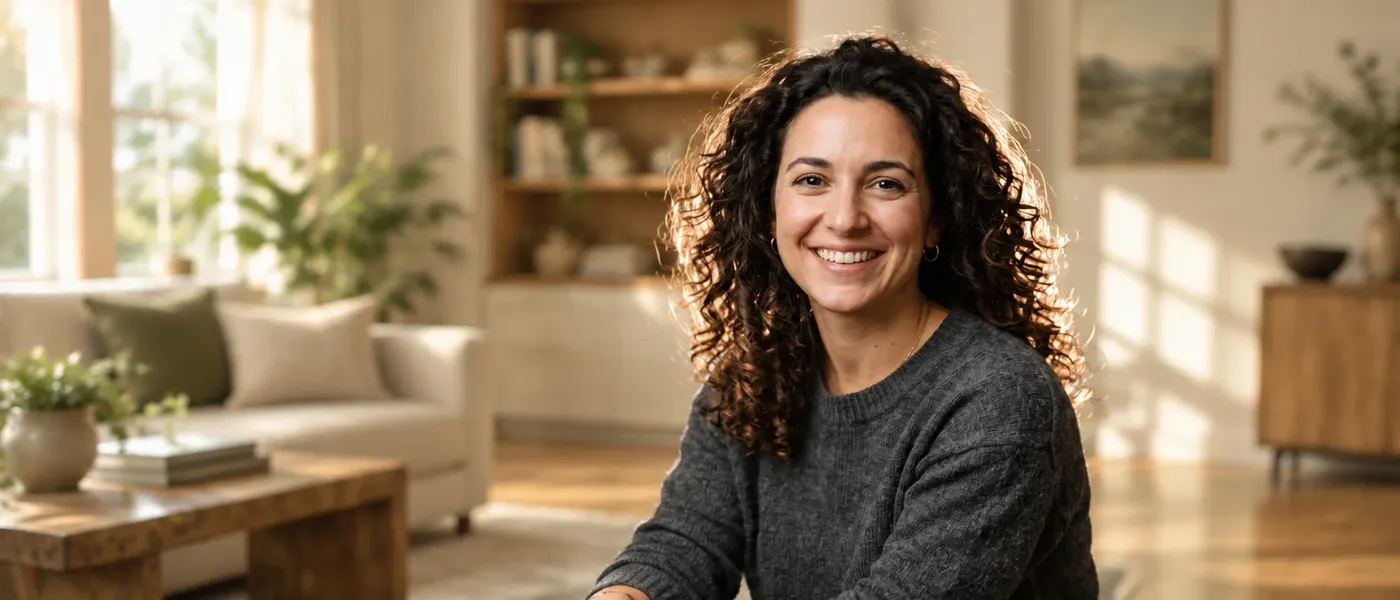
Lifestyle interior
"Place the subject in a warm modern living room, late morning light through a window, wooden floor, softly blurred background." Depth of field keeps the room readable without competing with the subject.
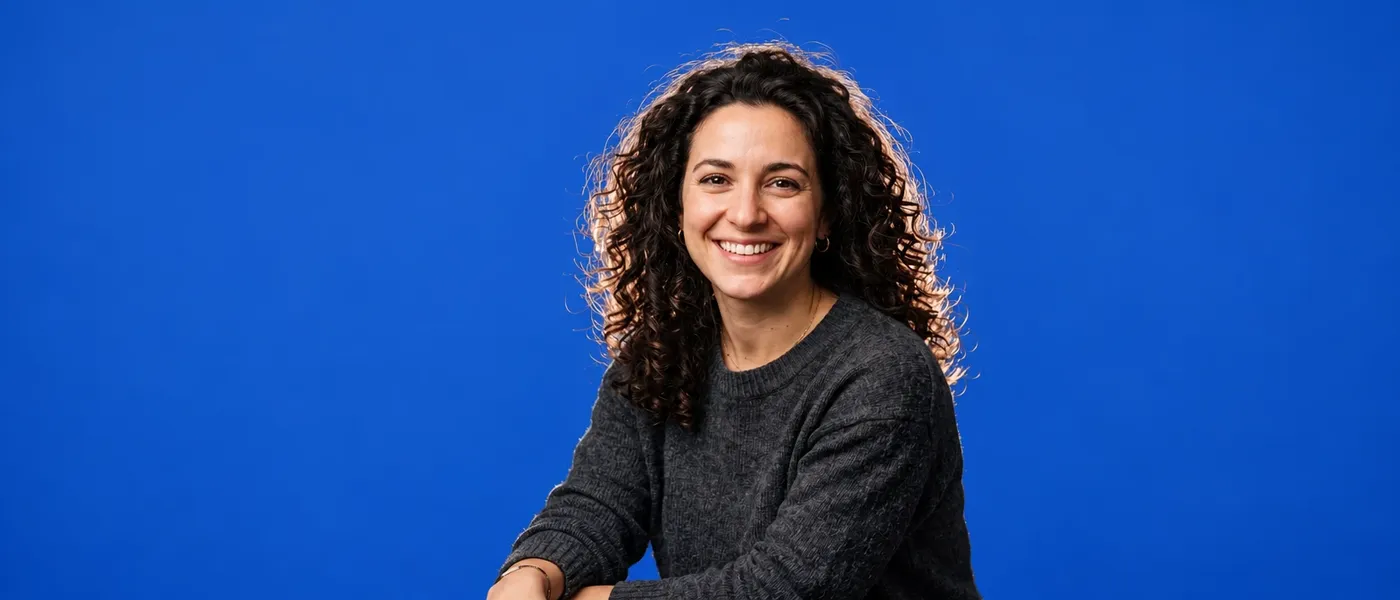
Branded color backdrop
"Replace the background with a flat cobalt blue backdrop, even studio lighting, minimal shadow." The simplest prompt in the set and the closest to an unedited source.
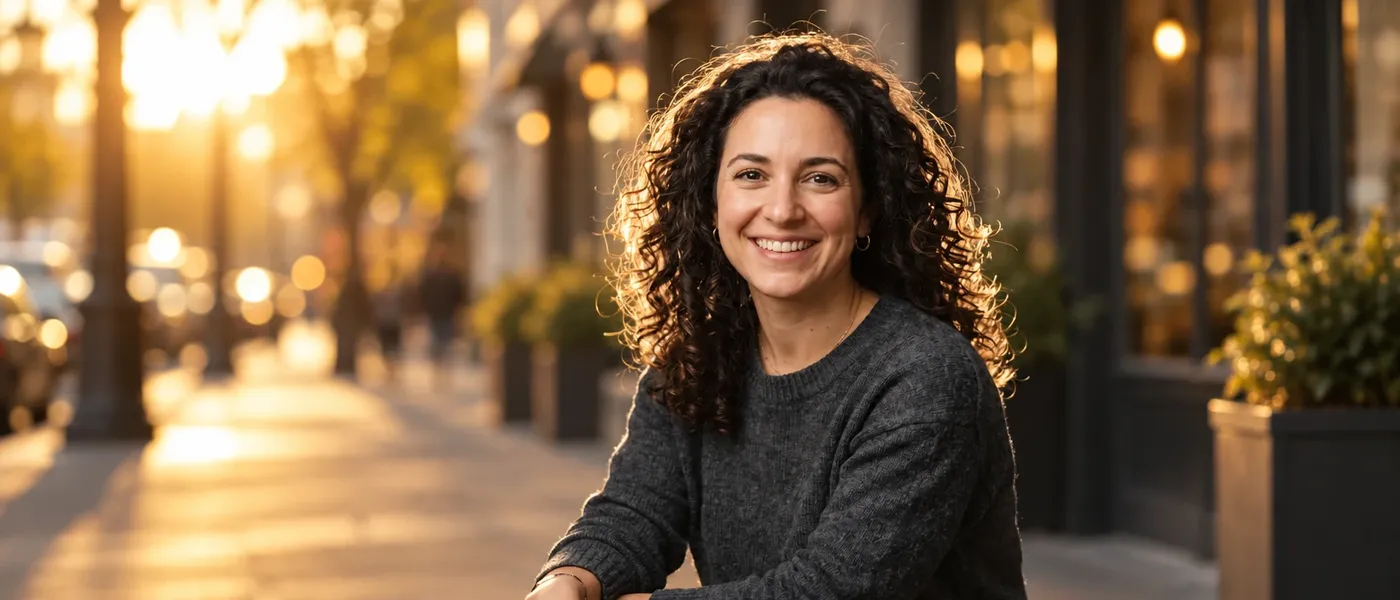
Golden-hour street
"Place the subject on a golden-hour city street, warm low sun, blurred shopfronts, shallow depth of field." The warm low sun and the street reflections both land on her, which is the lighting adapting to the scene.
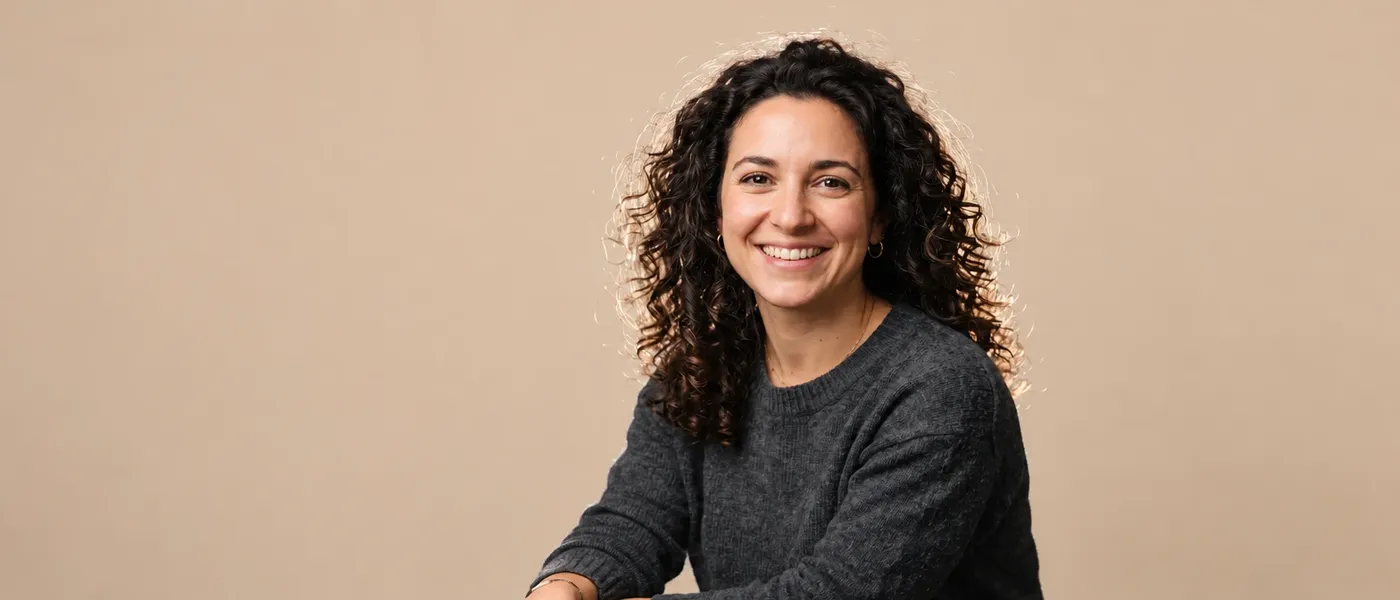
Warm beige backdrop
"Replace the background with a flat warm beige backdrop, even studio lighting, minimal shadow." A softer alternative to pure white when the subject is wearing something dark.
Change Simple Colors or Build Entire New Scenes
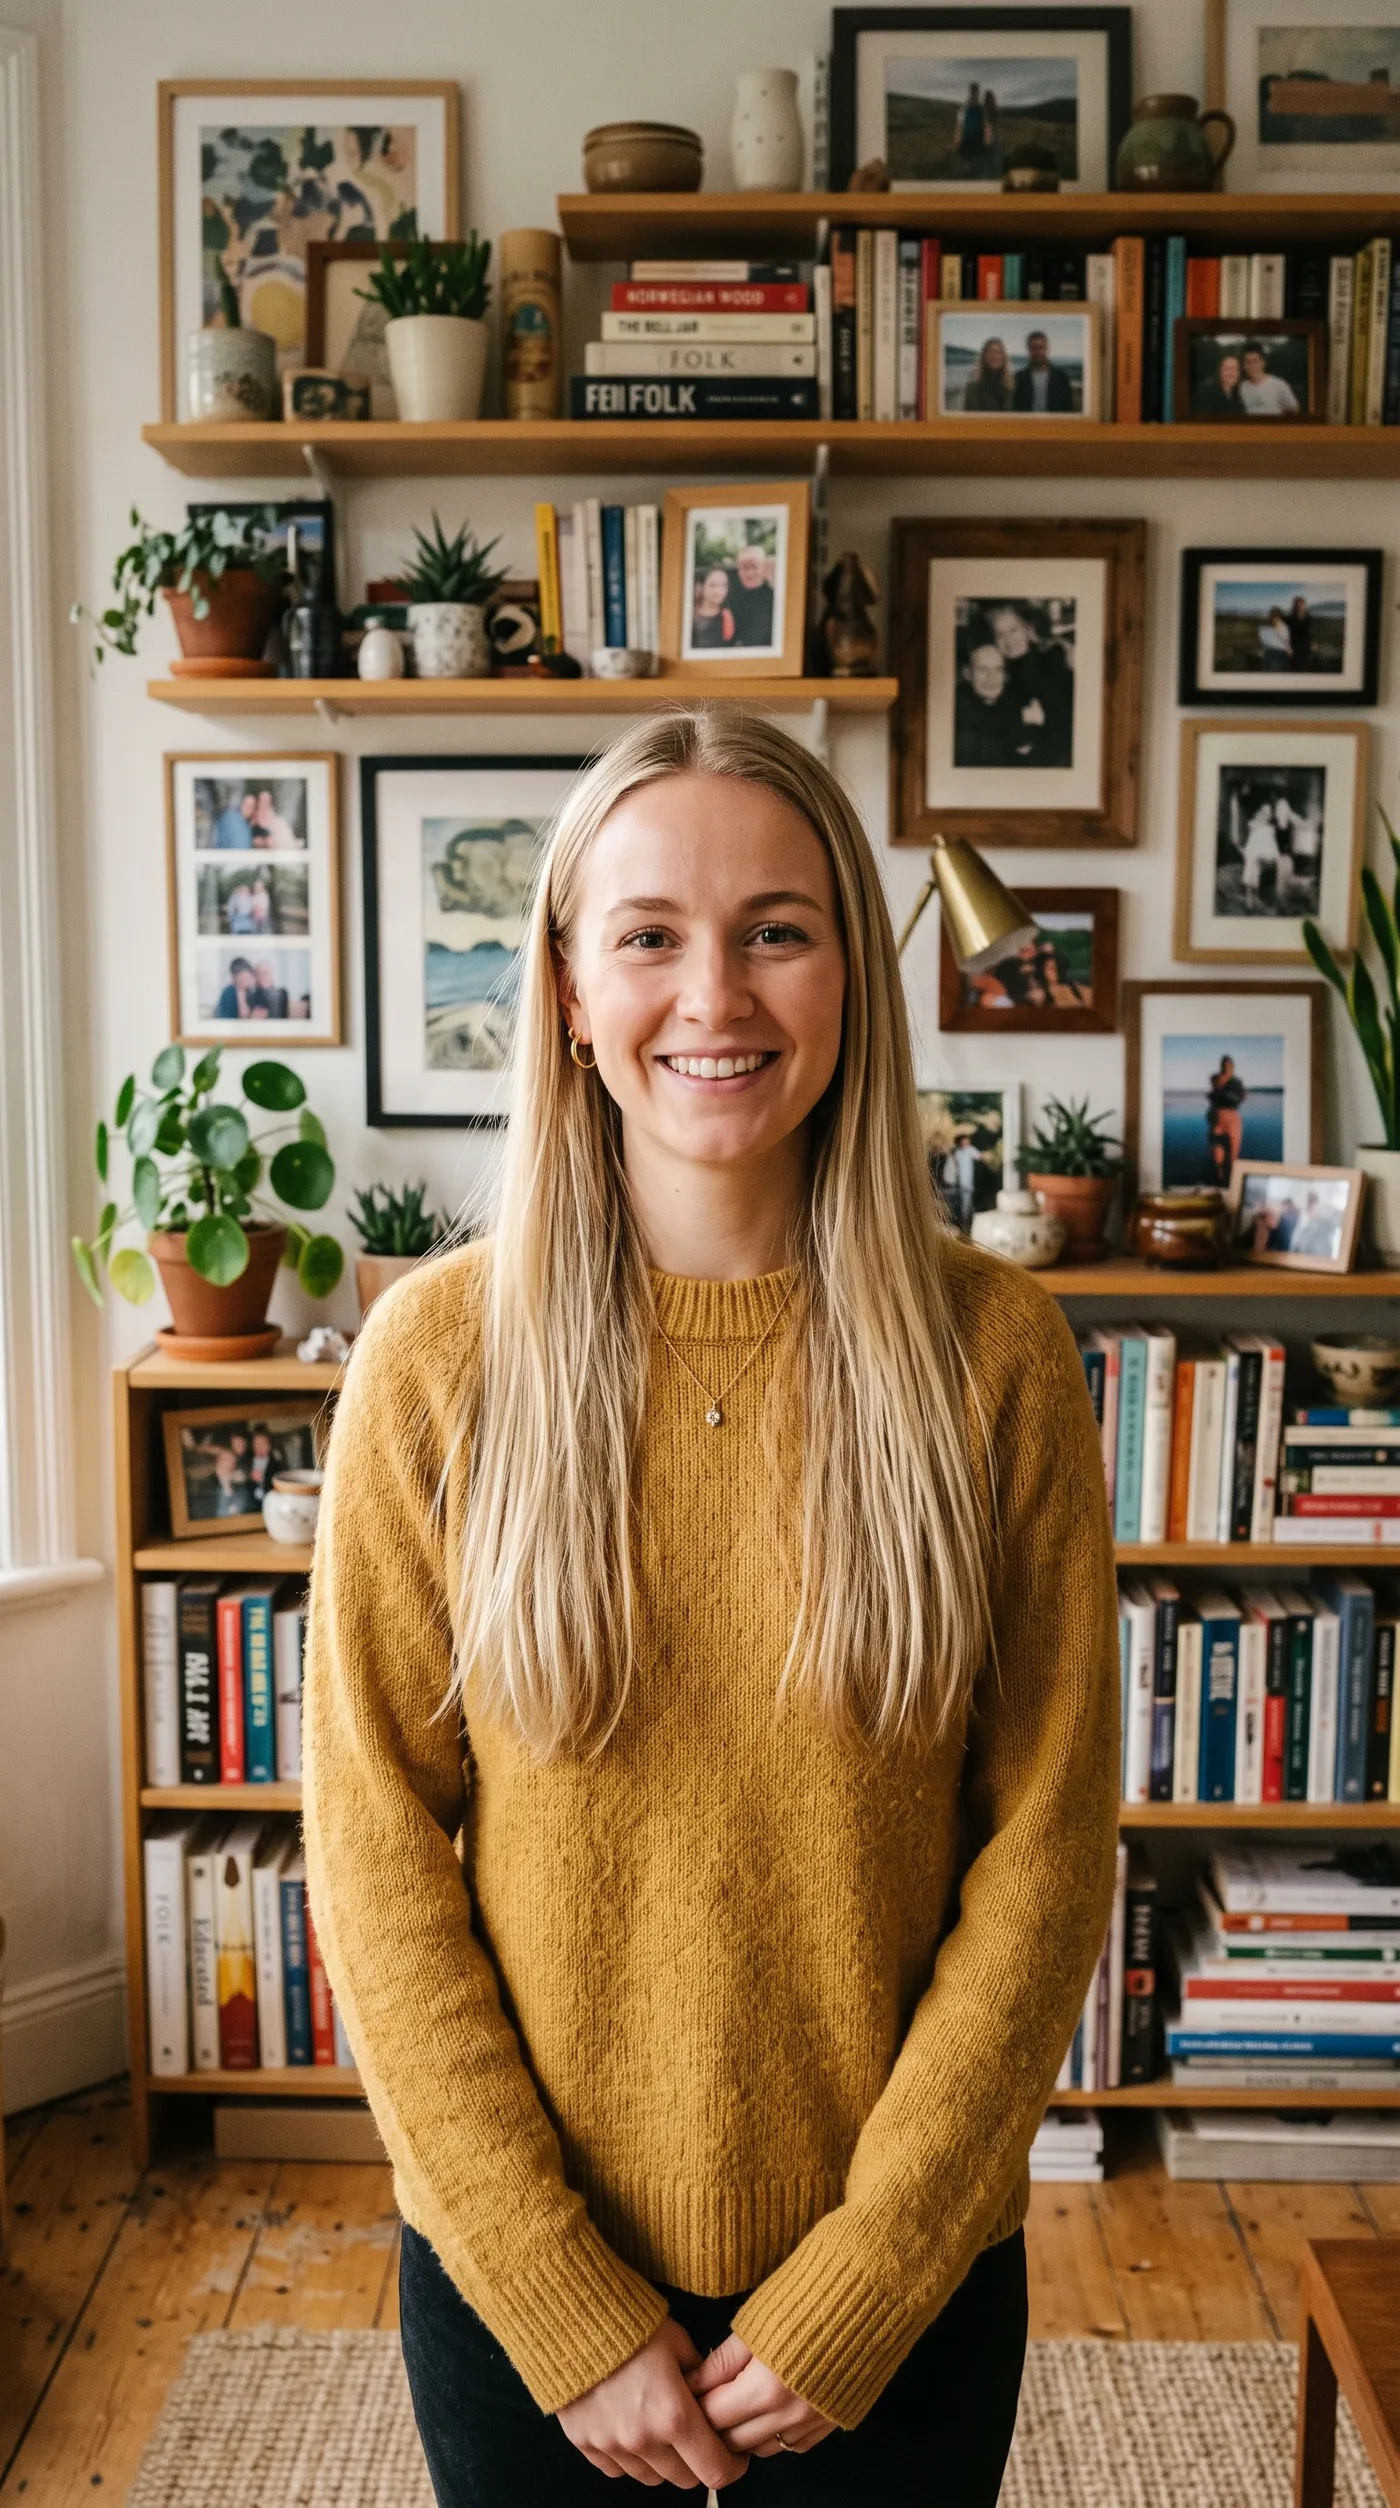
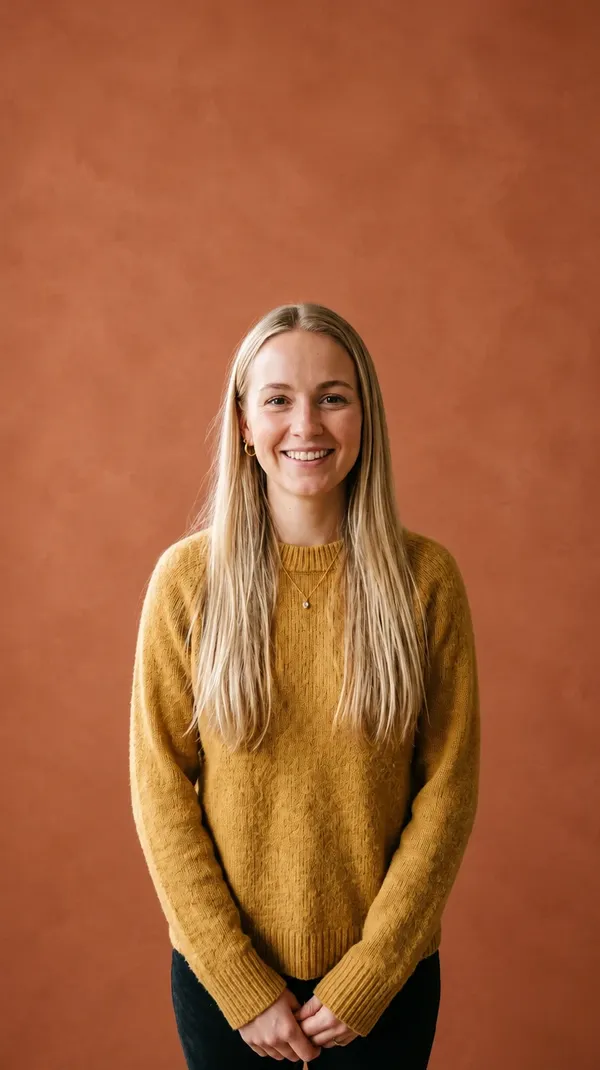
Replace a backdrop with a solid color, studio environment, interior, outdoor setting, landscape, or stylized scene using a text description. Color is the simplest case and often the most useful: "change the background to pure white", "change the background to solid black", "change the background to warm beige", "change the background to warm terracotta". The same prompt box builds a full environment when a flat color is not enough.
Background Changer vs Background Remover
Two tools, two outputs. The difference is whether the background is replaced or taken away. You do not need to remove a background before changing it: replacement happens in one step on the original photo.
How to Change a Background with AI
Three steps, one pass. No cutout stage and no mask.
1. Add your image
Log in to getimg.ai and open Create image from the Image group in the left sidebar. Click Reference, then upload a photo from your device or pick one you have already generated.
2. Describe the new background
Write the setting you want behind the subject, for example "replace the background with a bright white studio backdrop". Starting with change, swap, replace, or place makes the instruction unambiguous.
3. Generate a new version
Press the arrow. The scene is rebuilt around the subject and saved as a separate image. Your original photo stays untouched in the gallery, so the same source can go through another background whenever you need one.
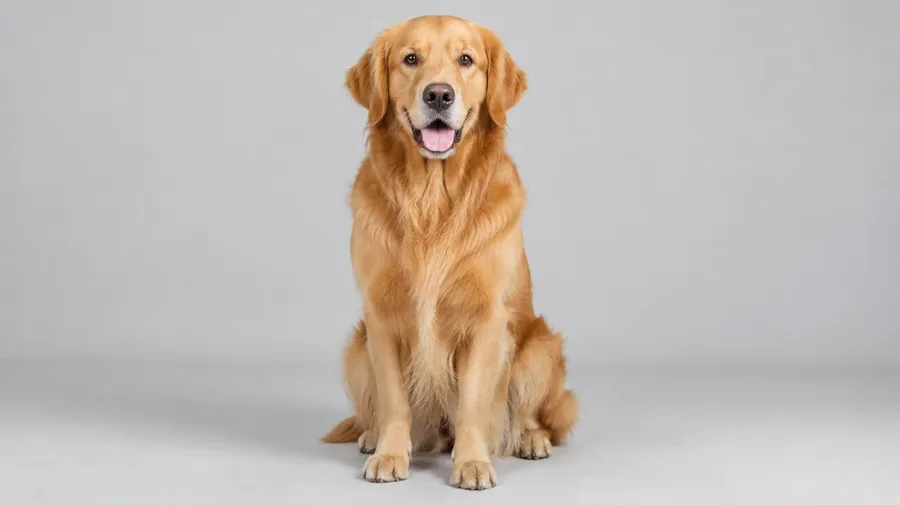
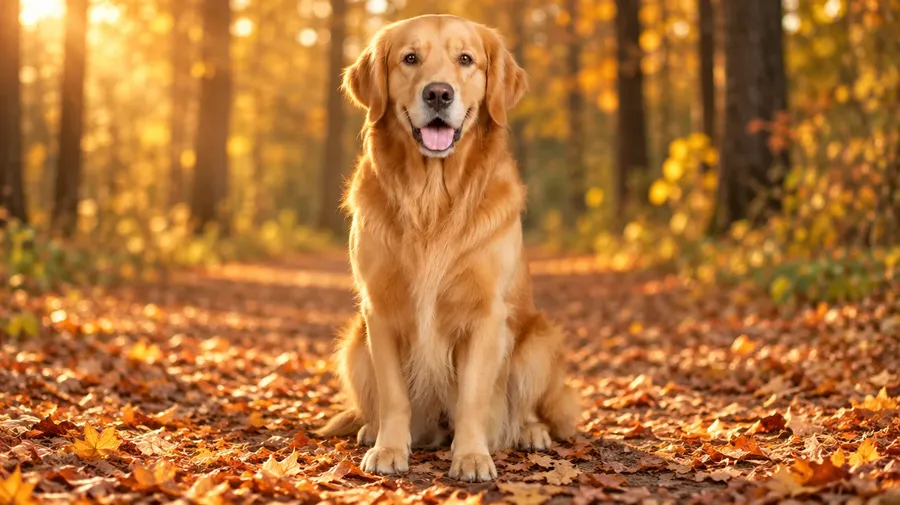
Background Changer at a Glance
What goes in, what comes out, and what happens to your source file.
How to Prompt a New Background
A background prompt works best when it covers six things: environment, surface, lighting, depth, camera context, and mood. You do not need all six every time, but the more you name, the less the model has to guess. A full example: "Replace the background with a premium dark photography studio, product standing on black travertine, softbox lighting from the left, subtle warm rim light, blurred dark backdrop."
Environment and surface
Name the place, then name what the subject is standing or sitting on. This matters most on product shots, because the object has to visually rest on something. "A premium dark photography studio, product standing on black travertine."
Lighting and depth
Say where the light comes from and how much of the scene stays in focus. "Softbox lighting from the left, subtle warm rim light, blurred dark backdrop."
Camera context and mood
Match the framing of your source photo and name the feeling you want. "Modern office lobby with large windows, soft daylight, shallow depth of field, neutral professional atmosphere."
How to Make the New Background Look More Natural
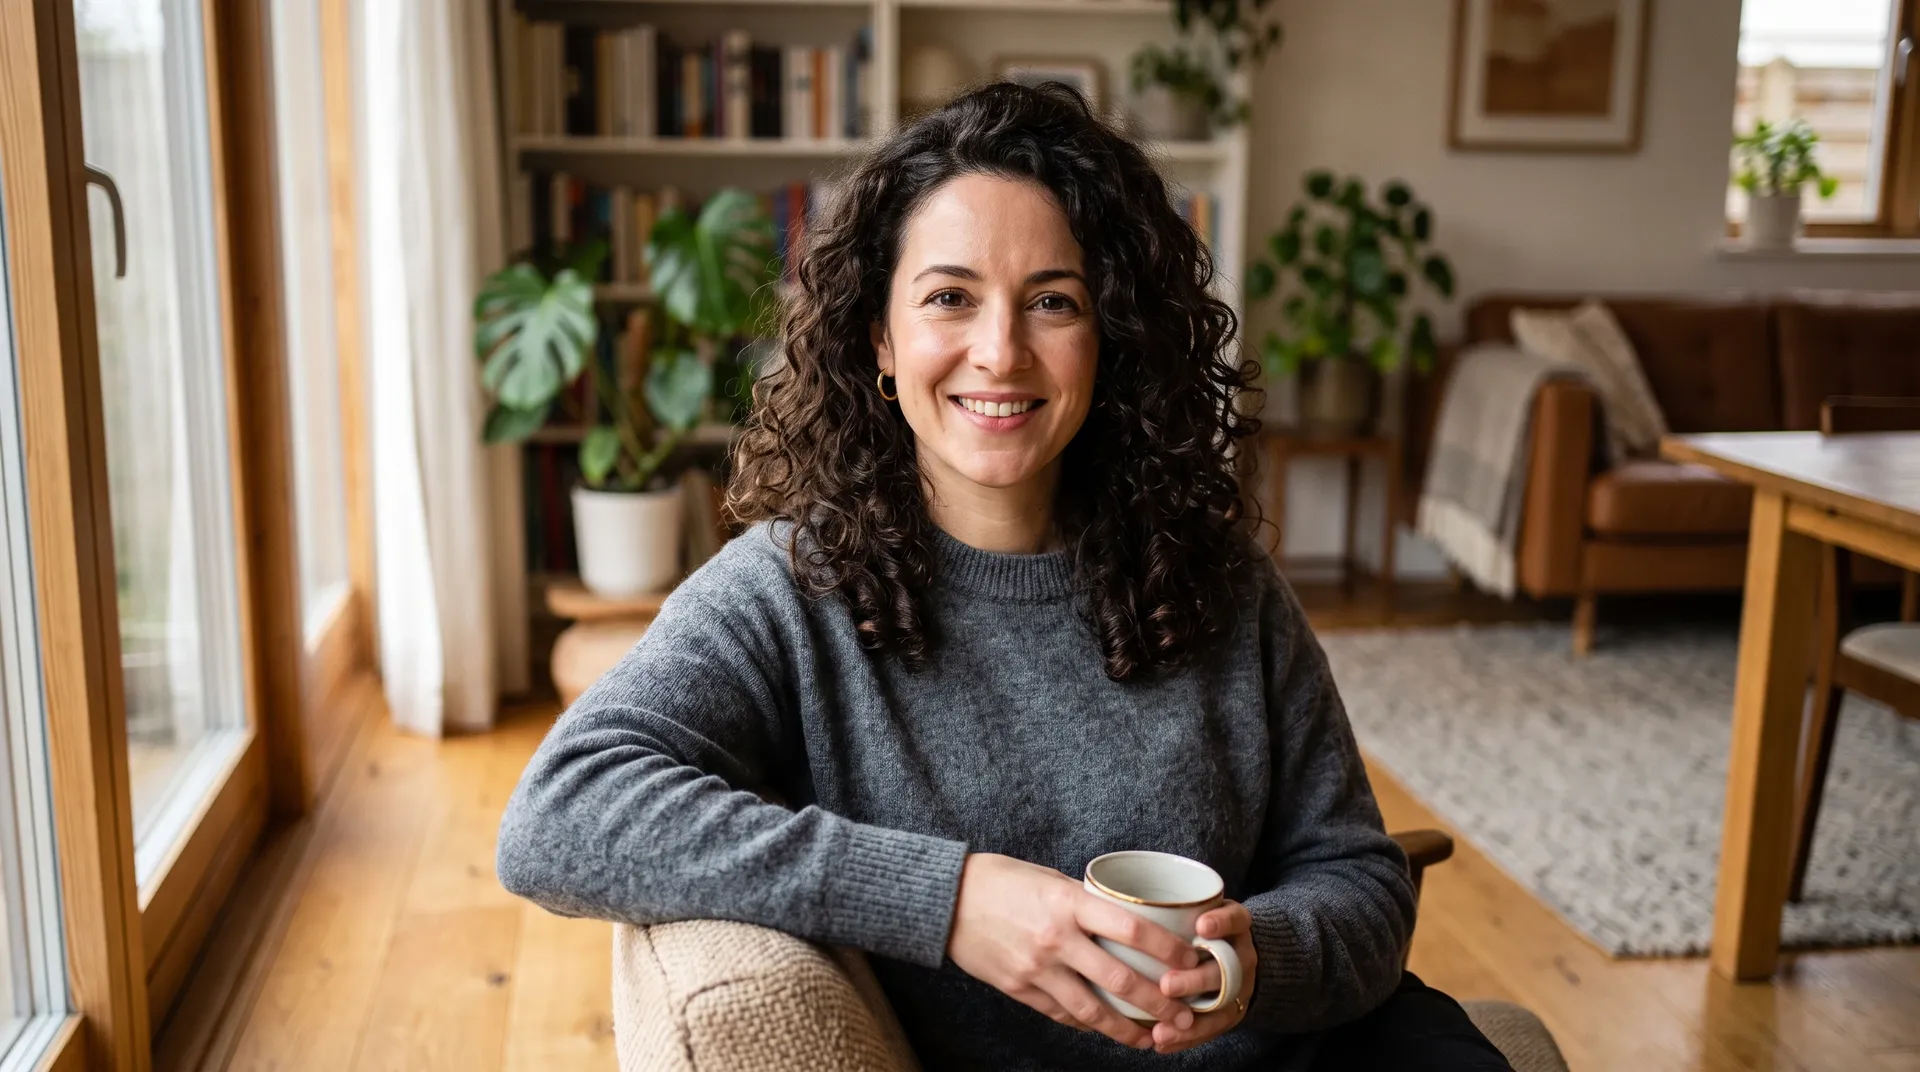
The replacement is generative, so the prompt is where you control how well the subject and the scene agree. These six habits do most of the work.
Need to change more than the background?
Frequently Asked Questions
An AI background changer replaces the environment behind the subject of a photo. Instead of cutting the subject out and compositing a new backdrop underneath, you describe the setting you want and the model rebuilds the scene around the subject. It is closer to a background generator than to a selection tool: the new scene is generated, not pasted in.
On getimg.ai it happens in one pass. Add your photo as a reference in Create image, write the background you want, and generate. There is no mask to draw, no cutout stage, and your original photo stays in the gallery.
Open Create image from the Image group in the left sidebar. Click Reference, then upload your photo or pick one from your gallery. Write what should be behind the subject, for example "replace the background with a beach at sunset", and press the arrow. Background replacement is one kind of prompt edit in that box, which also covers wider image edits such as removing an object or changing an outfit.
Verbs matter more than length. Start with change, swap, replace, or place, then describe the environment, the surface, and the light. The result is saved as a new image and your original stays in the gallery.
No. You do not need to create a transparent image first. Describe the new background on your original photo and the replacement happens in one step. Removing the background first is only worth it when you want the subject on transparency for a separate reason, such as compositing it yourself in a design tool.
Yes, and it is one of the most common uses: a clean studio surface, a lifestyle setting, a seasonal set, or a flat brand color, all from the same product shot. Because this is a generative edit, check the details that have to stay exact before you publish, including packaging, label text, logos, and product geometry. There is more on that workflow on our AI for e-commerce page.
Not guaranteed. Background replacement is a generative edit. The subject can be subtly affected as the model adapts the image to the new environment, most often in lighting, reflections, shadow, and fine detail. That adaptation is what stops the result from looking pasted on.
It is the main difference from Background Remover, which produces a cutout and leaves the subject pixels alone. If the subject has to stay perfectly faithful to the source, compare the output with the original at full size, or remove the background instead and composite it yourself.
Yes, and these are usually the strongest argument for a generative edit rather than a cutout. Instead of tracing a hair edge, the model rebuilds the scene behind it, so fine strands and soft edges tend to hold together better than a hand-made mask would.
Glass and metal behave differently. Reflections get rebuilt to match the new room, which is what makes the result convincing, and it also means those reflections are no longer the ones your camera recorded. We ran a portrait with flyaway hair, a perfume bottle, and a brushed steel watch case through it, and the results are in the test section above.
Yes. A flat color is the simplest case and often the most useful one. Write "change the background to pure white", "change the background to solid black", "change the background to warm beige", or "change the background to warm terracotta". The subject stays in place while the backdrop becomes a single color, which is what most listing and profile requirements ask for.
No. Every edit creates a new image and leaves your source untouched. The original stays in your gallery, so you can go back to it, run it again with a different prompt, or keep both versions side by side.
Yes. Run the same source photo through a new prompt as many times as you need, and every generation is saved as its own image. One product shot can become a studio frame, a lifestyle frame, a seasonal frame, and a brand-color frame without reshooting anything.
Yes. Portraits are one of the most common sources: a desk photo moved onto a studio backdrop, into an office lobby, or onto a plain color for a profile picture. The hair edge is the thing to check at full size. If you want a finished professional portrait rather than a background swap, start from the AI Headshot Generator instead.
Name the environment, the surface, the lighting, the depth, the camera context, and the mood. You do not need all six every time. For a product: "Replace the background with a premium dark photography studio, product standing on black travertine, softbox lighting from the left, subtle warm rim light, blurred dark backdrop." For a portrait: "Place the subject in a modern office lobby with large windows, soft daylight, shallow depth of field, neutral professional atmosphere."
Background Changer replaces the existing environment and gives you an image with a new background. Background Remover takes the environment away and gives you transparency. In the changer, the prompt describes the new scene. In the remover there is no new scene to describe, so there is no prompt at all.
You do not need to remove a background before changing it. Replacement happens in one step on the original photo. Use the remover when you want the subject isolated and the background decision made later, or when the same cutout has to sit on several different backdrops.
Yes. The whole workflow runs in the browser: add the photo, describe the new background, generate. There are no layers, no masks, and nothing to install. The result downloads as a finished image with the new background already in it.
Yes. All paid plans include commercial rights, subject to getimg.ai's use policies. Plans start at $8 a month.
For commercial product work the habit worth keeping is comparing the output with your original before it ships. Background replacement is a generative edit, so packaging, label text, logos, and product geometry are the details to confirm.
Same photo. New setting.
Add your image, describe the background, and keep the original.