How to Turn One AI Character Into a Full Brand Campaign (2026 Guide)

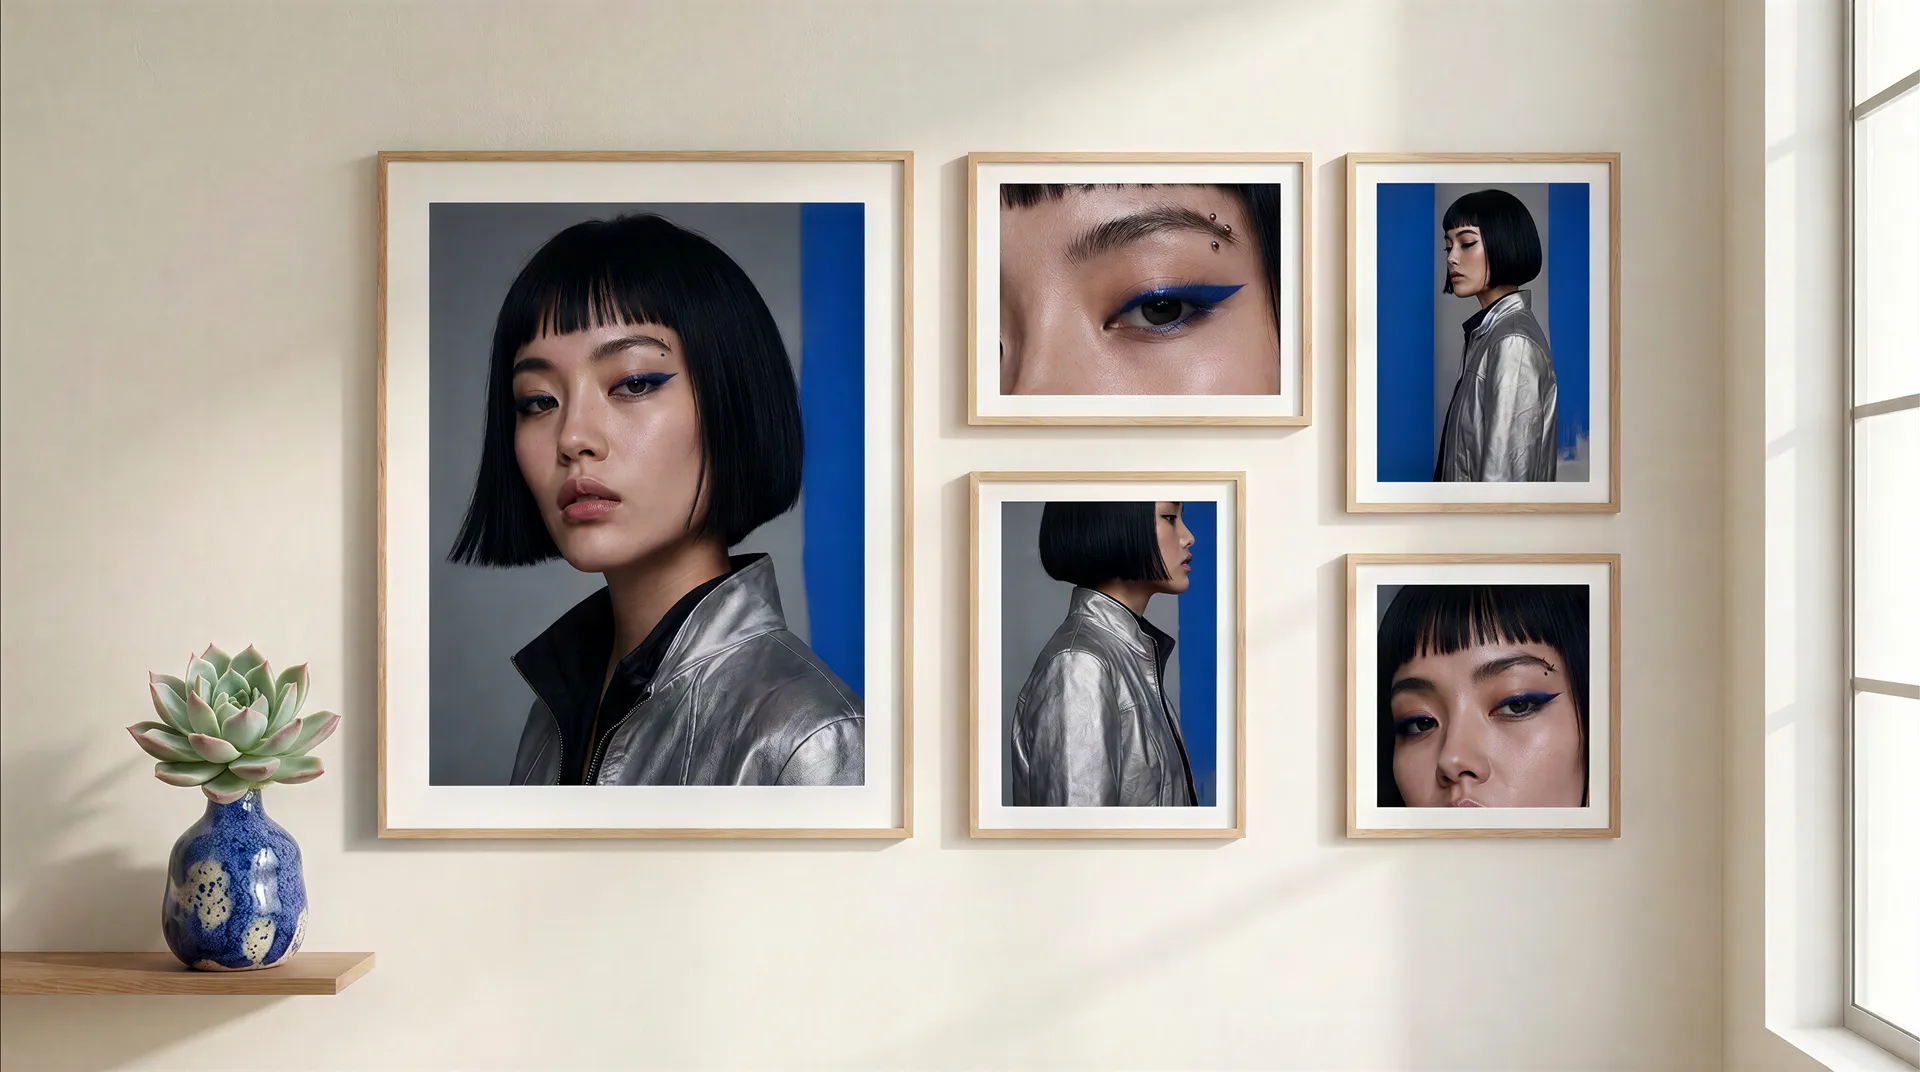
To turn one AI character into a full brand campaign, treat the character's identity as the one thing that never changes and let everything else move around it. Choose your strongest reference image, define the exact features that must stay fixed, and save them as a reusable character reference. Then generate the hero visual, product shots, close-ups, social formats, and video from that single anchor. The environment, crop, and format change per asset; the face, hair, and signature details do not. Done this way, a single character becomes a coherent campaign instead of a folder of unrelated portraits.
Start With One Character, Not One Image
One strong portrait is a starting point, not a campaign. A campaign needs a hero visual, product shots, website banners, close-ups, multiple formats, and often a short video, all recognizably the same person. The mistake most people make is generating each asset as a separate idea, which produces a character who subtly shifts from image to image until the set no longer reads as one identity.
The reframe is simple: you are not making images, you are building a system with one fixed point. The character is that fixed point. Get the identity right once, anchor it, and every other decision (scene, pose, crop, format, motion) becomes a variable you can change freely without breaking recognition. This is the difference between consistent AI characters and a lucky run of similar-looking outputs.
Define What Must Stay Consistent
Before generating anything, decide exactly what makes your character recognizable. Text prompts alone drift, so name the anchors explicitly and reinforce them in every generation.
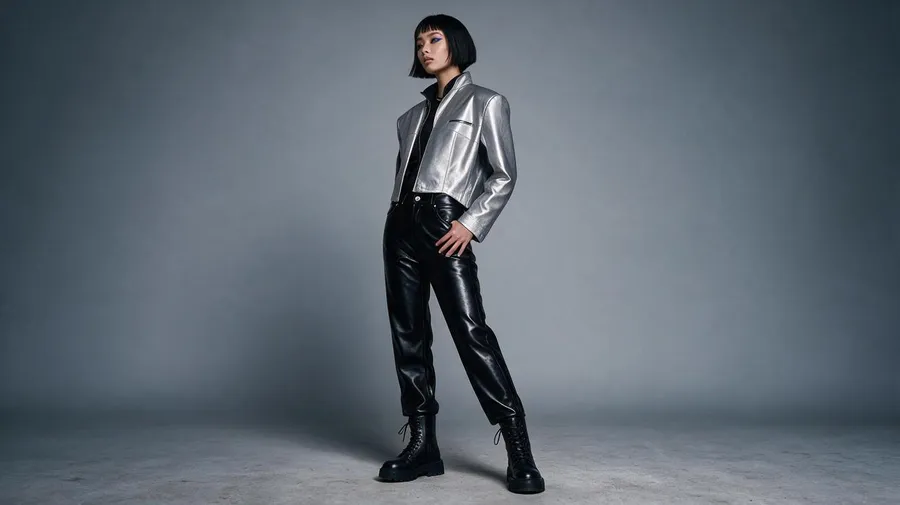
For a futuristic beauty and fashion character, the anchors might be a sharp black bob, metallic blue eyeliner, a structured silver jacket, and one small eyebrow piercing. Those become visual signatures the viewer reads instantly, even when the background and pose change.
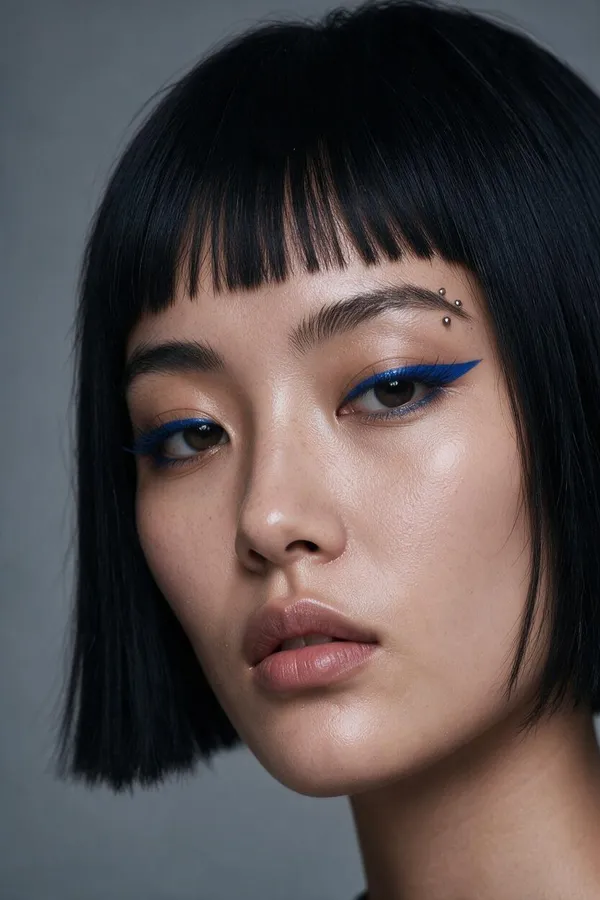
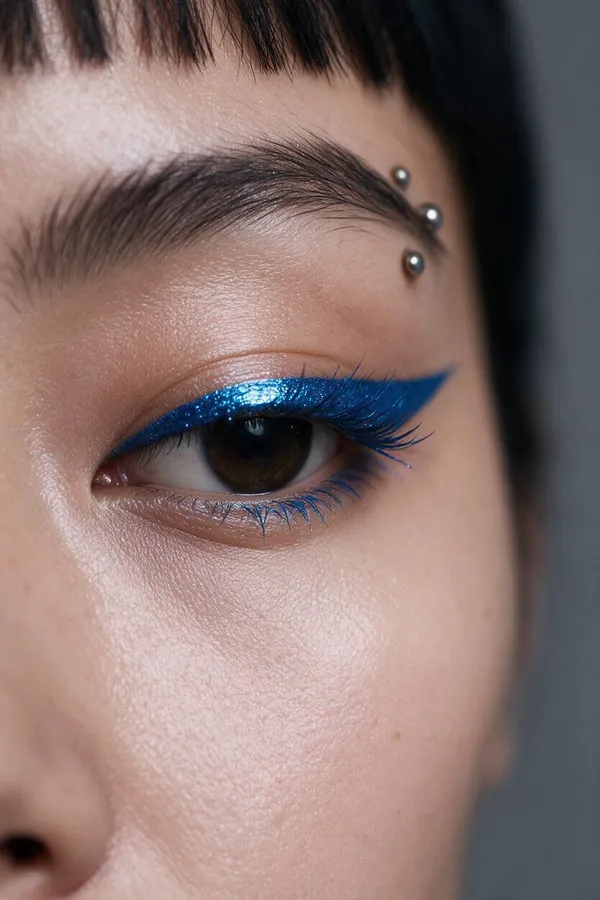
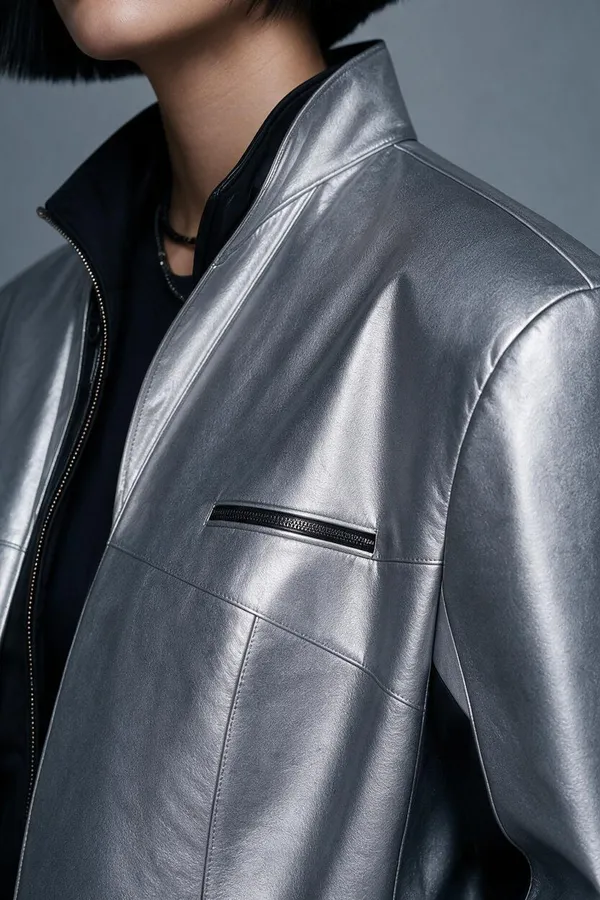
The practical tool is a consistency contract: a short list of what is locked and what is free to move. Everything in the left column travels with the character into every asset. Everything in the right column is yours to change per placement.
Keep Fixed (the Character) | Free to Change (per Asset) |
Facial structure and proportions | Setting and background |
Eye shape and color | Pose and expression |
Hairstyle (e.g. a sharp black bob) | Camera distance and crop |
Skin tone | Aspect ratio and format |
Outfit silhouette (e.g. a structured silver jacket) | Props and product in frame |
Two or three signature details (blue eyeliner, eyebrow piercing) | Lighting intensity within the palette |
Write the fixed list into your prompts even when a reference is doing the heavy lifting. Reference and description reinforce each other, and the signature details are what keep the character from sliding into a generic face across a long series.
Build the Brand World Around the Character
A consistent character still needs a consistent world, or the campaign feels like the same person photographed by five different studios. Define one visual direction and apply it everywhere: color palette, materials, light quality, and typographic feel. For the example character, that world could be silver surfaces, deep cobalt blue, clean white light, transparent materials, sharp type, and minimal futuristic architecture.
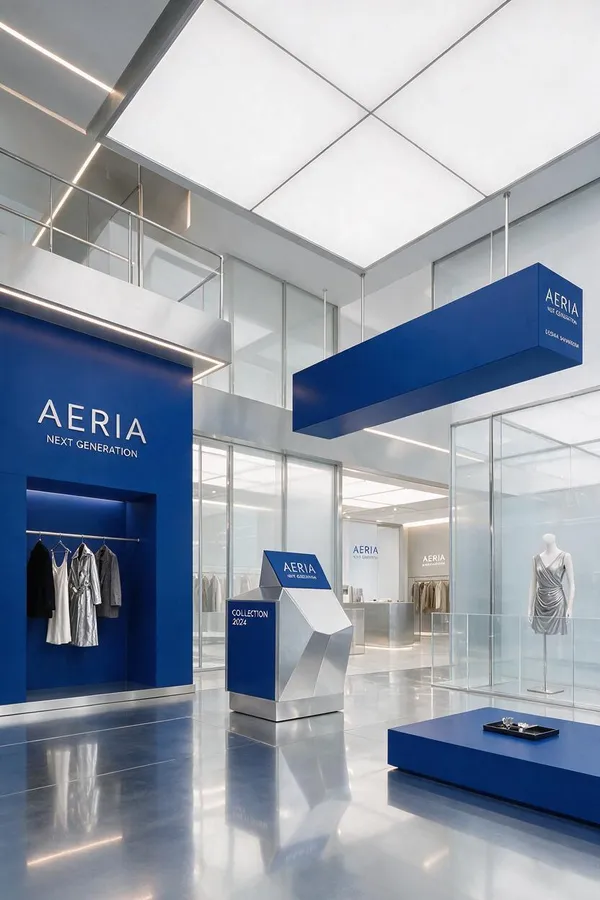
The goal is not to make every image identical. It is to make every image feel like it belongs to the same launch. Keep the palette, materials, and lighting logic stable across the set, and let only the composition change from one asset to the next.
Holding a visual world steady across many different scenes is a skill in itself, and it is the foundation of generating images in a consistent brand style. The twist here is that a character sits at the center of that world, so both the face and the surroundings have to stay recognizable while the scene changes underneath them.
The Workflow: From One Character to Every Asset
Each step below produces one part of the campaign, and every step reuses the same locked identity rather than starting over.
Step 1: Choose and anchor the character reference
Pick the single best image of the character as your master reference: the face clear, the hairstyle visible, the outfit detailed, and the lighting hiding none of the defining features. The simplest path is to attach that image as a reference on every generation, so getimg.ai carries the face and signature details into each new scene without you describing them from scratch. Keep the consistency contract from the section above in view as you prompt; for a short campaign of a handful of assets, this one reference is often all you need.
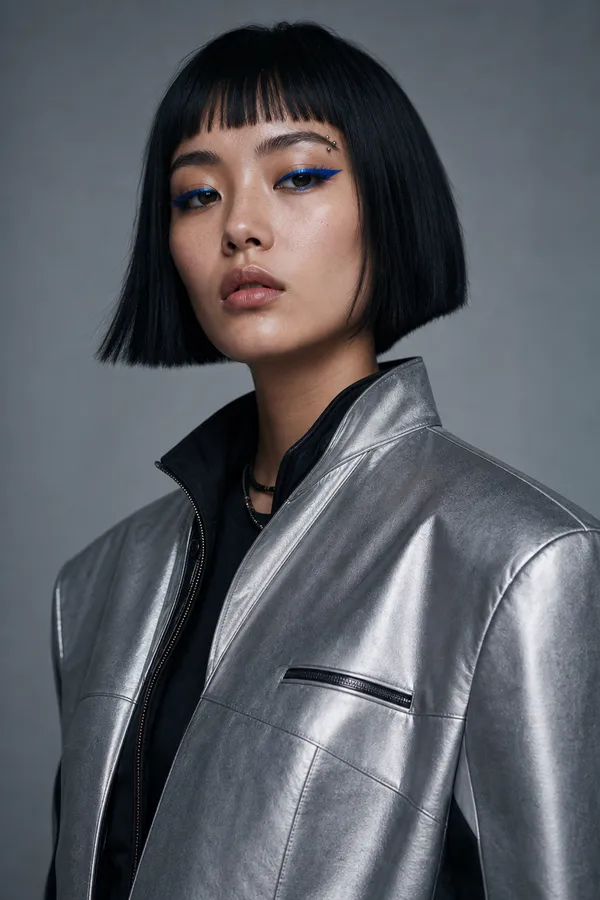
If you want greater accuracy, and especially if you plan to generate with this character a lot, across many assets or over time, it is worth saving it as a Person Element on getimg.ai: upload up to 20 photos of the character, name it (for example "@Nova"), and call it with its name in any prompt. A multi-image Element holds identity more tightly across different angles, lighting, and scenes than a single reference can, it persists across sessions so you never re-upload, and everyone on a team pulls from the same reference.
Our guide to Elements covers the setup, and you can add a Style, Color Palette, or Lighting Element the same way to lock the brand world alongside the character.
Step 2: Generate the hero visual
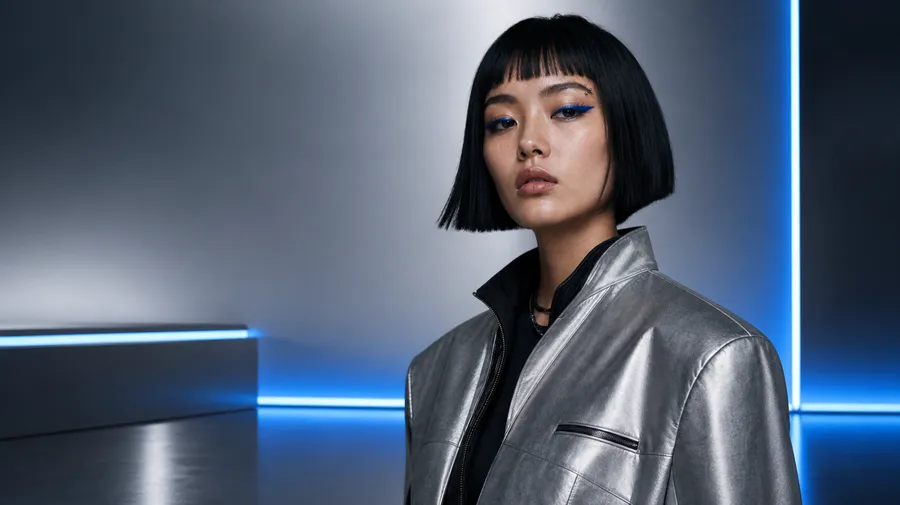
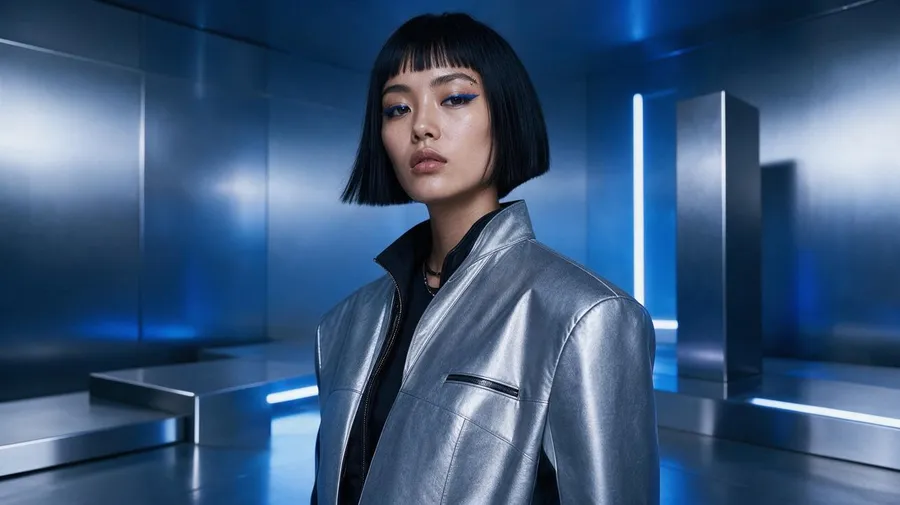
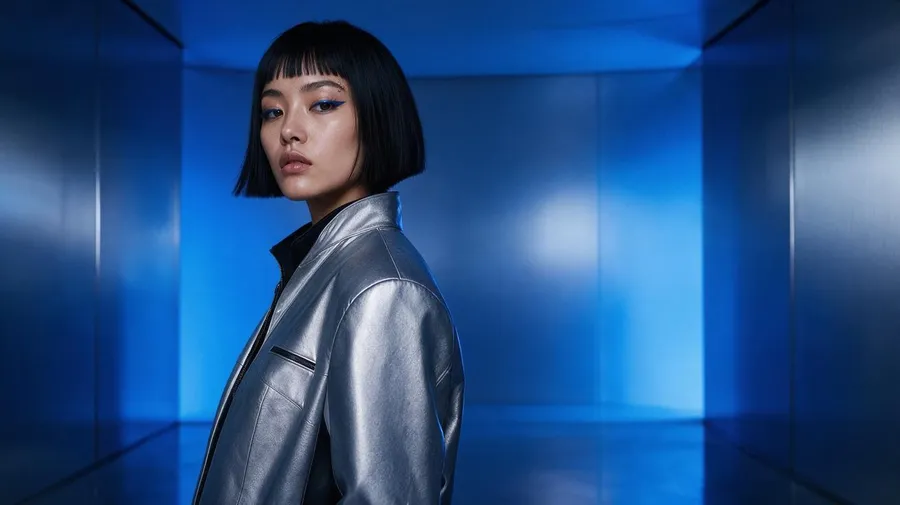
The hero is the image that defines the entire direction, so it earns the most attention. Place the character in a clean, on-brand environment, bring the camera close, and leave negative space for a campaign headline.
A prompt for the example character might read:
- Preserve the same character identity, facial proportions, black bob hairstyle, blue eyeliner and silver jacket. Place her inside a minimal futuristic studio with cobalt-blue light, metallic surfaces and clean space for campaign text.
Batch-generate a range of directions with getimg.ai Create image Action, review them as a contact sheet, and pick one. Resist adding ten props: one character, one mood, one clear message. The hero should work as a poster, a landing-page visual, or a campaign cover on its own, and everything downstream references it, so a weak hero weakens the whole set. Lock it before moving on.
Step 3: Connect the character to the product
Next, tie the character to what the brand is selling: a fragrance, a serum, an accessory, a pair of headphones. Keep the same lighting and palette, have the character hold or wear the product near the face, keep the label readable, and make sure the product does not cover the character's most recognizable features. This turns an aesthetic portrait into an ad, because the image now has a job.
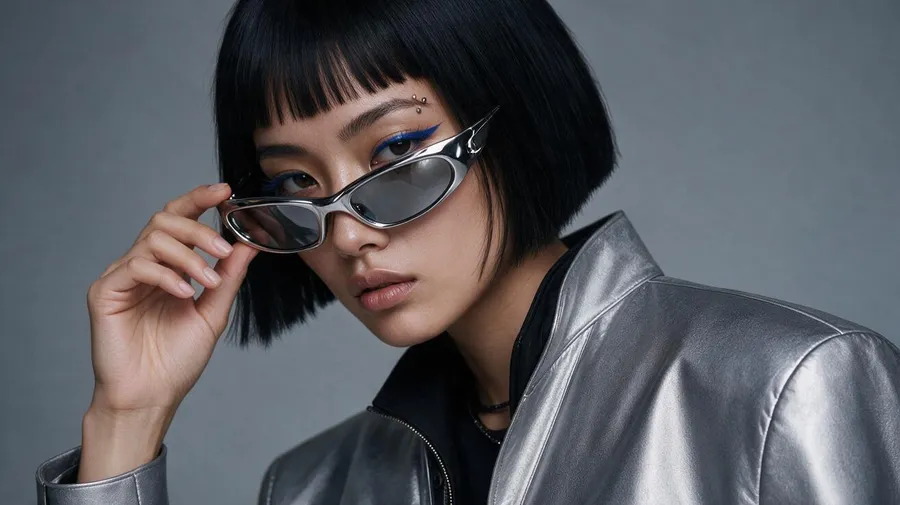
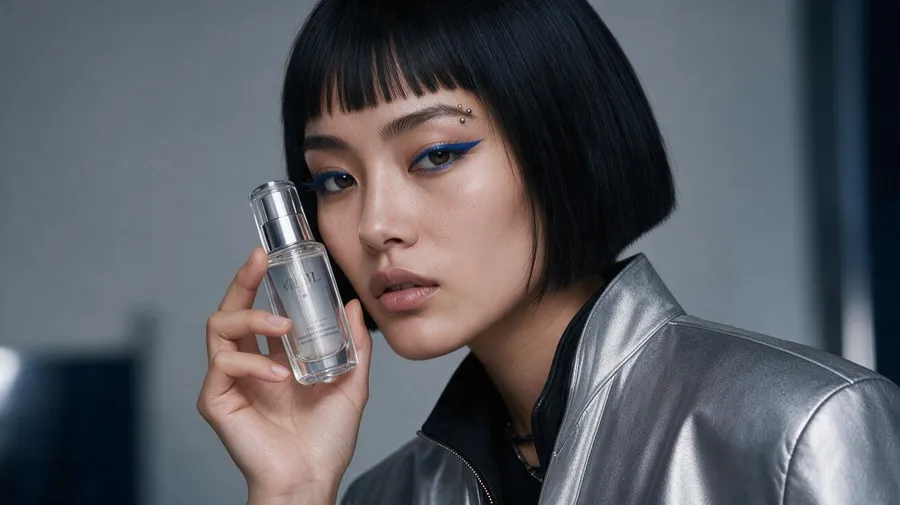
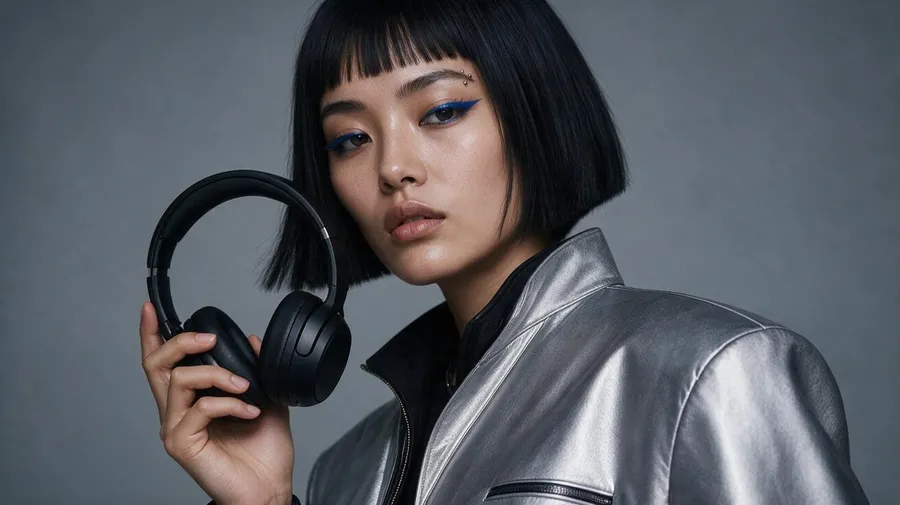
Getting the product to read accurately is its own discipline: anchor the product with its own reference so it stays true across every shot, which matters most for e-commerce visuals that have to match what the customer actually receives.
Step 4: Create supporting close-ups from the winner
A campaign needs detail shots: a crop of the makeup, the product in the character's hand, the texture of the jacket, a tighter portrait on the eyes. These feed social carousels, website sections, reel covers, and teasers.
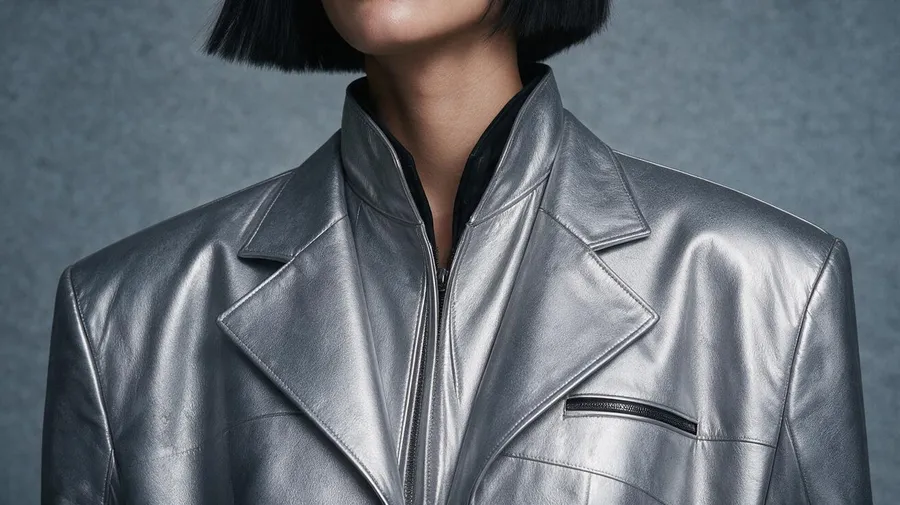
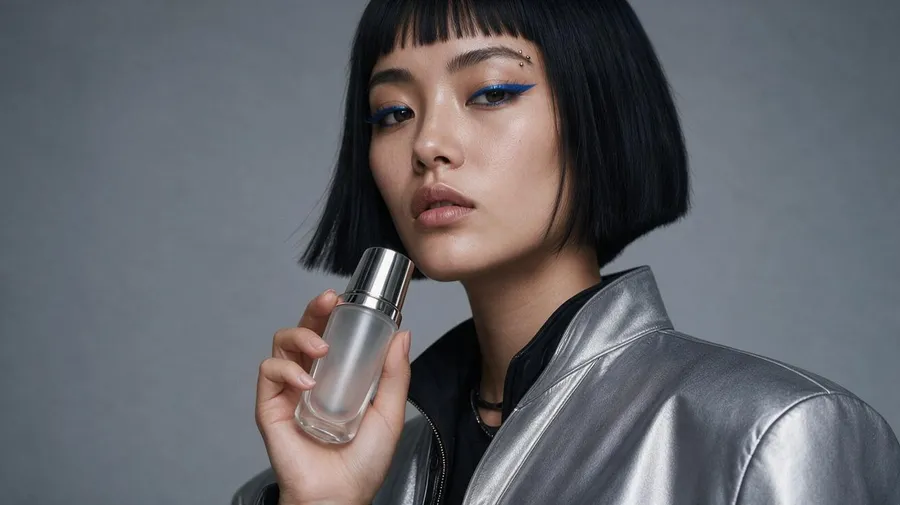
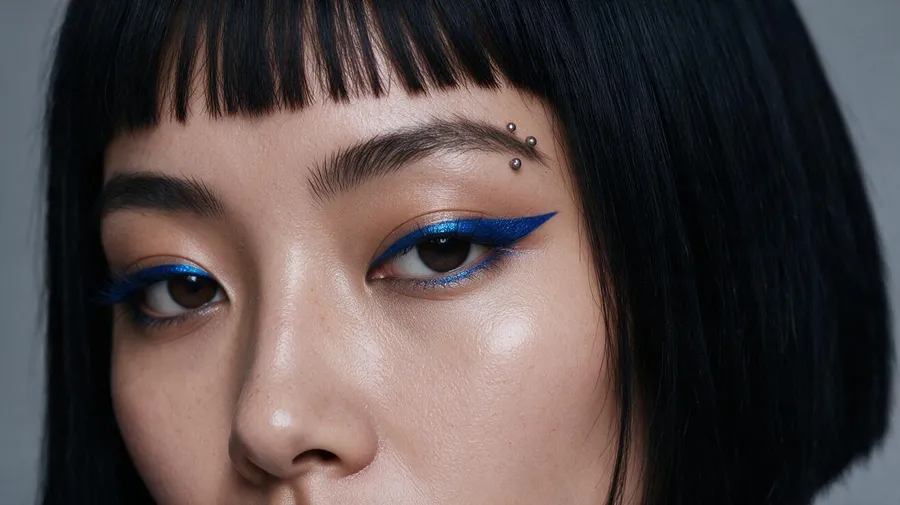
The important rule is not to generate each close-up from zero. Start from the version that already works and change only the crop, focus, or composition. Edit the winner instead of regenerating; there's no need to redesign the character for every asset.
Step 5: Expand into ad creative variations
For paid channels, generate the variations the campaign will test. Produce four to eight variations that keep the character and brand world fixed but change the angle: different scenes, framings, and value-proposition emphases.
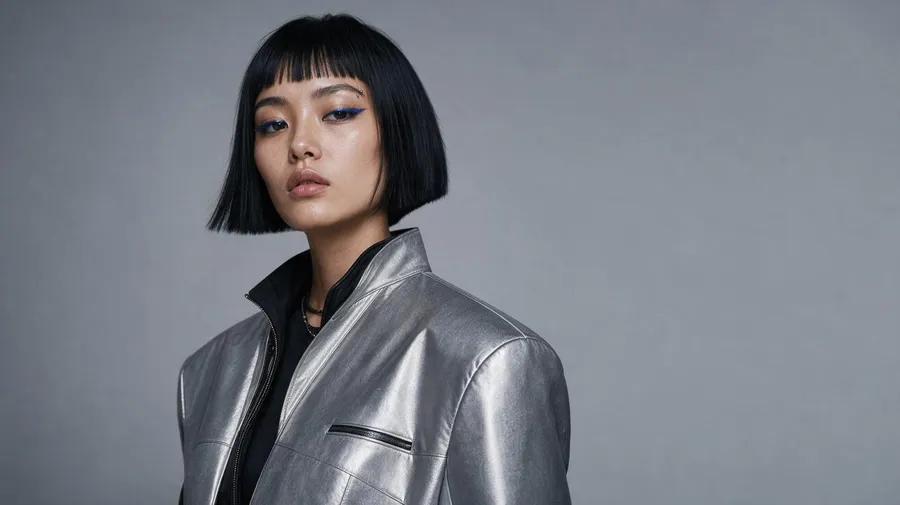
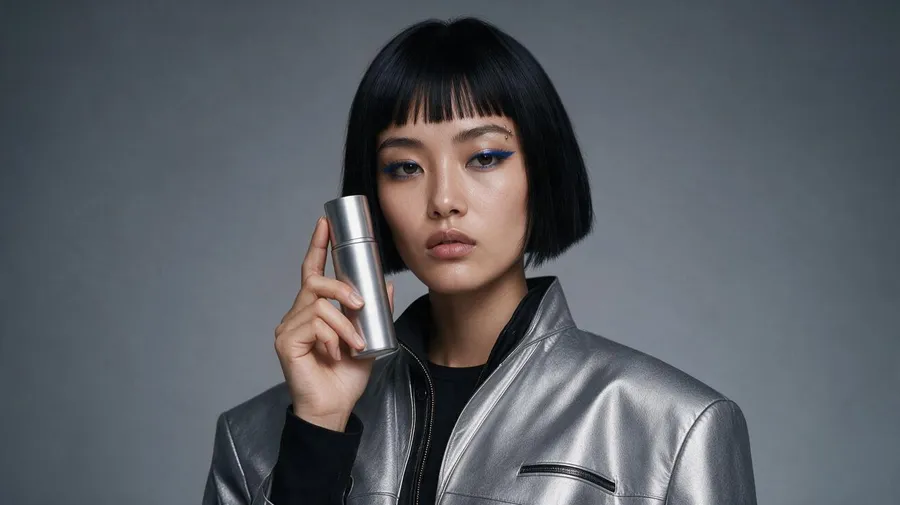
Vary the concept, not just the crop. Distinct angles like social proof, problem-solution, and benefit-led fatigue more slowly than eight recolors of one layout, which is why Meta advises refreshing tired ads with genuinely different creative.
Step 6: Adapt the format, not the direction
Now fit the campaign to each platform. The wide hero becomes a website banner, the close portrait becomes a vertical story cover, the product image becomes a square feed post, the full-body shot becomes a poster.
The character stays identical; the composition shifts to fit the frame. Resizing is not just cropping. Each format needs its own visual balance, with room for the subject and for text where the placement calls for it.
Asset | Aspect Ratio | Composition Move |
Hero Master | 16:9 and 1:1 | Close, reflective light, negative space for text |
Website Banner | 16:9 | Character to one side, room for a headline |
Story or Reel Cover | 9:16 | Space left above and below the subject |
Feed Post | 1:1 or 4:5 | Tighter, more direct framing |
Campaign Poster | 2:3 or 3:4 | Full-body, room for logo and tagline |
Detail or Carousel | 1:1 | Crop of makeup, product, or fabric |
Rather than regenerate each placement, adapt the masters. AI Smart Resizing reframes an approved image for a new ratio, and outpainting extends the scene around the locked composition to open up a wide banner or a tall vertical without moving the character.
For campaigns running across markets, this is also where localization happens: swap scene details or on-image text per region while keeping the character and palette fixed, so each version feels native without losing the brand. Because prompts work in more than 20 languages, teams can direct localized generations in their own language.
Step 7: Add motion to the strongest assets
Once the stills work, turn selected ones into video as a final layer. The hero can use a slow push-in with a subtle head movement and light traveling across the jacket. The product shot can use a controlled orbit as the character lifts the item.
The strongest motion is usually simple: one camera move, one character action, one lighting change.
A direction might read:
- Slow cinematic push toward the character, subtle head movement, soft fabric motion, controlled cobalt-blue lighting, stable facial features.
One nuance matters here. Character Elements work in video on models that accept reference images, so you can add the Element straight to a Create video prompt. On models that only take a first frame, generate the consistent still first and use it as the first frame.
Step 8: Finalize and upscale for delivery
Before handing off, bring every delivery asset to the resolution its channel needs. Upscale with the image upscaler where it counts: higher resolution for print and out-of-home, native resolution for social. Keep the whole set in one campaign folder so it stays organized as it grows into dozens of files, and do a final read for anything that drifted off the character or the palette.
Every getimg.ai paid plan includes commercial rights, so the finished campaign is cleared to run across paid, owned, and earned channels without extra licensing (subject to our terms and applicable third-party rights).
Keep the Campaign Consistent
Before finishing, compare every asset against the hero and against each other. Run a short quality pass and answer each question honestly:
- Does the character still read as the same person in every asset?
- Do the colors and materials match the brand world?
- Is the lighting coming from the same visual logic?
- Does the product stay accurate wherever it appears?
- Do the images feel connected without looking repetitive?
Consistency does not mean the same pose in every image. It means the important decisions stay fixed: the identity, the palette, the materials, the typographic direction, the lighting logic, and the overall mood. Everything else is allowed to change.
If one asset fails a check, edit it back toward the system rather than accepting drift, because a single off-model image is what makes a viewer stop trusting the set.
What One Character Becomes
Worked through in order, one character reference expands into a complete asset set: a hero visual, a product ad, several ad variations, a website banner, a campaign poster, a social carousel, a vertical reel cover, detail shots, and a short video teaser. That is the difference between generating individual images and building a campaign.
Individual images can look good alone; a campaign works together, where each asset has a purpose and every format supports the same direction. Teams running this at scale can reuse the same character and brand references across all of their marketing and social content, so nothing has to be re-briefed from one launch to the next.
Start Building Your Character-Led Campaign
Start with the strongest character reference. Define what must not change. Build one clear brand direction around it. Create the hero image, then expand it into products, ad variations, close-ups, formats, and motion, always editing the winner rather than starting each asset as a separate idea. One AI character does not need to stay one portrait. With the right workflow, it becomes the recognizable face of an entire brand.
Build your character-led campaign on getimg.ai →
Frequently Asked Questions
Lock the character's identity first, then expand it across every asset. Choose your strongest reference image, list the features that must stay fixed (face, hair, skin tone, outfit silhouette, and two or three signature details), and use it to anchor every generation.
Generate the hero visual from that character, then produce product shots, ad variations, close-ups, social formats, and video by editing the winning images rather than generating each one from scratch. The setting, pose, crop, and format change per asset; the identity does not.
Text prompts alone drift because the model generates from scratch each time. The reliable fix is visual conditioning: attach one strong reference image to each generation, and for heavier reuse, save the character as a Person Element built from up to 20 photos and call it by name ("@Character") in every prompt.
The reference applies automatically to each generation and, as an Element, persists across sessions, so the same face appears whether you are making a banner, a product shot, or a close-up. Reinforce the signature details in the prompt text as well, since reference and description strengthen each other.
One strong reference image is enough for a short campaign built around a handful of assets, and it is the simplest way to start. A Person Element is the upgrade: it holds identity more tightly across different angles, lighting, and scenes, it persists so you never re-upload, and it is shared across a team.
Create one when you want greater accuracy or when you expect to generate with the same character a lot, across many assets or over a long campaign. For a quick, small set, the single reference is often all you need.
Yes. Character Elements work in video on models that accept reference images: add the Element to the video prompt the same way you would for an image. On models that only take a first frame, generate a consistent still of the character first and use it as the first frame. Keep the motion simple: one camera move, one character action, one lighting change, with facial features held stable so the character reads the same in motion as in the stills.
A multi-channel campaign might expand into dozens of assets once every placement and ratio is counted: one or two hero visuals, four to eight ad variations for testing, feed formats (1:1 and 4:5), vertical formats (9:16), web and video formats (16:9), close-ups, and localized versions per market.
Mapping this before generating turns the campaign into a concrete checklist. With a character-led workflow, the cost of each additional asset is marginal, because every format descends from the same character and brand references rather than requiring a separate shoot.
Keep the identity fixed: facial structure and proportions, eye shape and color, hairstyle, skin tone, outfit silhouette, and two or three signature details. Let everything else vary per placement: the setting, pose, expression, camera distance, crop, aspect ratio, and props.
The brand world (palette, materials, and lighting logic) should also stay consistent across the set, while composition changes to fit each format. This split is what keeps a campaign coherent without making every image look identical.
Related Articles