How to Generate Images in Consistent Brand Style with AI (2026 Guide)

Consistent brand style in AI-generated images means every output shares the same visual language: matching palette, lighting, composition, and overall feel. Without deliberate conditioning, models treat each generation as a fresh start, so a team running unanchored text prompts gets beautiful images that don't read as the same brand. The fix on getimg.ai is a Style Element: one reference set, saved once to your account, that captures palette, lighting, finish, mood, and composition together. Anyone on the team calls it with `@BrandStyle` in any prompt and the output lands on-brand.
TL;DR
- AI models generate from scratch each time. Text prompts alone can't hold a brand's palette, lighting, and overall feel consistent across hundreds of outputs.
- The most reliable fix: save your brand's visual language as a single Style Element on getimg.ai. One Element typically covers palette, lighting, finish, and mood at once.
- Call it with `@BrandStyle` in any prompt. Layer in a Product or Person Element only when the brief calls for a specific SKU or recurring face.
- Elements persist across sessions and share automatically across your team, so every contributor generates on-brand output from day one.
Why AI Models Generate Inconsistent Brand Styles
AI image models like FLUX.2, GPT Image 2, and Seedream 5.0 Lite have no brand memory. Every generation starts from random noise guided by the text prompt. A prompt like "product photography on a clean white background, warm lighting, minimal aesthetic" will produce images that are similar, but vary in warmth, shadow softness, composition, and color temperature from one generation to the next: all technically matching the description, none visually matching each other.
Three patterns make brand consistency particularly difficult with text-only prompting:
- Color interpretation variance: "warm tones" is read differently by every model and every run. The same palette described as "soft amber and ivory" produces meaningfully different outputs from Seedream 5.0 Lite versus FLUX.2 [max].
- Lighting drift: text prompts like "natural light" cover dawn, midday, golden hour, and overcast, all of which read as on-brand to a different brand. Without a visual anchor, the model picks one.
- Compositional default: each model has its own preferred framing, subject placement, and negative-space behavior. Even with identical text, three models produce three different compositions, and three different team members produce three different reads of the prompt.
None of this is a bug. It's the behavior of a model with no visual reference frame. Fixing it requires providing one.
-1920x1072.webp)
The 3 Approaches to Brand Style Consistency
Approach 1: Dedicated Brand Style Elements (Most Reliable)
A dedicated Style Element stores your brand's visual references at the account level and applies them to every generation automatically. One Element usually carries the whole aesthetic: palette, lighting, finish, mood. That's how a style actually behaves in practice. Save it once, share it across the team, call it with `@BrandStyle` in any prompt. The Element conditions the model the same way every time, on any subject, on any model.
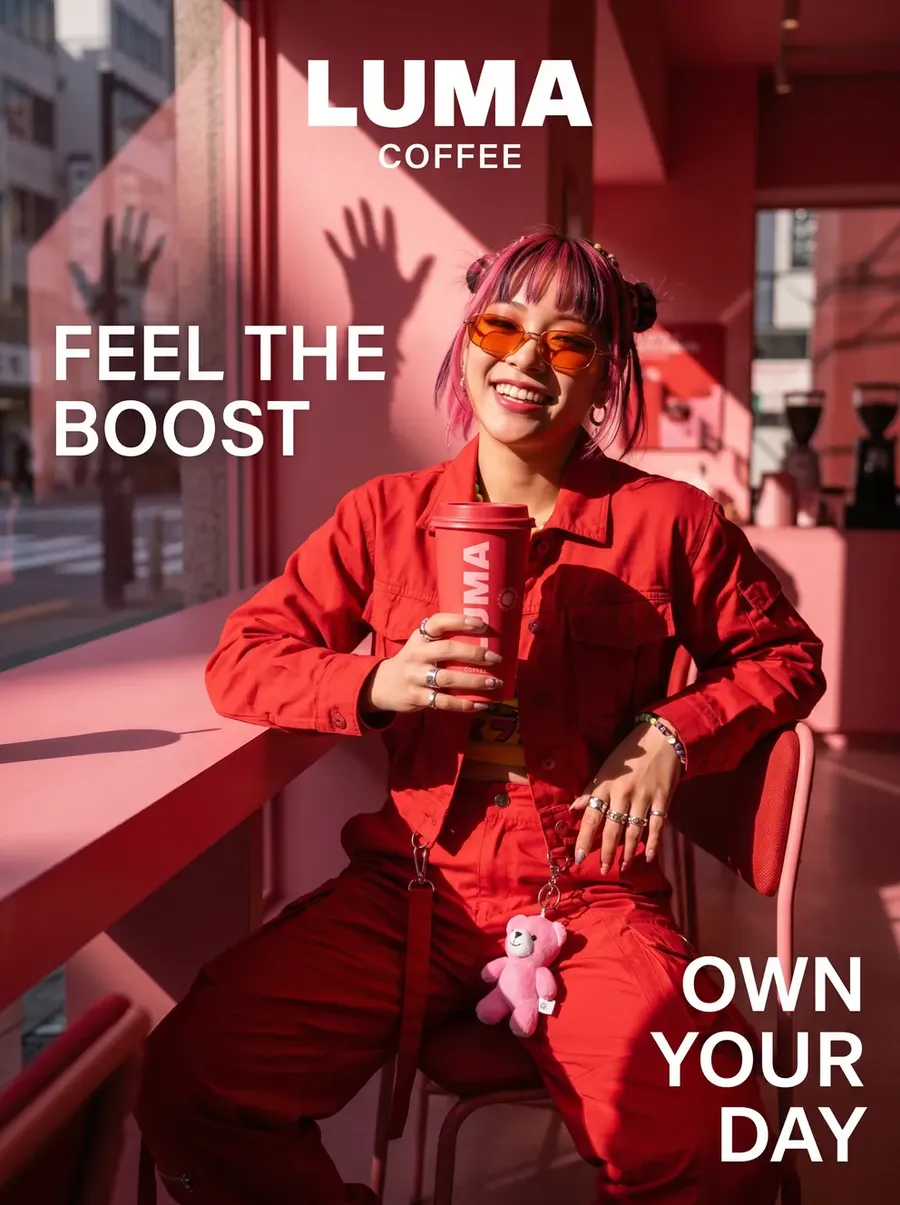
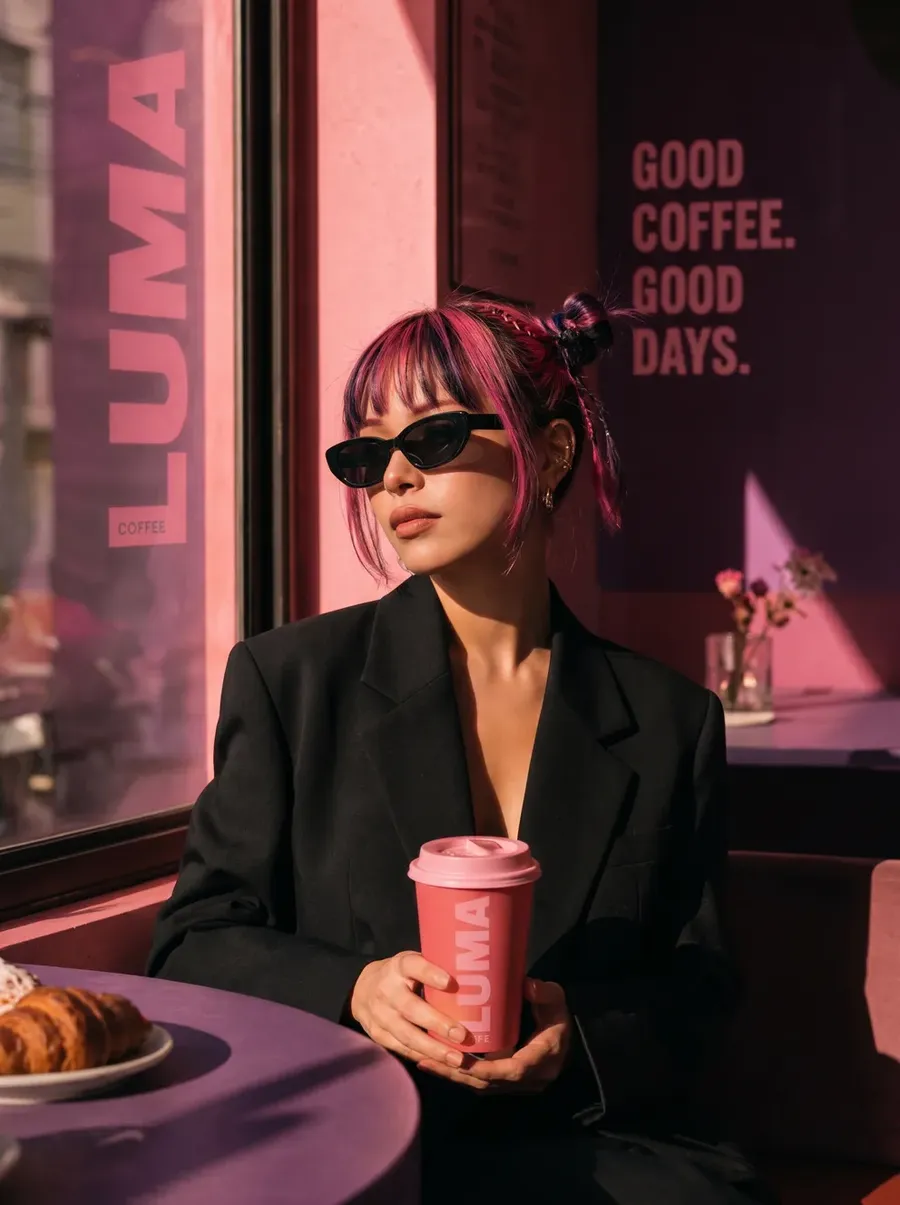
A single Style Element holds the visual DNA across every subject, model, and team member. A social post, a product shot, and a campaign hero can all reference `@BrandStyle` and read as the same brand.
Best for: marketing teams, agencies, and social media teams running ongoing campaigns. Any workflow where the same brand visual identity needs to hold across hundreds of outputs and multiple contributors.
Approach 2: Reference Image Conditioning (Per-Session)
Reference image conditioning lets you attach a brand asset (a previous campaign image, a mood board pull, a product shot that represents the target aesthetic) directly to a generation and guide the model to maintain its visual characteristics. This works without setup, is available across all models that accept image references, and produces reasonably consistent style output when the reference is strong.
The limitation: the reference doesn't persist between sessions. You re-attach it each time, and different team members may use different references. For one-off projects or style exploration before committing to a permanent Element, reference conditioning is the right tool. For ongoing brand production at scale, the re-attachment overhead compounds quickly.
Best for: Style exploration, one-off client projects, quick visual direction tests before setting up an Element library.
Approach 3: Structured Brand Prompt Templates
A written prompt template locks down visual parameters in text: exact tonal descriptors, lighting terms, composition instructions, and model-specific formatting. Templates are version-controlled in a shared document and reused across the team.
This approach beats no system. It reduces variance significantly when enforced consistently. But it's the least reliable of the three methods, because written descriptors are interpreted differently by every model and every generation.
Use templates as a supplement to either of the above approaches, not as a primary consistency method.
Setting Up Your Brand Elements Library on getimg.ai
For teams doing ongoing content production, building an Elements library is a one-time investment that pays back across every future generation. Here's how to set up the core brand style elements:
Step 1: Gather Your Visual References
Start with the Style Element. Gather at least a few images that, together, show the full visual feel of your brand: aesthetic, palette, lighting, finish, mood. These are the ones you'd point at and say "this is what we look like." If a single set captures that, you're done. No need to break the brand into a stack of separate Elements before you've even tested the first one.
- For your Style Element: photos that show your brand's full visual language across different subjects and contexts. Mix campaign shots, lifestyle images, and product photography. Anything that, side by side, reads as obviously on-brand. This is the only Element most brands need.
- For a Product Element (optional): photos of a specific product from multiple angles, on different backgrounds. Build this when the same SKU has to appear consistently across many shots.
- For a Person Element (optional): photos of a recurring person such as a brand ambassador, a founder, or a model, taken from different angles. Build this when the same face shows up across the campaign.
More variety within each reference set produces better conditioning. A Style Element built from images showing the brand aesthetic across multiple subjects and contexts generalizes better than one built from near-identical images.

Step 2: Create Each Element
- Log into getimg.ai.
- Navigate to the Elements section and select Create Element.
- Choose Style as the type.
- Upload the reference images you gathered (you can edit the set later).
- Name it something the team will type easily: e.g.,
@BrandStyle;@NameBrandif you manage multiple clients. - Save. Add Product, Person, or other Element types if you need them.
Names become the `@tag` in prompts, so keep them short, clear, and consistent across the team. The Creating Elements guide covers each step in detail.
Step 3: Test Your Element
Test your Style Element across a few different subjects to confirm the look carries:
- `Product shot on a textured linen surface @BrandStyle`. Does the finish feel on-brand?
- `Lifestyle image at a kitchen counter @BrandStyle`. Does the mood survive a completely different subject?
- `Portrait in a soft-lit office @BrandStyle`. Does the look hold for people, not just objects?
If an Element isn't conditioning effectively, rebuild it with more varied or higher-quality reference images. A strong Elements library should hold across production prompts without needing constant correction in the text.
Step 4: Generate High Quality Images in Your Brand Style
Once the Style Element holds across test prompts, production becomes a question of describing the subject and letting `@BrandStyle` (or however the Style Element is named) carry everything else.
Write the prompt for the image you want (what's in it, where it sits, what the moment looks like) and include `in @YourStyleElementName`. The Element holds palette, lighting, and finish. You don't have to re-describe them.
When to add a second Element (and when to leave the Style alone)
A good Style Element typically does enough on its own. It already holds the palette, the lighting, the finish, and the overall mood, so stacking a Color Palette or Lighting Element on top usually fights the Style rather than helping it.
The Elements worth pairing with Style are the ones that handle something Style doesn't try to handle: the subject itself. A Product Element holds a specific bottle, a Person Element holds a recurring face, a Pose Element holds a specific stance. Two Elements, two genuinely different jobs, no overlap.
A Style + Product prompt for e-commerce could look like this:
- `@MinimalistSerum on a textured linen surface, in @BrandStyle, lifestyle product photography`
`@MinimalistSerum` holds the product itself consistent: same bottle, same label, same proportions. `@BrandStyle` holds the look consistent: same light, same palette, same finish. Two Elements covering two genuinely different things, in one prompt.
For social media teams, a recurring person such as a brand ambassador or a founder pairs with the Style Element the same way:
`@BrandAmbassador sitting at a café, golden hour, in @BrandStyle`
Use Cases by Team Type
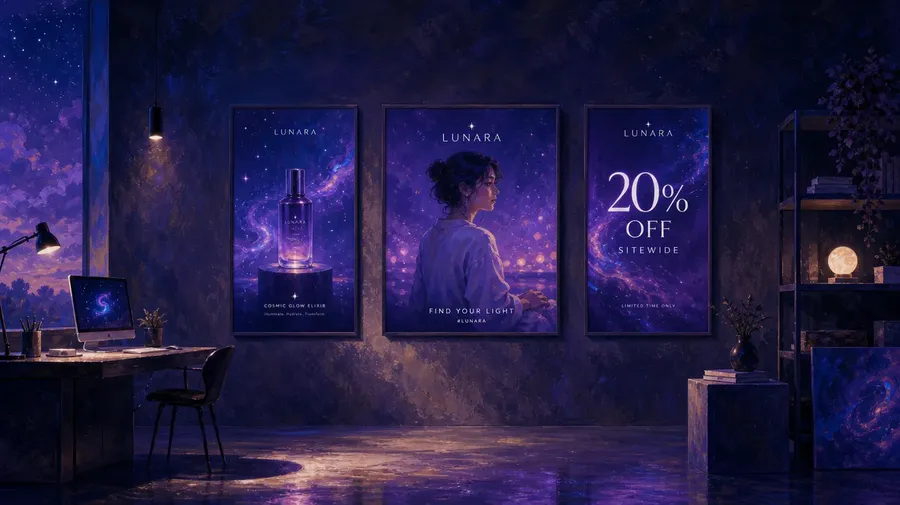
Social media
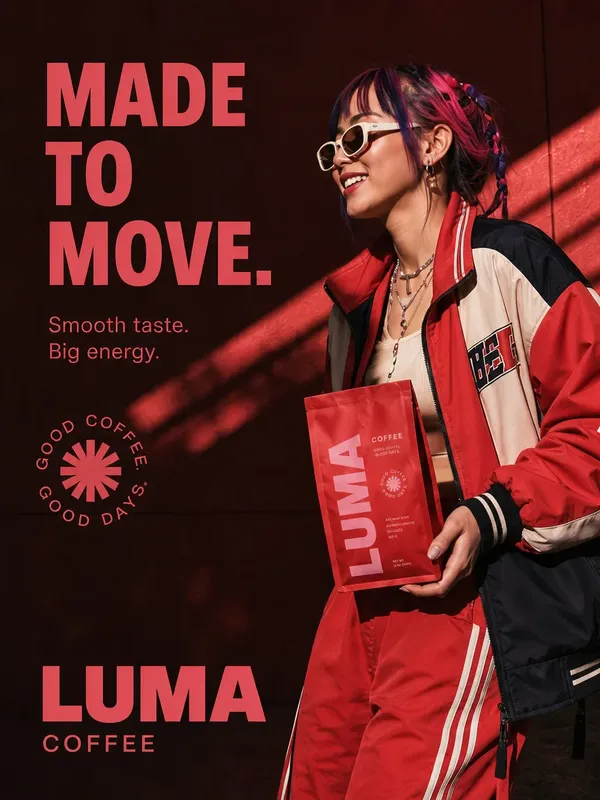
Social media teams running daily content production need visual consistency across platforms (Instagram, LinkedIn, Pinterest), each with different dimensions but the same brand feel.
shared Elements library means every contributor generates on-brand output from day one. Create `@BrandStyle` once, and posts for a Q4 campaign look like they belong together regardless of who generated them or which model ran the task. This is also what separates a branded AI content strategy from a random collection of AI images.
-900x505.webp)

E-commerce
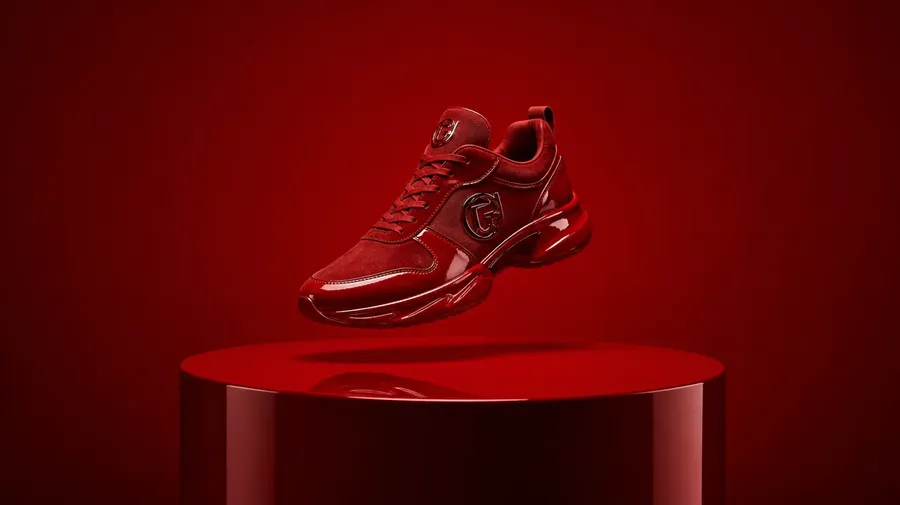
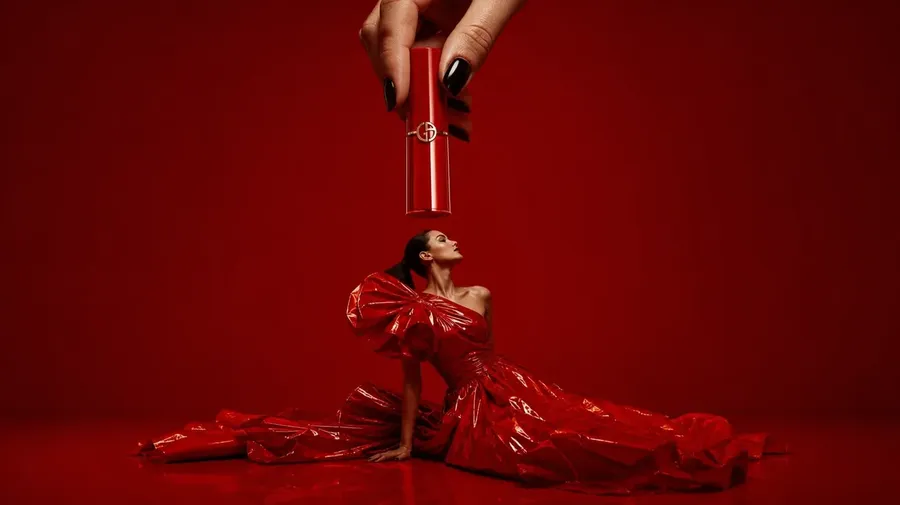
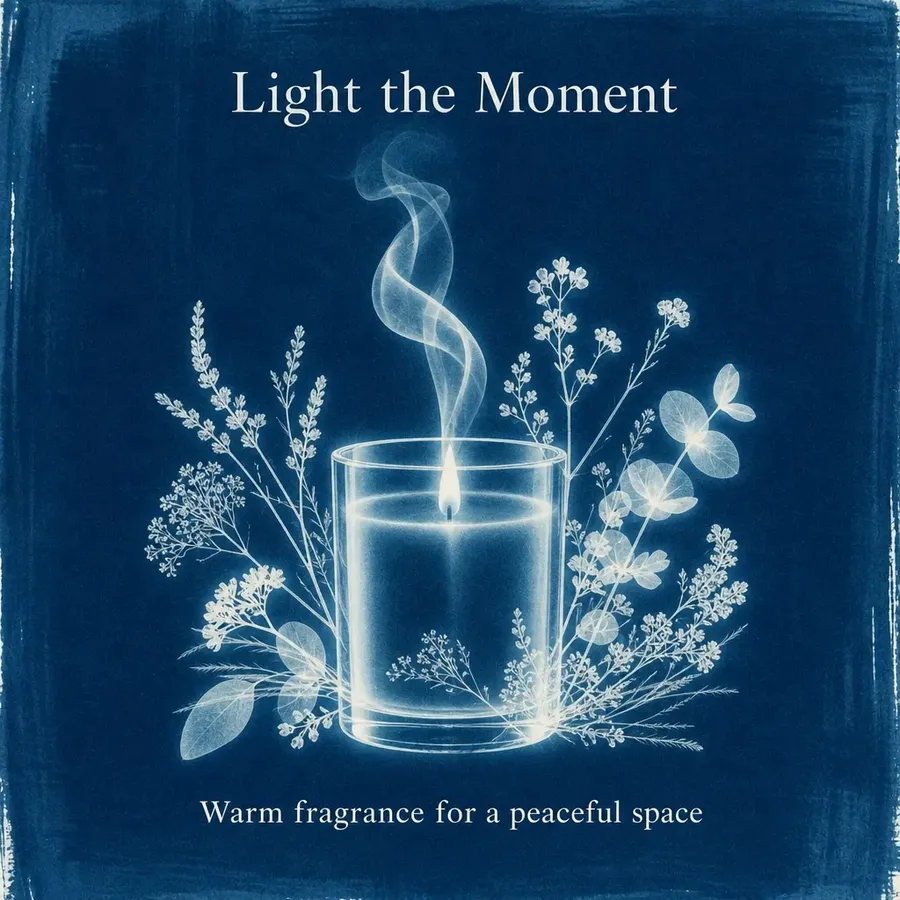
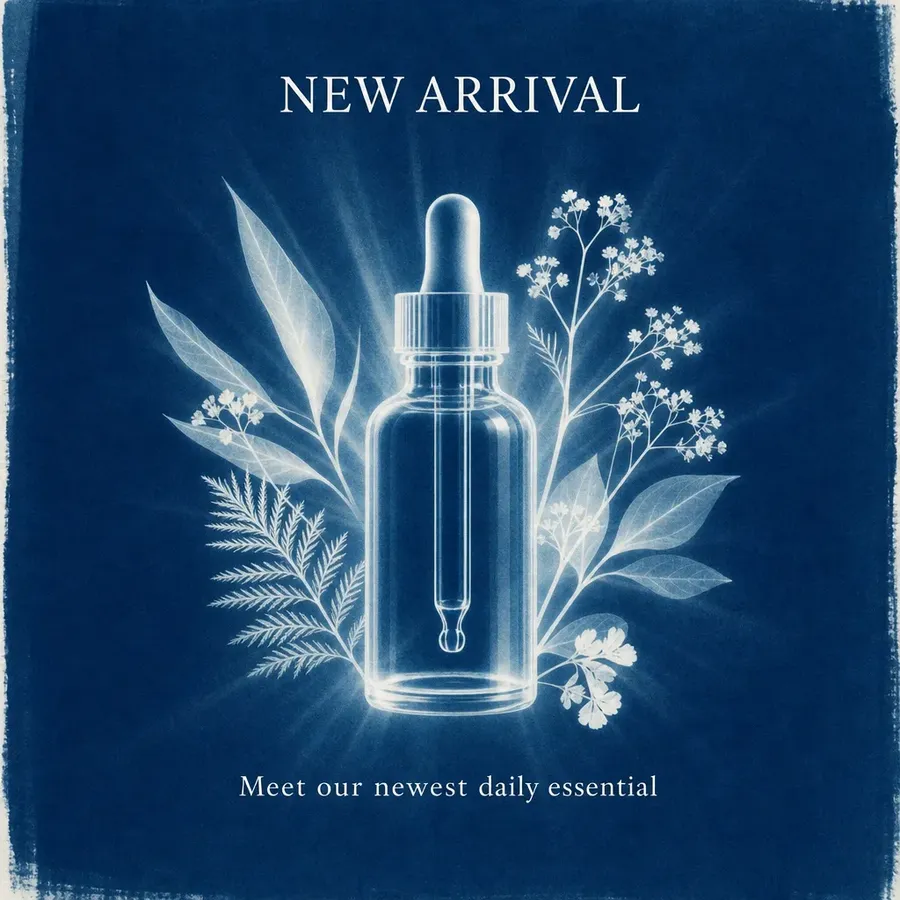
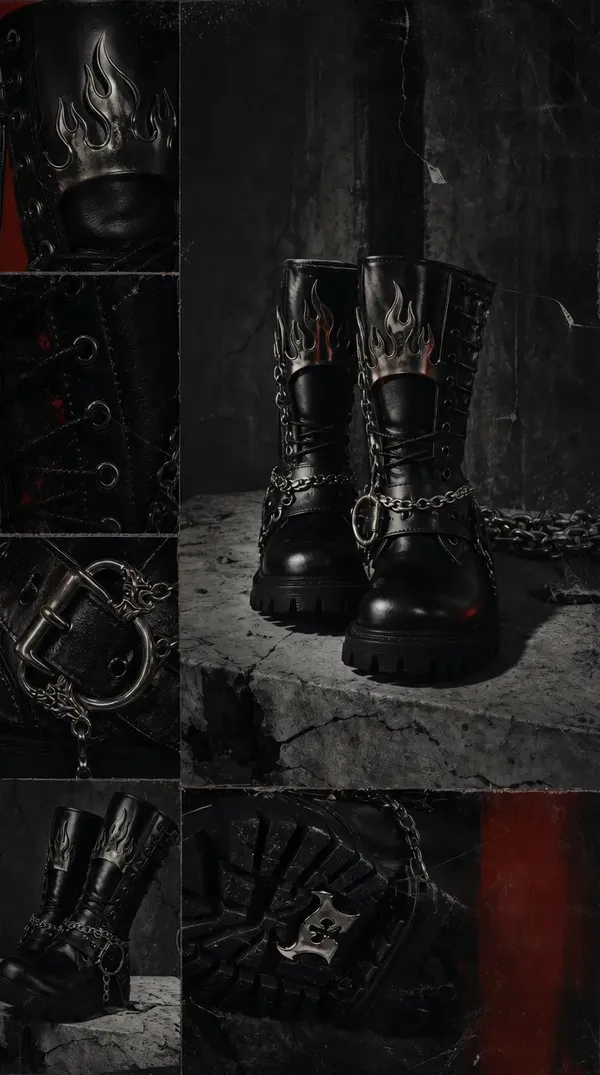
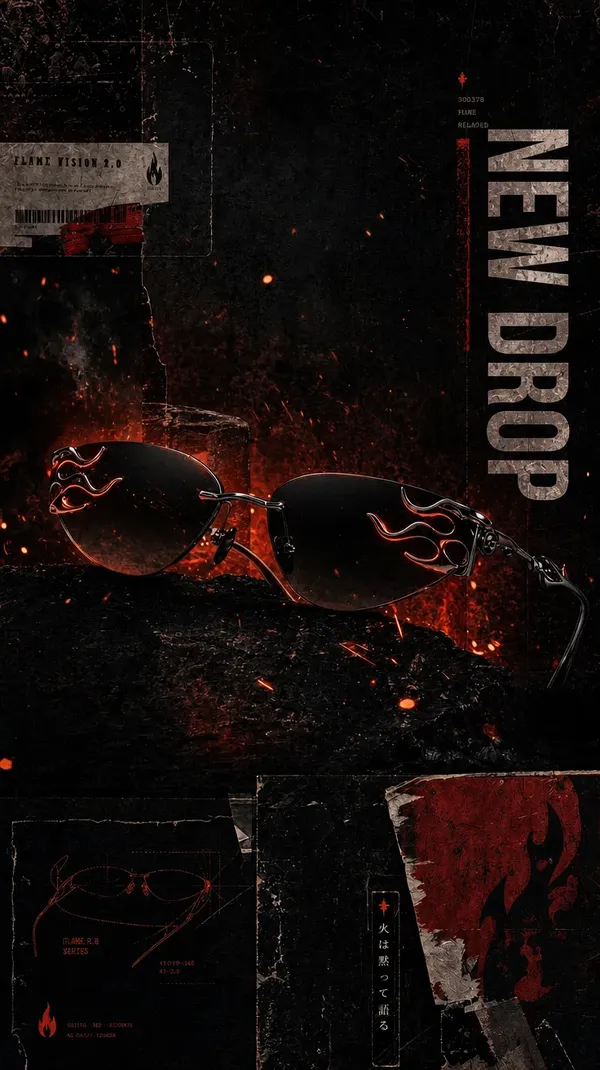
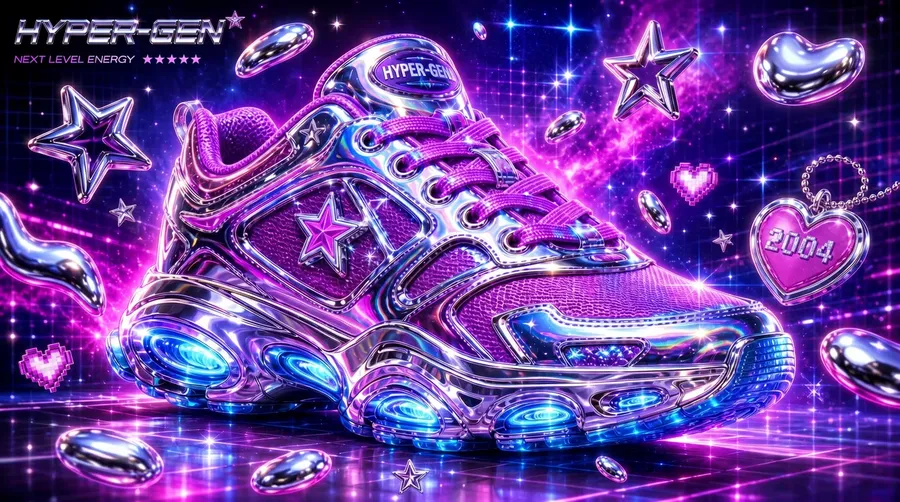
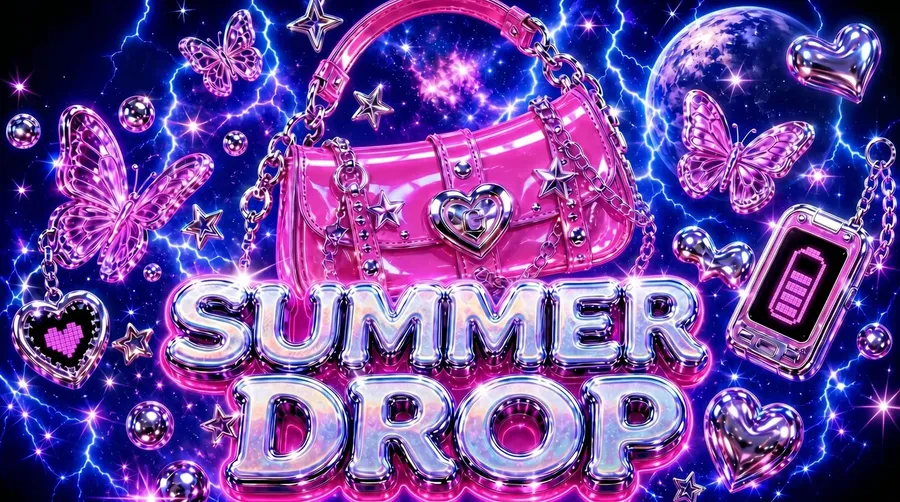
E-commerce and product marketing teams use a Style Element to make sure product photography, lifestyle images, and seasonal campaign assets all read as obviously the same brand.
Below, four e-commerce subjects rendered through the same `@StudioOat` Style Element: different objects, different proportions, identical brand feel.


Marketing
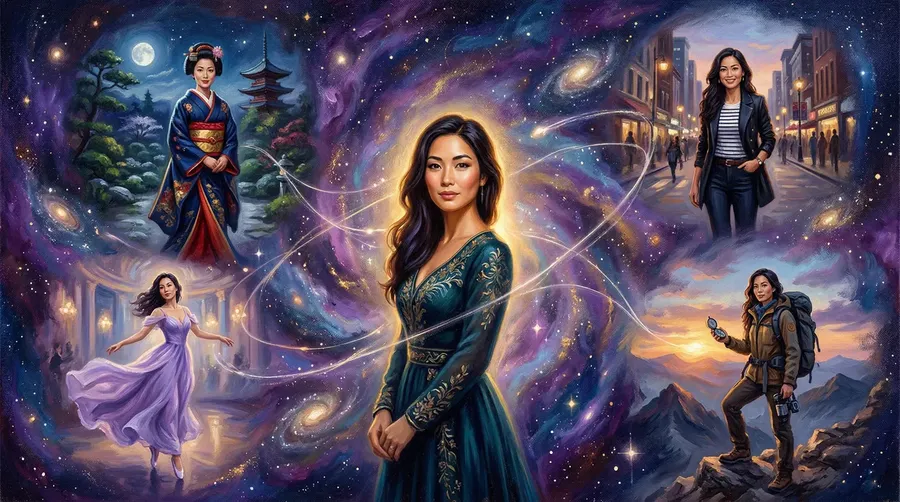
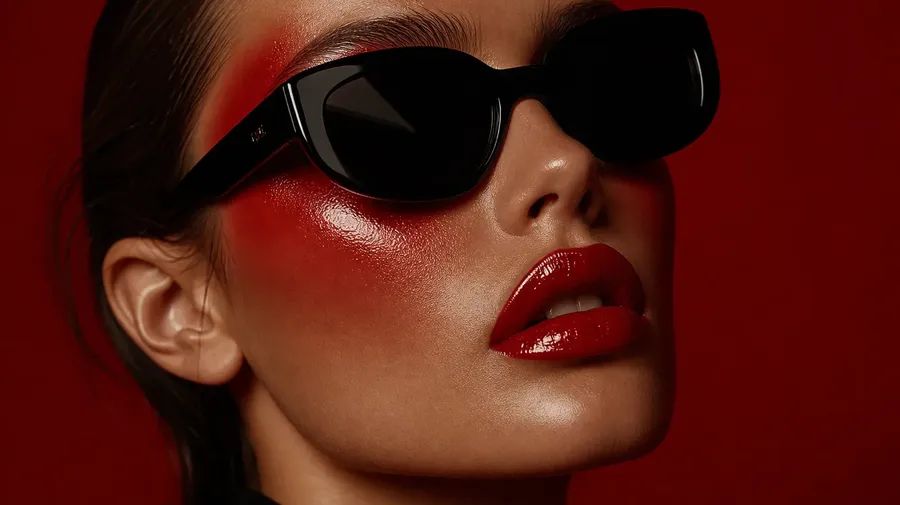
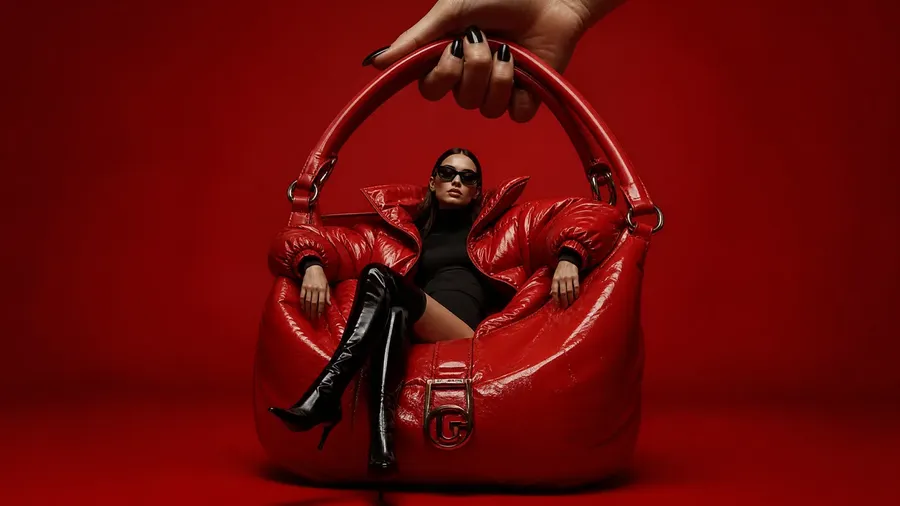
Marketing agencies managing brand consistency across multiple client accounts maintain a Style Element per client. Each client's `@BrandStyle` lives in that client's Team space, accessible to every member working on that account.
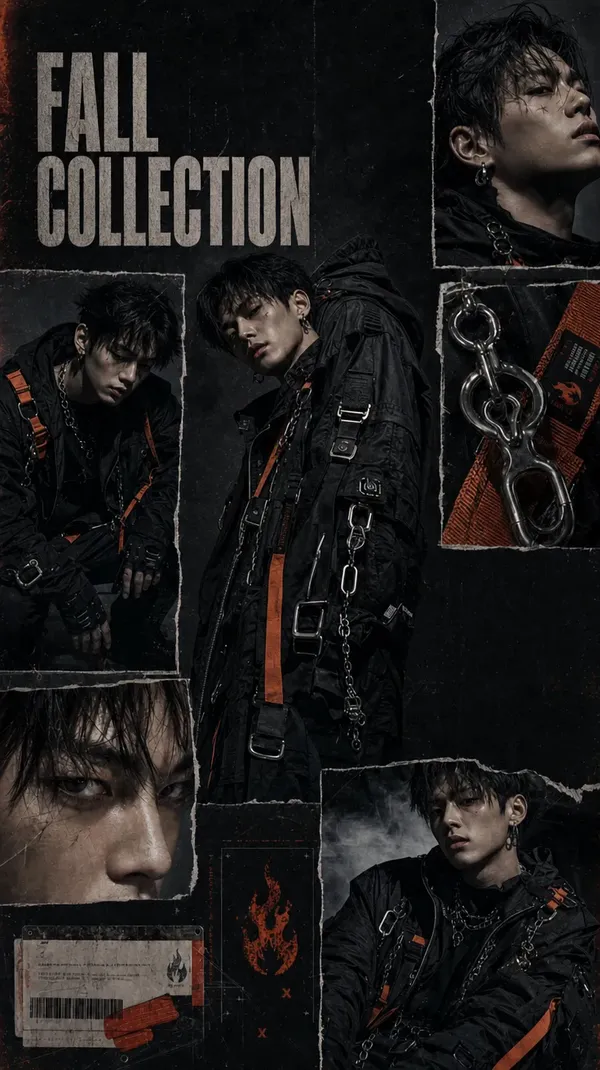
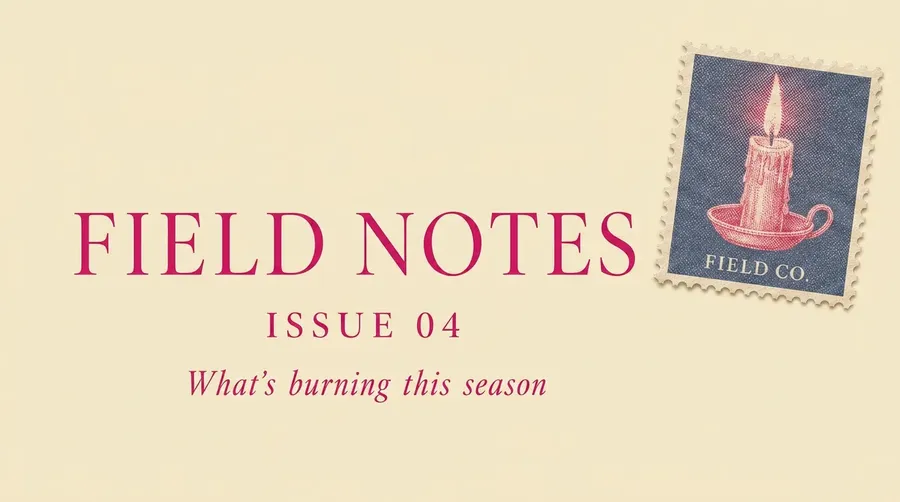
Switching between clients means switching Elements, not re-briefing the team or re-uploading moodboards. Below, four marketing assets rendered through the same Style Element.
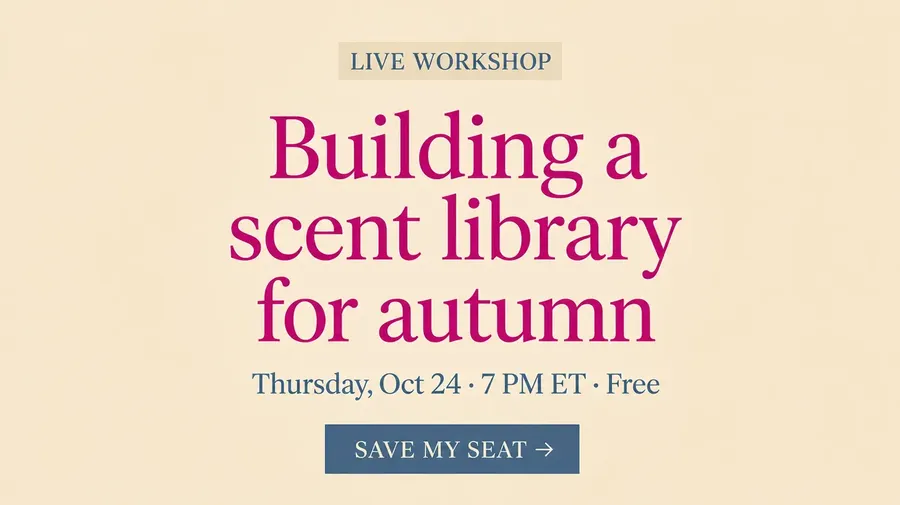
Webinar Ad
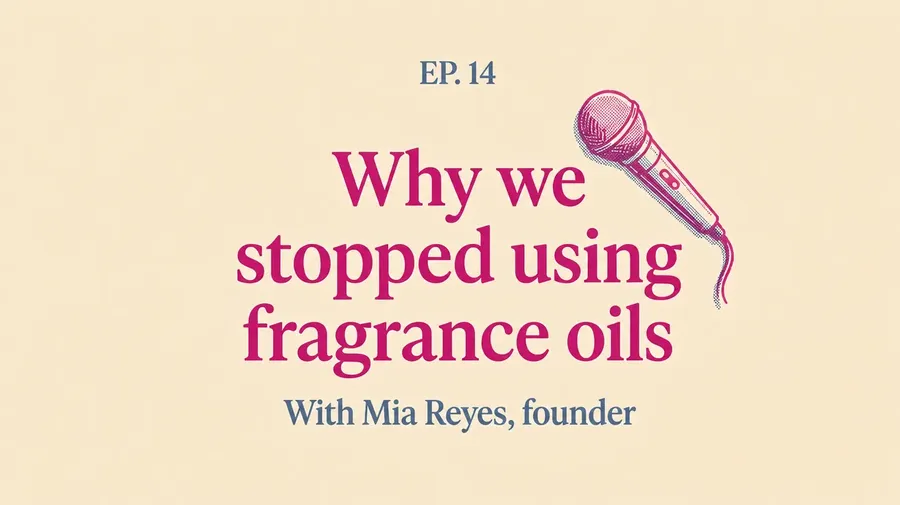
Podcast Cover
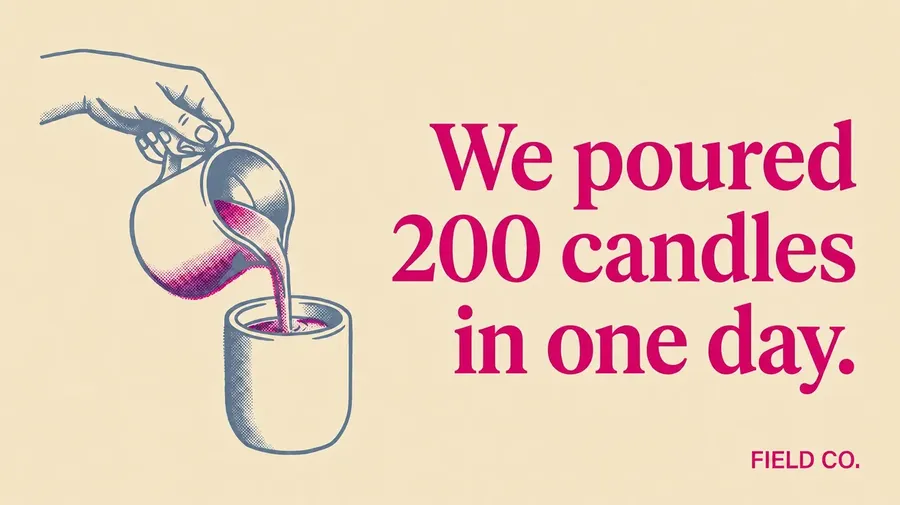
Video Thumbnail
E-mail Header
Start Building Your Brand Visual System
Brand visual consistency is a solved problem for teams with the right setup. Define your brand's Style Element once. Call it by name. Generate across any subject, season, or campaign without re-anchoring the brand each time.
getimg.ai's Elements system handles this in minutes. No training, no file management, shared across your whole team. Every paid plan includes commercial rights, so every asset you generate is ready for campaigns, client work, and publication from day one.
Build your brand Elements library on getimg.ai →
Frequently Asked Questions
Related Articles