How to Create Professional Headshots with AI
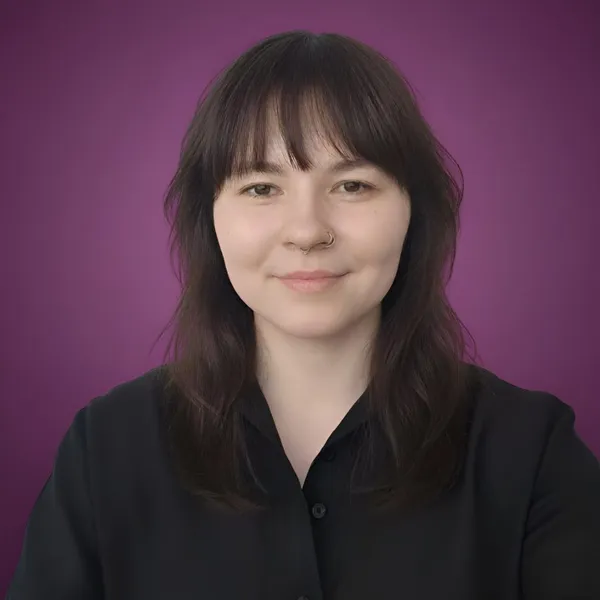
An AI headshot is a professional-looking portrait generated from an ordinary photo of your face. You upload one clear, front-facing selfie, choose an outfit, a backdrop, and a visual treatment, and the model returns a polished headshot that keeps your likeness while replacing the clothing, background, and lighting with studio-quality versions. On getimg.ai the fastest way to do this is the Headshots Action: a preset tool that takes one photo and a few clicks, with no prompt to write.
TL;DR
- AI headshots turn one front-facing selfie into a professional portrait, keeping your face while restyling the outfit, backdrop, and lighting.
- In getimg.ai, open the Headshots Action, upload a clear photo, and pick an outfit, a backdrop, and a treatment.
- Set quality (2K or 4K), aspect ratio, and how many variations to generate (up to 8 at once).
- A sharp, evenly lit, straight-on source photo is the single biggest factor in a natural result.
- Commercial rights are included, so you can use the headshot on LinkedIn, a website, or a press kit.
What an AI Headshot Is
A traditional headshot is a studio job: a photographer, lighting, a backdrop, wardrobe, and a round of retouching. An AI headshot reaches the same end from a single existing photo. The model reads your face from the source image and re-renders you in a chosen outfit, against a chosen background, under studio lighting, without a camera or a session.
The point is not to invent a new person. A good AI headshot preserves the things that make the photo recognisably you, the shape of your face, your features, your hair, and changes the things a studio would control, the shirt, the wall behind you, and the light. That distinction matters when you pick a source photo and judge the result: likeness in, production values added.
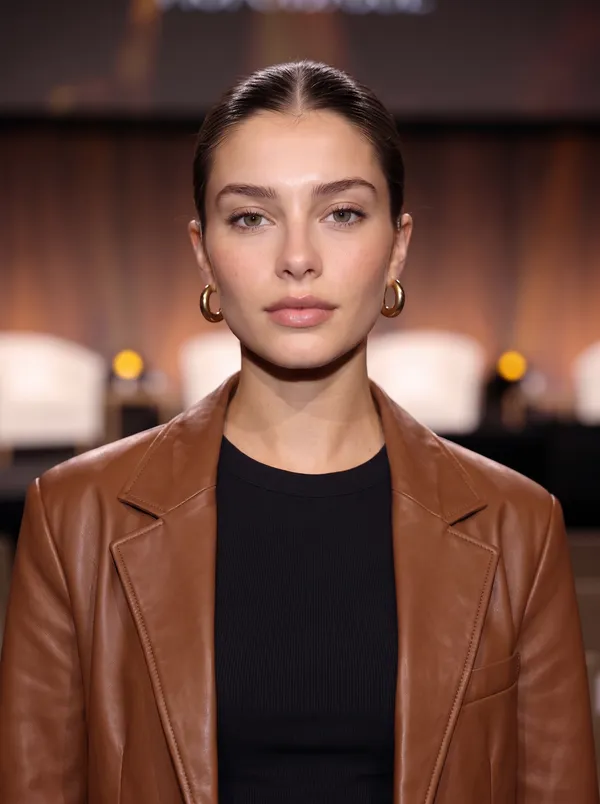
When to Use AI Headshots (and When a Real Shoot Still Wins)
AI headshots fit most professional uses where you need one clean, current portrait fast:
- LinkedIn and professional profiles, where a consistent, well-lit portrait reads more credibly than a cropped party photo.
- Team and about pages, where a whole company needs headshots that match in outfit and backdrop even though everyone sent a different selfie.
- Speaker bios, press kits, and directories, which often ask for a high-resolution portrait at short notice.
- A refresh between shoots, when your role, look, or wardrobe changed and booking a photographer is not worth it yet.
A real shoot still wins when the portrait is the product: an actor's or model's book, editorial photography with a specific creative direction, or a campaign where a photographer's eye and a genuine studio setup are the point. AI covers the everyday professional portrait, not the art-directed one.
How to Create a Headshot with AI, Step by Step
Here is the workflow in getimg.ai. Open the Headshots Action to follow along.
1. Add a clear photo of your face
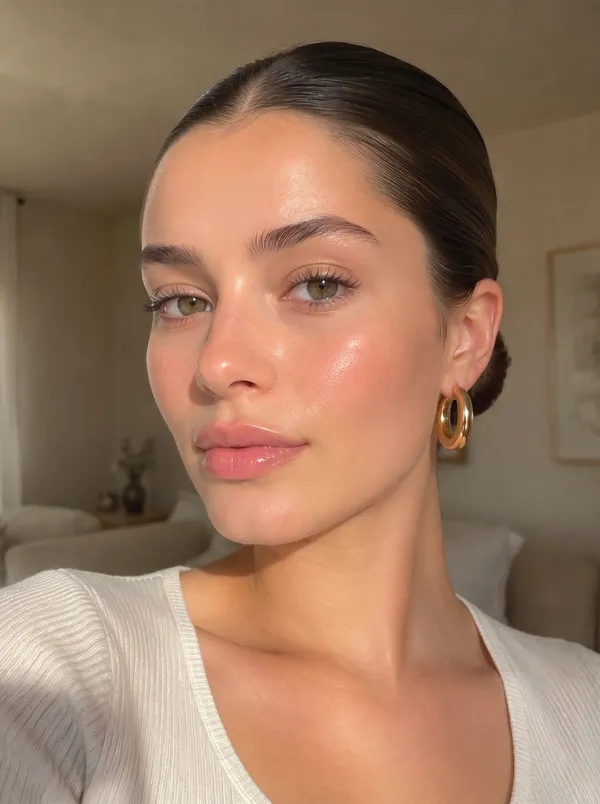
Upload a photo, or pick one from your library, of your face looking straight at the camera. This single choice drives the quality of everything downstream. Use a sharp, well-lit, front-on shot where your whole face is visible and unobscured. Avoid heavy shadows, sunglasses, extreme angles, and group photos cropped down to one person.
2. Choose an outfit
Pick what you should appear to be wearing. The options are keep what I'm wearing, suit, blazer, shirt, knitwear, t-shirt, and leather. Match the outfit to the context: a suit or blazer for finance, law, and executive bios; a shirt or knitwear for most corporate and startup profiles; a t-shirt or leather for creative fields where a relaxed look fits. Choose "keep what I'm wearing" when your source photo already has the right outfit and you only want the backdrop and lighting upgraded.
3. Choose a backdrop
Set the background behind you. The choices are white, studio grey, office, office with a skyline, data centre, street, nature, sky, black, bookshelf, and stage. White, studio grey, and black are the safe, neutral studio looks that suit almost any use. Office, office with a skyline, data centre, and bookshelf read as in-context professional. Street, nature, and sky give a softer, more editorial feel. Stage suits speakers and founders.
4. Choose a treatment
The treatment sets the overall style and mood of the portrait. The options are corporate, creative, startup, natural, and editorial. Corporate is clean and conservative; startup is bright and approachable; creative and editorial lean more stylised, with more character in the lighting; natural is the most understated, closest to a straight, unfussy portrait.
5. Set quality, aspect ratio, and variations
Choose the output resolution, 2K or 4K. Set the aspect ratio to fit where the portrait will live: 1:1 for most profile pictures, 4:5 for a feed-friendly portrait, 3:4 for a taller portrait crop, and 16:9 for a wide banner or slide. Then pick how many variations to generate at once, 1, 2, 4, or 8. Generating several at a time is the quickest way to compare outfit and backdrop combinations side by side.
6. Generate and pick the best frame
Run the Action and the results appear in the gallery to the right of the controls. Your original photo is never changed, so you can adjust one setting, generate again, and compare. If a run comes back with a strong backdrop but the wrong outfit, change only the outfit and rerun rather than starting over.
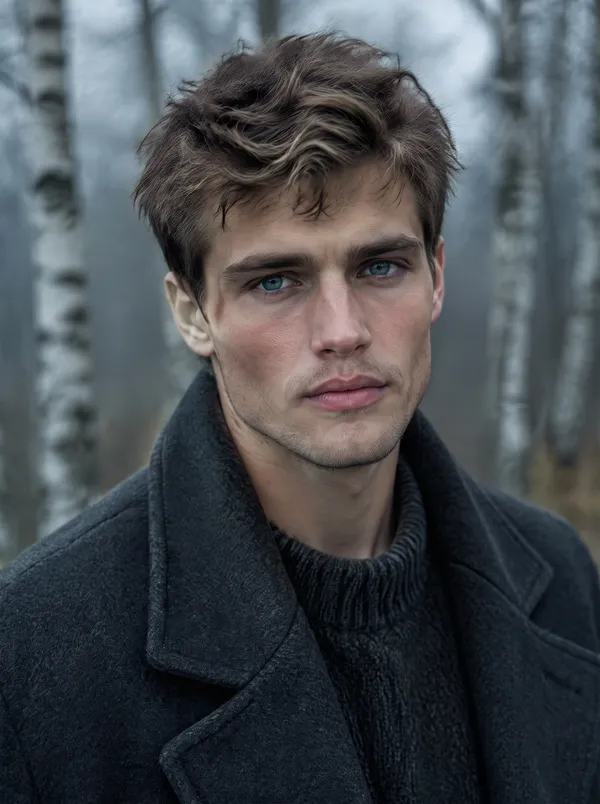
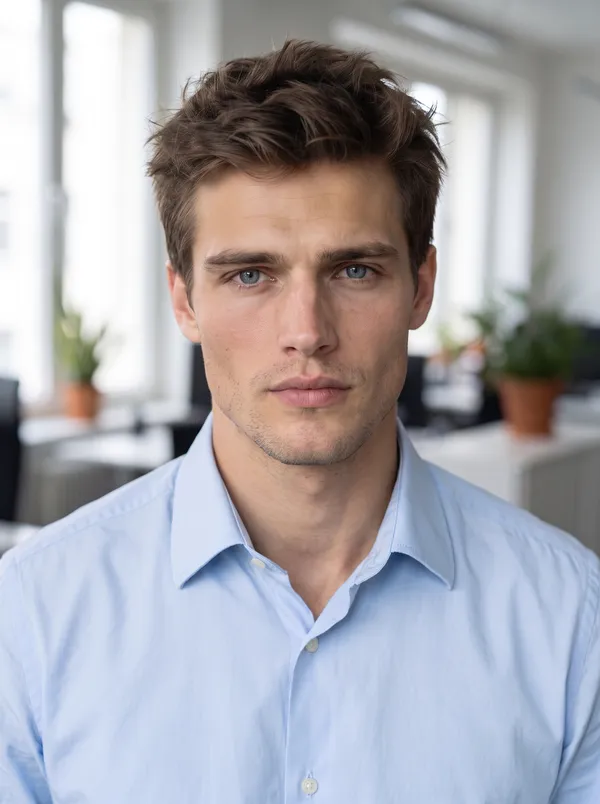
How to Get a Natural, Hireable Result
The difference between an AI headshot that looks professional and one that looks generated is mostly in the source photo and a few sensible choices.
- Start with a sharp, evenly lit, straight-on photo. Diffuse daylight from a window is ideal. The model can only work with the face it can see clearly, so soft, even light and a front-facing angle do more for the result than any setting.
- Keep the face unobstructed. Move hair off the face, take off sunglasses, and avoid hats unless a hat is part of your professional look.
- Match outfit, backdrop, and treatment to your field. A corporate treatment with a suit and a grey backdrop reads very differently from a creative treatment with knitwear and a bookshelf. Pick a combination that fits how your industry presents itself.
- Generate several variations and choose. Ask for four or eight, then keep the one where the likeness and expression feel most like you. This is faster and better than fine-tuning a single output.
- For a team, fix the variables. Give everyone the same backdrop and treatment and a similar outfit category so a set of headshots from different selfies still looks like one shoot.
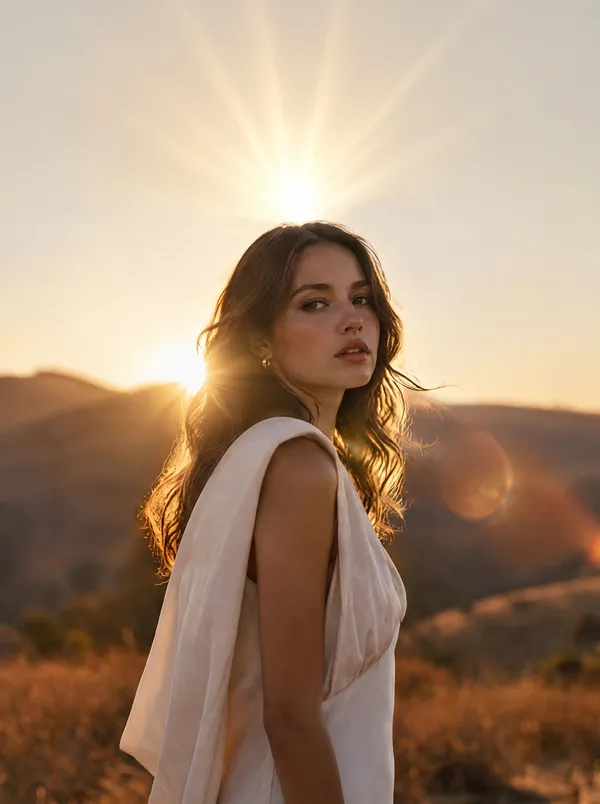
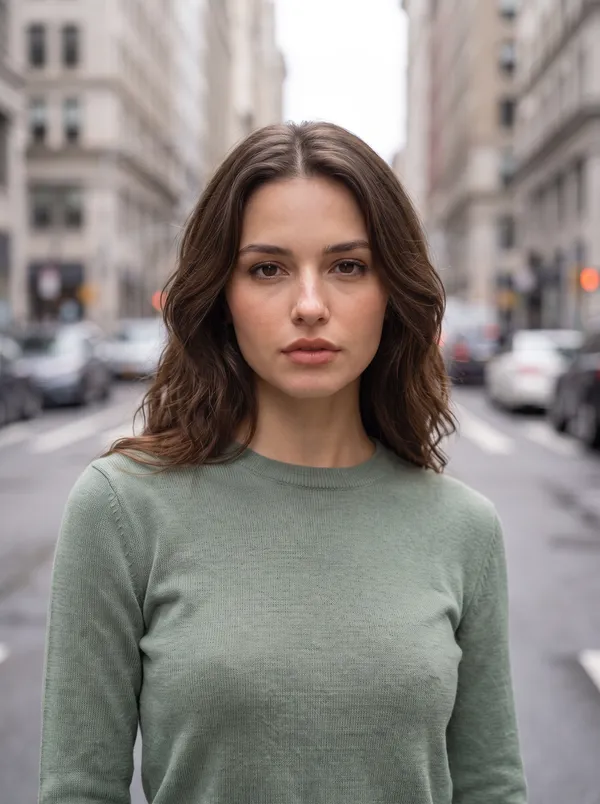
Keeping Headshots Consistent Across a Team or Over Time
When a whole team needs matching portraits, the trick is to standardise the presets rather than the people. Choose one backdrop, one treatment, and one outfit category, then run each person's selfie through the same settings. Because everyone starts from the same choices, the results share a look even though the source photos do not.
For recurring use of the same person, for example a founder who appears across a brand, getimg.ai's consistent character feature (Person Elements) and the open-ended Create image generator give you more control than the preset Action, including reusing a saved likeness across many scenes. The Headshots Action is the fast route to one clean portrait; the generator is where you go when the same face needs to appear in situations the presets do not cover, from a set of matching team shots to one character carried across an entire brand campaign.
The Bottom Line
An AI headshot gives you a professional portrait from a single selfie: upload a clear, front-facing photo, choose an outfit, a backdrop, and a treatment, set the quality and aspect ratio, and generate. The result keeps your likeness and adds the production values of a studio. For the everyday professional portrait, a LinkedIn photo, a team page, a speaker bio, it does in a minute what used to take a shoot.
Open the Headshots Action in getimg.ai, bring your best straight-on photo, and generate a few variations to compare. Commercial rights are included, subject to our terms and applicable third-party rights.
Frequently Asked Questions
Yes, when you start from a clear, front-facing photo. The model preserves your face and features and changes the outfit, background, and lighting around them. The likeness depends heavily on the source: a sharp, evenly lit, straight-on photo produces a portrait that reads clearly as you, while a blurry or angled shot gives the model less to work with.
Use a sharp, well-lit photo of your face looking straight at the camera, with the whole face visible. Diffuse daylight from a window works well. Avoid sunglasses, heavy shadows, extreme angles, and group photos. The quality of this source photo is the single biggest factor in the result.
Yes. Commercial rights are included, so you can use the headshot on LinkedIn, a company about page, a website, a press kit, or a directory, subject to our terms and applicable third-party rights.
The Headshots Action can generate 1, 2, 4, or 8 variations in a single run. Generating several at once is the fastest way to compare different outfit, backdrop, and treatment combinations and pick the one that looks most like you.
You can generate at 2K or 4K, and choose an aspect ratio to fit where the portrait will be used, such as 1:1 for a profile picture or 3:4 for a standard portrait. 4K gives you the most detail for print or large displays.
Standardise the presets. Choose one backdrop, one treatment, and one outfit category, then run each person's selfie through the same settings. Matching choices make a set of headshots from different source photos look like a single, coordinated shoot.