How to Restore & Colorize Old Photos with AI (2026 Guide)

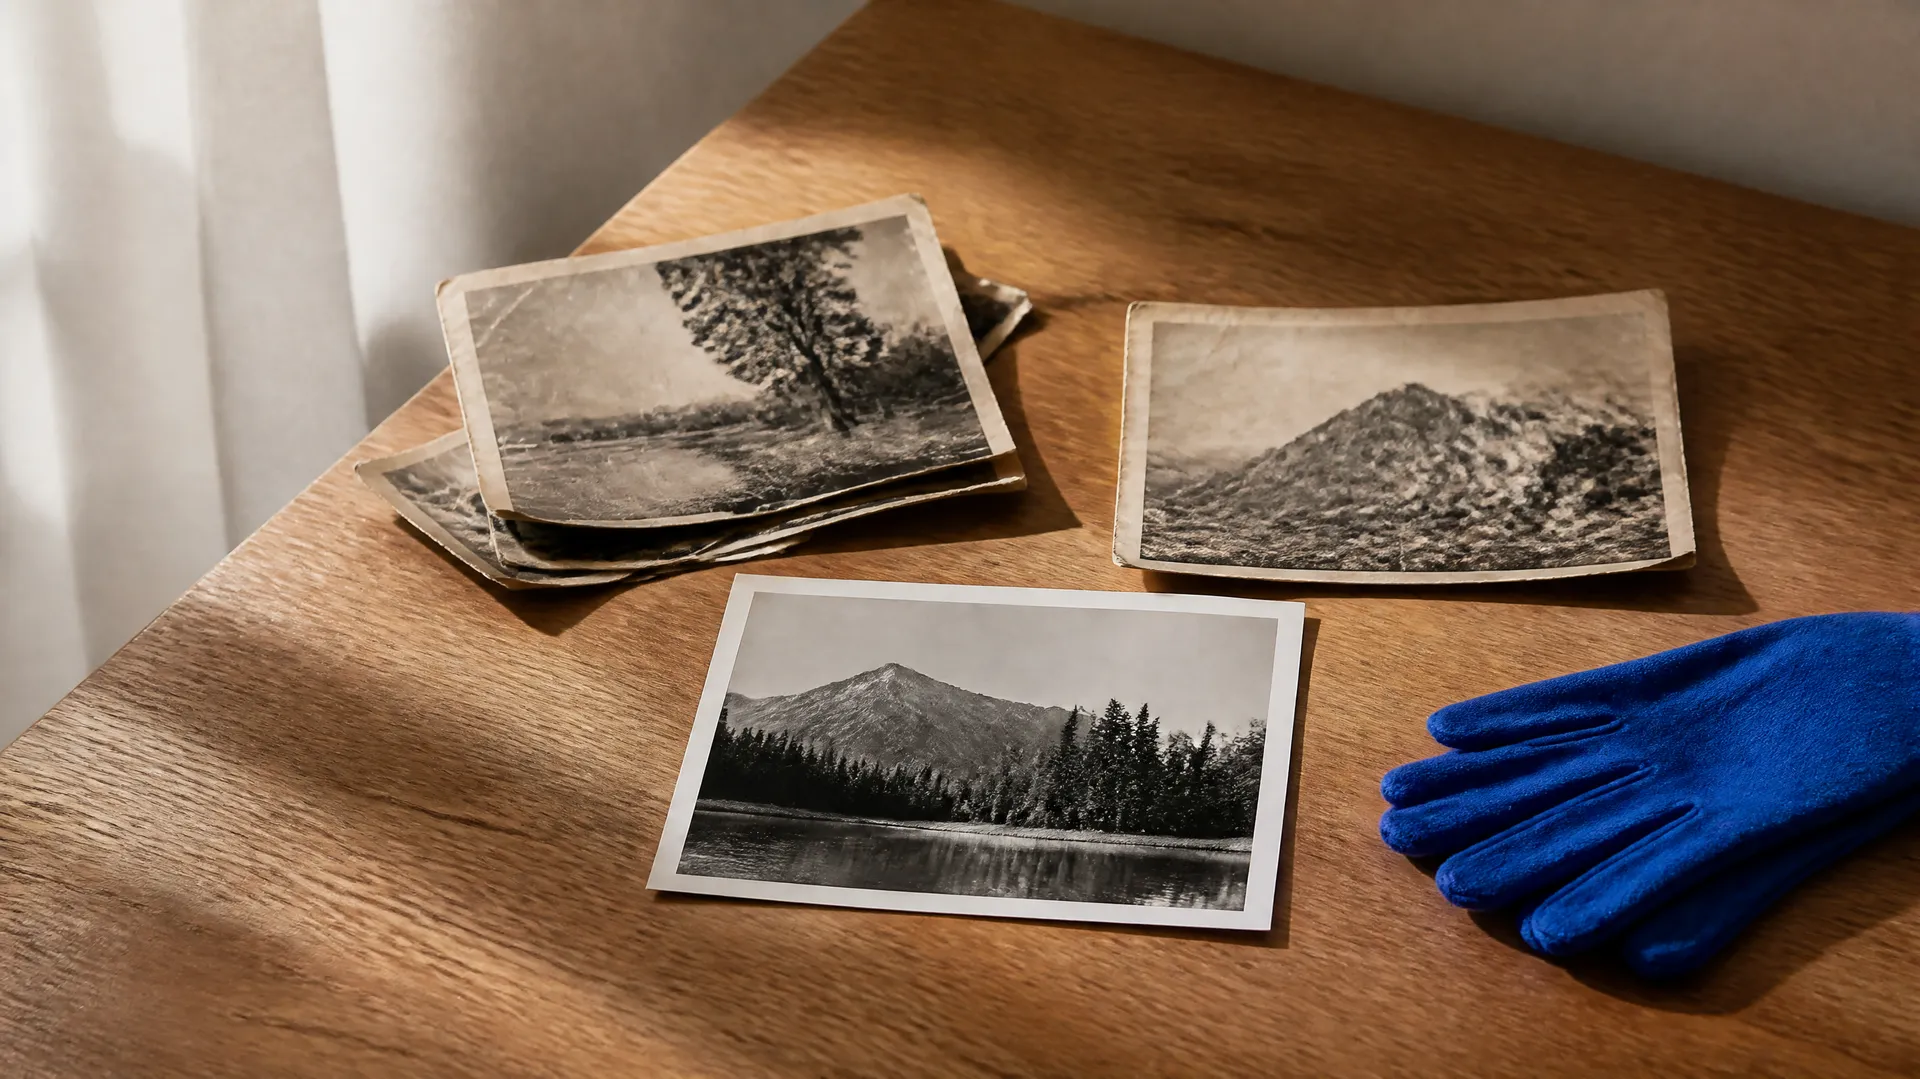
AI photo restoration repairs an old or damaged photograph from a single scan or snapshot, rebuilding the parts that scratches, creases, fading, and stains have destroyed. You add the picture, choose whether to restore it as it was or restore and colorize it, and the model returns a clean version that keeps the original composition and faces. On getimg.ai the Photo restoration Action does this in one flow, with no masking, sliders, or editing skills required.
TL;DR
- AI photo restoration rebuilds damaged areas of an old photo (scratches, creases, fading) while keeping the original scene and faces.
- In getimg.ai, open the Photo restoration Action, add the picture, and choose "just restore" or "restore and colorize."
- Set the output quality to 1K, 2K, or 4K depending on where the photo will be used.
- Scan or photograph the original as flat and sharp as you can; the cleaner the input, the more the model has to work with.
- It restores one photo at a time and never changes your original.
What AI Photo Restoration Is
A traditional restoration is retouching work: someone opens the scan in an editor and repairs the damage by hand, cloning good areas over bad ones, rebuilding torn corners, and painting colour back into a monochrome print. It is slow and skilled, which is why restoring a box of family photos has always been a project rather than an afternoon.
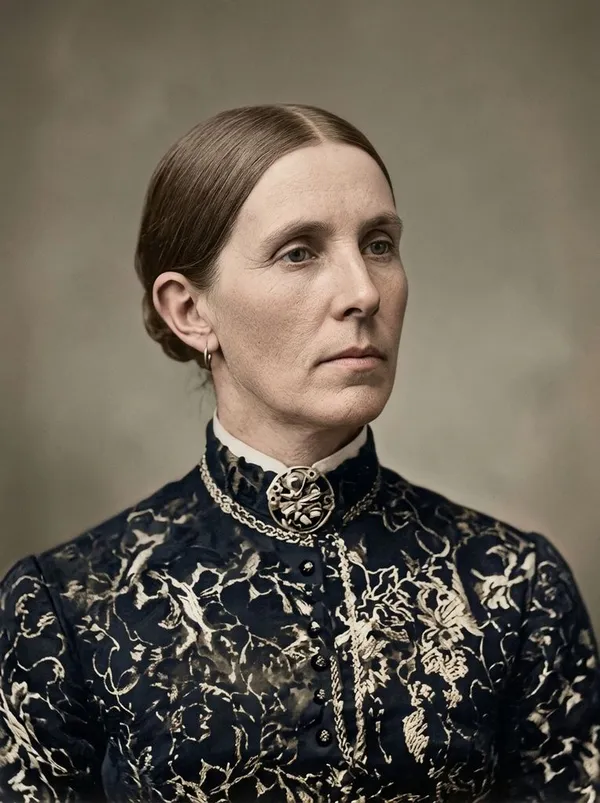
AI restoration reaches the same result from the scan alone. The model reads what the photo still shows, recognises faces, fabric, and background, and reconstructs the damaged regions to match. Creases and scratches are filled in, faded contrast is brought back, and, if you ask for it, colour is added to a black-and-white image. The point is repair, not reinvention: a good restoration keeps the people and the moment exactly as they were and only removes the damage that time added.
When to Use It (and When a Hand Restoration Still Wins)
Reach for AI restoration when you have real photographs that have aged or been damaged:
- Family archives, where a shoebox of prints needs cleaning up before it is scanned into an album or shared.
- Faded or water-damaged prints, where contrast has washed out and the image has gone flat or yellow.
- Torn, scratched, or creased photos, where physical damage crosses the image.
- Black-and-white photos you want to see in colour, where colorizing brings a distant scene closer.
A hand restoration by a specialist still wins for the highest-stakes originals: a museum or archival piece where every reconstructed detail must be documented and defensible, or a severely destroyed photo where so little survives that any rebuild is really an interpretation. AI covers the everyday restoration, the family photos and old prints most people actually have, quickly and affordably.
.jpeg-300x400.webp)
How to Restore a Photo with AI, Step by Step
Here is the workflow in getimg.ai. Open the Photo restoration Action to follow along.
1. Add the old or damaged photo
Upload a scan or photo of the original, or pick one from your library. Get the source as clean as you can before you start: a flat, evenly lit scan captures more of the surviving detail than a phone snap taken at an angle, and everything the model rebuilds is based on what it can see here.
2. Choose restore, or restore and colorize
Pick just restore to repair the damage and keep the photo in its original tones, which is the right choice for a black-and-white photo you want to stay black and white. Pick restore and colorize to repair the damage and add natural colour to a monochrome image. Colour is inferred from the scene, so it is a plausible, period-appropriate interpretation rather than a record of the exact original hues.
3. Set the quality
Choose an output resolution of 1K, 2K, or 4K. Use 1K for a quick on-screen copy, 2K for most sharing and albums, and 4K when you plan to print the restored photo or want the most detail to work with.
4. Generate and compare
Run the Action and the restored version appears in the gallery to the right of the controls. Your original scan is never changed, so you can run "just restore" and "restore and colorize" on the same photo and keep whichever you prefer.
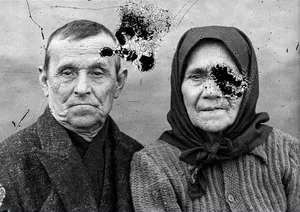
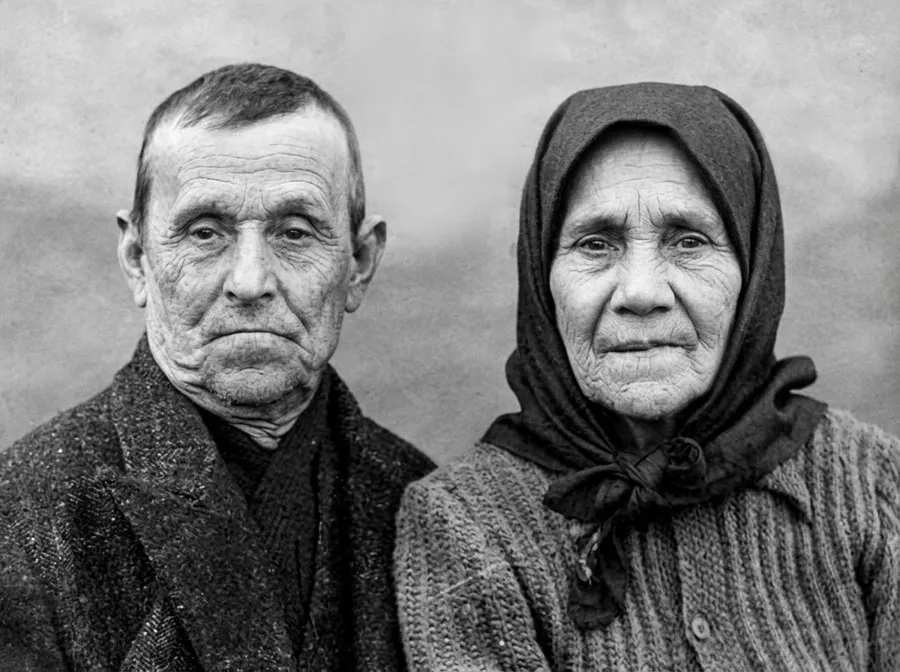
How to Get the Best Restoration
- Start from the best scan you can make. Scan flat, in even light, at a decent resolution. Damage is fine, but blur and glare give the model less to reconstruct from.
- Keep faces visible. Restoration is most convincing when the faces are still legible in the source. Very heavy damage across a face is the hardest case for any method, AI or manual.
- Match quality to the destination. Generate at 4K if the photo is going to print or a large frame; 2K is plenty for a screen or an album.
- Treat colorization as interpretation. The colours are the model's best guess from the scene, not the true original palette. If a specific colour matters, such as a uniform or a dress, that is a detail worth checking.
- Restore first, then enlarge. If you need the photo bigger than 4K for a large print, restore it first and then send the clean result to an upscaler, which adds resolution far more cleanly from a repaired image than from a damaged one.
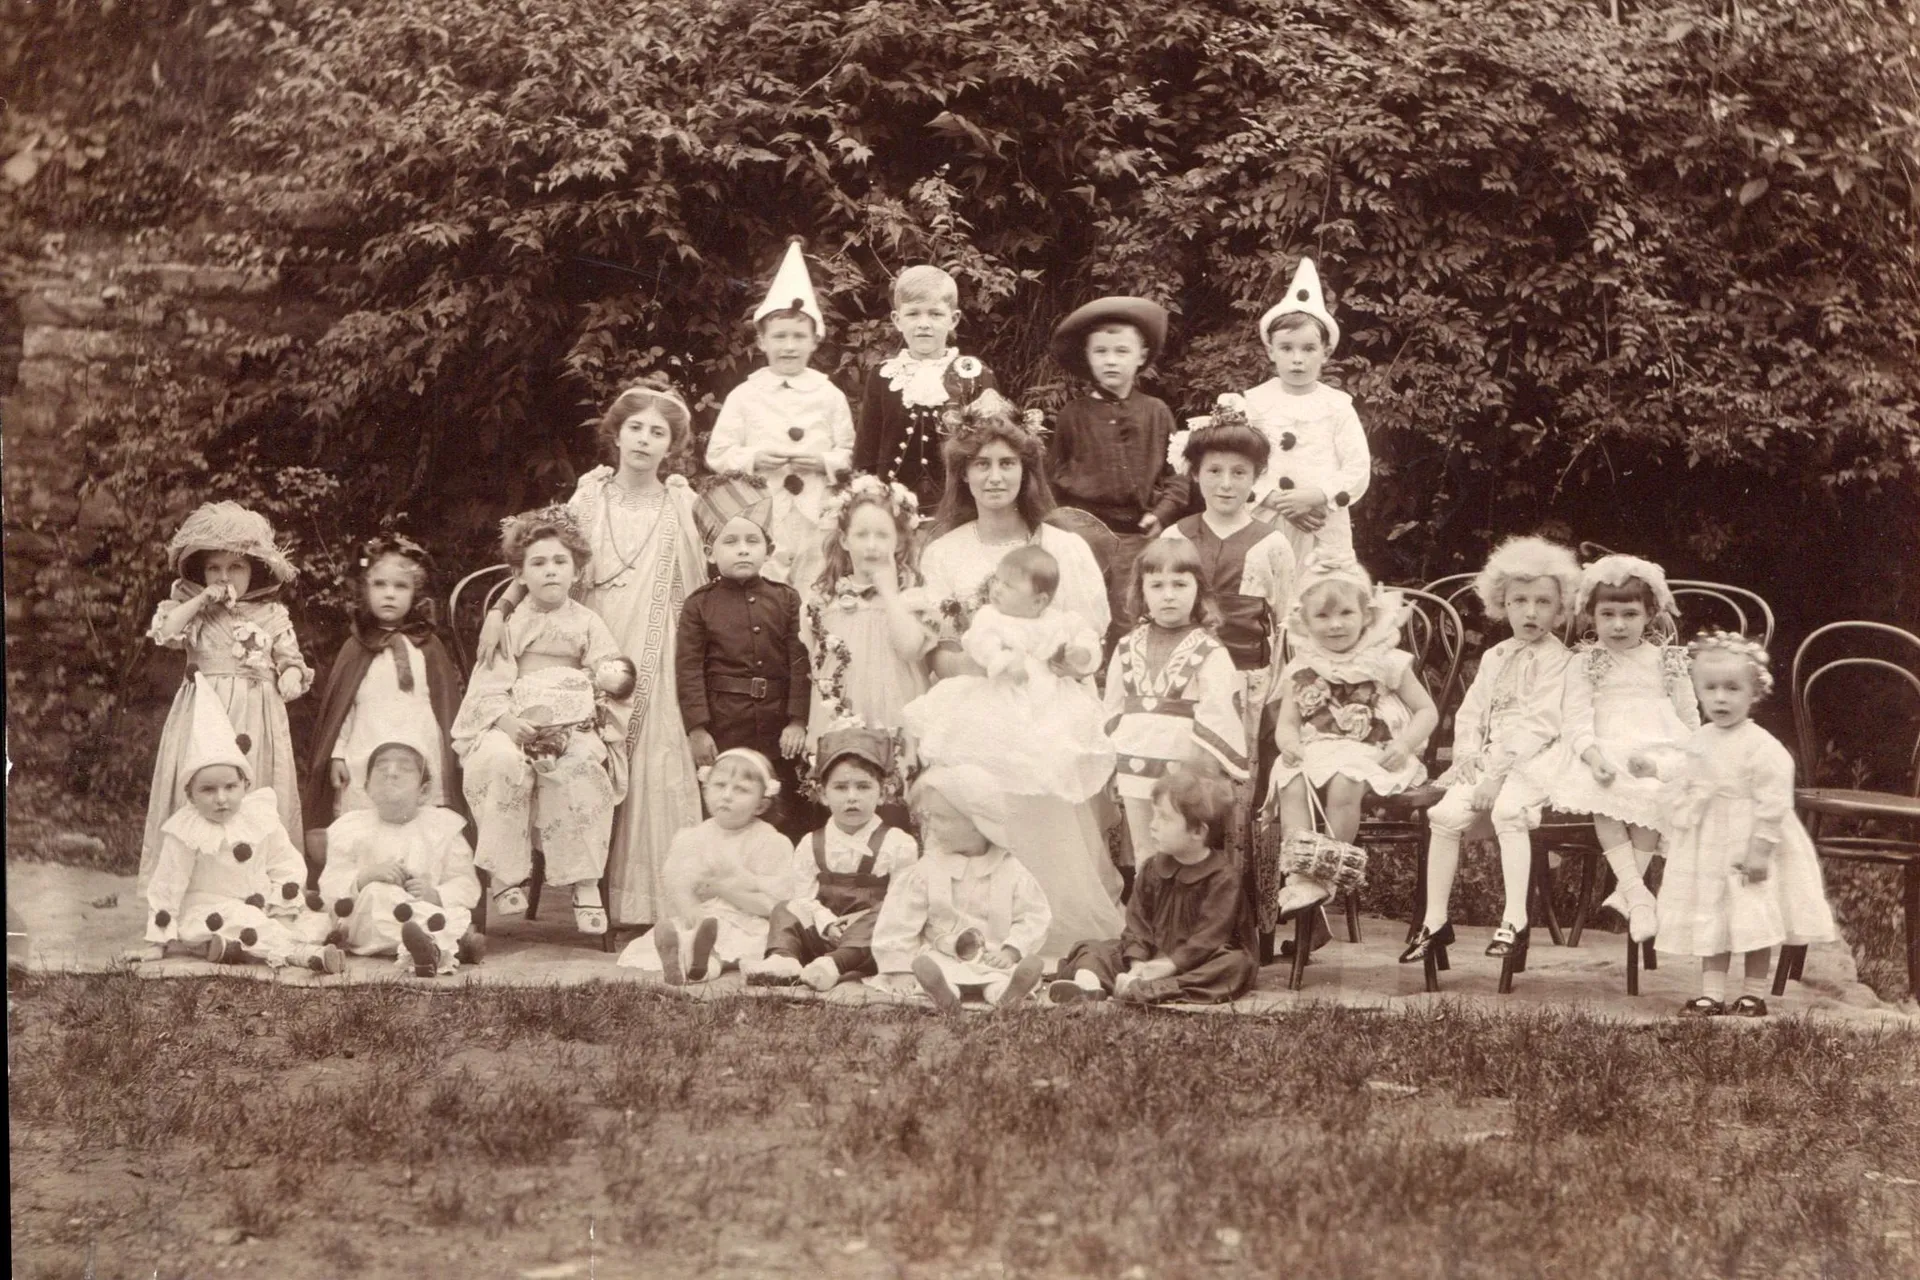
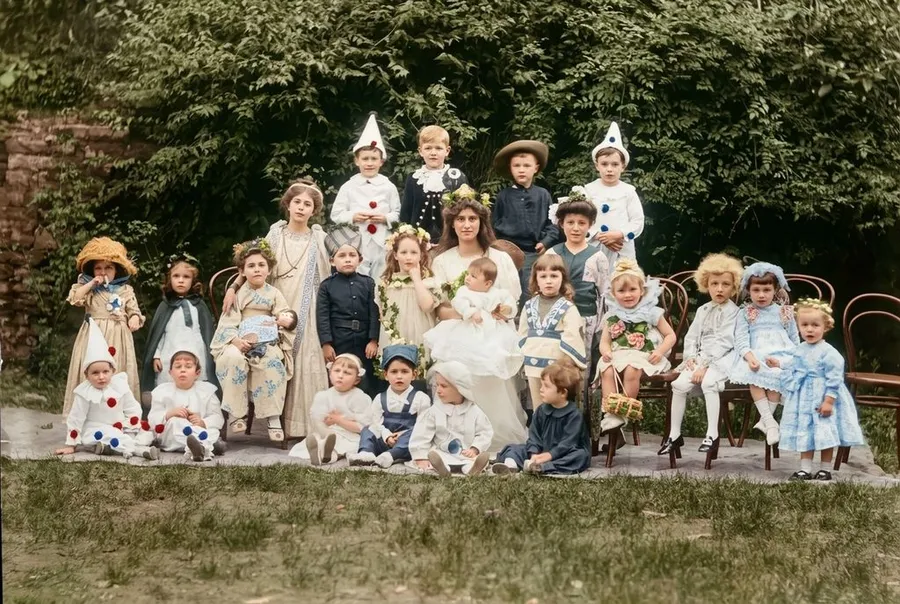
Restoring an Old Collection
The advantage of an AI flow shows up when you have more than one photo to fix. A hand restoration can take an hour per image; the Action returns each one in moments, so a shoebox of prints becomes an afternoon's work rather than a month's. You restore one photo at a time. For anything the presets do not cover, such as removing a specific object or reframing a photo, the open-ended Create image generator picks up where the Action stops.
The Bottom Line
AI photo restoration turns a skilled retouching job into a two-choice one: add the photo, decide whether to colorize, and generate. The model repairs the damage and leaves the moment intact, and because each photo takes moments rather than an hour, restoring an old collection is finally practical rather than a project you keep putting off.
Open the Photo restoration Action in getimg.ai, add your most damaged print, and try it both ways. Commercial rights are included, subject to our terms and applicable third-party rights.
Frequently Asked Questions
Yes, within limits. The model rebuilds damaged areas from the detail that survives, so scratches, creases, fading, and small tears restore well. Very heavy damage across a face or a region where almost nothing remains is the hardest case, because a rebuild there is closer to an interpretation than a repair. Starting from the cleanest possible scan gives the best result.
No. Colorization adds plausible, period-appropriate colour inferred from the scene, not a record of the exact original hues. It is very convincing for skin, sky, foliage, and everyday materials. Where a specific colour matters, such as a particular uniform or dress, treat the result as the model's best guess rather than documentary fact.
No. Restoration keeps the original scene, framing, and faces and only rebuilds the damaged parts. The goal is to remove what time added, not to alter the people or the moment. Your original scan is left untouched, and each run produces a new file.
Choose 1K for a quick on-screen copy, 2K for most sharing and albums, and 4K when you plan to print the photo or want maximum detail. If you need a size beyond 4K for a large print, restore first and then upscale the clean result.
Commercial rights are included, subject to our terms and applicable third-party rights. Note that restoring an old photograph does not by itself grant you rights to the image or the likenesses in it, so for anything beyond personal use, make sure you hold the underlying rights to the original.
You restore them one at a time. You can also generate both a restored and a restored-and-colorized version of the same photo to compare.
Related Articles