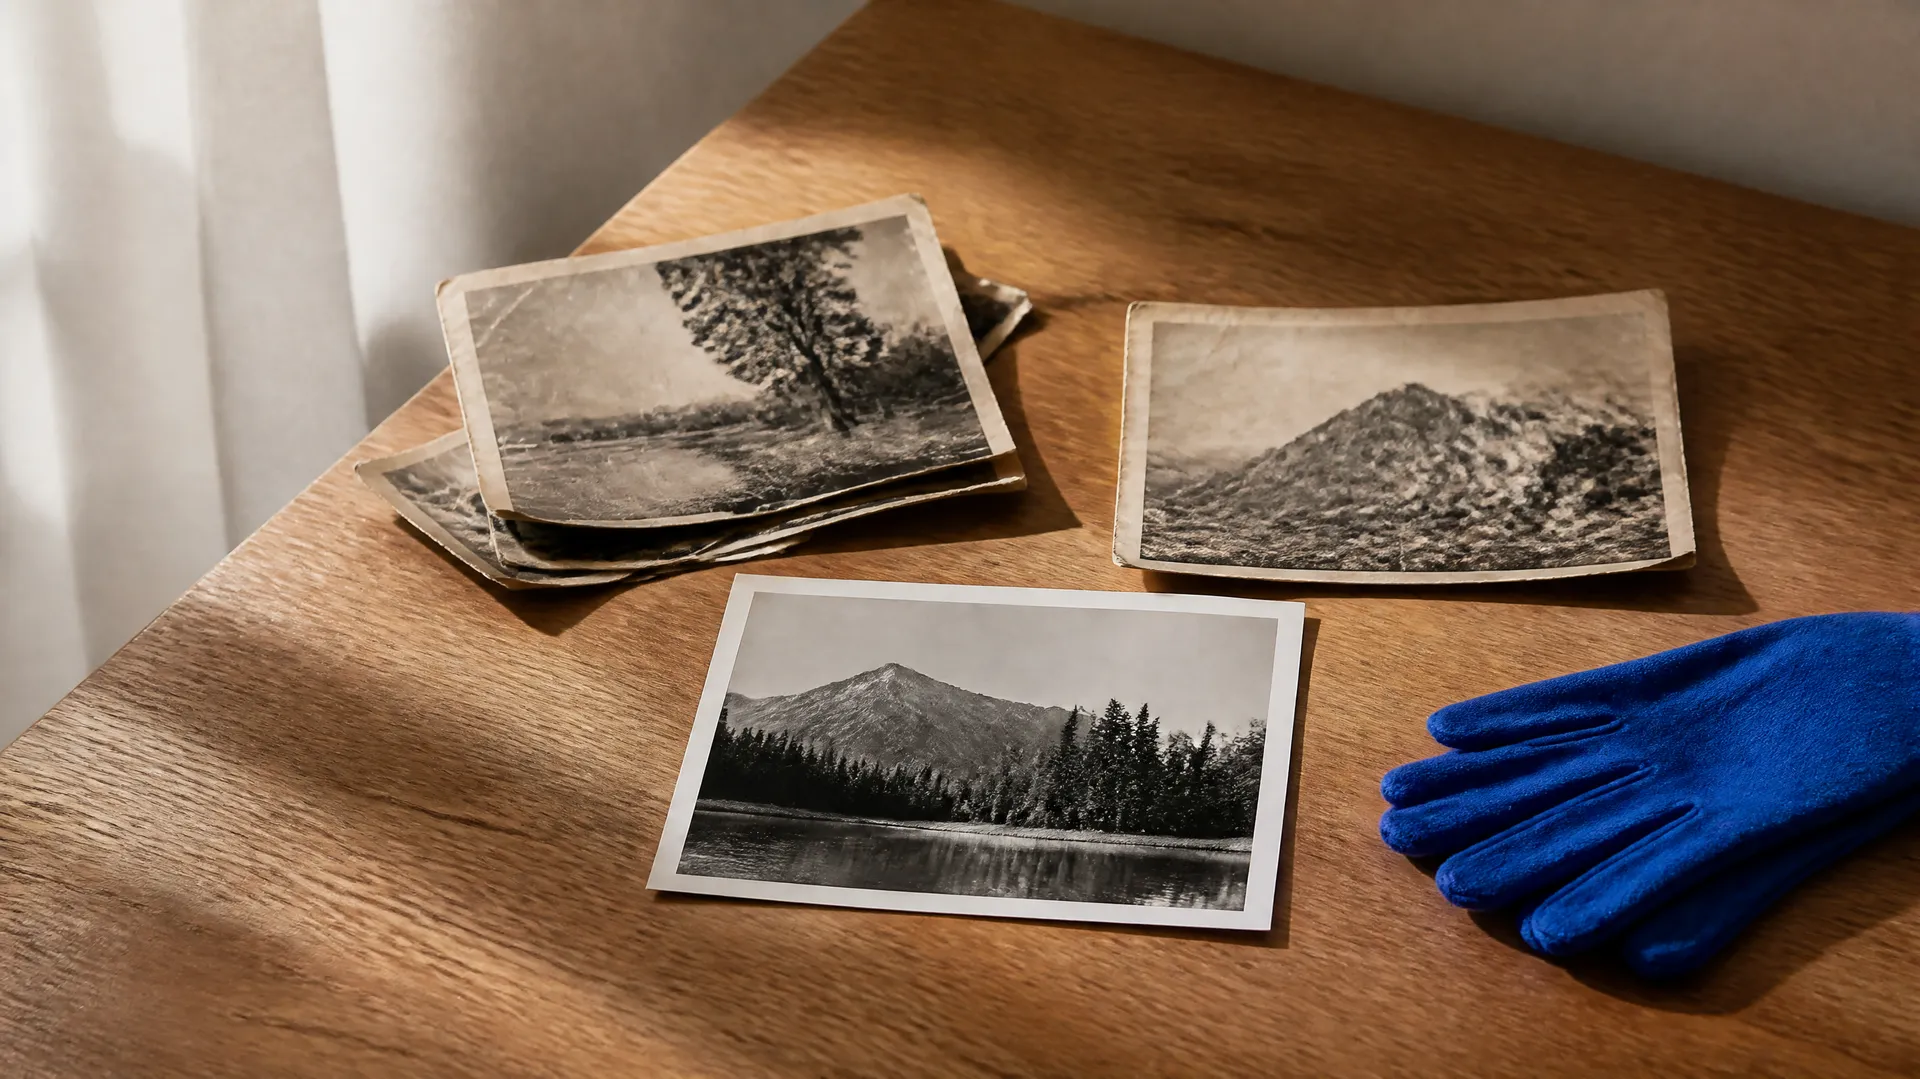
Introducing Actions: Creative AI Workflows Without Starting From a Prompt


Actions are ready-made creative AI workflows in getimg.ai, each designed around a specific result. Choose the task, add any source material it needs, adjust the available controls, and generate. Instead of translating a familiar creative job into a long prompt, you begin with the job itself. The current Actions cover focused image and video tasks, including professional headshots, photo restoration, background cleanup, image relighting, character creation, UGC videos, camera effects, and transitions.
What are Actions in getimg.ai?
Actions are focused AI tools that package a creative task into a guided workflow. Each Action combines the instructions, model selection, and task-specific settings needed for one defined outcome. The interface asks for the inputs that matter to that job, such as a portrait, an old photograph, a product image, or two transition frames. You can then make relevant choices without building the entire process yourself.
This makes Actions different from starting in an open-ended image or video generator. A generator begins with an empty creative space and a custom description. An Action begins with a recognizable production need: clean a background, restore a damaged photo, create a professional headshot, animate a product, or build a transition between two images. The result is a shorter path from source material to an asset you can review, refine, and use.
Actions do not remove creative direction. They organize it. You still choose the inputs, the intended outcome, and the options available inside the workflow. What changes is how much of the technical setup you need to assemble manually.
What changes when you use a ready-made AI workflow?
The starting question changes from “What should I write?” to “What do I need to make?” Actions turn a known deliverable into a focused sequence of inputs and controls. Instead of deciding which model to use, writing a full prompt, and working out the correct instruction order, you select the Action that already matches the task.
This is useful when the result has a clear production category. A professional portrait, restored family photograph, isolated subject, relit image, sticker, UGC clip, product orbit, dolly zoom, or image transition already has a recognizable goal. The Action gives that goal a structure.
Some Actions still need text or several references. For example, a UGC video may require product images, a presenter reference, and a short product description. A few Actions need no upload at all: Character creator, for example, builds a character entirely from options you select, such as heritage, hair, outfit, and art style. “Without starting from a prompt” does not mean “without a brief.” It means you do not have to translate the entire brief into one complex instruction before you can begin.
Which Actions are available?
The Actions covered in this release include six image workflows and four video workflows. Each one is built for a separate creative job, so the most useful way to choose is by the result you need rather than by the underlying AI model.
Action | Type | Best used for | Typical starting material |
Headshots | Image | Professional portraits and profile images | A clear portrait reference |
Photo restoration | Image | Repairing visibly aged or damaged photographs | An old or damaged photo |
Background cleanup | Image | Removing distracting people or objects from a background | A photo with a clear main subject |
Relight | Image | Changing the lighting and mood of an existing image | A portrait or subject image |
Sticker maker | Image | Turning a subject or idea into a sticker-style asset | A source image or selected subject |
Character creator | Image | Building a character from selected visual attributes | Chosen character features and style options |
UGC video | Video | Creating product-led creator-style video content | Product images, presenter reference, and product details |
Product orbit | Video | Showing a product with an orbiting camera movement | A clear product image |
Dolly zoom | Video | Adding a dramatic push-pull perspective effect | An image with a readable subject and depth |
Image transition | Video | Creating motion between two visual states | A first image and a final image |
The workflows are separate for a reason. Cleaning a travel photo is not the same task as changing its lighting. Creating a character is not the same as turning an existing subject into a sticker. A product orbit depends on object visibility, while an image transition depends on the relationship between its first and last frames. Choosing the closest Action gives the workflow a clearer brief from the start.
How to use Actions in getimg.ai
1. Choose the result before choosing the source
Start by naming the asset you need. If the goal is a professional profile portrait, choose Headshots. If the photo is damaged, begin with Photo restoration. If the subject is correct but the scene feels visually flat, Relight is the more relevant workflow. For motion, decide whether you need a product camera move, a dolly zoom effect, a transition, or a presenter-led UGC video.
A precise outcome makes it easier to select both the Action and the right source material. Avoid combining several unrelated goals in the first attempt. Generate one defined change, review it, and then decide whether the asset needs another step.
2. Upload source material that clearly shows the subject
The quality of the source affects what the workflow can read and preserve. Use images where the main subject is visible, important edges are not hidden, and key details are large enough to inspect. For portraits, choose a clear face reference that you have permission to use. For products, make sure the shape, surface, logo, and packaging details are readable. For restoration, scan or photograph the original as evenly as possible. A few Actions skip this step: Character creator starts from the options you choose rather than an uploaded file, so there is no source to prepare.
Video Actions also benefit from a deliberate starting frame. Product orbit needs a product that can be separated visually from its surroundings. Dolly zoom works best when the image has a clear subject and enough depth for the perspective change to read. Image transition needs two frames with an intentional visual relationship.
3. Adjust the task-specific controls
Each Action presents options relevant to its result. These may guide appearance, lighting, style, movement, or another part of the output. Use them to define the direction without trying to reproduce the full workflow in a general prompt box.
Make one meaningful decision at a time. If you are testing a headshot, keep the source consistent while comparing the available portrait choices. If you are relighting an image, evaluate how the new light affects the face, product surface, background, and overall mood. For video, focus on whether the motion supports the subject instead of selecting movement only because it looks dramatic.
4. Generate and compare the result with the source
Treat the first output as a version to evaluate, not as an automatic final asset. Compare it with the original and check the details that matter to the brief. For a portrait, review facial identity, hair, clothing, and proportions. For a product, inspect the silhouette, materials, labels, and recognizable design details. For a restored image, look for changes that may have replaced historical detail rather than repaired it.
For video, watch the full clip more than once. Check the opening frame, the movement itself, and the final frame. Look for warping, sudden changes, or details that shift during motion. The strongest result is not simply the most visually intense one. It is the version that communicates the intended idea while keeping the important subject readable.
Image Actions for portraits, photos, and characters
Headshots
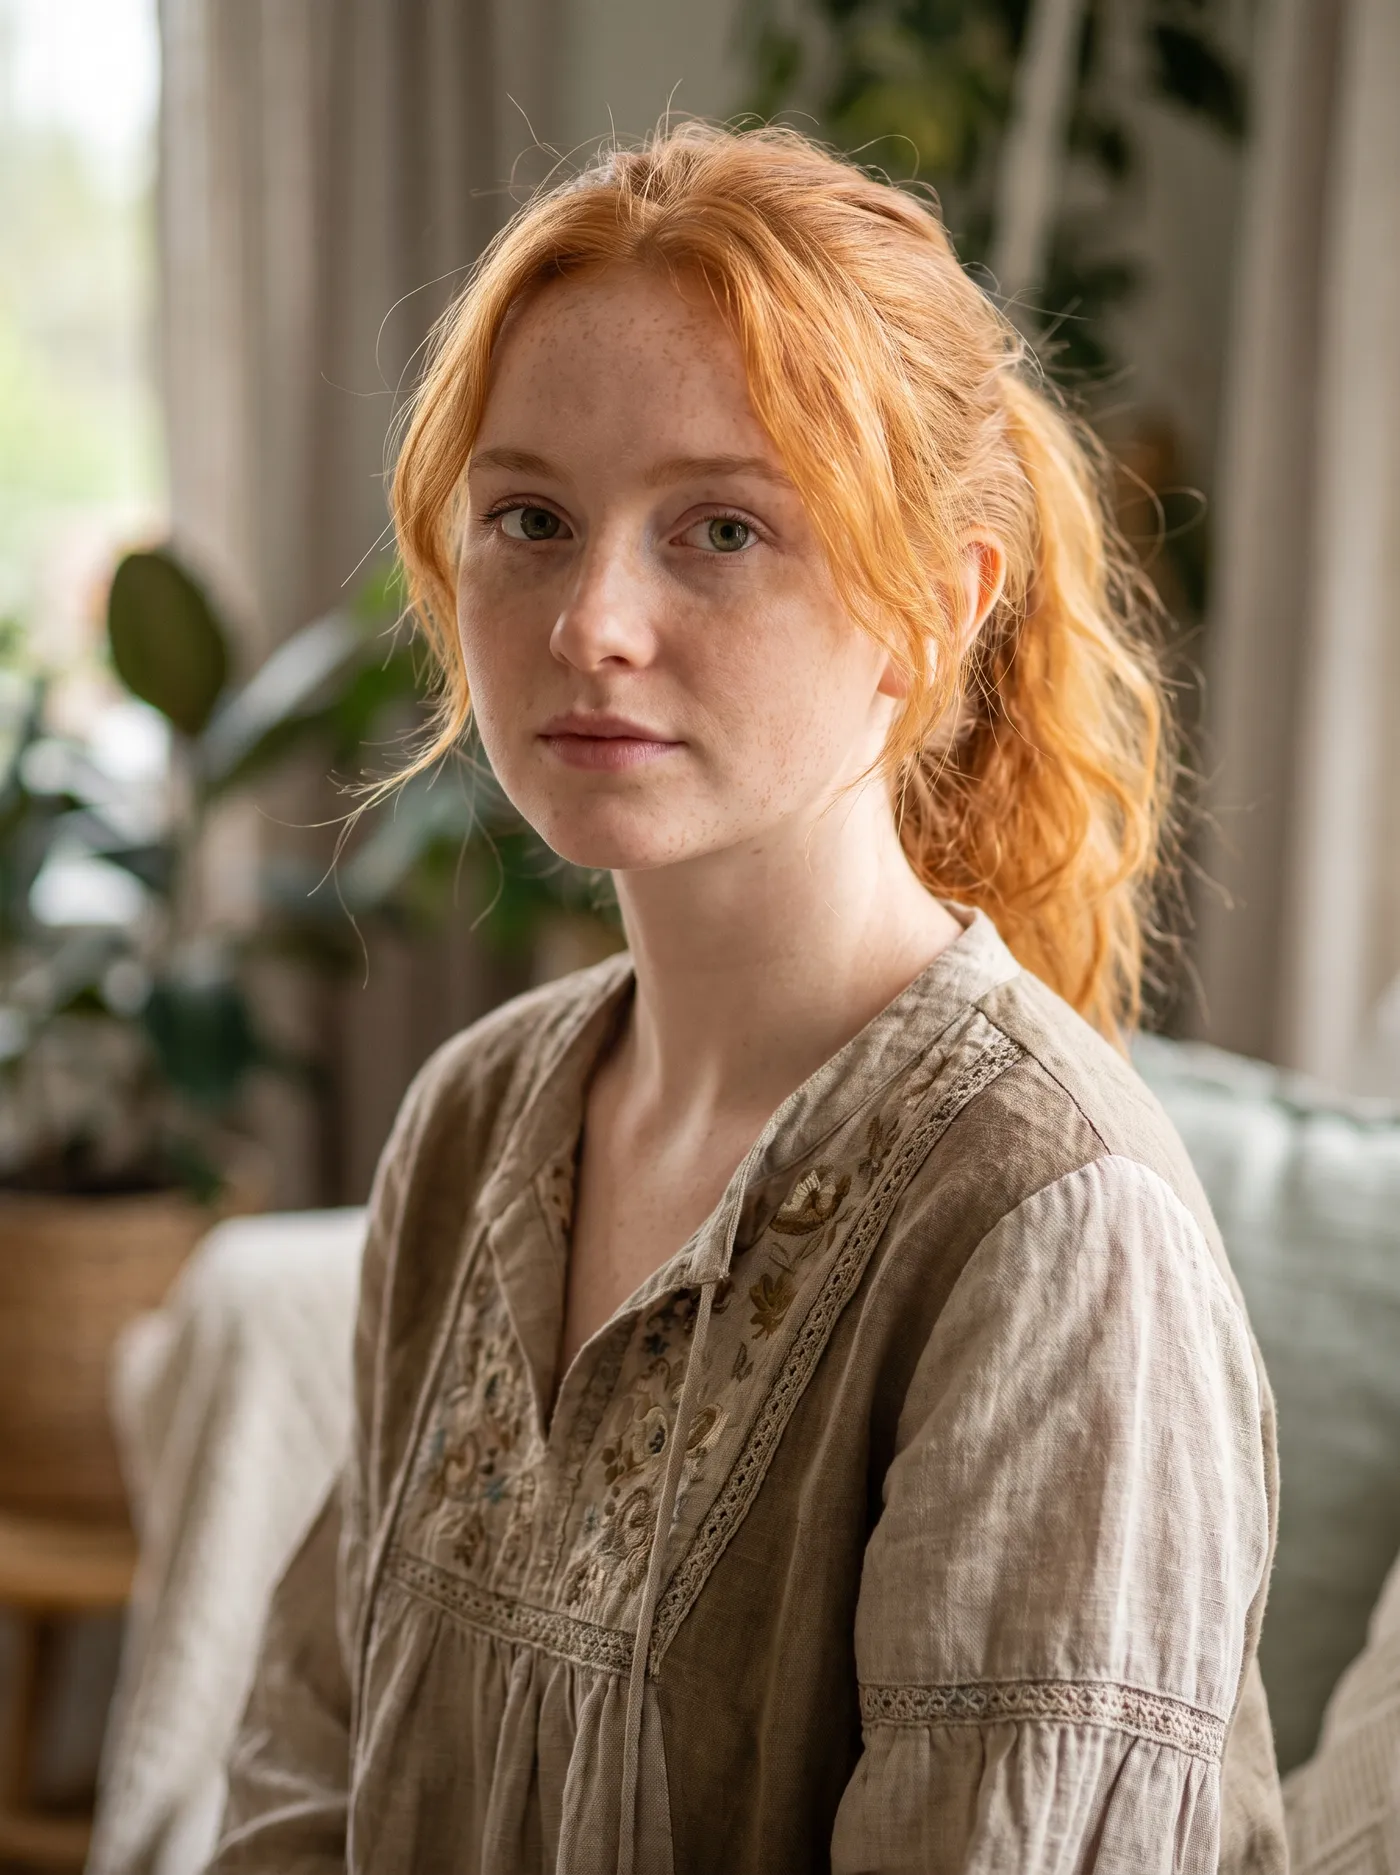
Headshots turns a portrait reference into a professional-looking profile image through a dedicated AI headshot workflow. It is useful when you need a consistent portrait for a team page, professional profile, creator bio, speaker page, or personal brand asset. Starting with a clear, front-facing image gives the workflow more reliable information about facial features and proportions.
Before generating, decide where the portrait will appear. A small profile image needs a clean silhouette and readable face. A website portrait may allow more space for clothing and background. After generation, compare the result with the reference and confirm that identity, facial structure, and distinguishing features remain recognizable. AI headshots should also be reviewed for small inconsistencies around hair, jewelry, glasses, teeth, and clothing edges before professional use.
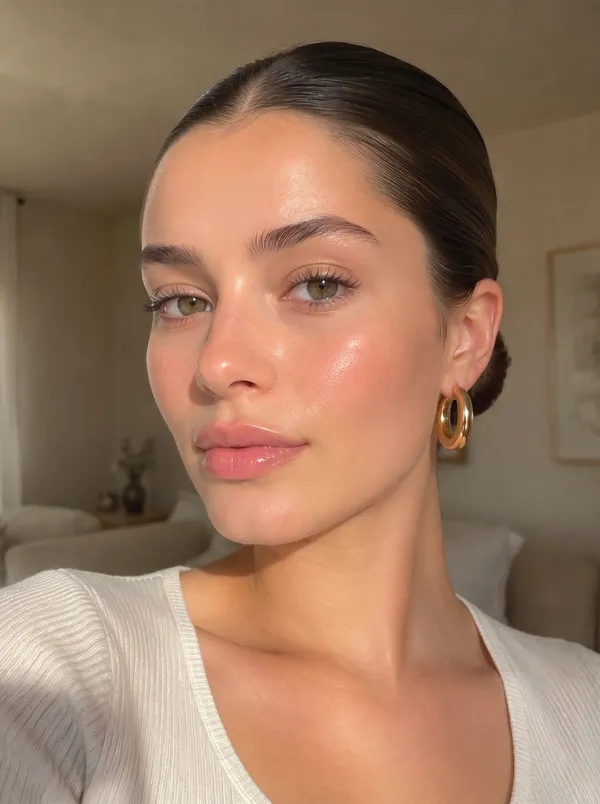
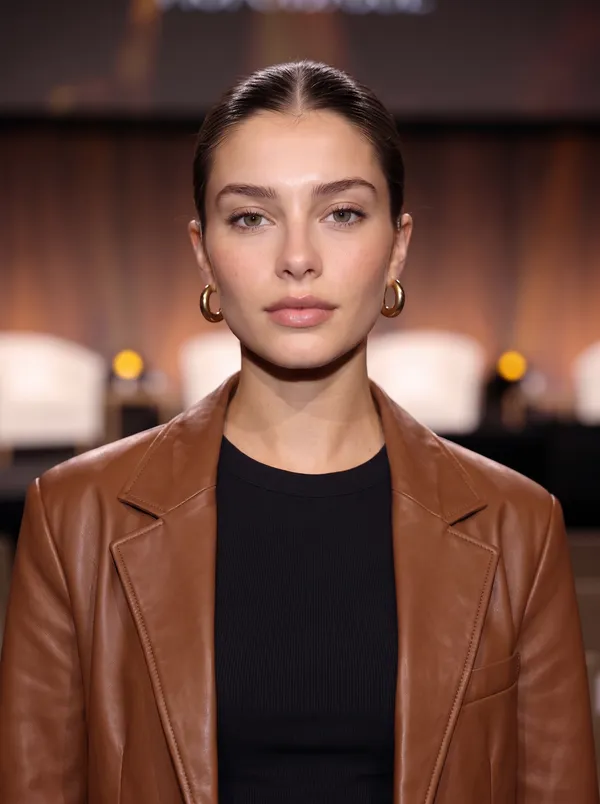
Photo restoration
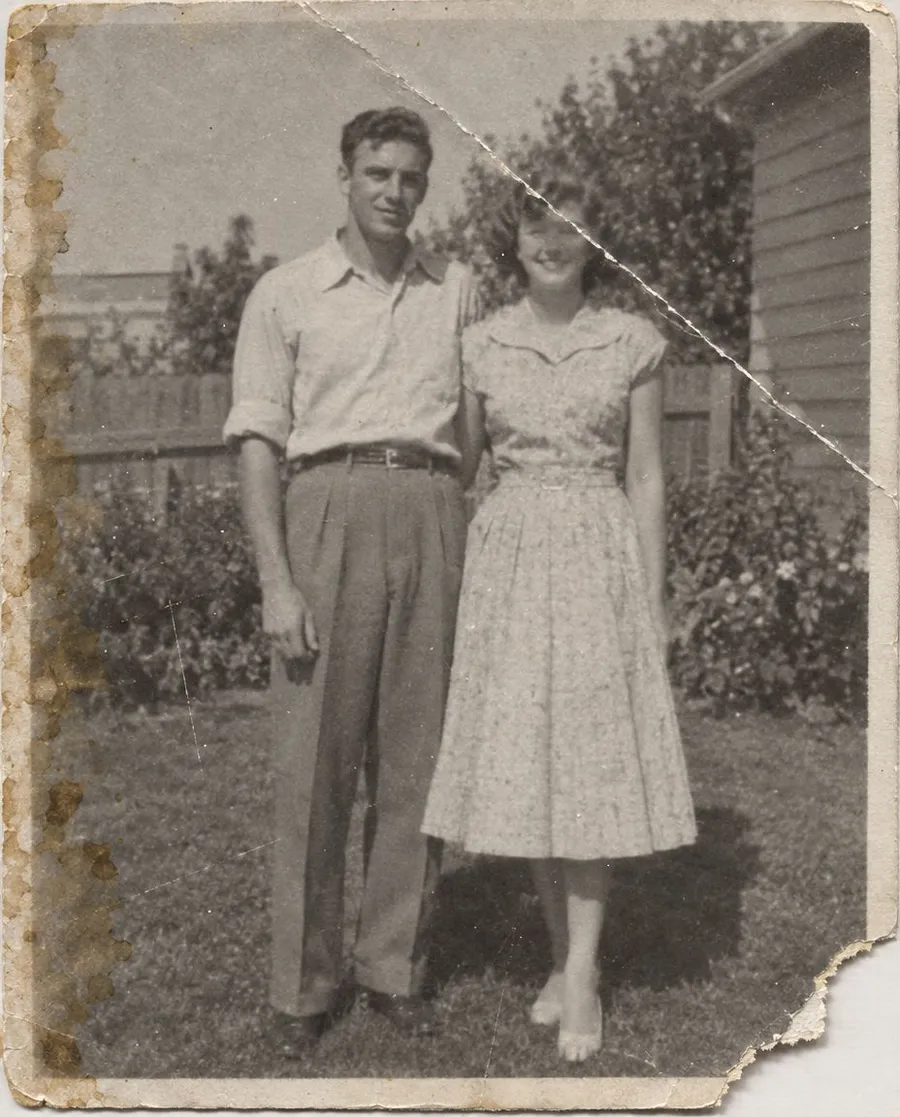
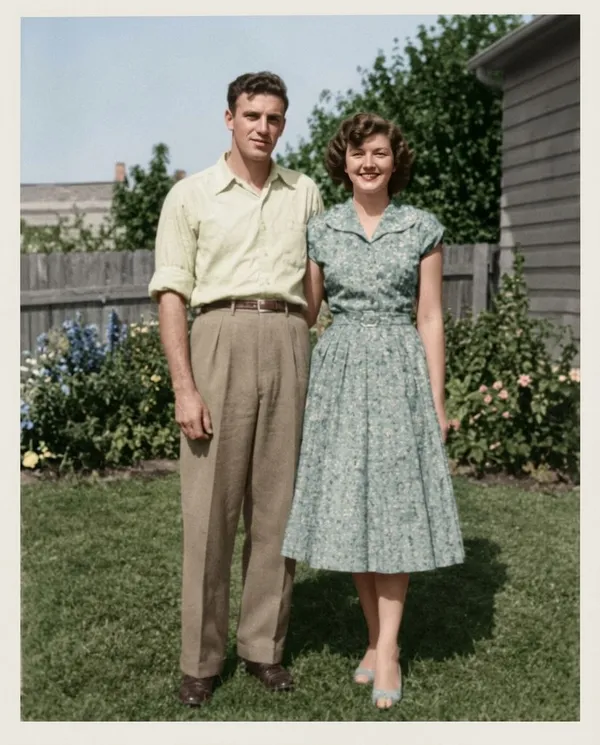
Photo restoration is designed to repair the visible damage in old or degraded photographs. It can provide a cleaner version of an image affected by cracks, fading, stains, missing areas, or age-related wear. The goal is not to redesign the photograph. It is to make the existing image easier to see while keeping its people, setting, and period details recognizable. You can keep it a straight repair, or restore and colorize a black-and-white original.
Use the highest-quality scan or photograph available. Avoid strong reflections, perspective distortion, or heavy shadows across the original. Once the restored version is generated, compare faces, clothing, architecture, objects, and text with the source. AI can reconstruct unclear areas, but reconstructed detail is still an interpretation. For family archives, documentary work, or historical material, preserve the original file and label the generated version as restored rather than treating it as an unchanged record.
Background cleanup
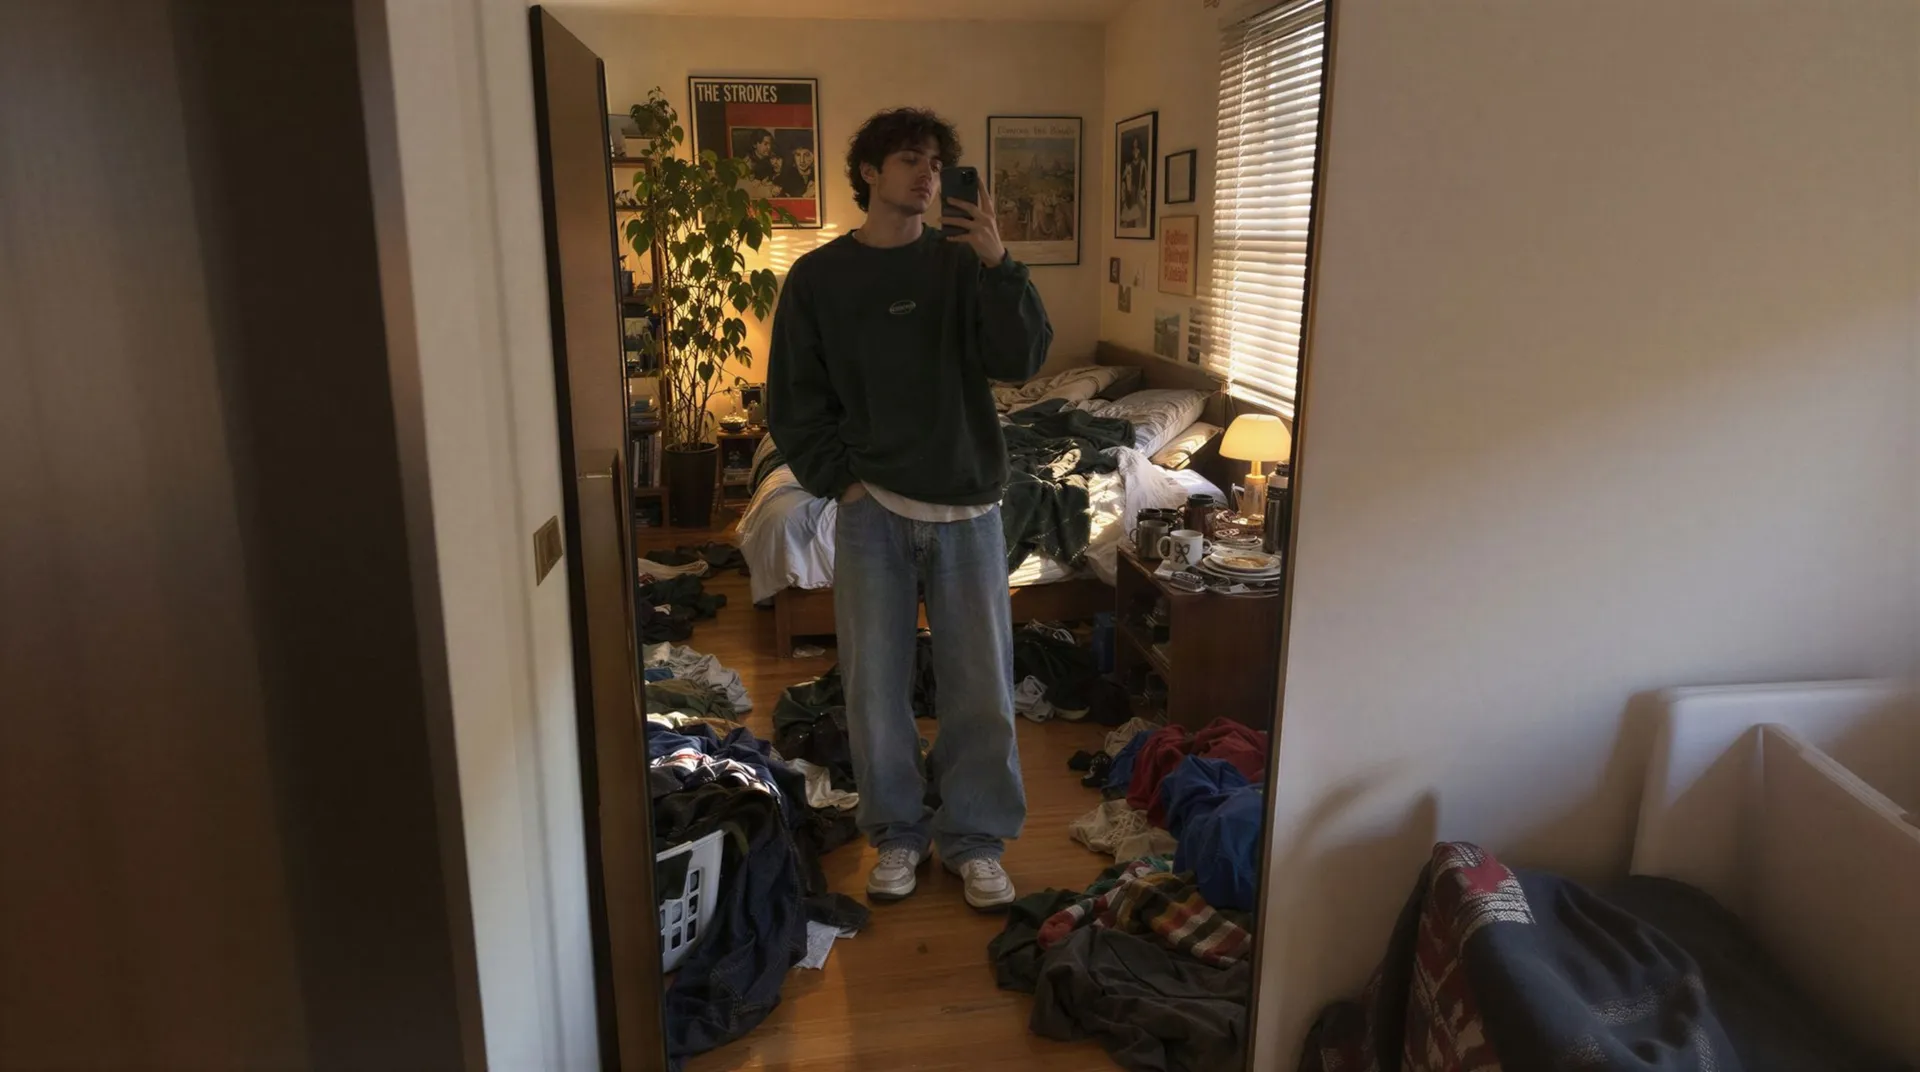
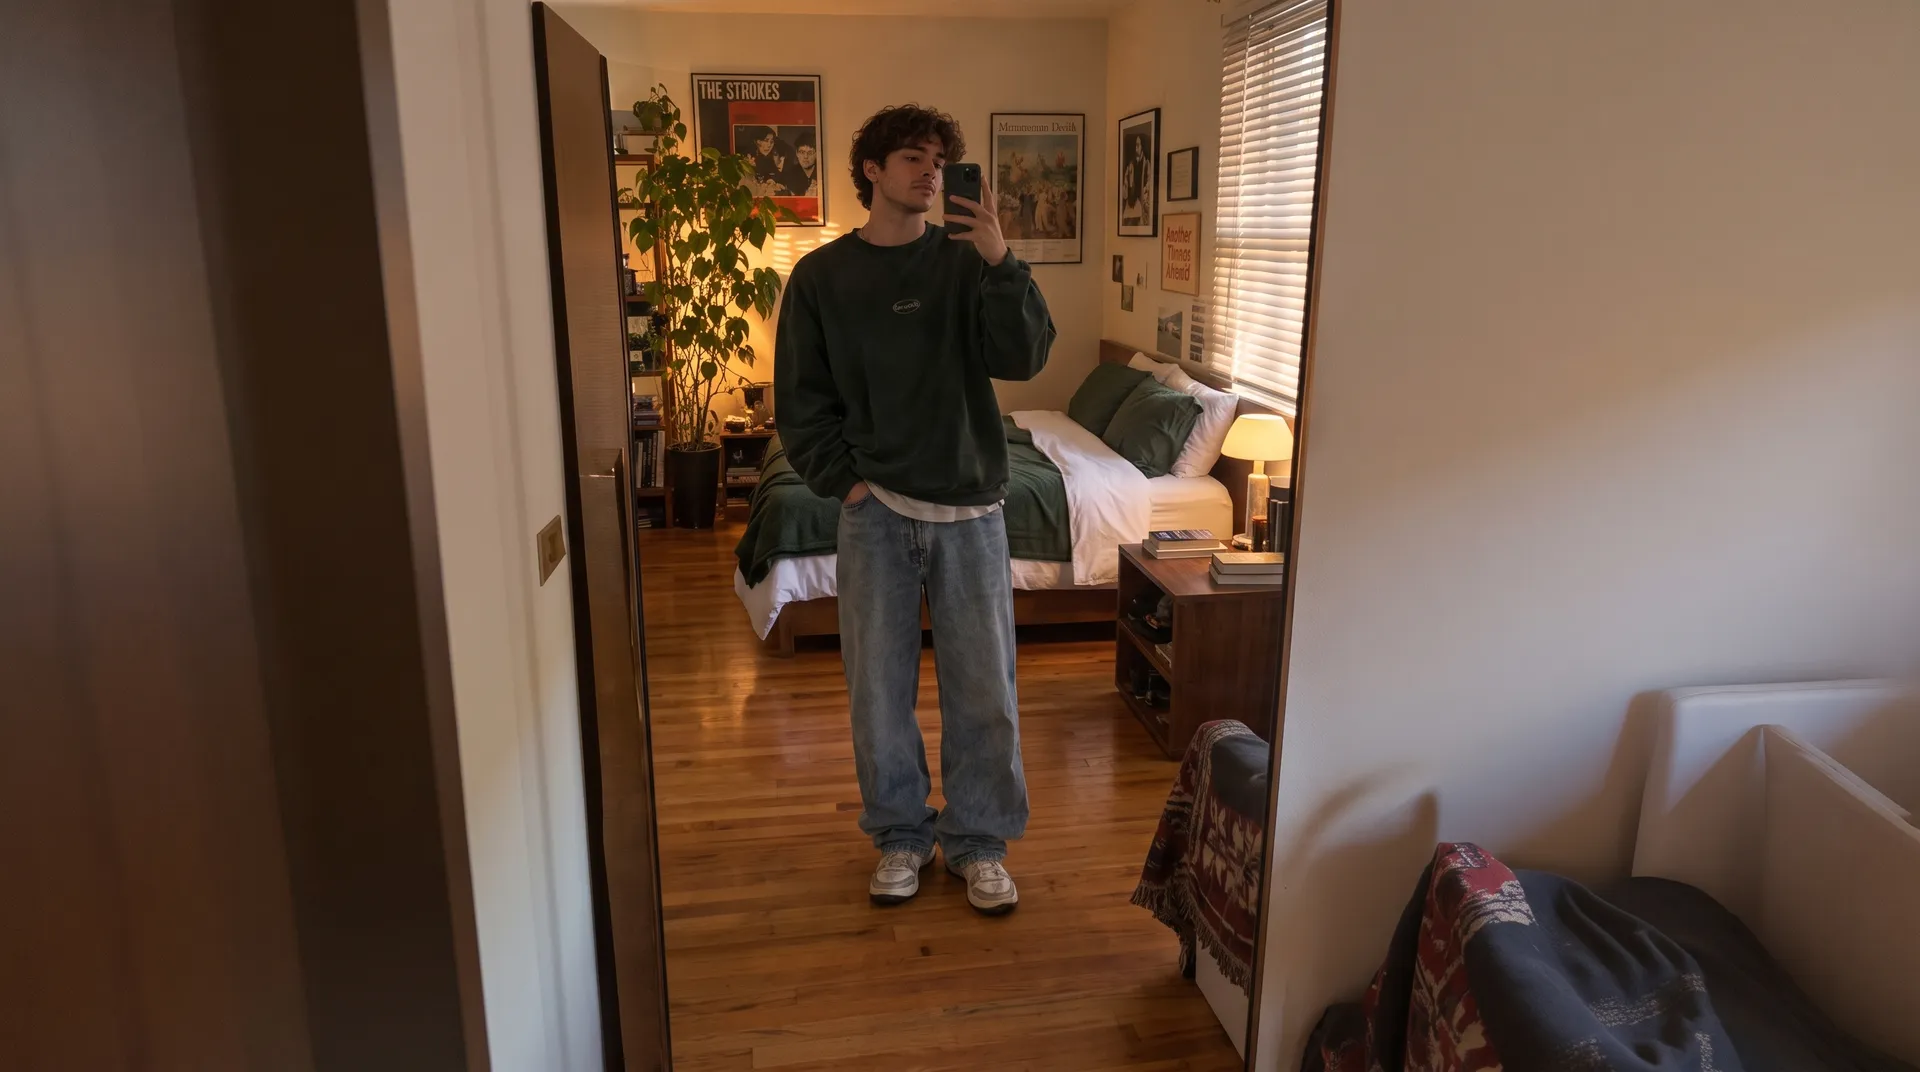
Background cleanup removes distracting visual elements while keeping the main subject in place. It is useful for travel photographs, portraits, social images, and other scenes where unwanted people or objects compete with the intended focus. A dedicated cleanup workflow can be faster than describing each distraction individually in a general image editor.
Choose a source in which the subject is clearly separated from the elements you want to remove. Then inspect the generated background for repeated textures, broken lines, inconsistent shadows, or architecture that no longer makes sense. Pay close attention to the boundary around hair, hands, clothing, and transparent objects. The cleaned version should look like a coherent photograph, not like an empty area was filled after the fact. Use it when the original composition already works and the background simply needs fewer distractions.
Relight
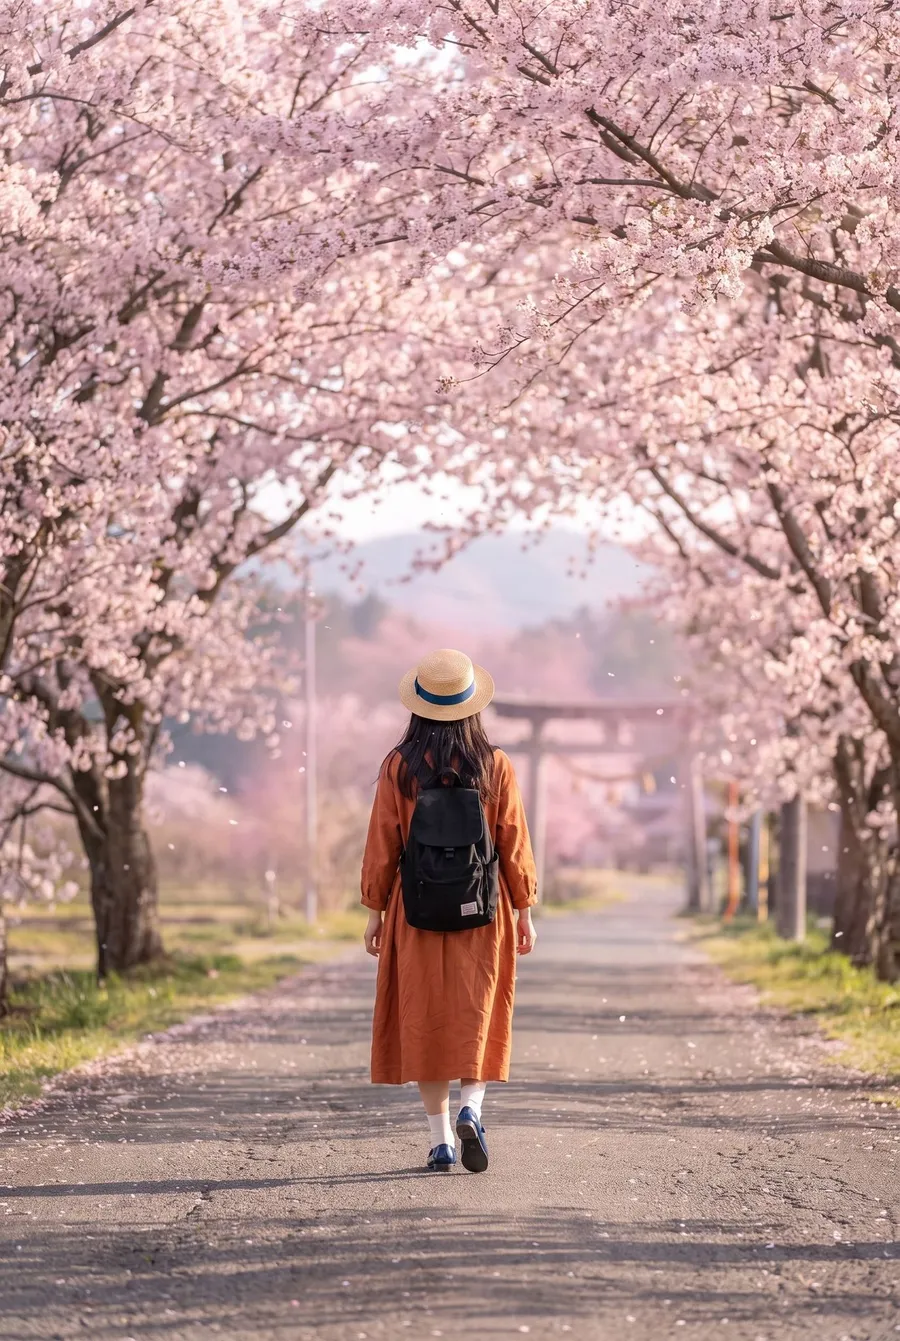
Relight changes the lighting direction, intensity, color, or mood of an existing image without requiring a new shoot. It can help test how a portrait, character, or visual concept responds to a different lighting setup. The subject remains the starting point, while the light becomes the main creative variable.
Use Relight when the composition and subject are already right but the atmosphere is not. A softer setup can make a portrait feel more natural. Strong directional light can create a more cinematic result. Colored light can shift the image toward a specific campaign mood. Review whether highlights and shadows follow the form of the face or object, and check reflective materials carefully. Effective AI relighting should feel integrated into the scene rather than placed on top of it.
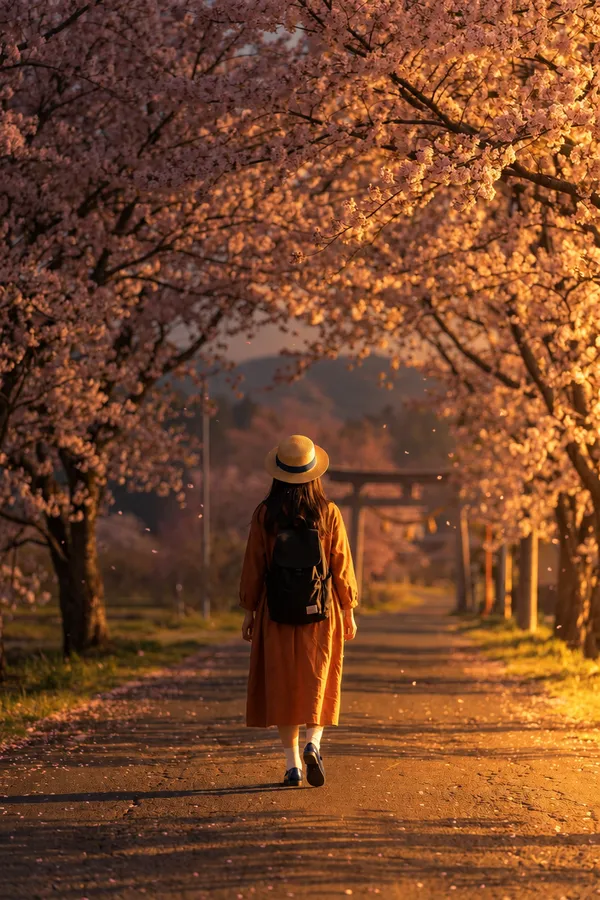
Sticker maker
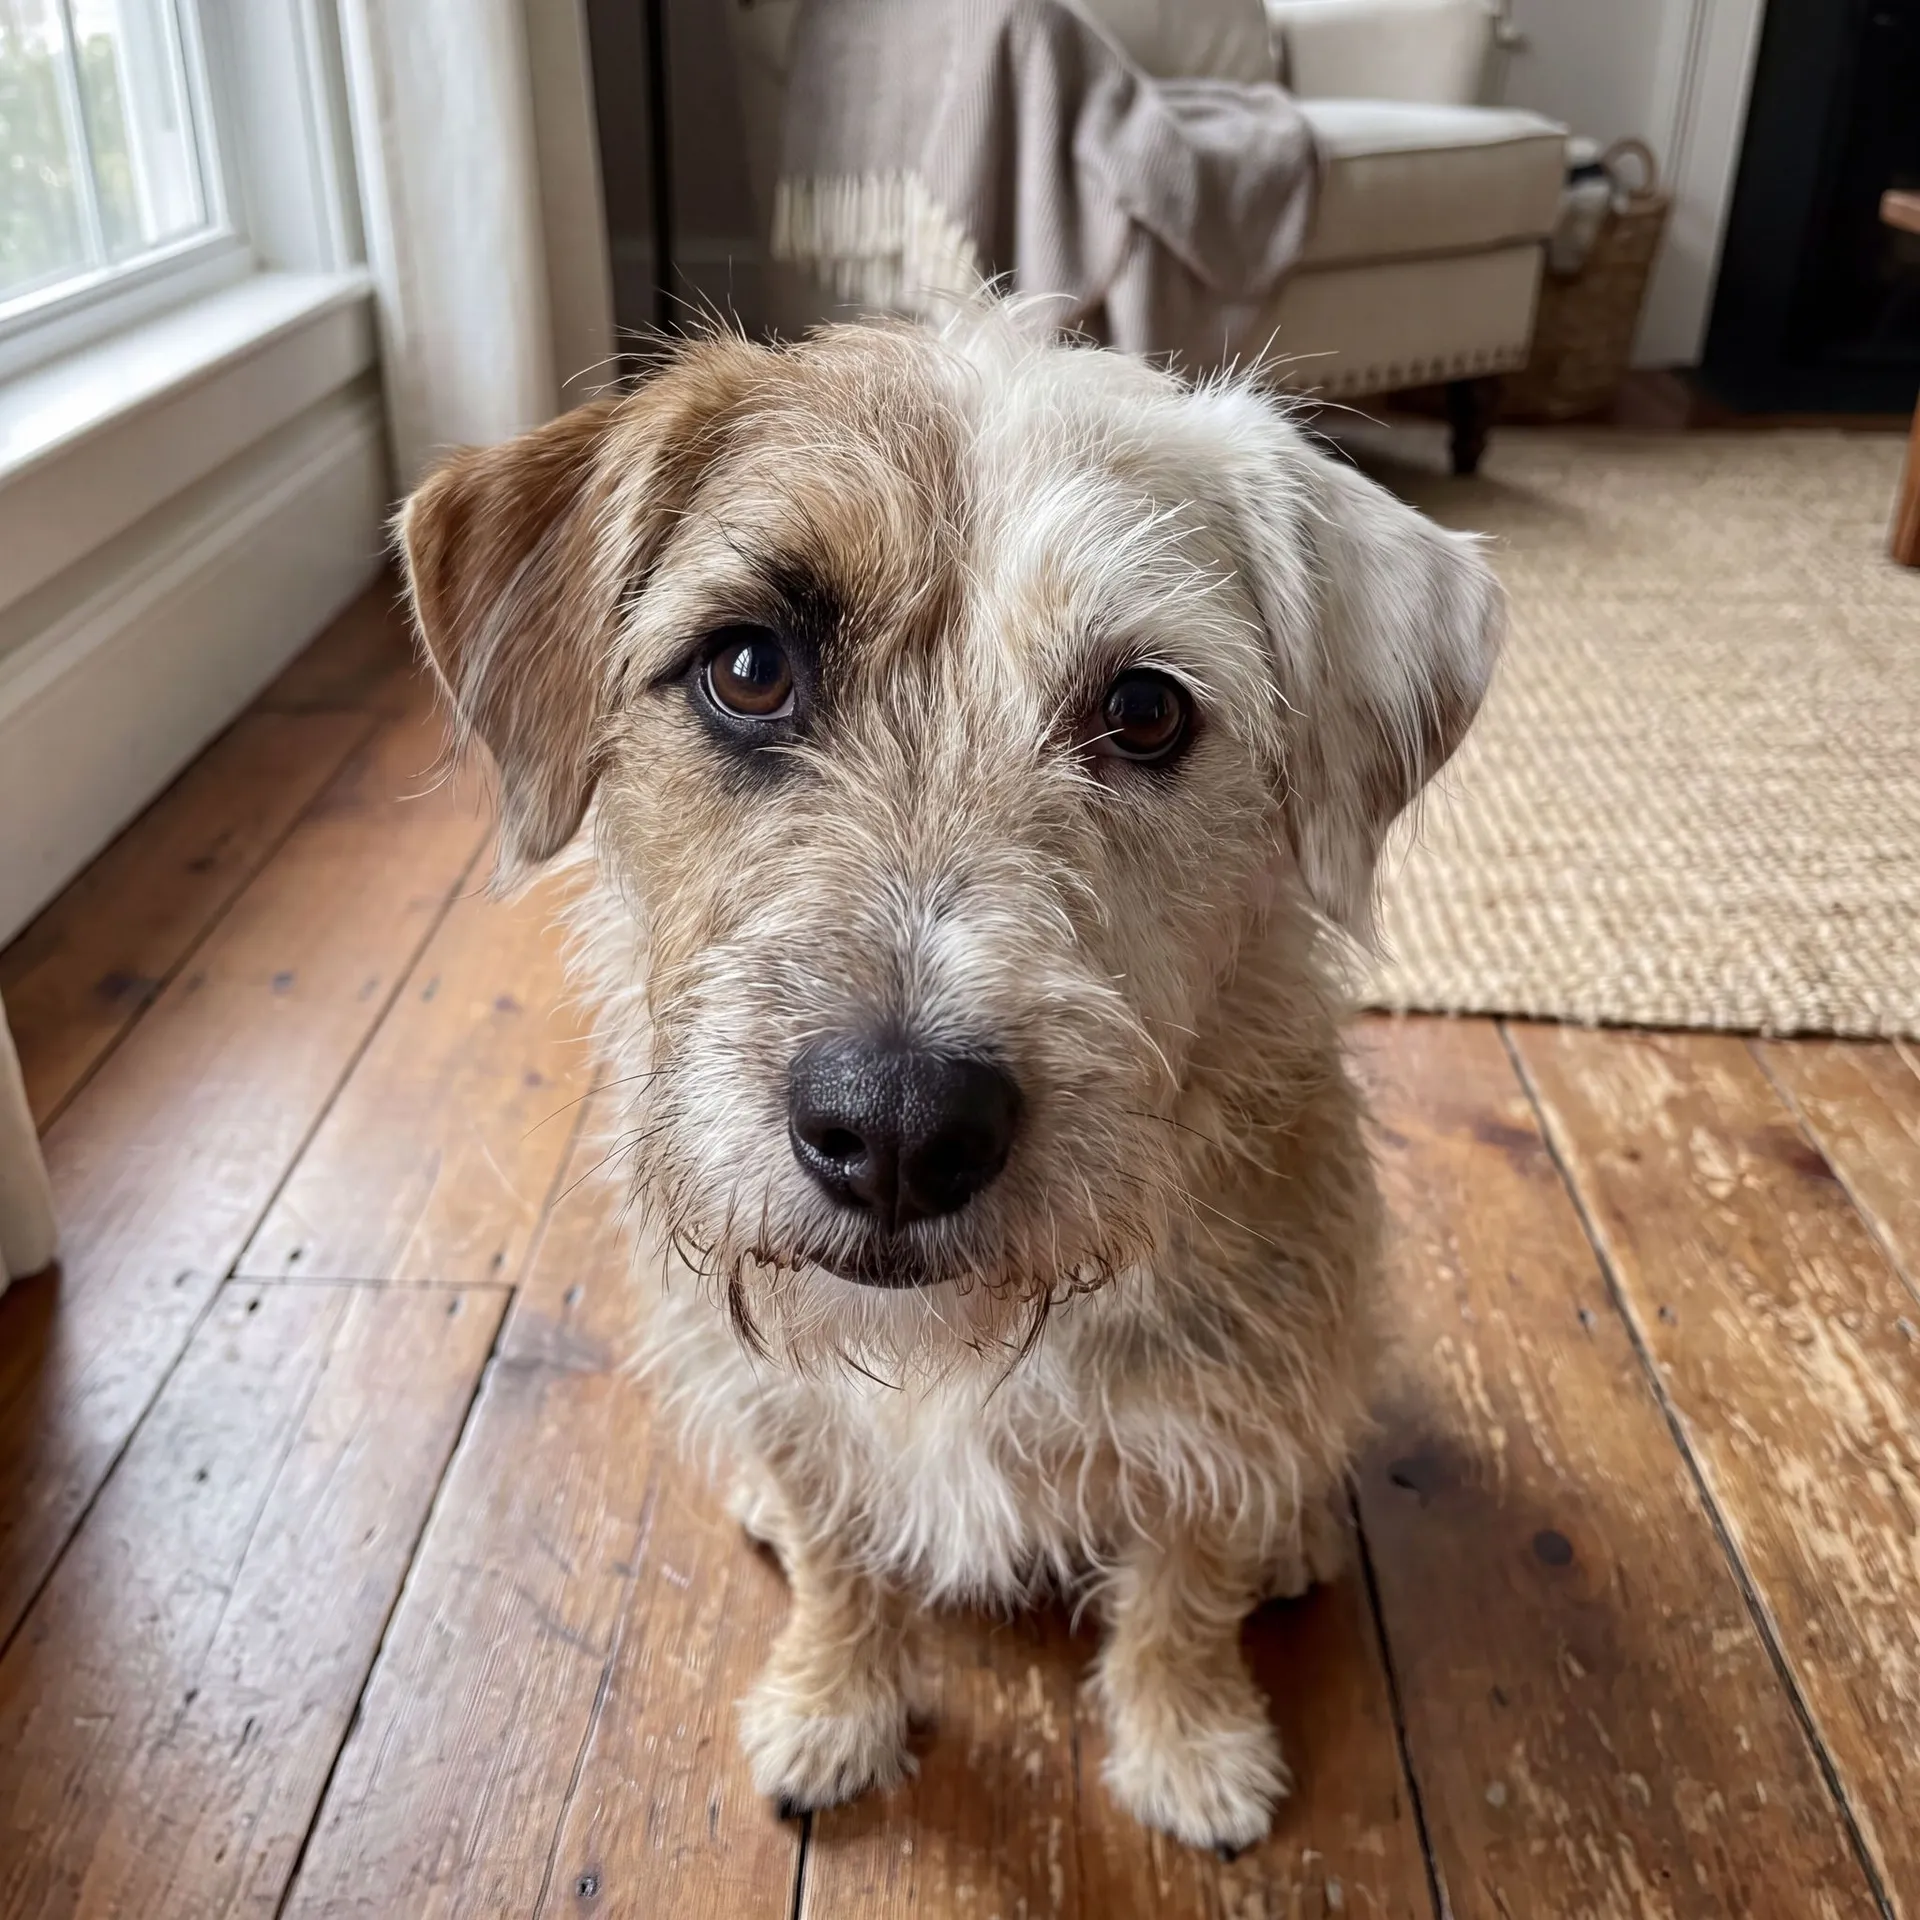
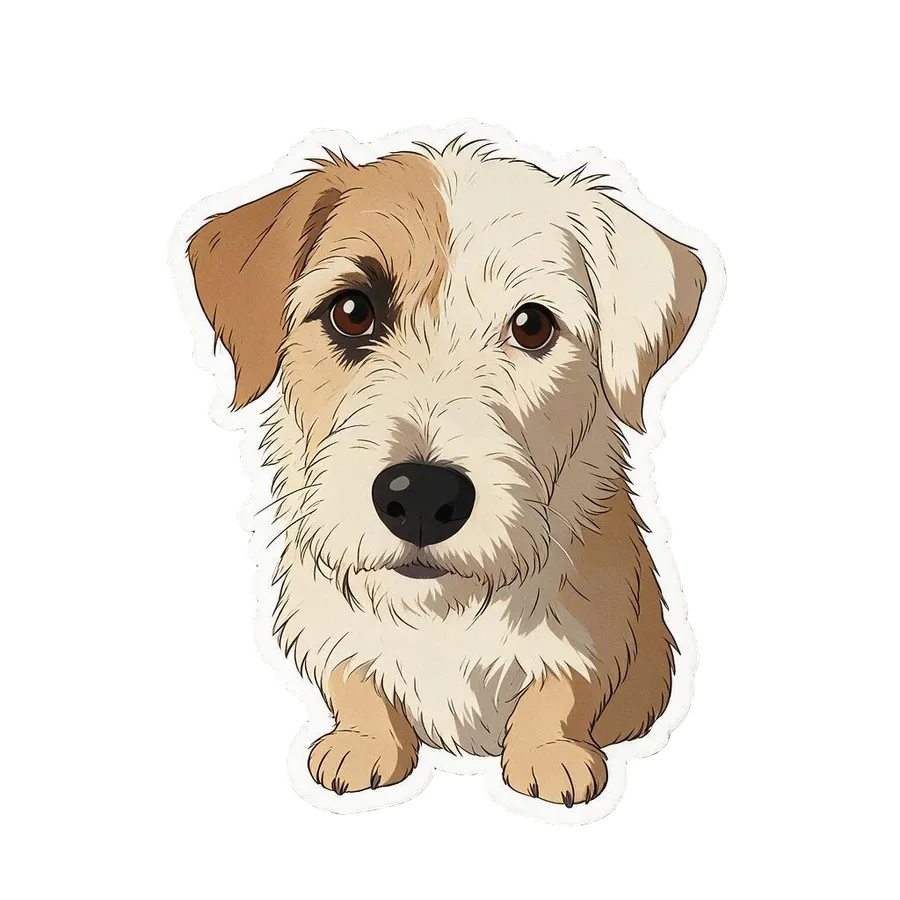
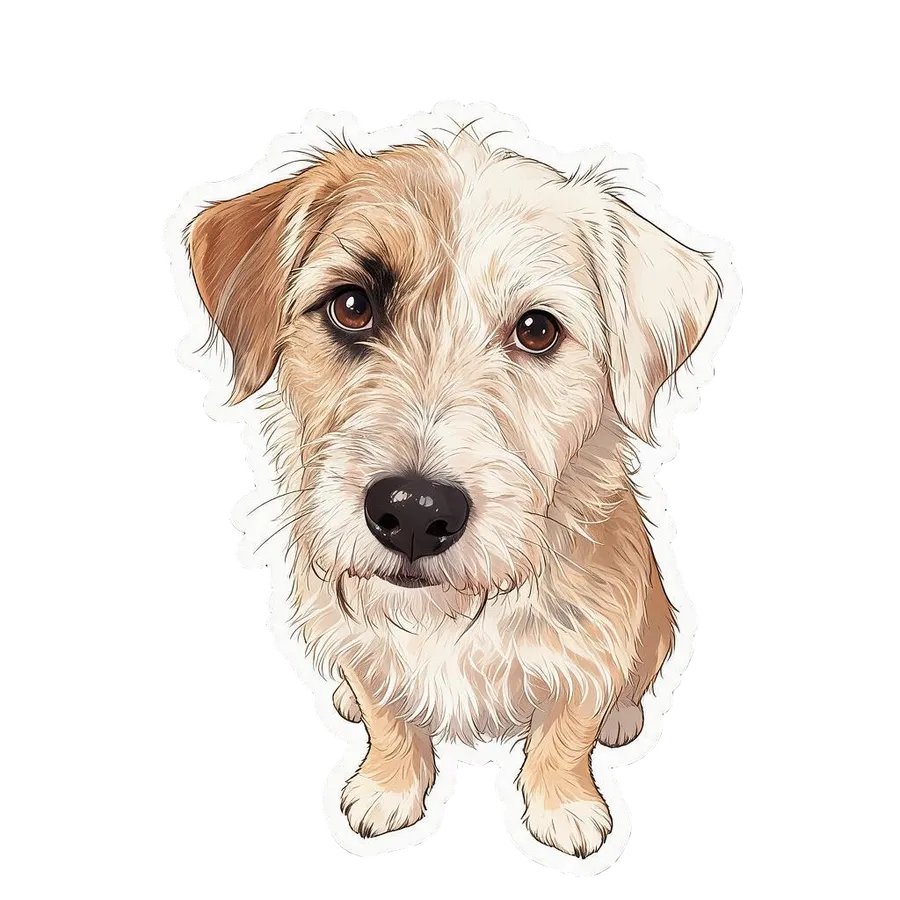
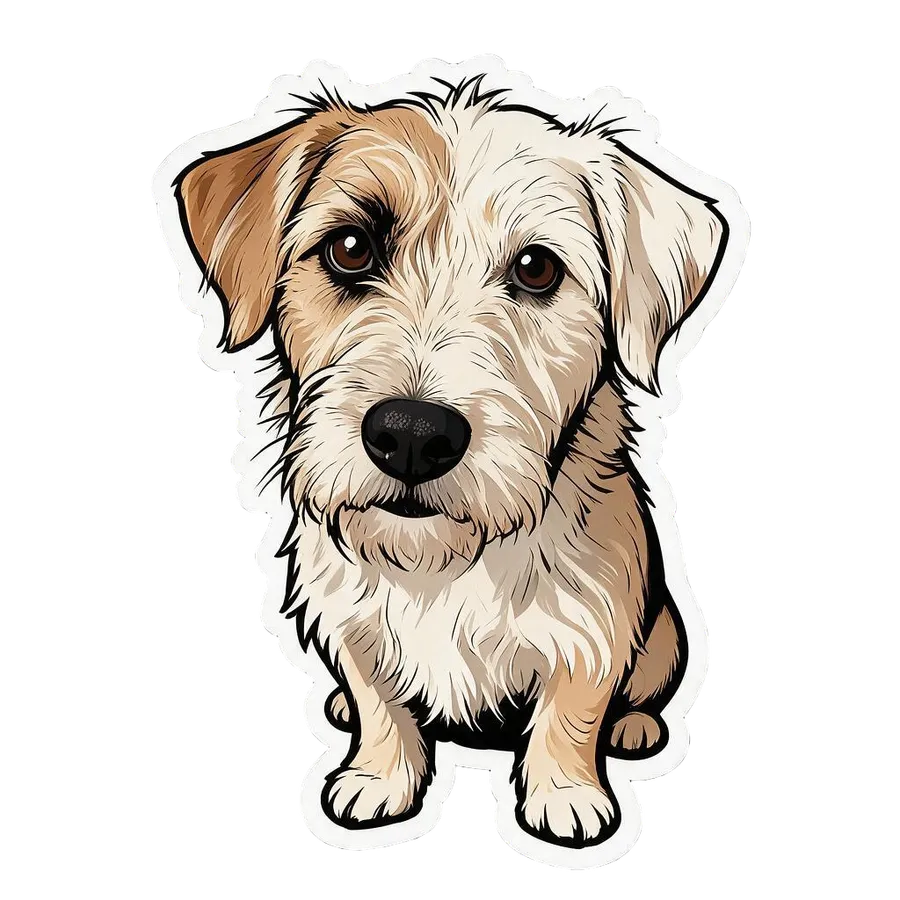
Sticker maker turns a recognizable subject into a sticker-style visual asset. It can be used for creator packs, community graphics, social reactions, messaging assets, simple illustrations, and branded digital extras. Because the output is meant to work as a compact graphic, a clear silhouette and readable expression matter more than a complex background. You pick one or more sticker styles, and each result comes back with its background already removed.
Start with one clear photo of a single subject. Small details can disappear when a sticker is displayed at messaging-app or social-media size, so judge the result as a thumbnail as well as at full resolution. Check the outline, cutout edge, hands, facial expression, and any small accessories. A useful sticker should remain recognizable without needing the original image beside it.

Character creator
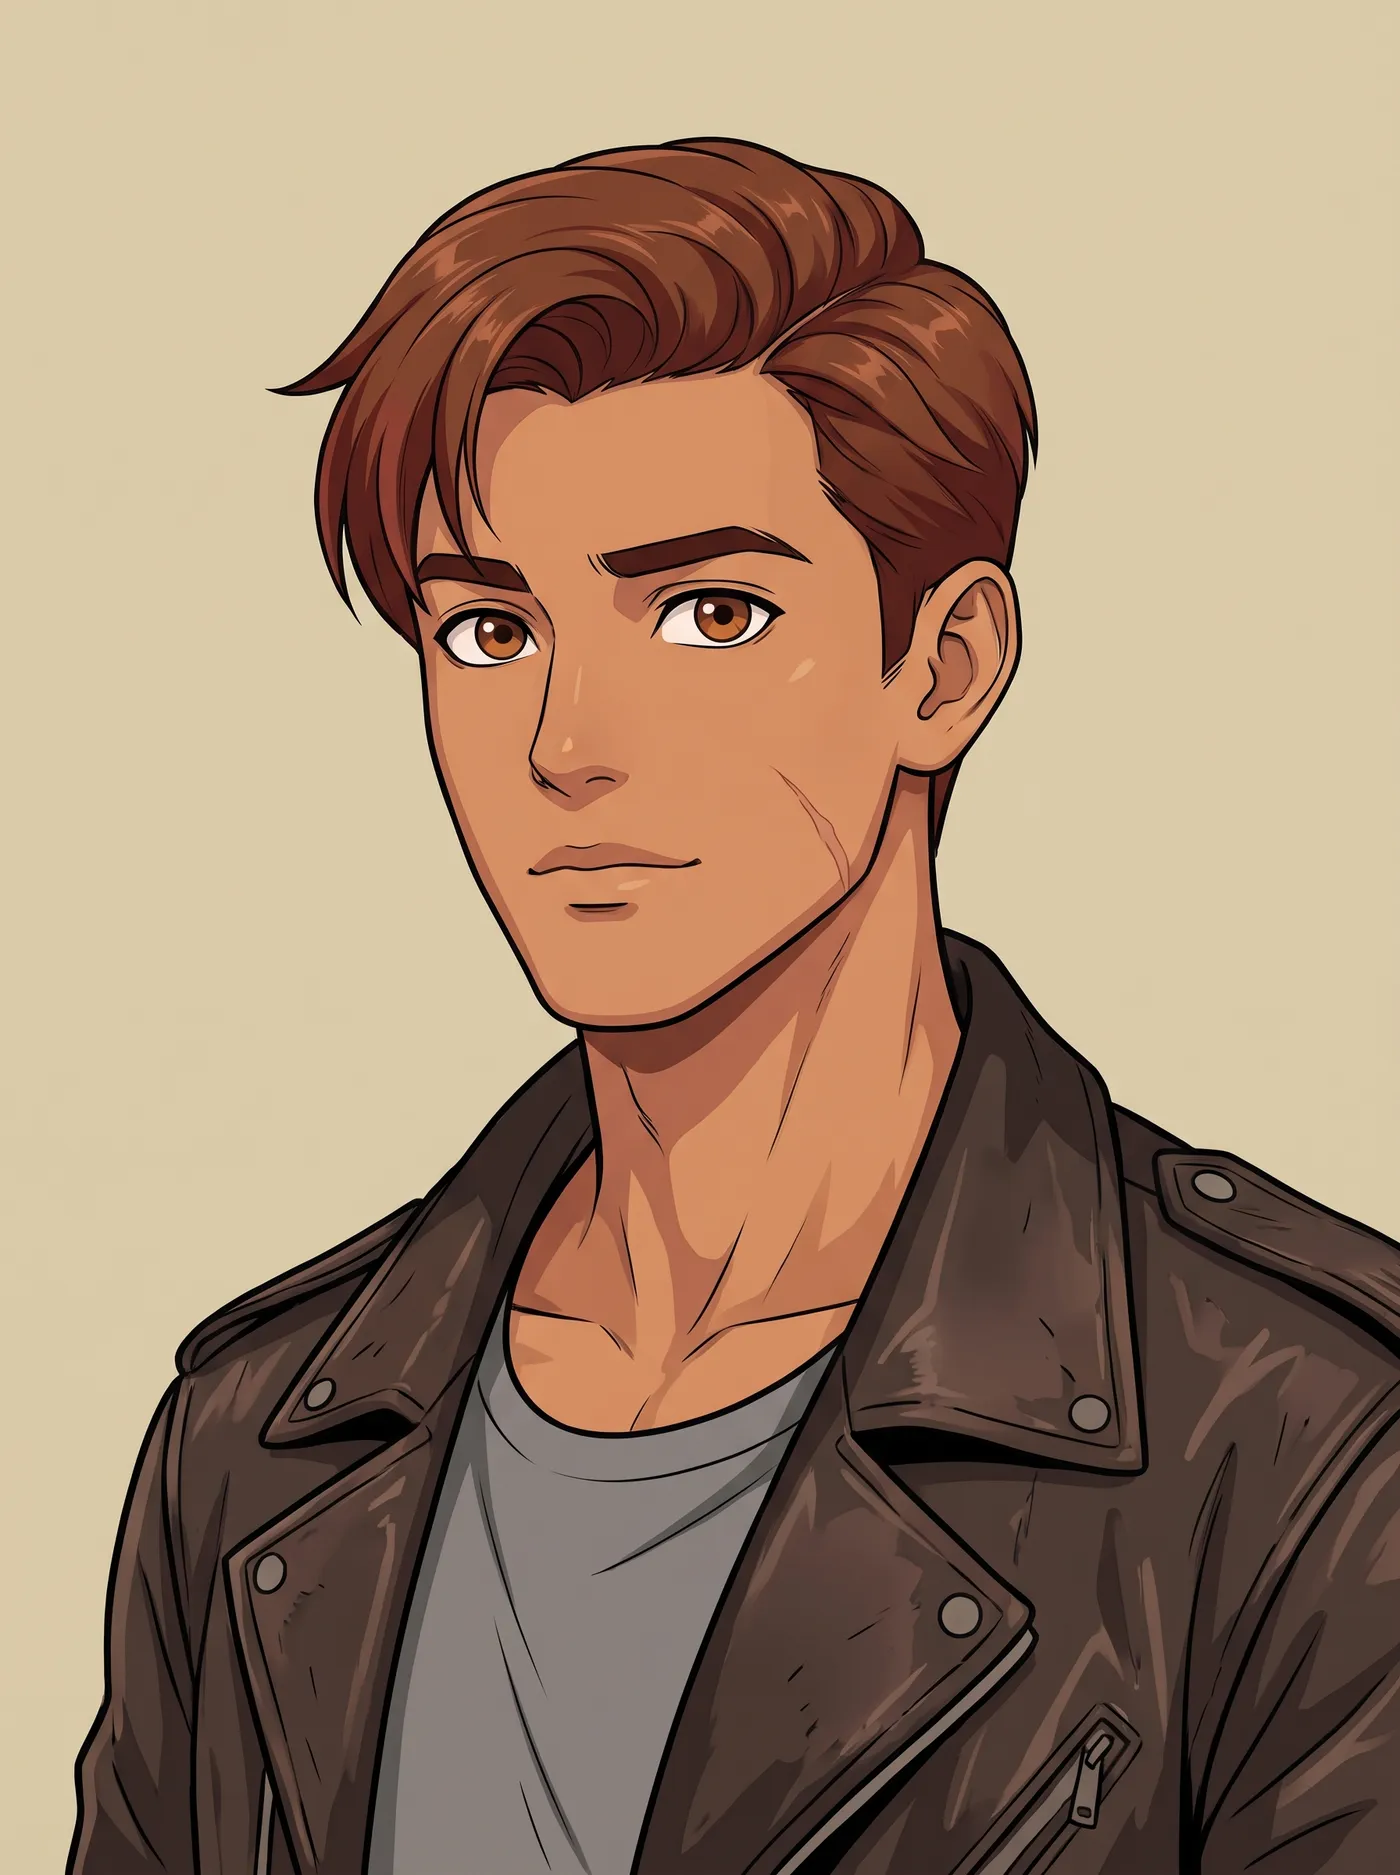
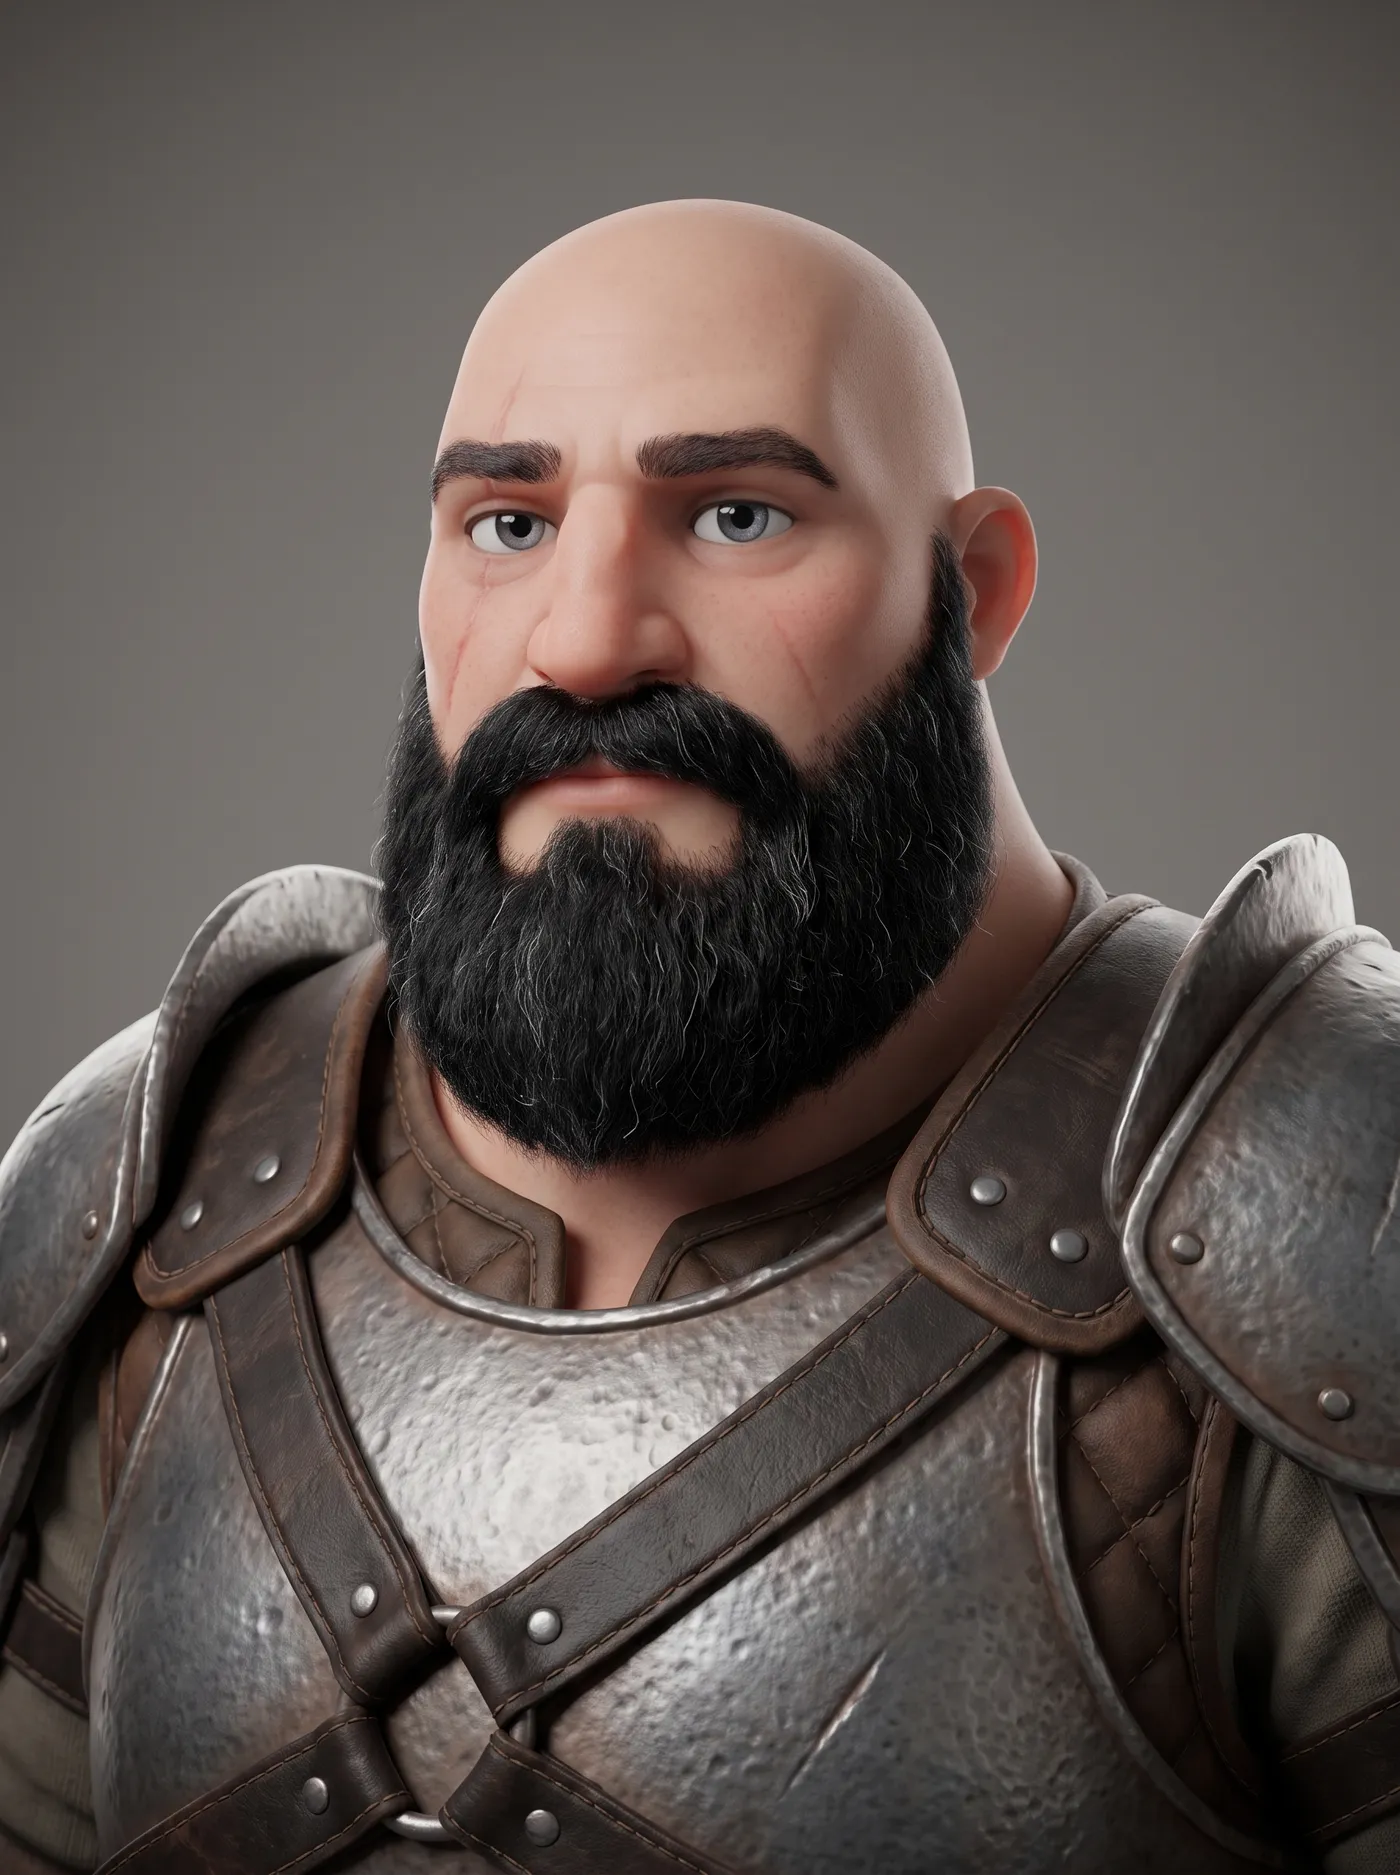
Character creator builds a new character from selected visual attributes, including appearance, outfit, and art direction. It is useful for early character exploration, avatars, story concepts, campaign mascots, game ideas, and visual development. Instead of writing a long description that tries to coordinate every trait, you define the character through the workflow's available choices.
Begin with the attributes that are essential to the concept. Then review whether all selected features appear together in one coherent person. Pay attention to proportions, skin details, clothing construction, accessories, and the consistency of the chosen art style. If the character will appear in a larger project, save the strongest result as a reference for future images. A character becomes more usable when its defining traits are specific enough to recognize across different scenes.
Video Actions for product content and visual motion
UGC video
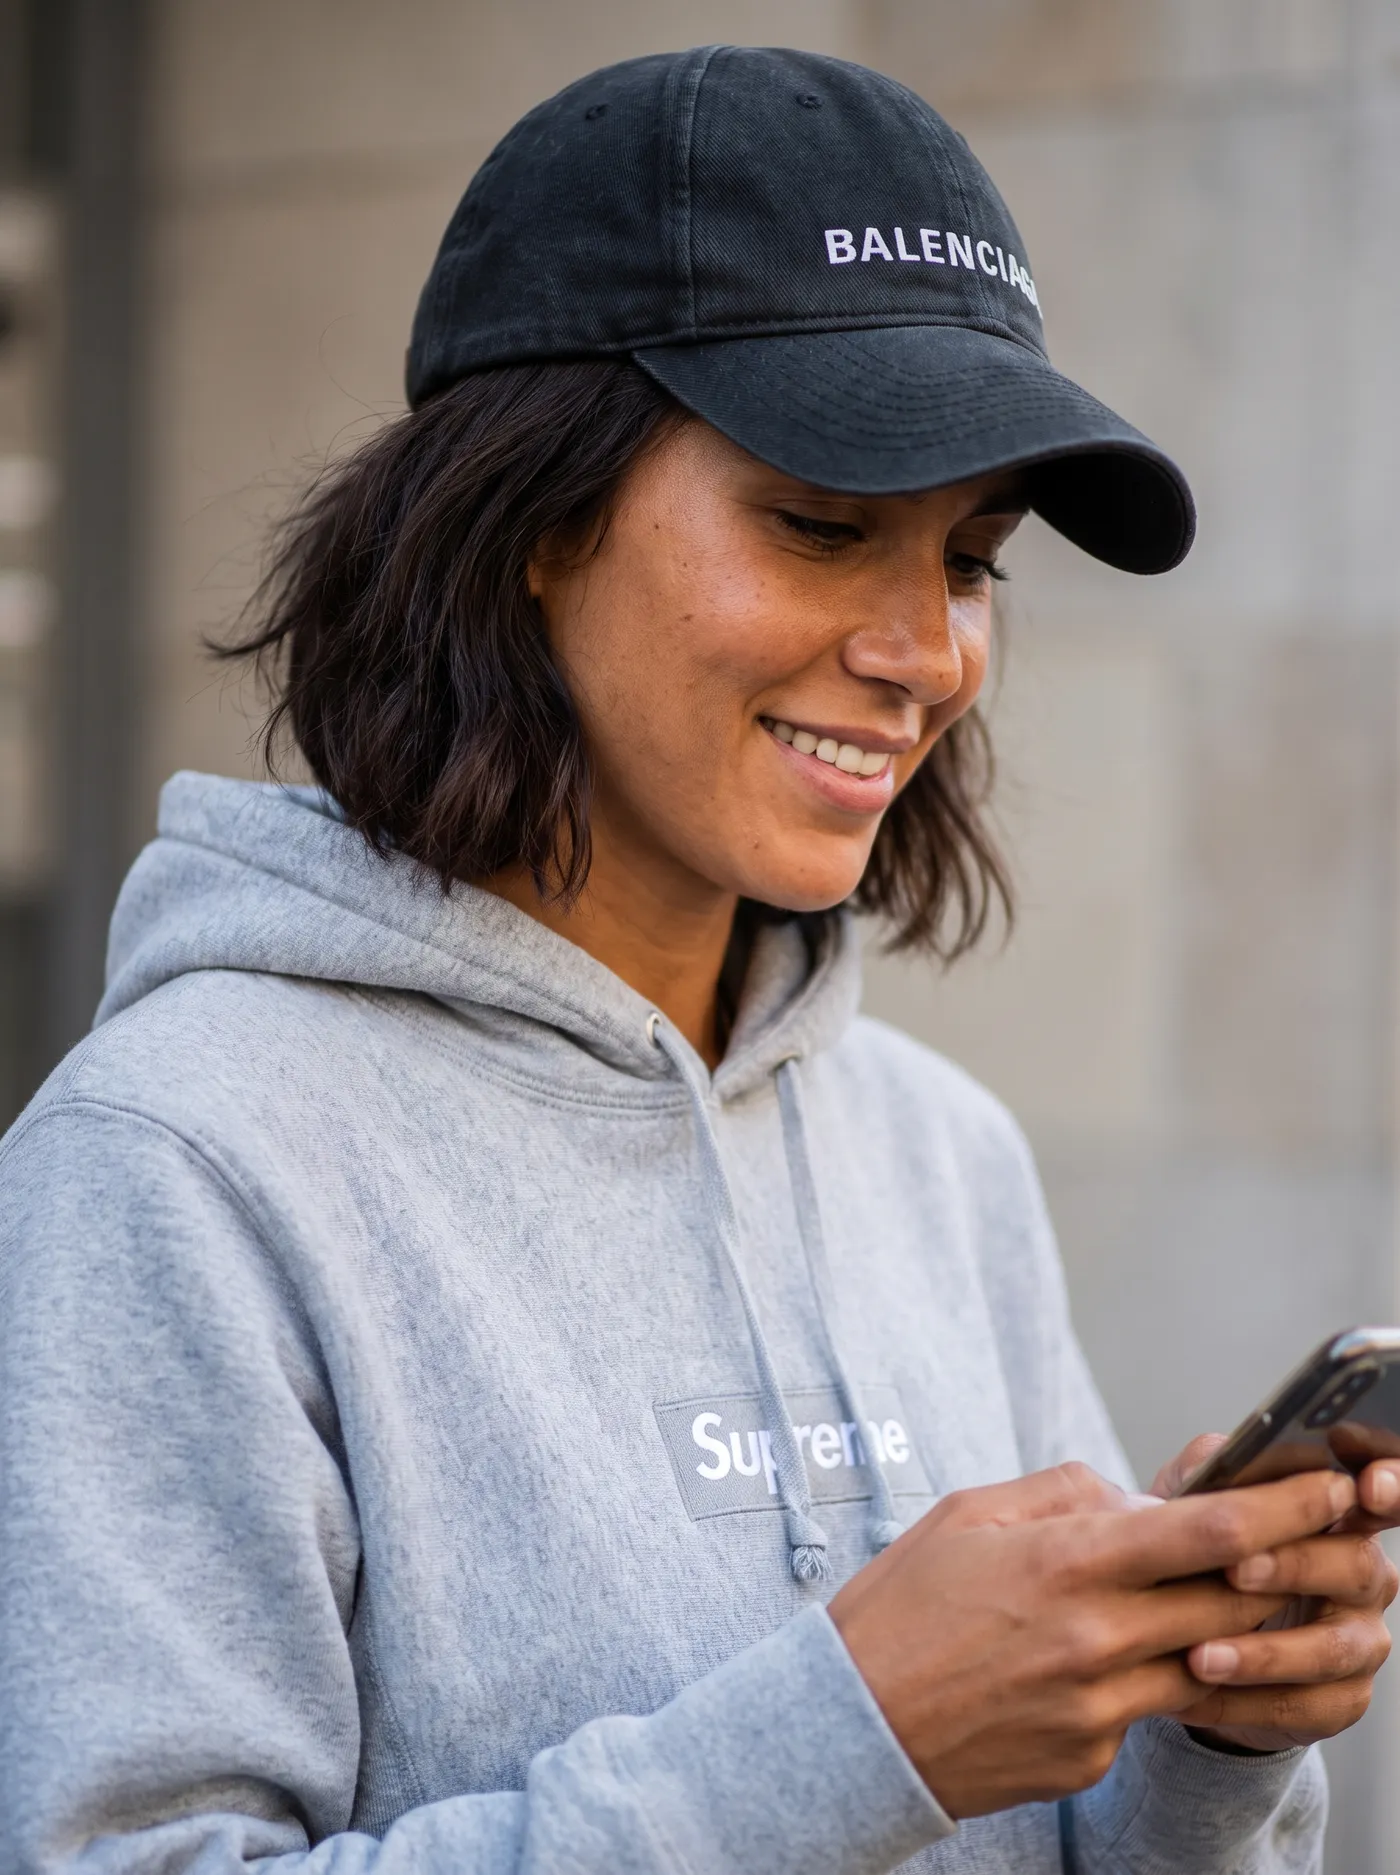
UGC video creates product-led video content using product material, a presenter reference, and a short description of what the product is or does. The workflow is designed for creator-style content where the product and presenter need to appear in the same clear message. It can support early ad concepts, social media variations, product demonstrations, and campaign testing.
Prepare clean product images and a presenter reference you have the right to use. Keep the product description factual and focused on the message the clip should communicate. After generation, review the presenter's likeness, hand movement, product scale, label accuracy, and any implied product claims. UGC-style presentation can feel casual, but the review process should still be precise. A usable result needs to represent the product clearly and avoid introducing details that are not supported by the brief.
Product orbit
Product orbit creates a camera movement around a product so viewers can perceive it as a dimensional object rather than a single flat image. It works best for products with a clear silhouette and visually distinct front, side, or surface details. The motion can add depth to a product reveal, social ad, launch post, or short showcase.
Use a source image where the product is unobstructed and its shape is easy to read. Then assess whether the generated movement preserves proportions, packaging, materials, logos, and structural details as the viewpoint changes. Watch for surfaces that stretch or features that move to the wrong side. Product orbit is most useful when motion reveals something meaningful about the object. If the product only needs a clean static presentation, a moving camera is not automatically the better choice.
Dolly zoom
Dolly zoom creates the visual impression of the camera moving while the field of view changes in the opposite direction. The subject appears relatively stable while the background seems to expand or compress. The effect can add tension, realization, surprise, or dramatic emphasis to a short video.
Choose an image with a clear foreground subject and visible depth behind it. A flat close-up with no spatial separation gives the effect less information to work with. Portraits, interiors, streets, and scenes with strong perspective lines are more suitable starting points. Review the subject boundary and background geometry throughout the motion. A dolly zoom works when the perspective shift supports the moment. Used without a clear narrative reason, it can distract from the image instead of strengthening it.
Image transition
Image transition creates a video that moves from one supplied image to another. It is useful for before-and-after sequences, style changes, location shifts, character transformations, product variations, and visual reveals. The two images define the beginning and end, while the Action generates the movement connecting them.
Select frames that share at least one visual anchor, such as the same subject, pose, composition, object, or camera position. The transition can still be dramatic, but a recognizable relationship gives the motion a clearer path. After generation, check whether the transformation feels intentional at normal playback speed. Look for flicker, duplicate features, disappearing objects, and abrupt changes near the final frame. The strongest transition makes both source images feel like parts of one idea rather than unrelated pictures joined by motion.
How to get more consistent results from Actions
Actions simplify setup, but the same basic production standards still apply. Use source files that clearly communicate the subject. Match the Action to one primary outcome. Decide where the result will be used before choosing the visual direction. Review details at full size, then test the asset at the size and speed of its final placement.
For image workflows, compare identity, proportions, edges, lighting, text, and product details against the original. For video workflows, inspect temporal consistency: a detail that looks correct in the first frame may shift during movement. Keep the source file and generated version together during review so changes are easy to identify.
Permission also matters. Use portraits, presenter references, brand assets, and product material you are allowed to process. For advertising or public-facing work, verify claims, labels, and identifying details before publishing. A ready-made AI workflow reduces setup time; it does not replace creative judgment or final quality control.
When should you use an Action instead of an open-ended generator?
Use an Action when its name closely matches the result you need. The workflow is most valuable when the task is already defined: create a headshot, restore a photograph, clean a background, change the lighting, make a sticker, build a character, create a UGC video, orbit a product, apply a dolly zoom, or transition between two images.
Use an open-ended image generator or video generator when the brief depends on a custom composition, unusual narrative, multiple interacting ideas, or a visual concept that does not fit one of those tasks. A surreal campaign scene, a complex multi-character story, or an entirely original art direction may need a custom description.
Actions complement open-ended creation. They give repeatable jobs a clearer starting point, while generators remain useful for briefs that need more freedom. Choose the workflow based on the result rather than forcing every project into the same interface.
Choose the task, add the source, and create
Actions make common creative AI tasks easier to start because each workflow is organized around a recognizable result. You choose what you need to make, provide the relevant material, adjust the available controls, and review the generated version against the brief.
Start with one source and one clear outcome. Use Headshots for a professional portrait, Photo restoration for a damaged image, Background cleanup for a distracting scene, or Relight when the composition works but the atmosphere does not. For motion, choose UGC video, Product orbit, Dolly zoom, or Image transition according to the role the video needs to play. Less workflow setup. More attention on the result.
Try Actions in getimg.ai. Choose a task, add your source, and create your first result.
Frequently Asked Questions
You do not need to build a full prompt from scratch. Actions provide a task-specific workflow with the relevant instructions and controls already organized around the result. Some workflows may still ask for a short description or additional information. UGC video, for example, needs product details and reference material. The difference is that you provide the brief inside a defined process instead of designing the entire AI request in an empty prompt box.
Actions are designed for named production tasks such as Headshots, Photo restoration, Background cleanup, Relight, Product orbit, or Image transition. Open-ended generators are better when you need a custom scene, composition, story, or combination of ideas that does not match a focused workflow. Actions provide more structure; generators provide more freedom.
Start with a task you can evaluate clearly and a source file you understand well. Headshots is a practical choice for a clear portrait, Photo restoration works for a visibly damaged photograph, and Background cleanup works when the subject is strong but the scene contains distractions. For video, Image transition is useful when you already have a deliberate first and final frame.
Actions create a generated result from the source material rather than requiring you to overwrite the original file. Keep the original available during review. Side-by-side comparison helps you check identity, product details, historical information, lighting, edges, and other elements that may have changed in the generated version.
Use clear, high-quality images where the main subject is easy to identify. Portraits should show the face clearly. Product images should make the shape, material, label, and important design details readable. Old photographs should be scanned or photographed evenly. Video Actions benefit from strong subject separation and a composition that supports the intended movement.
Paid getimg.ai plans include commercial rights, subject to the current terms and use policies. You must still have the necessary rights to the uploaded source material, product assets, brand elements, and people's likenesses. Review generated content for factual product details, labels, and advertising claims before publishing it commercially.
Yes. Actions reduce workflow setup, but every generated image or video should be checked before it is published or delivered. Review faces, hands, text, logos, object shape, background structure, lighting, and frame-to-frame consistency. The final decision still depends on the creative brief, intended placement, and accuracy requirements of the project.
Related Articles