How to Remove Unwanted Objects from Photos with AI


Removing an object with AI means deleting something from a photo and rebuilding the background so it looks like the thing was never there. A stranger in the corner of a holiday shot, a bin beside a house, a logo on a wall, a hand in the frame: you add the photo, and the model erases the distraction and fills the gap to match the surrounding scene. On getimg.ai the Background cleanup Action does this without masking or brush work, so you do not have to paint over anything by hand.
TL;DR
- AI object removal deletes an unwanted person or object and rebuilds the background behind it so nothing looks cut out.
- In getimg.ai, open the Background cleanup Action, add the photo, choose a quality, and generate.
- It is different from Remove background, which isolates the subject on transparency; cleanup keeps the scene and removes one thing from it.
- Cleaner results come from photos where the object sits against a simple, continuous background.
- It never changes your original file.
What AI Object Removal Is
Two jobs get called "removing the background," and they are not the same. One isolates the subject and drops everything else to transparency, which is what you want for a product cut-out. The other keeps the whole photo and takes out a single unwanted element, patching the space it leaves. Background cleanup is the second job: the scene stays, and one distraction disappears.
The hard part has always been the patch, not the delete. Erasing an object is easy; making the gap look untouched is the skill, because the software has to invent believable background where the object used to be. AI object removal handles both steps at once. It identifies the clutter, removes it, and reconstructs the wall, sky, grass, or floor behind it so the repair blends into the rest of the image.


When to Use It (and When to Reframe Instead)
Background cleanup fits any photo that is almost right except for one thing:
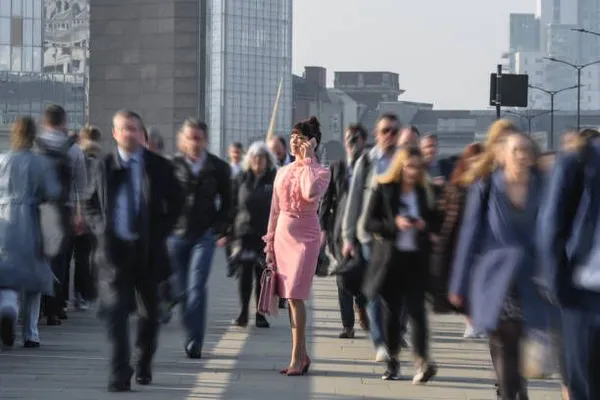
- Photobombers and passers-by in an otherwise good shot.
- Clutter around a subject, such as bins, cables, signage, or a stray car in a property or travel photo.
- Distractions in product and listing photos, like a reflection, a price sticker, or a background object competing with the item.
- Small blemishes on a surface, from a mark on a wall to a spot on a table.
Reframing or reshooting still wins when the thing you want gone is the main subject or takes up most of the frame. Removing a small object against open sky is easy; removing a large object in the centre of a busy scene leaves the model a lot to invent, and a tighter crop or a fresh shot is often faster and more honest. If you want to replace the entire background rather than remove one item, changing the background is the solution for that.
How to Remove an Object with AI, Step by Step
Here is the workflow in getimg.ai. Open the Background cleanup Action to follow along.
1. Add the photo
Upload the photo with the distraction in it, or pick one from your library. Any everyday photo works: a portrait, a property shot, a product on a table, a landscape.
2. Choose the quality
Set the output resolution to 1K, 2K, or 4K. Match it to where the photo will be used: 1K for a quick web copy, 2K for most posts and listings, 4K when the cleaned photo needs to print or hold up at full size.
3. Generate and check the patch
Run the Action and the cleaned version appears in the gallery to the right of the controls. Look closely at the area where the object was: the test of a good removal is that you cannot tell anything was there. Your original is untouched, so if a first pass leaves a trace, you can run it again.
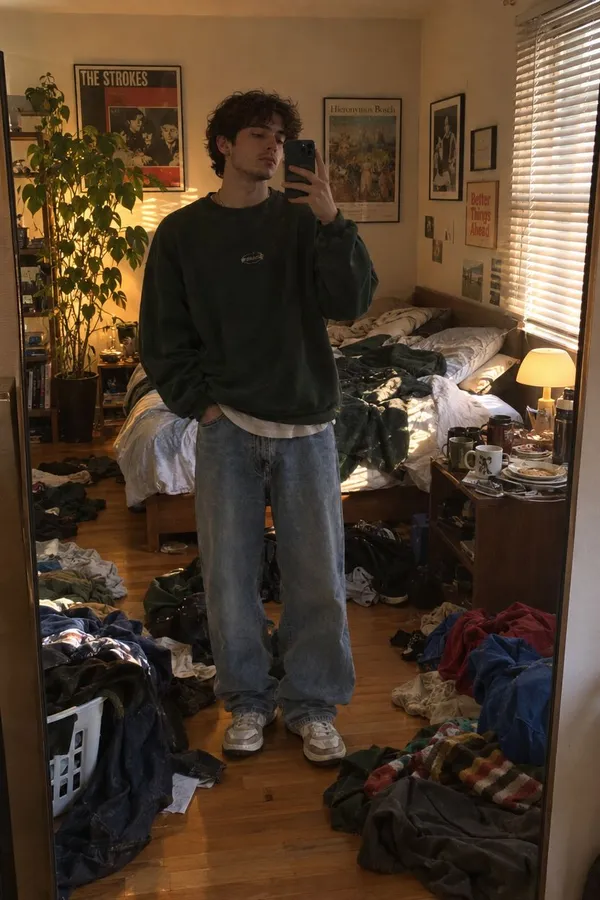
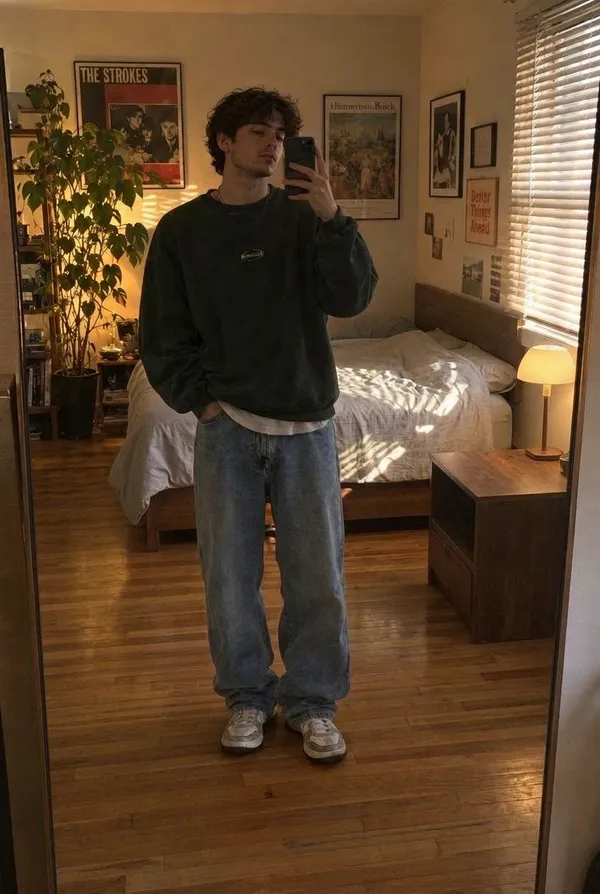
How to Get a Clean, Invisible Removal
- Favour objects against simple backgrounds. Something in front of a plain wall, open sky, or continuous grass removes almost invisibly, because the model has a clear pattern to rebuild. Busy, detailed backgrounds are harder to patch seamlessly.
- Handle one distraction at a time when you can. If a photo has several unwanted elements, removing them in passes and checking each patch usually beats trying to clear everything at once.
- Watch edges and shadows. After removal, glance at where the object met the ground or a wall; a leftover shadow or a soft edge is the usual giveaway, and a second pass often clears it.
- Match quality to the output. Generate at 4K when the photo will print, so the rebuilt area holds the same detail as the rest of the frame.
- Know when to switch tools. For anything beyond removal, such as adding an element or restyling the whole scene, the open-ended Create image generator gives you full control with a prompt.
Cleanup as Part of a Faster Photo Workflow
Most photos that need one distraction removed are otherwise finished, which is exactly why a preset flow helps. Instead of opening an editor, masking the object, and cloning the background by hand, you upload, pick a quality, and get a clean frame back.
For teams handling volume, such as a property listing or a product catalogue, that difference is the gap between clearing each shot in moments and editing them by hand over an afternoon. Cleanup pairs naturally with the other image Actions: remove the clutter, then relight or colour grade the result if the shot needs it.
The Bottom Line
AI object removal deletes the one thing spoiling a photo and rebuilds the background so the repair disappears. Add the photo, pick a quality, and generate, with no masking or brush work. It is at its best on distractions against simple backgrounds, and it keeps your original intact so you can check the patch and rerun if needed.
Open the Background cleanup Action in getimg.ai, bring a photo with a photobomber or a stray object, and see how cleanly it goes. Commercial rights are included, subject to our terms and applicable third-party rights.
Frequently Asked Questions
Background cleanup keeps the whole scene and removes one unwanted object or person from it, rebuilding the background behind it. Remove background does the opposite: it isolates the subject and drops everything else to a transparent background, which is what you want for a product cut-out. Use cleanup to erase a distraction, and Remove background to cut a subject out of its scene.
Yes. Adding the photo and running Background cleanup removes a person and reconstructs the background where they stood. It works best when the person sits against a relatively simple, continuous background. A person who overlaps the main subject or fills much of the frame is harder, because the model has more background to invent.
The goal is that it does not. The model rebuilds the area to match the surrounding scene. Removals against plain backgrounds like walls or sky are usually invisible; busy backgrounds are harder to patch perfectly. Since your original is never changed, you can inspect the patch and run a second pass if a trace remains.
Choose 1K for a quick web copy, 2K for most social posts and listings, and 4K when the cleaned photo will print or needs to hold up at full size. Higher quality keeps the rebuilt area as sharp as the rest of the image.
No. Every run produces a new file and leaves your source photo untouched, so you can try more than one pass or compare results without losing the original.
Commercial rights are included on all paid plans, subject to our terms and applicable third-party rights. As always, make sure you hold the rights to the original photo and to any people or brands still shown in it.
Related Articles