How to Relight a Photo with AI
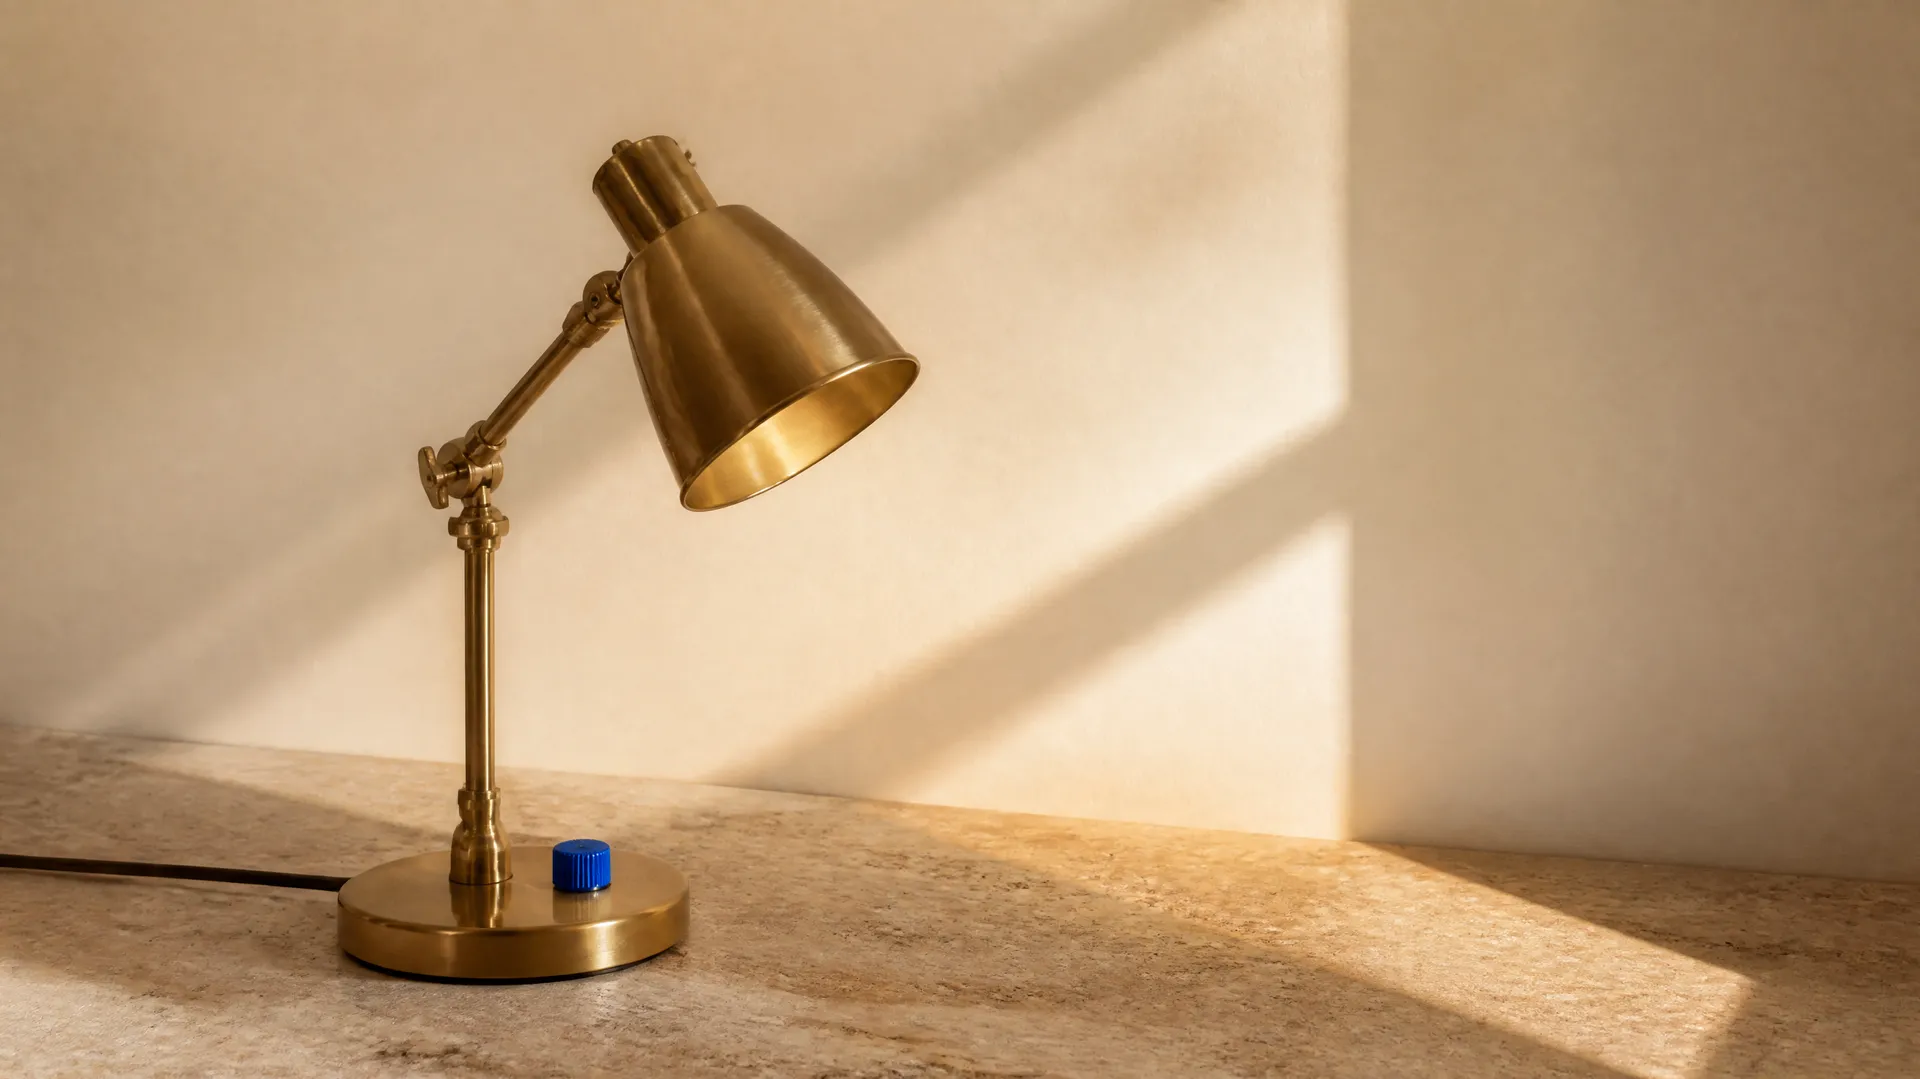
Relighting a photo with AI means changing the lighting in an image after it was taken: the direction the light comes from, its colour, and how strong it is. A flatly lit portrait gains a soft key light from one side, a product shot picks up a warm glow, an outdoor photo is re-lit to match a new sky. You add the photo, set the light with a few controls, and the model re-renders the scene under it. On getimg.ai the Relight Action gives you a direction globe, a colour picker, and an intensity slider, so you can place the light precisely without any 3D or editing work.
TL;DR
- AI relighting changes the direction, colour, and intensity of the light in an existing photo.
- In getimg.ai, open the Relight Action, add a photo, and set the light direction on a globe (or a preset), a colour, and an intensity from 1 to 10.
- Drag the globe for an exact angle, or use presets: top, left, front, right, back, bottom.
- Subtle, directional changes read as natural; extreme relights are where results start to look artificial.
- It never overwrites your original.
What AI Relighting Is
Light is the hardest thing to fix after a shoot. Colour, crop, and contrast are all adjustable, but the direction and quality of the light are baked into the pixels, which is why a flatly lit or badly lit photo has traditionally meant a reshoot. Relighting changes that. Instead of adjusting brightness globally, the model understands the shapes and surfaces in the photo and re-renders how light falls across them, so a face gains real modelling, a product gains highlight and shadow, and the scene looks lit rather than merely brightened.
The difference from a simple exposure or curves adjustment is that relighting is directional and physical. You are not lifting the shadows uniformly; you are deciding where the light comes from and letting the highlights and shadows fall accordingly.
When to Use It (and When to Light It on Set)
Relighting is useful whenever the light is the weak point of an otherwise good photo:
- Flat portraits, where even, shadowless light leaves a face looking dull, and a directional key light adds shape.
- Product shots, where a highlight from the right angle gives a flat object form and appeal.
- Matching a new background or sky, where the subject needs light that agrees with the scene around it.
- Setting a mood, where a warm or cool colour and a lower or higher intensity change the whole feel of an image.
Lighting it on set still wins when the shot is important and you have the option, because real light captured well beats any reconstruction, and it avoids the artefacts an extreme relight can introduce. Relighting is at its best for correction and refinement, nudging the light in a good photo, rather than rescuing one shot in near-darkness. The further you push it from the original lighting, the more the result can drift.
How to Relight a Photo with AI, Step by Step
Here is the workflow in getimg.ai. Open the Relight Action to follow along.
1. Add the photo
Upload the photo you want to light differently, or pick one from your library. Portraits and product shots are the most common, but any image with clear form and surfaces works.
2. Set the light direction
Choose where the light comes from. Drag the globe to an exact angle, for example around to one side and slightly up, when you want precise control, or click a preset: top, left, front, right, back, or bottom. Side and top light generally give the most flattering, natural modelling; front light flattens; back light creates a rim or silhouette effect.
3. Choose the light colour
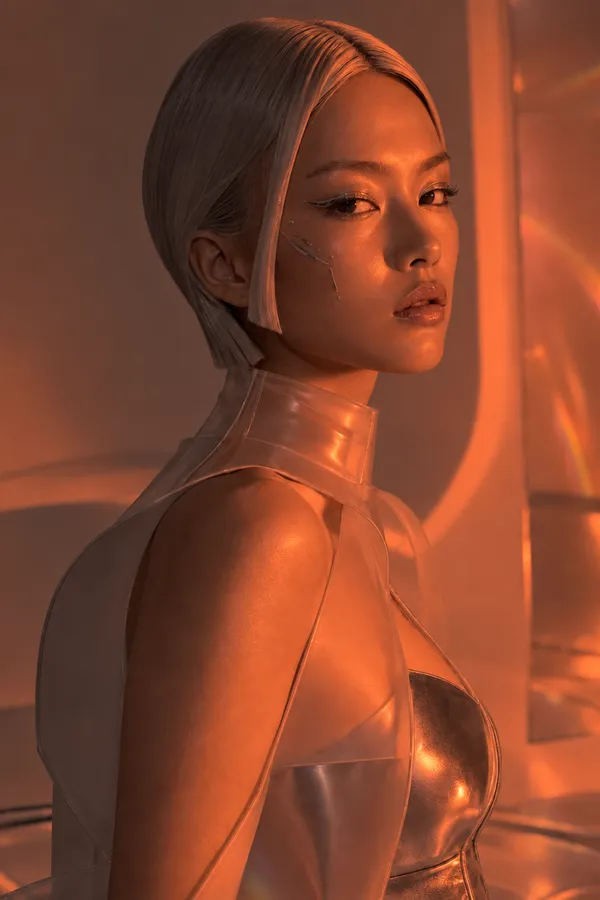
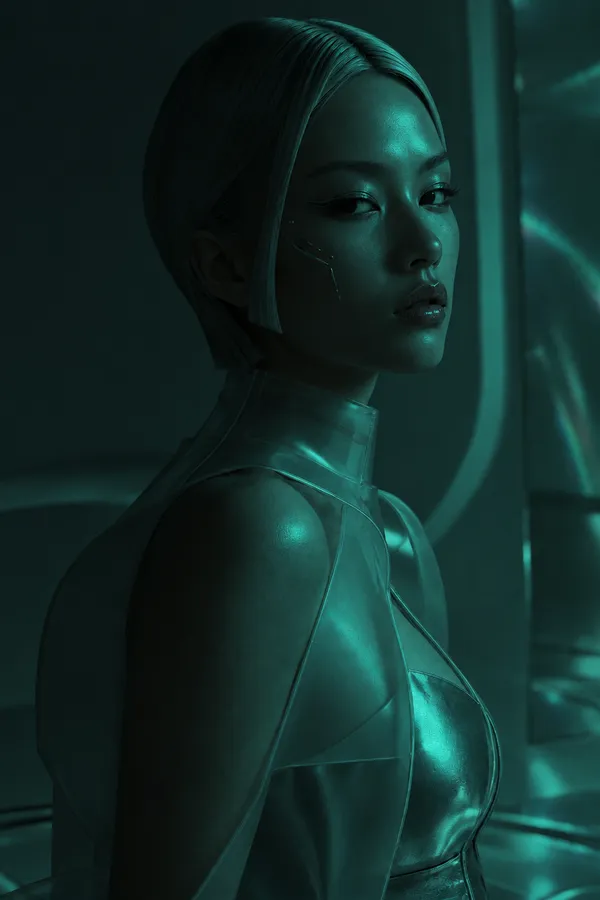
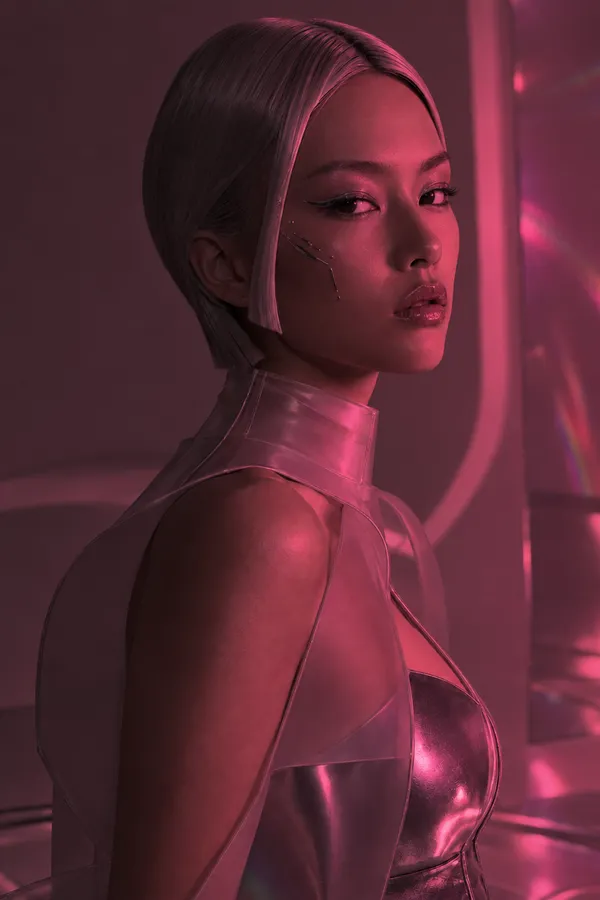
Pick a colour for the light. Use one of the example colours, or open the custom picker with the plus button to enter an exact hex value or sample a colour from your screen. A slightly warm light reads as sunlight or indoor warmth; a cool light reads as shade or daylight; a strong colour creates an obvious creative effect.
4. Set the intensity
Set the strength of the light on a scale of 1 to 10. Lower values nudge the existing light; higher values make the new light dominant. Subtle settings are usually the most believable, so it is worth starting low and increasing only if the effect is too weak.
5. Set the quality and generate
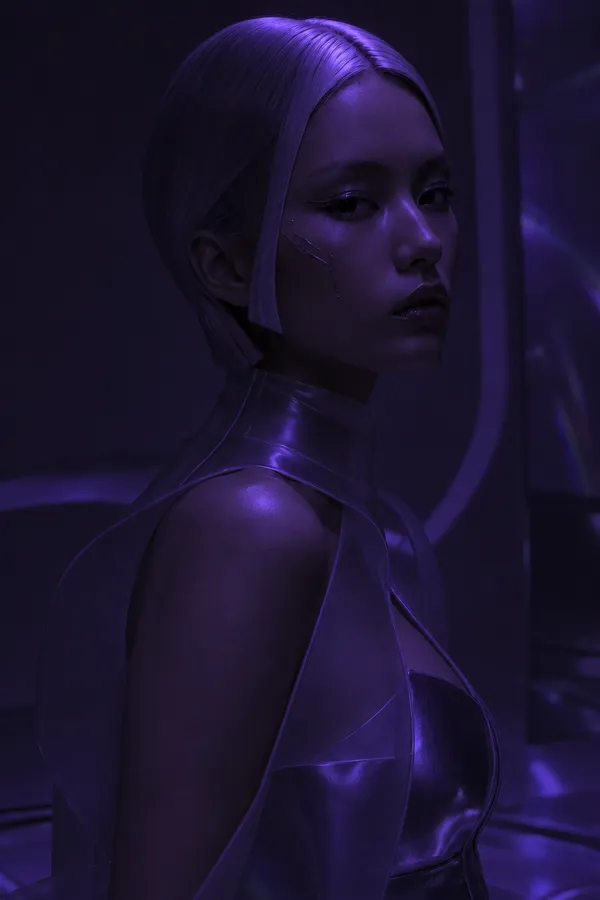
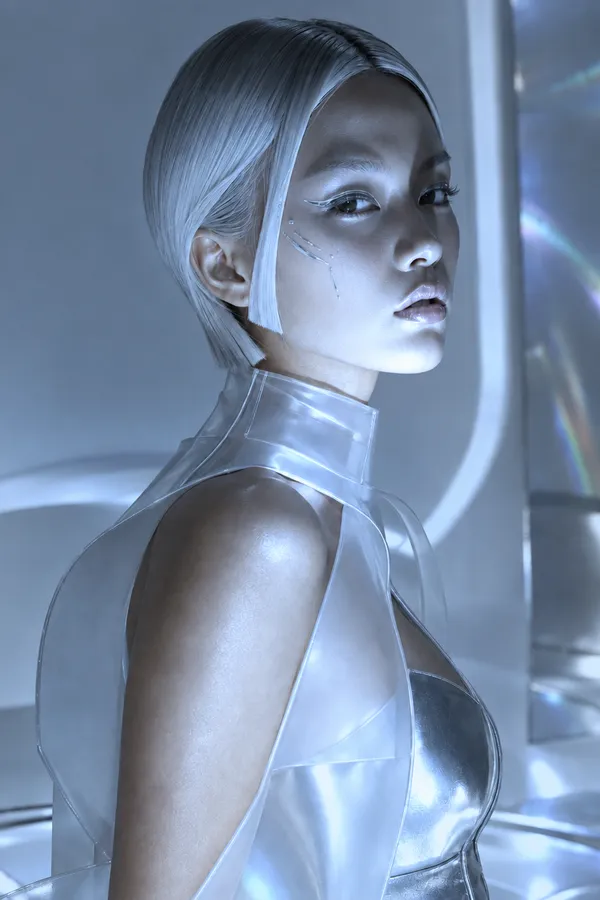
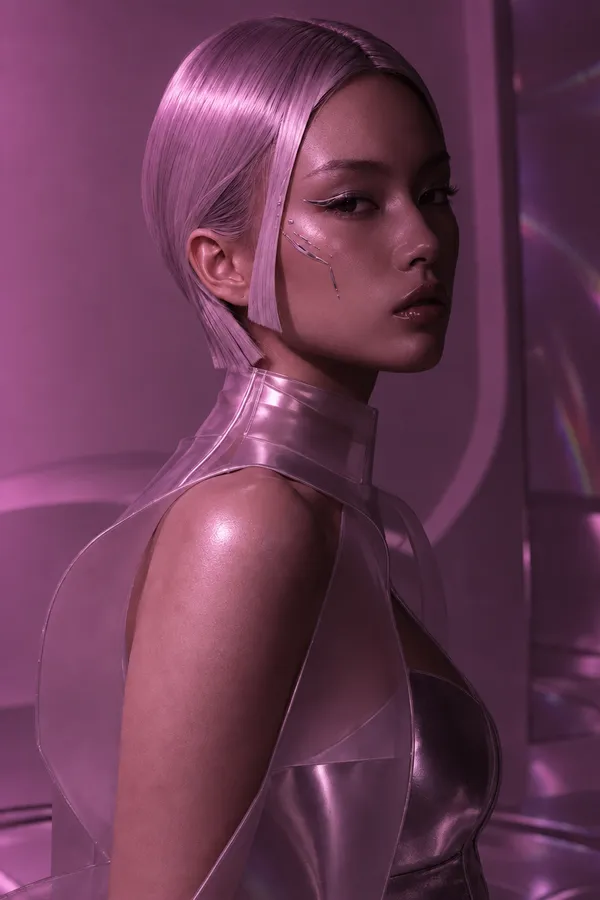
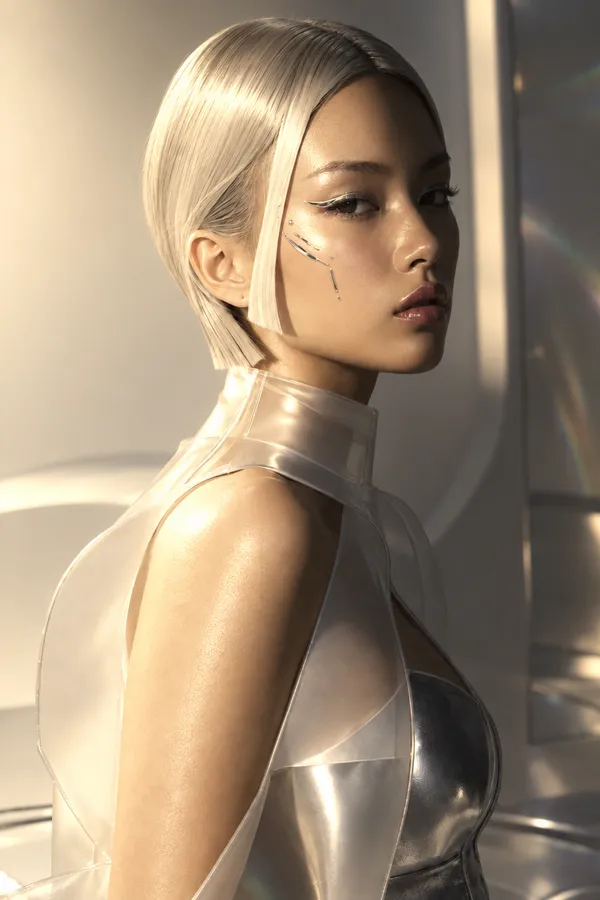
Choose an output resolution of 1K or 2K, then run the Action. The relit version appears in the gallery to the right of the controls, with your original left untouched, so you can try different directions and intensities and compare.
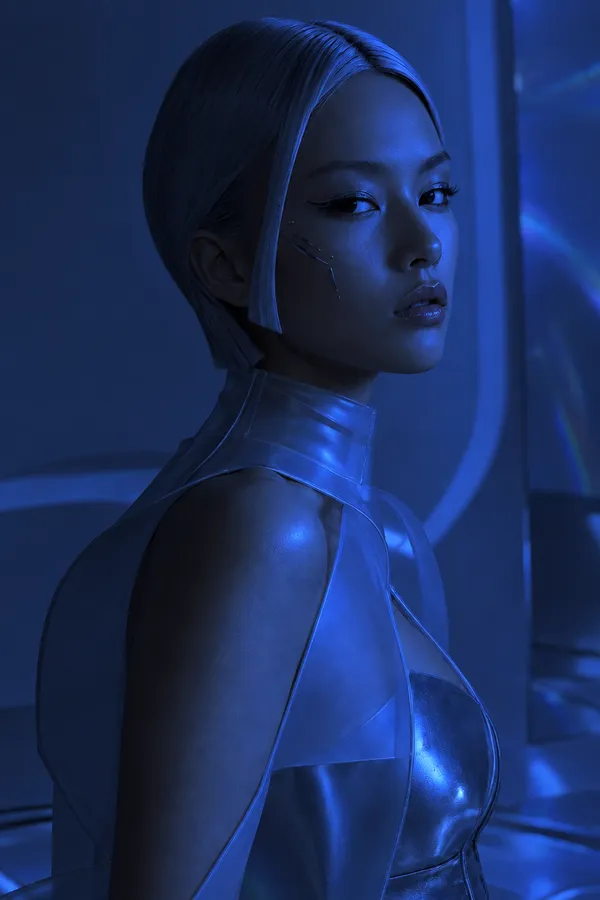
How to Get a Natural Relight
- Move the light, do not flood it. The most convincing relights change the direction of the light while keeping the intensity moderate. A hard, high-intensity change is where results start to look rendered.
- Respect the existing light. If the photo already has a clear light direction, a relight that works with it, or shifts it a little, looks better than one that fights it entirely.
- Use side and top angles for faces. A key light from the side and slightly above gives a face natural shape. Straight-on front light tends to flatten; hard bottom light looks unnatural on people.
- Keep colour subtle unless you want an effect. Small warm or cool shifts read as real light. Saturated colours are a deliberate creative look, not a neutral correction.
- Match the light to the scene. When you relight a subject to sit in a new background, aim the light to agree with the background's own light direction and warmth.
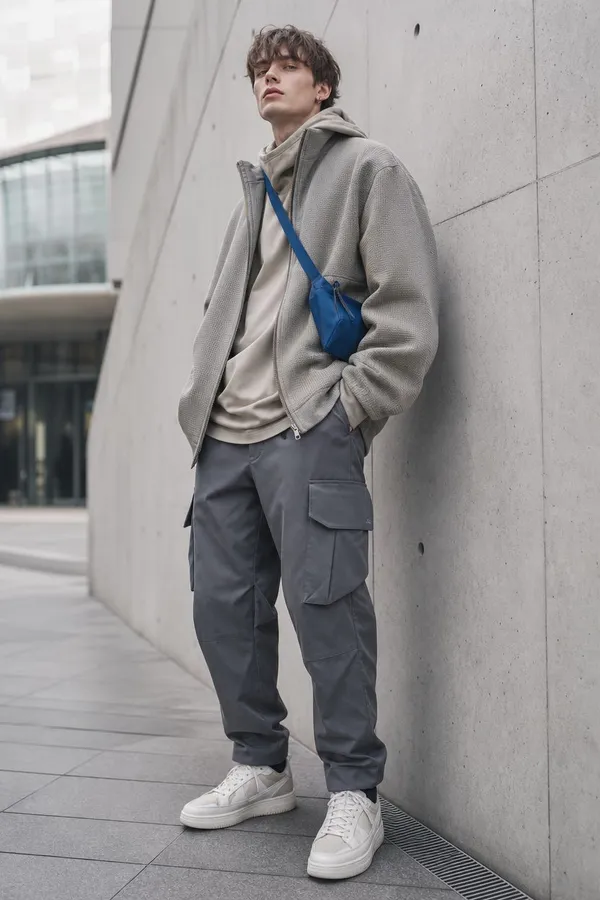
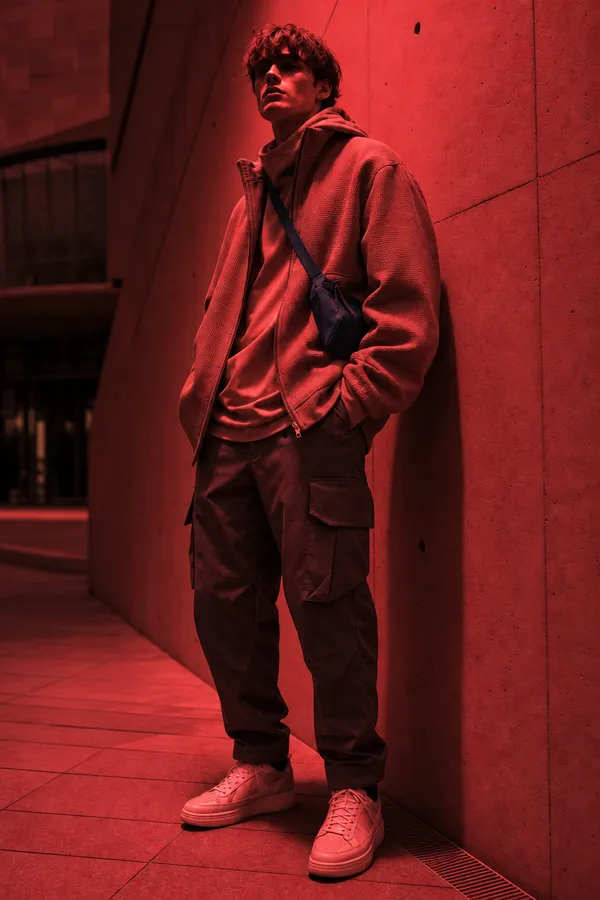
Relighting Alongside Other Edits
Relighting often comes late in an edit, after the scene is otherwise set. It pairs naturally with the other image Actions: relight a subject after a sky replacement so the foreground matches the new sky, or relight a product before sending it to Product shots for a full studio scene.
When you need to build the lighting into a scene from scratch rather than adjust an existing one, the open-ended Create image generator lets you describe the light in a prompt.
The Bottom Line
AI relighting gives you control over the one thing you normally cannot fix after the shot: the light. Add a photo, set the direction on the globe, choose a colour, and dial in the intensity, and the model re-renders the scene under your light. The natural-looking results come from moderate, directional changes, so relight to refine and correct rather than to rescue, and keep the original safe while you experiment.
Open the Relight Action in getimg.ai, bring a flatly lit portrait, and move the key light to one side to see the difference. Commercial rights are included, subject to our terms and applicable third-party rights.
Frequently Asked Questions
Very precise. You can drag a globe to set an exact angle, both around the subject and up or down, or use one of six presets: top, left, front, right, back, and bottom. Dragging the globe is best when you want a specific key-light position; the presets are quick starting points.
Yes. Choose from example colours or open the custom picker to enter an exact hex value or sample a colour from your screen. Subtle warm or cool shifts read as natural light, while saturated colours create an obvious creative effect. The colour you pick is applied as the light source, so it interacts with the surfaces in the photo rather than tinting the whole image flatly.
It looks most realistic with moderate, directional changes, especially side or top light on faces. The model re-renders how light falls across the shapes in the photo, so highlights and shadows move believably. Extreme intensity or a light direction that fights the original lighting is where results can start to look artificial, so subtle settings tend to win.
Brightness and exposure adjustments lift or lower the whole image uniformly. Relighting is directional and physical: it changes where the light comes from and lets the highlights and shadows fall accordingly, adding real shape rather than flat brightness. That is why a relit portrait gains modelling that a brightness slider cannot produce.
You can generate at 1K or 2K. Use 2K for web, social and most print sizes, and 1K for quick tests of a new direction or color before you commit.
Commercial rights are included, subject to our terms and applicable third-party rights. Make sure you hold the rights to the original photo you are relighting.