How to Make AI Horror Videos: 5 Lighting and Camera Techniques That Actually Scare

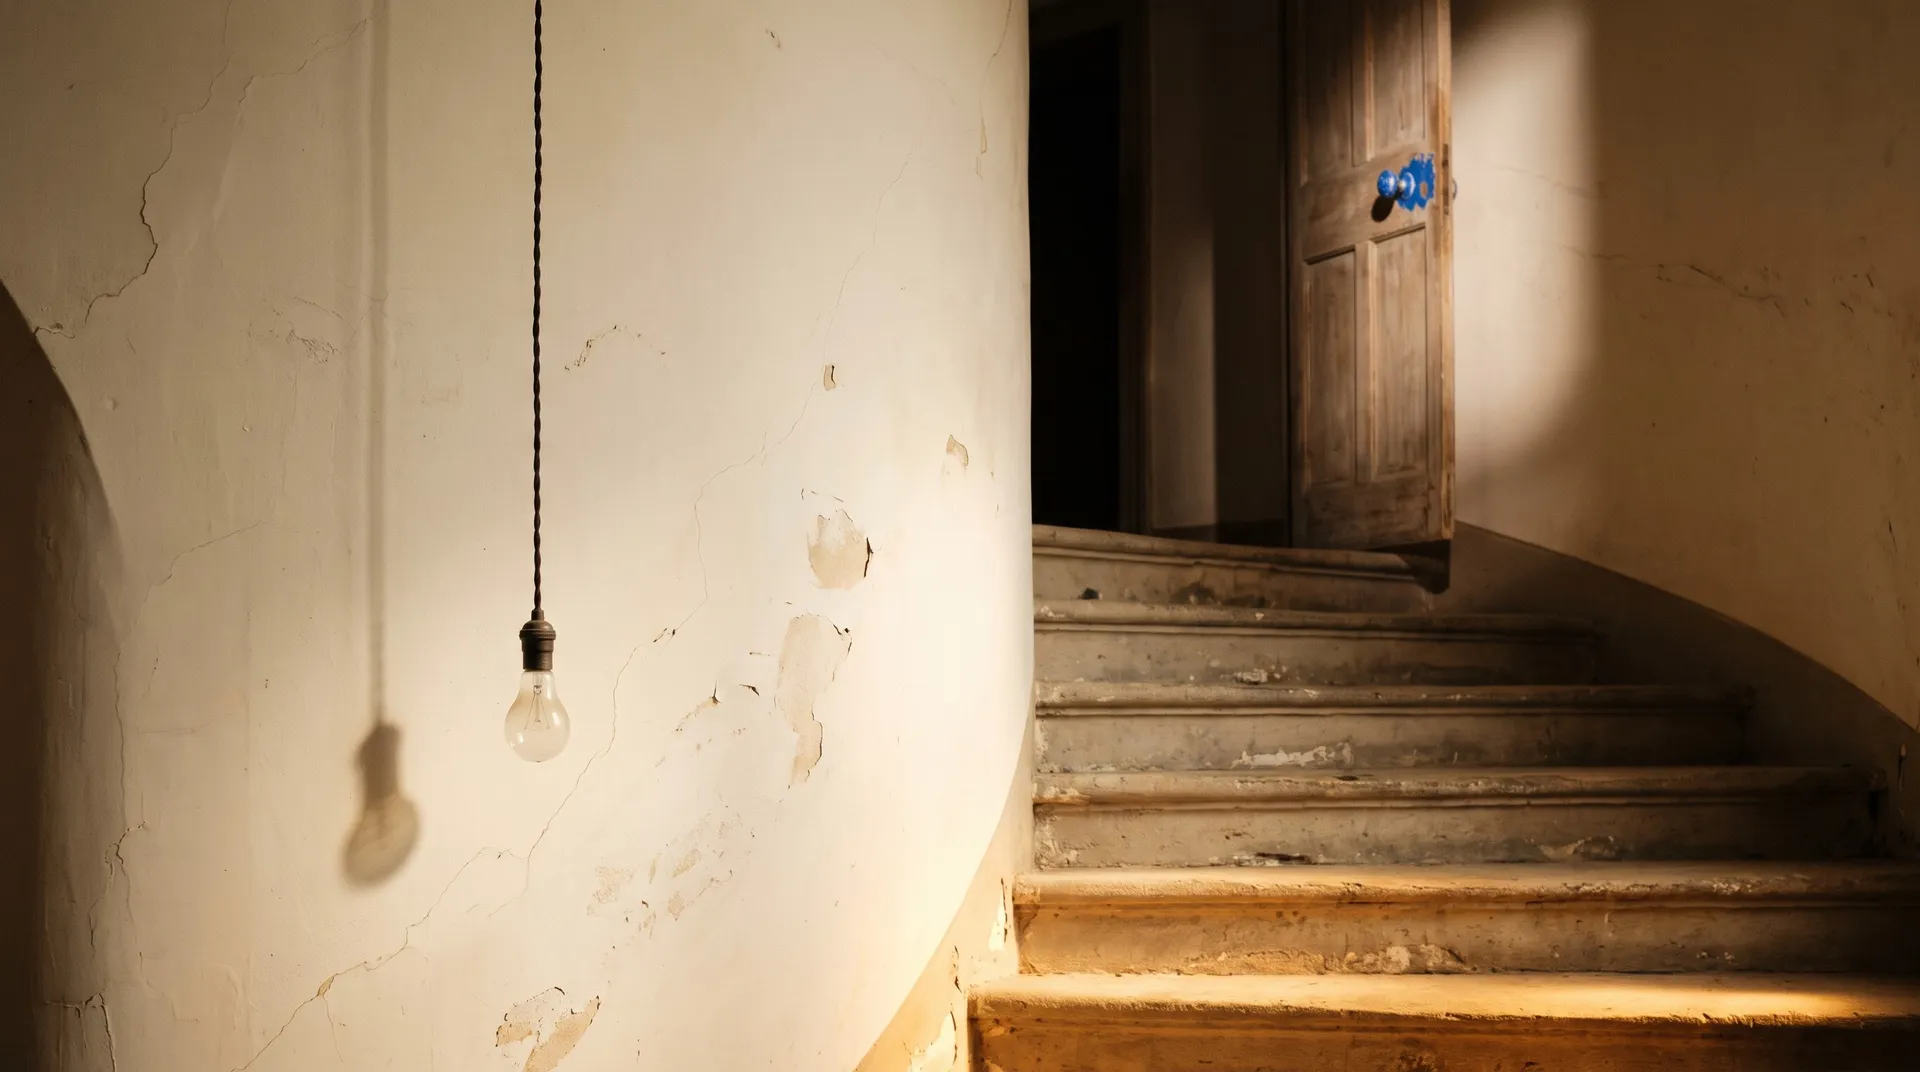
To make an AI horror video that actually feels unsettling, control what the viewer can't see. Horror lighting keeps most of the scene in shadow, uses unstable or motivated light like a flickering bulb or a flashlight, and pairs it with slow, deliberate camera movement. The five techniques that work most reliably in AI video are flickering light, a slow push-in, a silhouette against a light source, an empty corridor with deep perspective, and the surveillance or found-footage look.
Why Restraint Is Scarier Than Showing Everything
Horror lighting is lighting designed to withhold information. Where a standard scene lights the subject so the viewer can read it, a horror scene lights just enough to make the viewer search the dark parts of the image. Shadows, negative space, and light from unusual angles keep the eye moving, and an eye that keeps searching creates tension on its own.
That is good news for AI video. None of the five techniques below needs blood or gore. They work through light, camera movement, timing, and one well-placed payoff, which are exactly the things a video prompt can describe. They also suit brands: a fragrance teaser, a streaming-show promo, or a Halloween spot can use the same tools to feel cinematic and uneasy while staying brand-safe.
Three principles sit under every technique. Hide the light source, or make it unstable: a light the viewer can't locate, or one that might fail at any moment, is more unsettling than a steady lamp. Leave space in the composition, because an empty doorway or a dark corner gives the viewer somewhere to expect something. Move slowly, or not at all: fast motion releases tension, while a slow drift or a locked-off shot builds it. And give the tension a payoff. A figure that wasn't there a second ago, a knock from behind a door, something standing closer than it should: the build-up only works if something finally happens.
The 5 Techniques at a Glance
Technique | What it does | Prompt cue | Clip length |
Flickering light | Makes the scene unstable, hides and reveals | "a bare bulb flickering irregularly" | 5 to 8 s |
Slow push-in | Builds dread by closing distance | "the camera slowly pushes in" | 8 to 10 s |
Silhouette | Hides identity, keeps only shape | "backlit, the figure in full silhouette" | 5 to 8 s |
Empty corridor | Uses perspective and negative space | "a long empty corridor, one-point perspective" | 8 to 10 s |
Surveillance / found footage | Feels real, unedited, observed | "grainy CCTV footage, fixed high-angle camera" | 5 to 10 s |
1. Flickering Light
A flickering light is the simplest way to make a scene feel unstable. Each time the light dips, part of the image disappears; each time it returns, the viewer checks whether anything changed.
The effect works best when the flicker has a source in the scene: a bare bulb, a fluorescent tube, a failing streetlight, a candle in a draft. Describe the light as irregular rather than rhythmic, since a regular pulse reads as a disco light instead of a fault.
"Static camera at the top of the basement stairs looking down. The bare bulb buzzes and flickers off into total darkness. When it flickers back on, a pale gaunt figure with long dark hair is standing at the bottom of the stairs, perfectly still, face in shadow. The bulb cuts out again. When it comes back, the figure is standing halfway up the stairs, much closer. Sound: electrical buzz, a sharp click each time the light dies, a low hit when the figure appears closer. Cinematic horror."
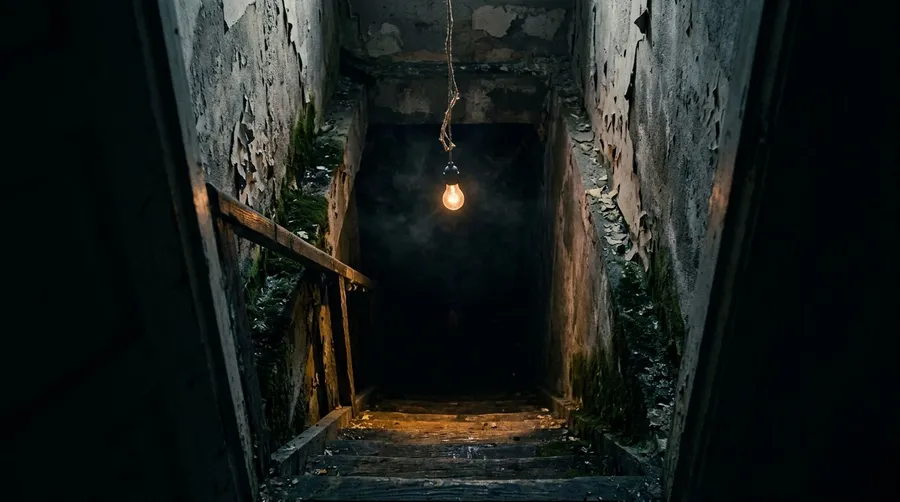
Use the dark moments. Keep the camera still and change one thing each time the light comes back, so the viewer starts dreading the next flicker.
2. The Slow Push-In
A slow push-in moves the camera steadily toward a subject or a space. It mimics the feeling of being drawn toward something you would rather avoid, and it signals to the viewer that whatever the camera approaches matters.
In AI video, describe both the movement and its speed. "Pushes in" alone can produce a fast zoom; "slowly pushes in over the whole shot" gives the controlled creep that builds tension. Point the push-in at something ambiguous, such as a closed door, a figure facing away, or a dark window, and let something answer the camera as it gets close.
"The camera creeps slowly forward down a pitch-dark hallway toward a closed door. Halfway in, the shadows of two feet appear in the thin strip of light under the door and stop, as if someone is standing right behind it. The doorknob slowly begins to turn, then stops. Silence. Then three slow, heavy knocks from the other side. Sound: low rising drone, creaking floorboards, the squeak of the knob, three loud knocks. Cinematic horror."
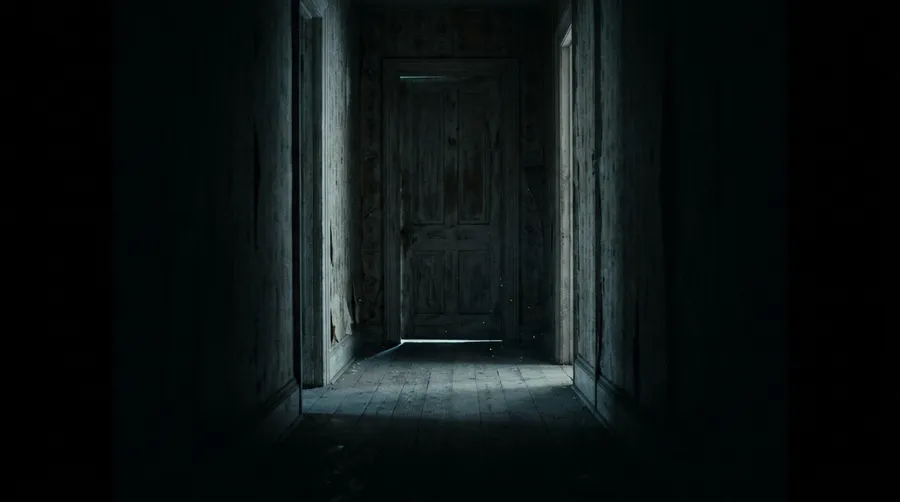
For a sharper version of the same idea, the Dolly zoom Action turns a still image into the vertigo effect, where the background stretches or compresses while the subject stays the same size. The "world closes in" effect at a low intensity is a strong choice for a moment of realization.
3. Silhouette Against the Light
A silhouette removes the face, the expression, and the detail, and leaves only a shape. The viewer knows someone is there, but not who or why. Placed in a doorway, at the end of a road, or behind frosted glass, a silhouette is one of the most efficient horror images available.
The light has to come from behind the figure and be brighter than everything in front of it. Ask for the figure to be "in full silhouette" or "completely backlit" so the model doesn't add fill light to the face.
"Static camera. A figure stands motionless in a doorway at the end of a dark room, completely backlit by a cold light, in full silhouette with no visible features, fog drifting across the floor. Suddenly it drops onto all fours with an unnatural jerk and scuttles up the side wall like a spider, limbs bending the wrong way, then crawls across the ceiling in the dark. Seconds later its head drops into the frame upside down, right in front of the lens. The backlight dies. Sound effects only, no music: faint wind, rapid skittering on plaster, joints cracking, then dead silence. Cinematic horror."
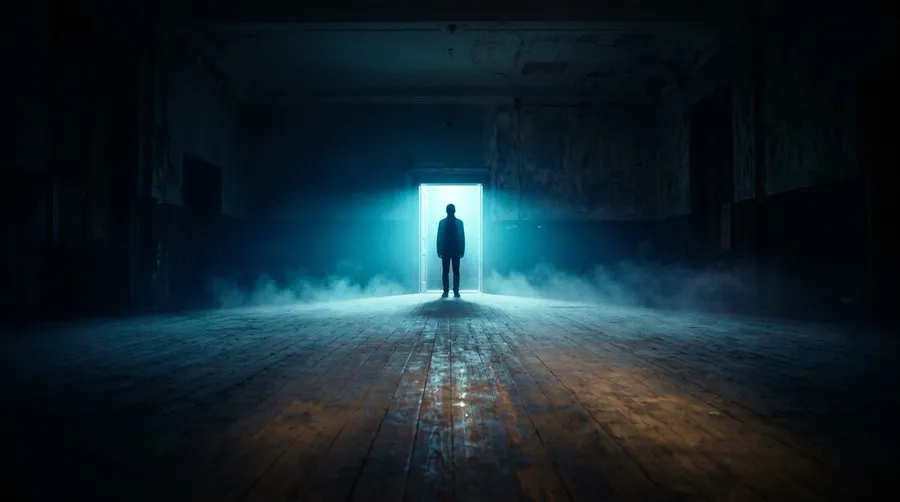
Hold the stillness long enough to make it uncomfortable, then break it with movement no person should be able to make. A silhouette that moves the wrong way, on all fours, up a wall, across the ceiling, is far scarier than one that simply comes closer.
4. The Empty Corridor
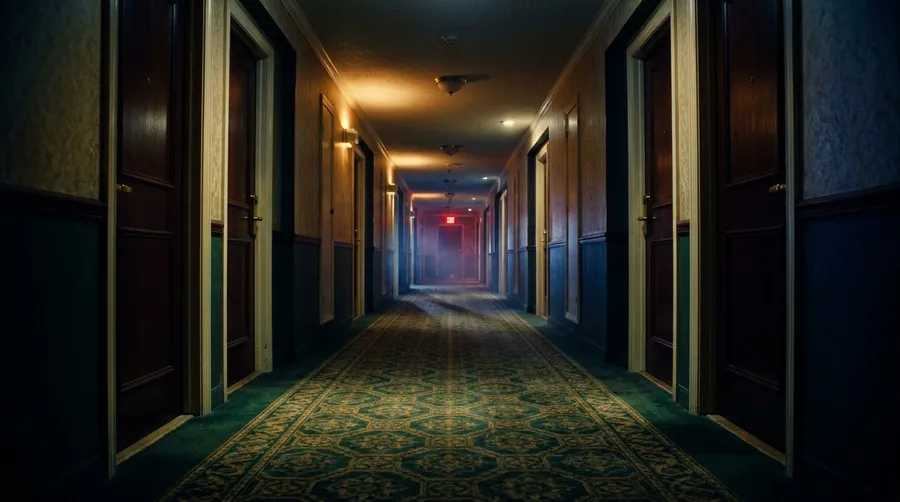
A long corridor with strong one-point perspective pulls the eye to its far end, and an empty far end is where the viewer starts imagining things. Hotels, hospitals, schools, and office buildings at night all work, because they are familiar places that feel wrong when nobody is in them.
Light the corridor unevenly: one working lamp, a row of lights where one is out, an exit sign glowing at the end. Combine it with a slow forward glide, then use the lights themselves as the threat: switching off one by one toward the camera, they push the darkness closer and set up the reveal.
"The camera glides slowly forward at hip height down an empty hotel corridor at night, a red exit sign glowing at the far end. One by one, the ceiling lights go out from the far end toward the camera, each with a heavy clunk. In the last moment before the light above the camera dies, a pale woman in a white nightgown is revealed standing motionless against the wall right beside the camera, staring at it. Then total darkness. Sound: distant hum, a clunk with each light, getting faster, a sharp inhale right next to the camera. Cinematic horror."
5. Surveillance and Found Footage
The surveillance and found-footage look borrows the aesthetics of security cameras, handheld camcorders, and night-vision recordings. Low resolution, grain, timestamps, and awkward angles make the footage feel real and unedited, as if nobody staged it.
Describe the recording device, not just the mood. A fixed high-angle security camera, a shaky handheld camcorder, or green night vision each produce a different variant of the look.
"Grainy black and white CCTV footage, fixed high-angle camera in an empty office at night, timestamp counting. A lone office chair slowly rolls into the aisle on its own and stops. The feed glitches with digital noise. When the image returns, a tall thin figure is standing completely still next to the chair, looking straight up at the camera. Another glitch: the figure is gone and the chair now faces the camera. A final glitch: the figure's face fills the frame right in front of the lens. Sound: room tone, camera hiss, harsh static bursts on each glitch. Found footage horror."
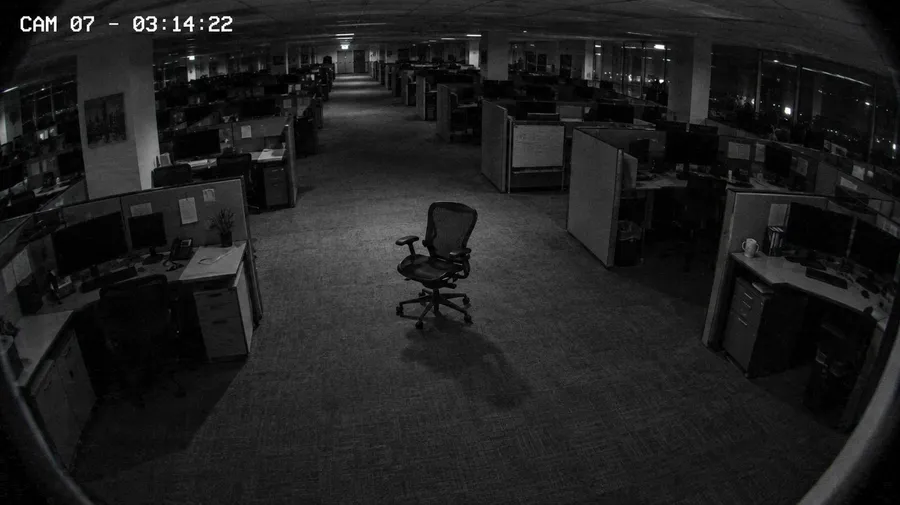
Use glitches as your cuts. Each burst of static hides a change, so the figure can appear, vanish, and come closer without the viewer ever seeing it move.
Sound Does Half the Work
Most horror scenes are scarier with the sound on. A low drone, a single creak, distant footsteps, or a sudden silence after a constant hum change how the same image feels.
When you generate in Create video, you can describe sound directly in the prompt on models that generate audio: "a faint electrical buzz from the bulb, distant dripping water." For a standalone sound bed, the AI sound effect generator creates drones, creaks, and ambient tones from a text description, in lengths from 5 to 30 seconds, ready to layer under a clip in an editor.
Technique | Sound that fits |
Flickering light | Electrical buzz cutting in and out |
Slow push-in | Low rising drone |
Silhouette | Near silence, faint wind |
Empty corridor | Distant hum, a door closing far away |
Surveillance | Room tone, camera hiss |
How to Build a Horror Clip in getimg.ai, Step by Step
1. Generate the opening image
In Create image, describe the location, the light, and the composition: "a long empty hotel corridor at night, every second light off, red exit sign at the end." An image gives you full control over the look before you spend time on motion.
2. Use it as the first frame
Open Create video and attach the image as the First Frame, so the clip starts exactly from that composition. With first and last frame control you can also set where the clip ends.
3. Describe the light, the camera, and the sound
Write what changes in the shot: "the camera glides slowly forward, the far light flickers twice, a faint hum." Keep to one camera move per clip. Each of the camera movements that make AI video look cinematic carries its own meaning, and horror relies on the slow ones.
4. Add a motion reference if you have one
On models that take video references, such as Seedance 2.5, attach a short clip that already has the camera movement you want, such as a shaky handheld walk, and the new video follows its motion closely. As with any generated clip, watch the result through before using it, since motion and small details can differ from the reference.
5. Generate variations
Raise the number of variations with the + button, up to 4 per run, and compare. Small differences in flicker timing or camera speed change how tense a clip feels.
6. Upscale the final clip
Run the selected clip through the Upscale video generator for 1080p or 4K delivery.
Common Mistakes in AI Horror Video
The most common problem is too much movement. A fast camera and a fast subject in the same clip release the tension, so keep at least one of them still. The second is lighting everything: if the prompt doesn't say where the dark is, the model may light the whole scene evenly, so name what stays in shadow.
The third is atmosphere with no payoff. A dark room where nothing happens for six seconds is moody, not scary. Build toward one clear beat, such as a figure appearing, a knock, or a light dying at the wrong moment, and place it late in the clip. And avoid leaning on words like "scary" or "creepy." They describe a feeling, not a shot. Describe the light source, the camera, and the event, and the feeling follows.
The Bottom Line
AI video feels unsettling when it hides more than it shows. Flickering light, a slow push-in, a silhouette that crawls across the ceiling, an empty corridor, and surveillance-style footage all build tension through light, camera movement, and timing, then pay it off with one clear beat, no gore needed. Start from a still image as the first frame, describe one light source, one camera move, and the moment the scare lands, add sound, and compare a few variations before you upscale the strongest.
Commercial rights are included, subject to our terms and applicable third-party rights.
Create your horror clip in getimg.ai
Frequently Asked Questions
Control light and movement, then give the tension a payoff. Keep most of the scene in shadow, use one unstable or hidden light source, such as a flickering bulb or a backlight, and move the camera slowly or not at all. Leave empty space in the composition so the viewer searches it, and late in the clip let something fill it: a figure that appears when the light returns, a knock, a face in the dark. A low drone and a sharp sound cue on the reveal increase the effect.
Horror lighting is lighting designed to withhold information. It keeps much of the scene dark, places light at unusual angles, such as from below or behind, and often uses unstable sources like flickering bulbs, flashlights, or candles. The goal is to make the viewer search the shadows, which builds tension. Common setups include low-key lighting, backlit silhouettes, and single practical lights in the scene.
Slow, deliberate movements build the most tension: a slow push-in toward a door or figure, a forward glide down a corridor, or a locked-off static shot where only the light changes. The dolly zoom, where the background stretches while the subject stays the same size, works for moments of realization. Fast, shaky movement works only in found-footage styles.
Describe the recording device and its flaws: "grainy black and white CCTV footage from a fixed high-angle camera," "shaky handheld camcorder footage," or "green night-vision recording." Add low resolution, digital noise, and a timestamp aesthetic. Keep the event small and unexplained, since found footage feels most real when nothing looks staged.
Use horror lighting and camera work instead of horror content. Because the techniques work without graphic imagery, they suit Halloween campaigns, entertainment promos, and other seasonal spots. A perfume teaser in an empty corridor, a product revealed by a flickering light, or surveillance-style footage of an empty store after closing all feel like Halloween while keeping the brand safe. On getimg.ai, commercial rights are included, subject to our terms and applicable third-party rights.
Most single horror shots work best at 5 to 10 seconds. Flickers and silhouettes land in 5 to 8 seconds; slow push-ins and corridor glides need 8 to 10 seconds to build. For a longer sequence, generate several short clips, each with one camera move and one event, and edit them together.
Related Articles