Guide to First and Last Frame Control
Use First Frame and Last Frame in getimg.ai to control how your video starts and ends. Learn how to add them and when each option applies.
What Is First and Last Frame Control
This feature lets you use your own images as specific frames in the generated video:
- First Frame sets the opening shot. The video begins from this image.
- Last Frame sets the closing shot. The video transitions into this image by the end.
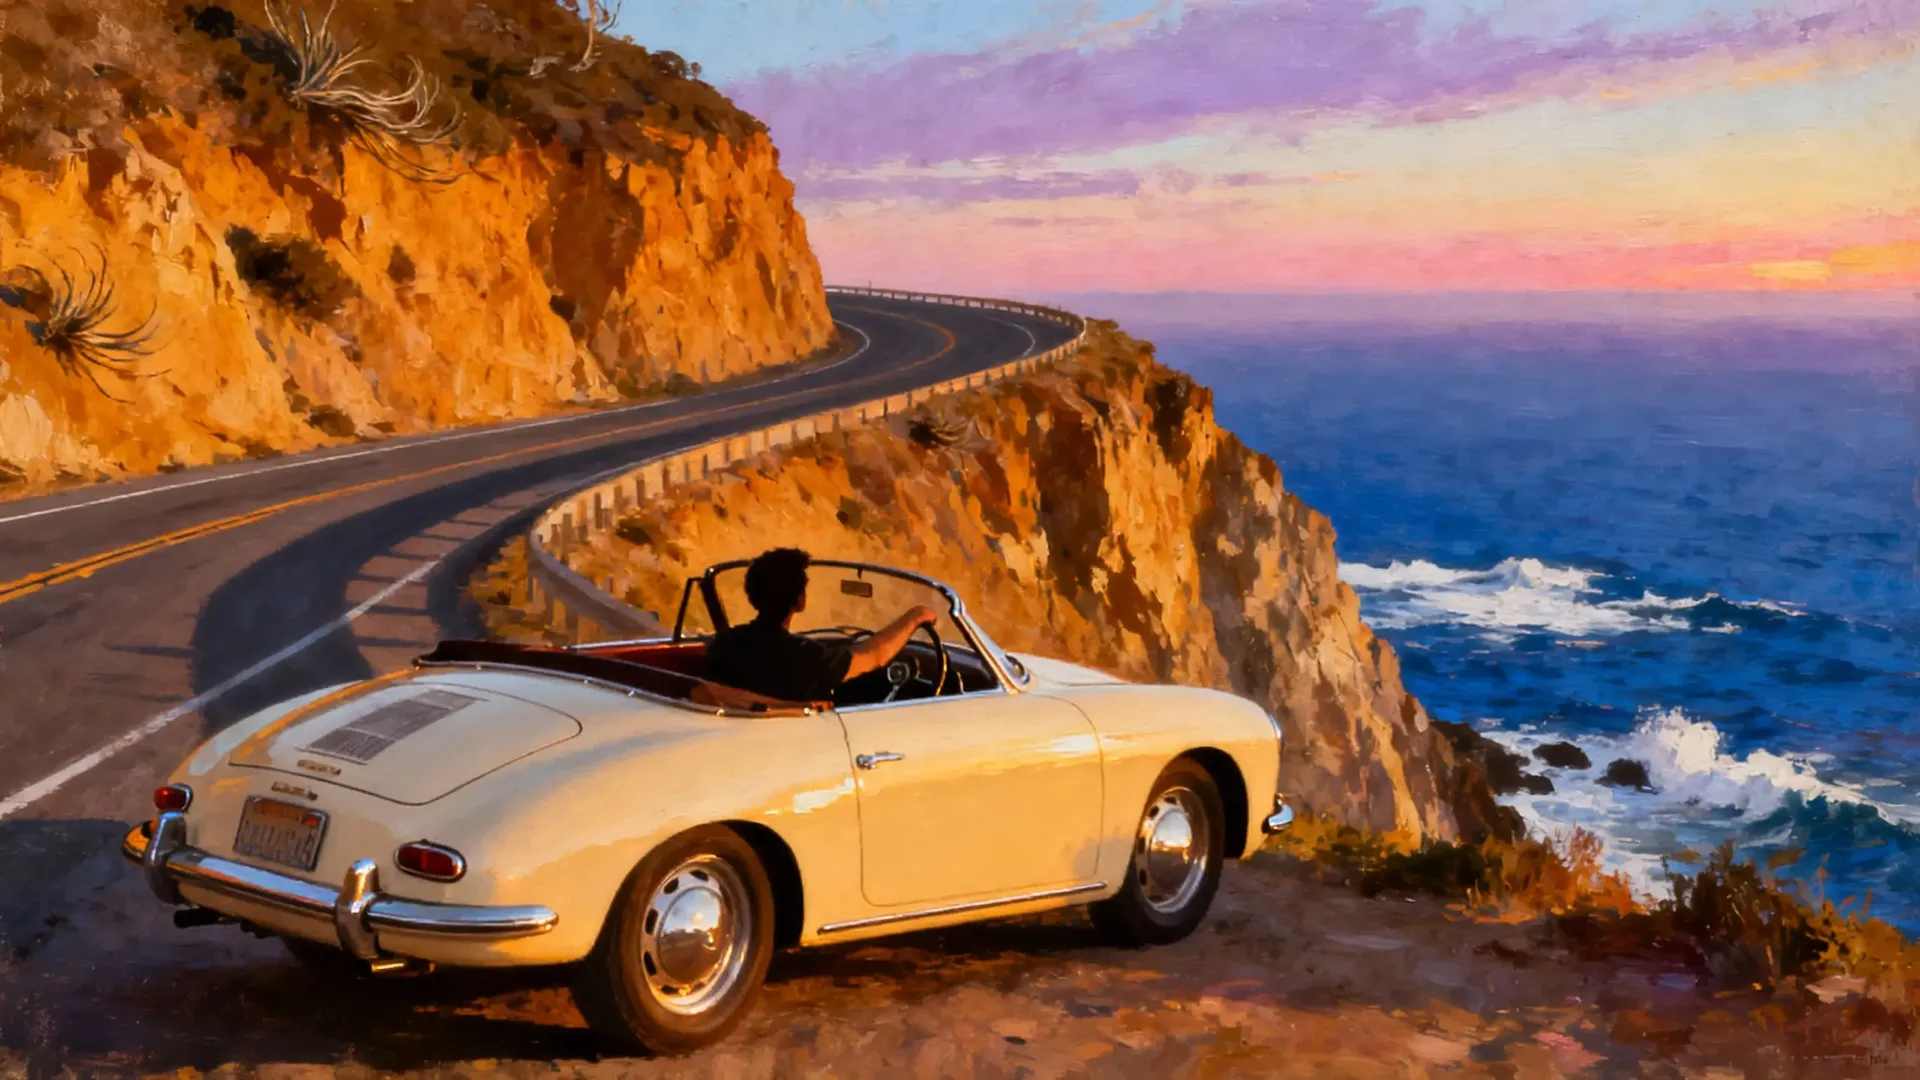
First Frame
camera zooms in as the driver opens the car door and steps out to look at the ocean, wind moving his clothes
You can use First only, or First and Last together in a single generation. There is no Last Frame only mode.
Limitations
- You can set at most one First Frame and one Last Frame.
- You cannot combine First or Last with reference images in the same generation. Choose frames or references, not both.
Availability
- Auto mode supports First and Last Frame Control.
- All Custom mode models support First Frame. Last Frame Control depends on the model you choose. See the Video Models Guide for details.
How to add First and Last Frame
Step 1. Select the First and (Optionally) Last Frame Images
You add frames by attaching images, then assigning their role. First, log into getimg.ai and click the Create video Action. Then all you need to do is:
- Click the "First Frame" button in the prompt box.
- Pick an existing image or upload a new one.
- Optionally, click on the "Last Frame" button in the prompt box and choose or upload an image.
Step 2. Write a Prompt
Describe what you'd like to happen in the video.
Not sure how to start? Check out our Video Generation Prompt Book.
Step 3. Generate
Press the arrow in the prompt box and wait a moment.
That’s it. Add your frames, write a short scene prompt, and generate!