Low-Key Lighting: How to Get Dark, Moody Product Photos With AI

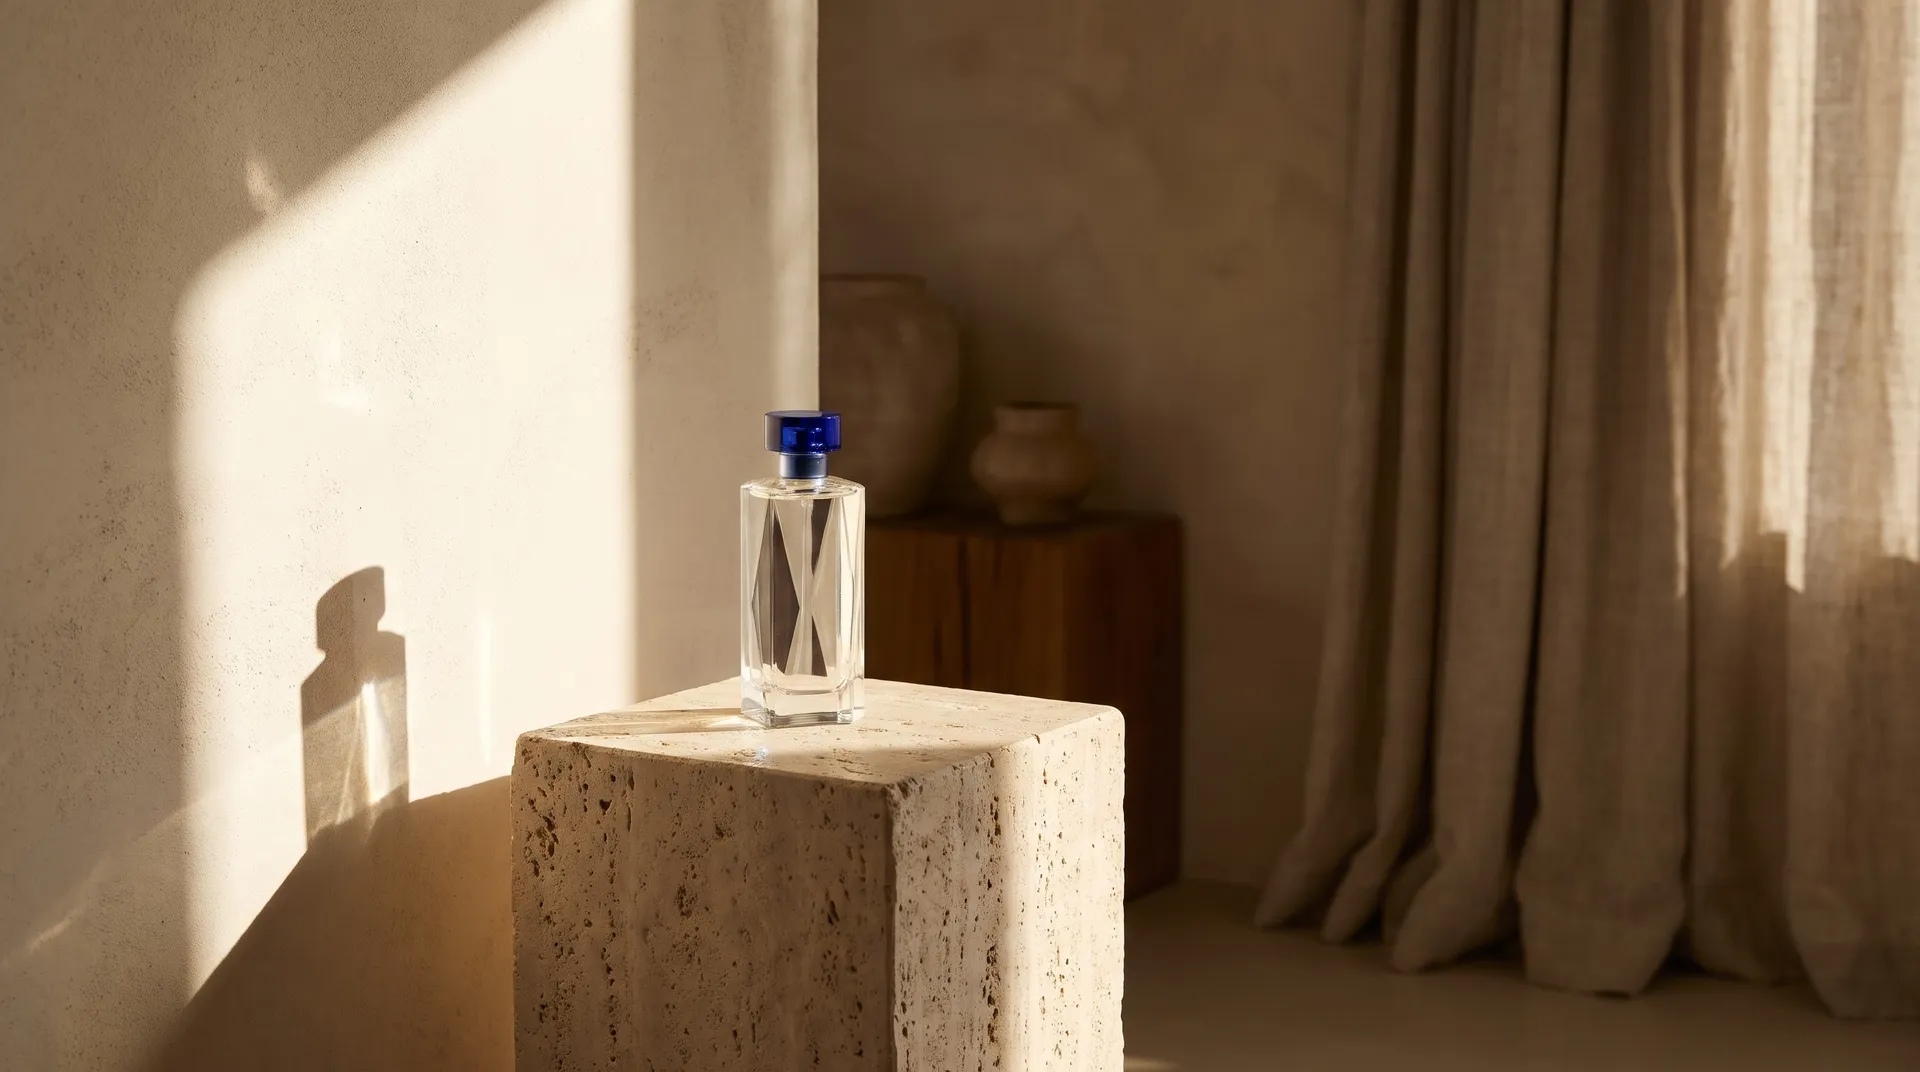
Low-key lighting is a lighting style where most of the image sits in shadow and one controlled light source reveals only the parts of the subject you want seen. In product photography, that means a dark background, deep shadows, and a single hard or narrow light that traces edges, labels, and reflective surfaces. With AI, you get the look by naming the light source, its direction, and what should stay black in the prompt, or by relighting a product photo you already have.
What Low-Key Lighting Is
Low-key lighting is defined by its tonal range: the image is dominated by dark tones, with highlights reserved for a small part of the subject. Photographers describe it through the lighting ratio, the difference between the lit side and the shadow side. A low-key image runs a high ratio, often 8:1 or more, so the shadow side falls close to black instead of being filled in.
The setup is usually simple. One key light, positioned to the side, above, or behind the product, does most of the work. There is little or no fill light, and the background is either black, dark, or far enough from the light that it falls off into darkness. What the viewer sees is shape: the curve of a bottle, the edge of a jar lid, the facet of a stone.
That is also why the style suits products so well. Low-key lighting removes everything that competes with the object. There are no props to read, no scene to decode, just the product and the light that defines it.
Low-Key vs High-Key vs Chiaroscuro
The three terms often get mixed up. Low-key and high-key describe the overall tonal range of an image; chiaroscuro describes the contrast between light and dark used to model form.
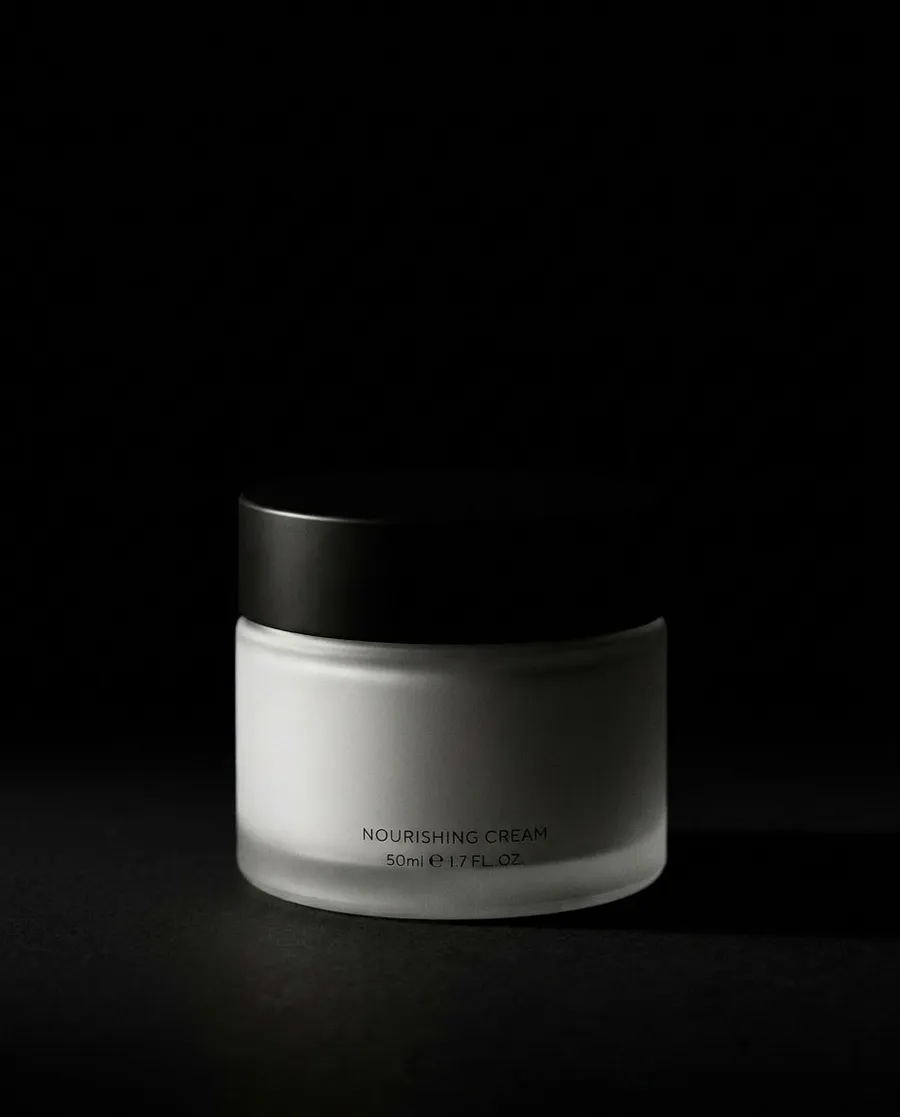
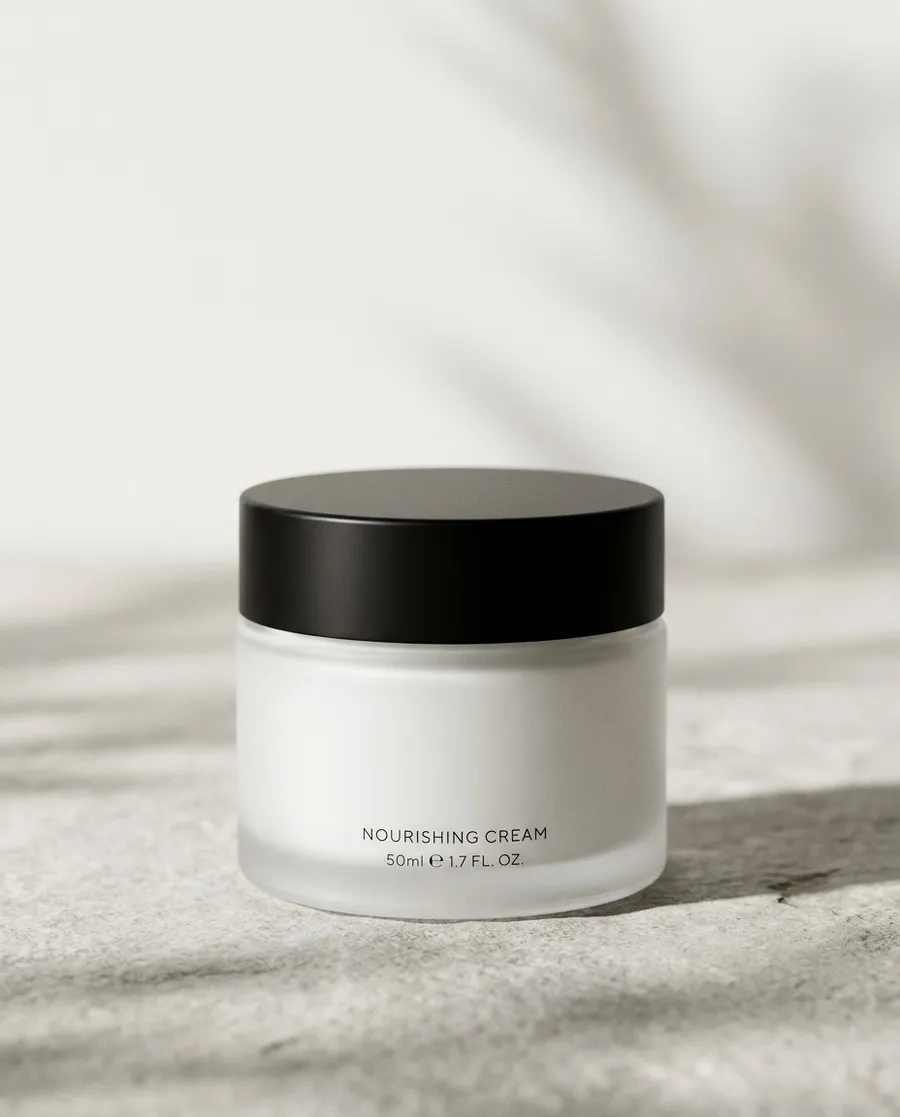
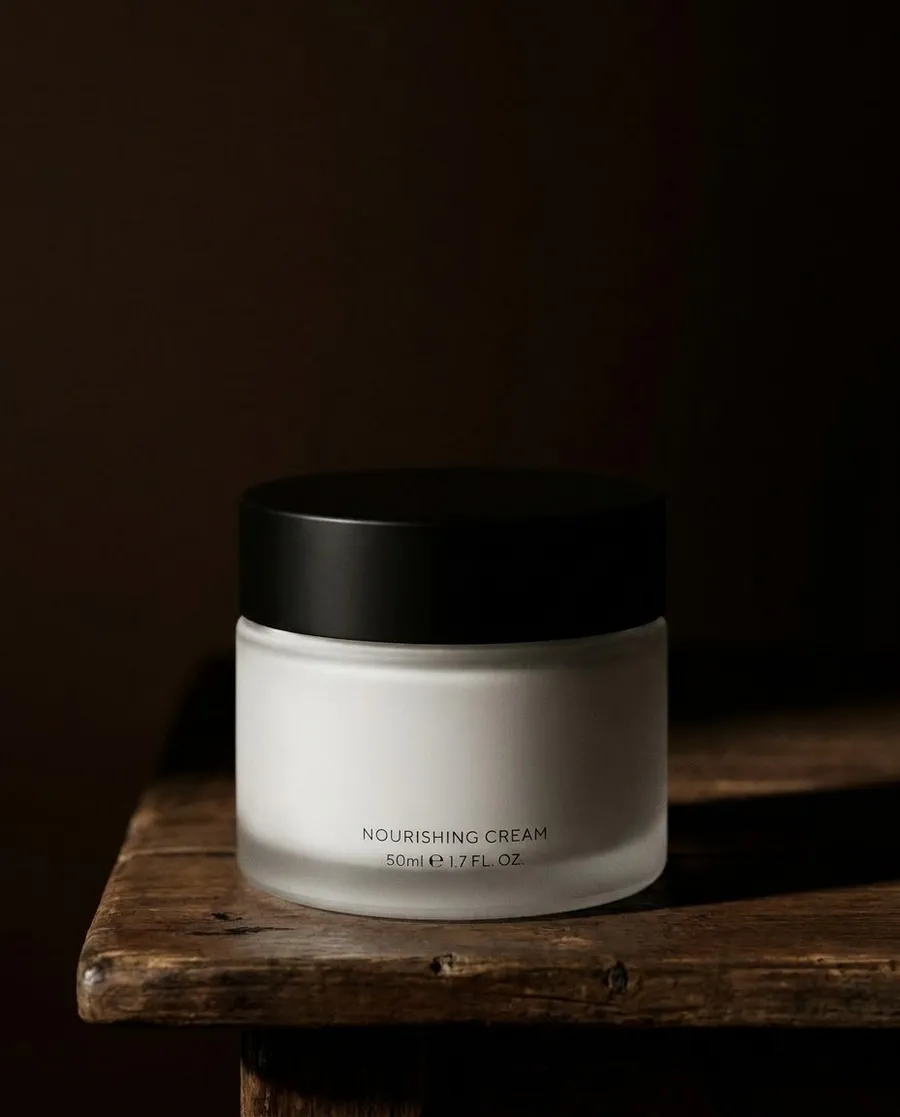
Low-key
High-key (original)
Chiaroscuro
Low-key | High-key | Chiaroscuro | |
Dominant tones | Dark, most of the image in shadow | Bright, minimal shadow | Strong light against strong dark |
Light setup | One key light, little or no fill | Several soft lights, lots of fill | One directional source, often soft |
Background | Black or very dark | White or very light | Dark, falls off gradually |
Mood | Dramatic, luxurious, mysterious | Clean, fresh, clinical | Painterly, sculptural, classic |
Typical products | Perfume, spirits, jewelry, watches, premium skincare | Cosmetics, e-commerce packshots, wellness | Still life, food, artisan goods |
Prompt cue | "single hard key light, black background, deep shadows" | "bright even studio light, white background" | "soft window light from the side, dark background, gradual falloff" |
Chiaroscuro comes from Renaissance painting, where artists like Caravaggio used one strong light to sculpt figures out of darkness. In photography it overlaps heavily with low-key lighting, but the light is usually softer and the transition from light to dark is more gradual. If you want hard edges and drama, ask for low-key. If you want a painted, velvety falloff, ask for chiaroscuro.
Why Brands Use Dark Product Photography
Dark product photography signals value. A product lit like an object in a museum case reads as more considered than the same product on white, which is why perfume, watch, and spirits brands lean on it so heavily. It also makes reflective materials look their best, since glass, metal, and liquid only show their shape through the highlights they catch.
The style has a practical advantage too: it changes the mood of a campaign without changing the product or the brand. A skincare line photographed on white for most of the year can go dark for October, or for a holiday gift range, with no new props, no costume elements, and no seasonal clichés. The packaging, logo, and color stay the same; only the light changes. That makes low-key lighting one of the easiest ways to create seasonal product images without a new shoot while keeping the identity intact.
Five Low-Key Setups and How to Prompt Them
Each setup below is a distinct look. Name the light source, its position, and the background in the prompt, and the model builds the rest of the scene around them.
Setup | Light source | What it does to the product | Best for |
Single key on black | One hard light from the side or above | Sculpts shape, drops everything else to black | Perfume, spirits, skincare bottles |
Hard flash | Direct on-camera flash | Sharp shadow behind, glossy highlights, editorial edge | Fashion accessories, beverages, cosmetics |
Rim light | Light from behind the product | Traces the outline in a thin bright edge | Glass, metal, dark products on dark backgrounds |
Candlelight | Small warm flame near the product | Warm pool of light, soft falloff | Candles, fragrance, chocolate, gift sets |
Moonlight | Cool, dim light from above or behind | Silver-blue highlights, cold mood | Jewelry, watches, night-themed campaigns |
Single key light on black
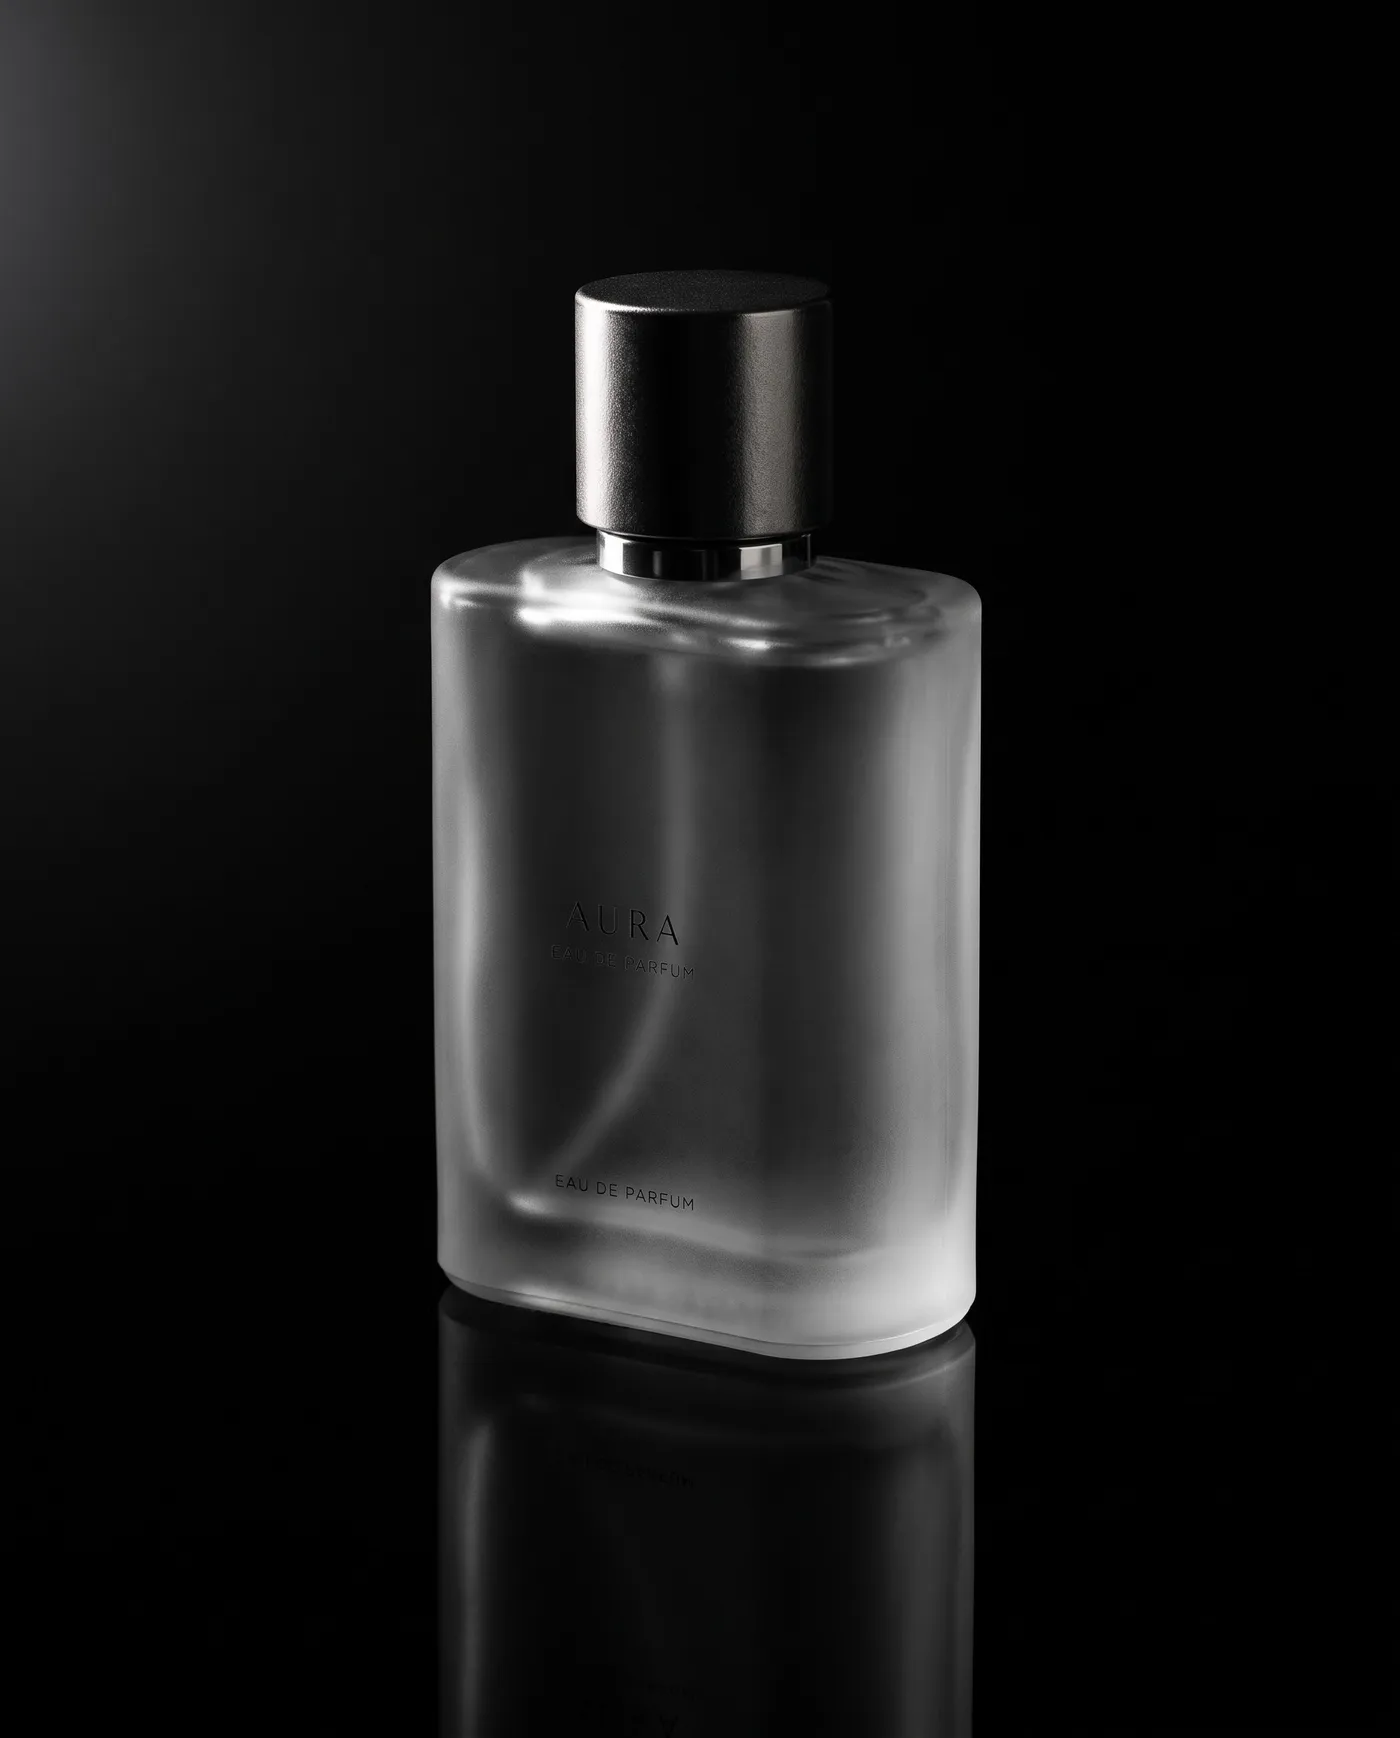
The classic low-key setup. One light sits to the side and slightly above the product, and the background stays black.
"A frosted glass perfume bottle on a black reflective surface, single hard key light from the upper left, deep shadows, black background, the light catching the edge of the glass and the cap, studio product photography."
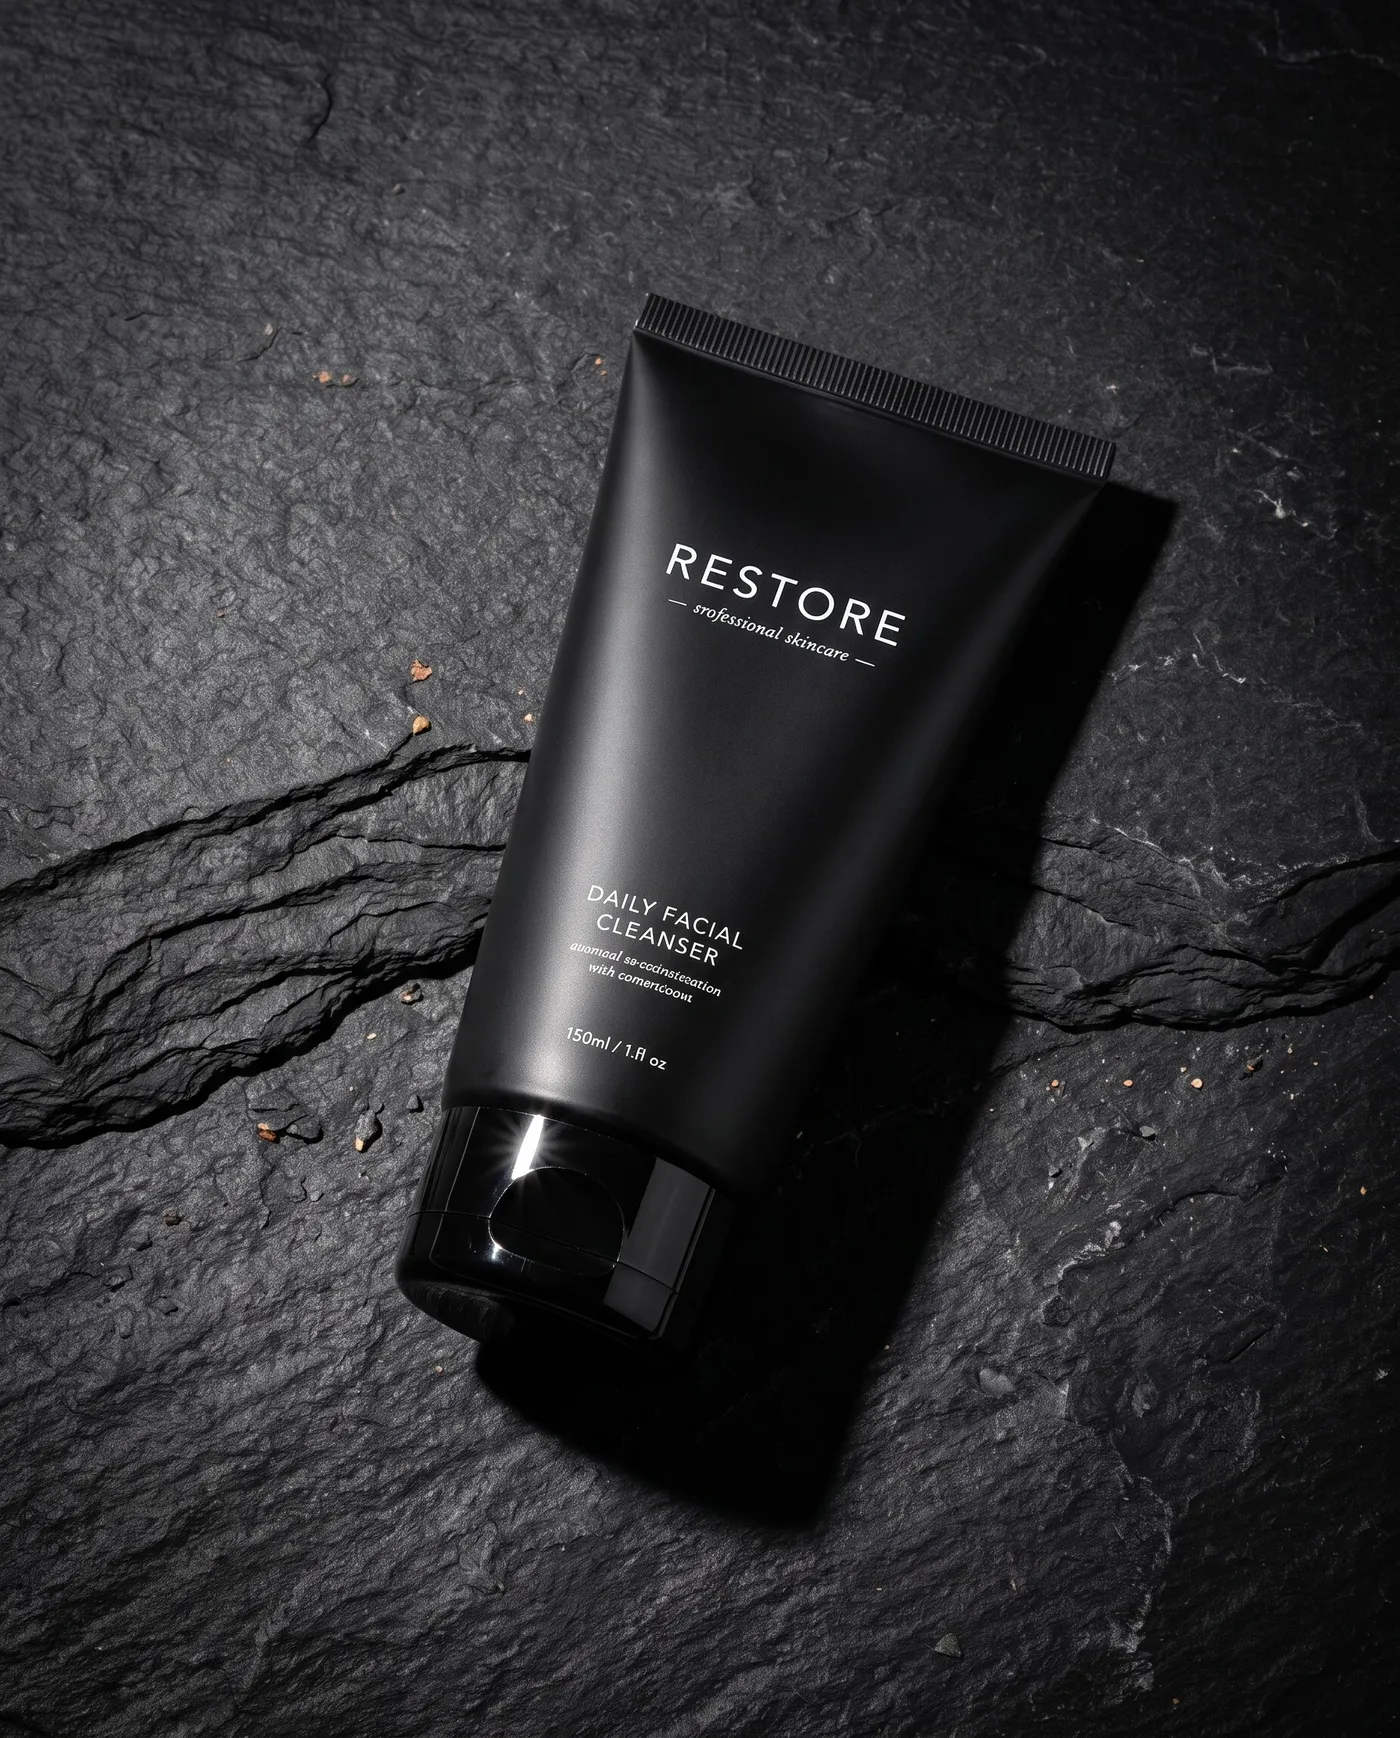
Hard flash
Direct flash gives a crisp, slightly raw look borrowed from fashion editorials. Expect a sharp shadow cast onto the surface behind the product.
"A matte black skincare tube lying on dark slate, direct on-camera flash, hard shadow cast behind it, glossy highlight on the cap, night-time editorial product photo."
Rim light
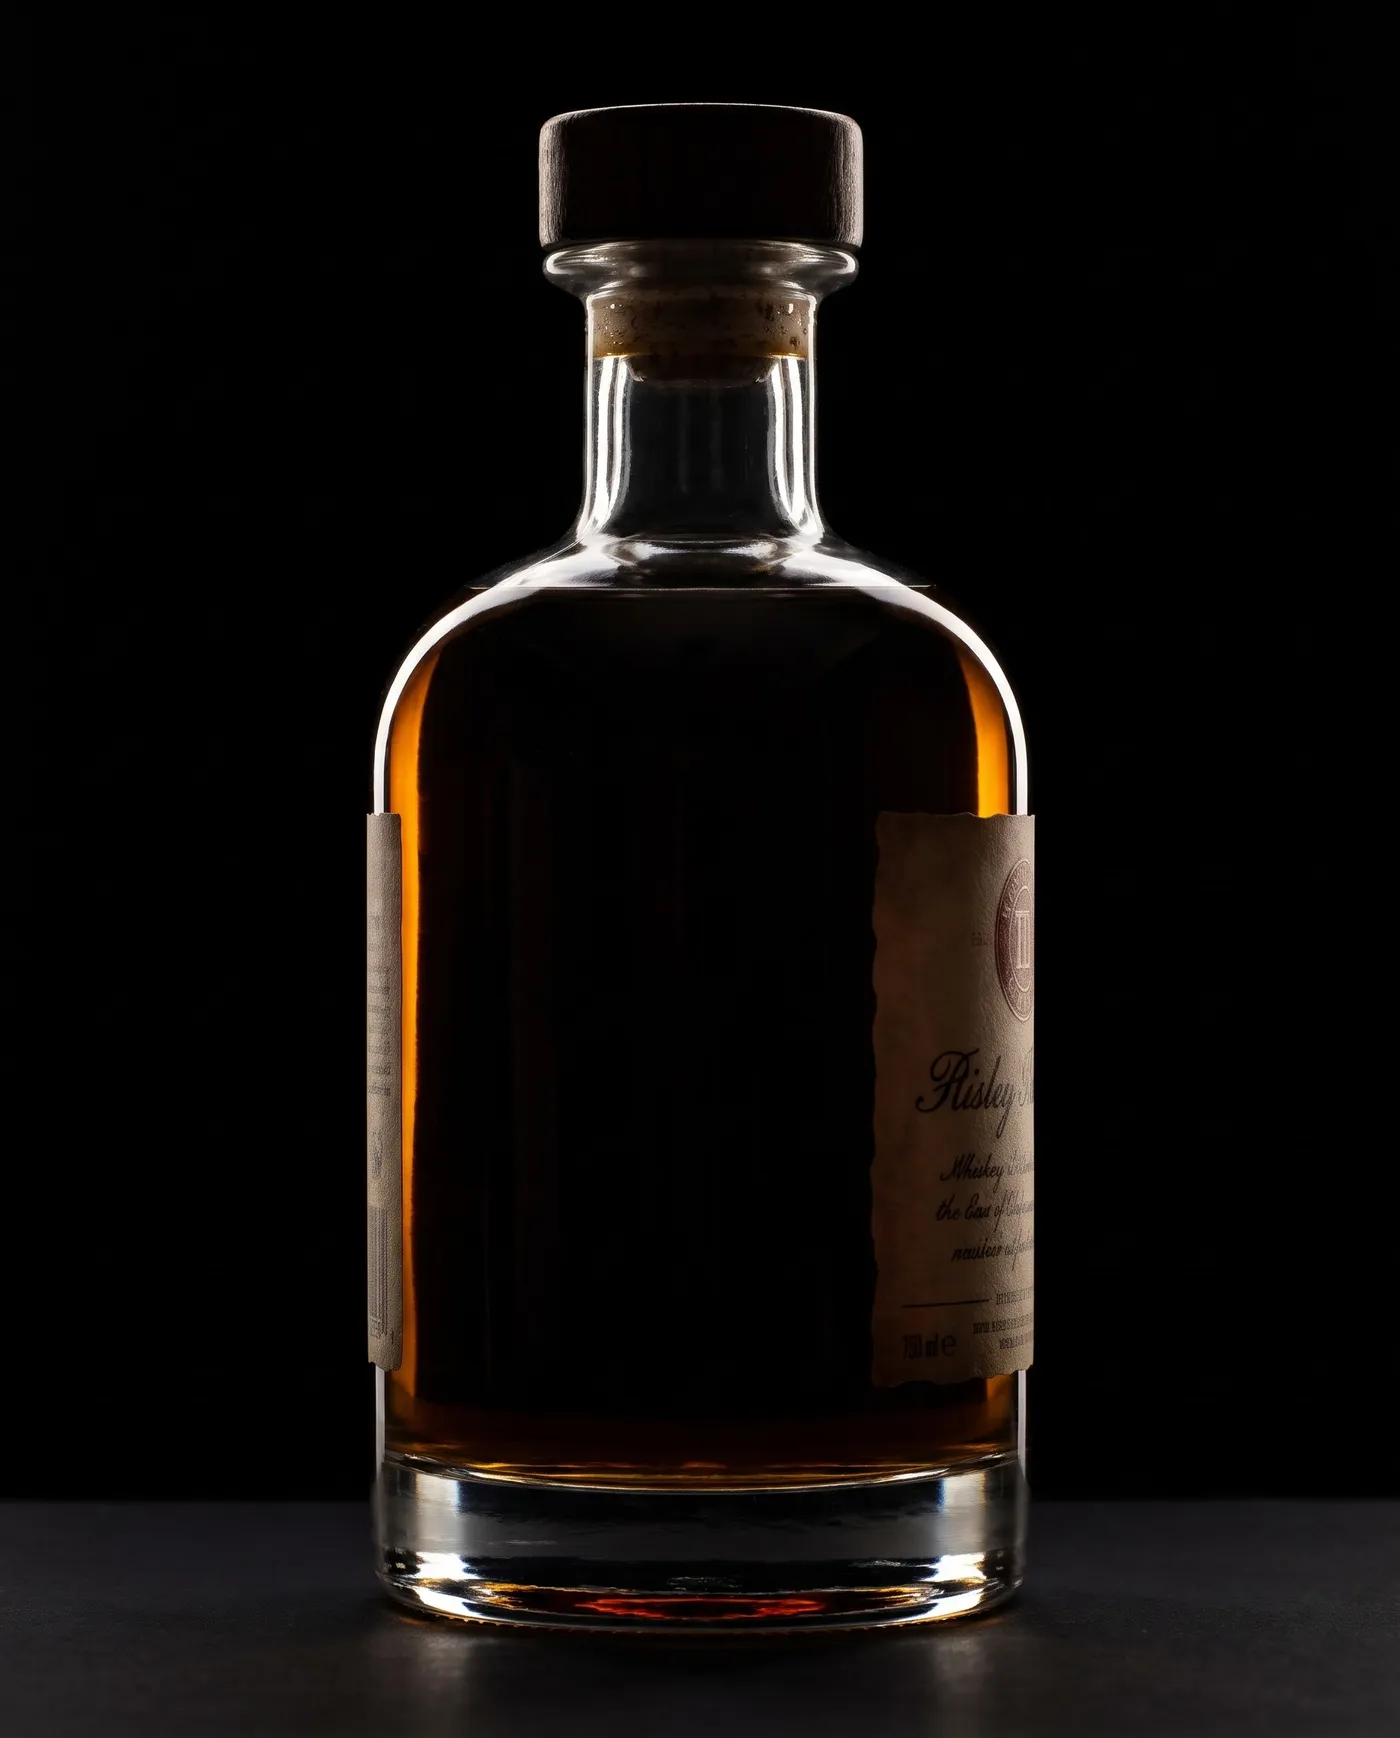
A light placed behind the product outlines its silhouette. This is the go-to setup for transparent or dark products that would otherwise disappear into a dark background.
"A dark amber whiskey bottle on black, strong rim light from behind outlining the bottle in a thin bright edge, faint highlight on the label, everything else in shadow."
Candlelight
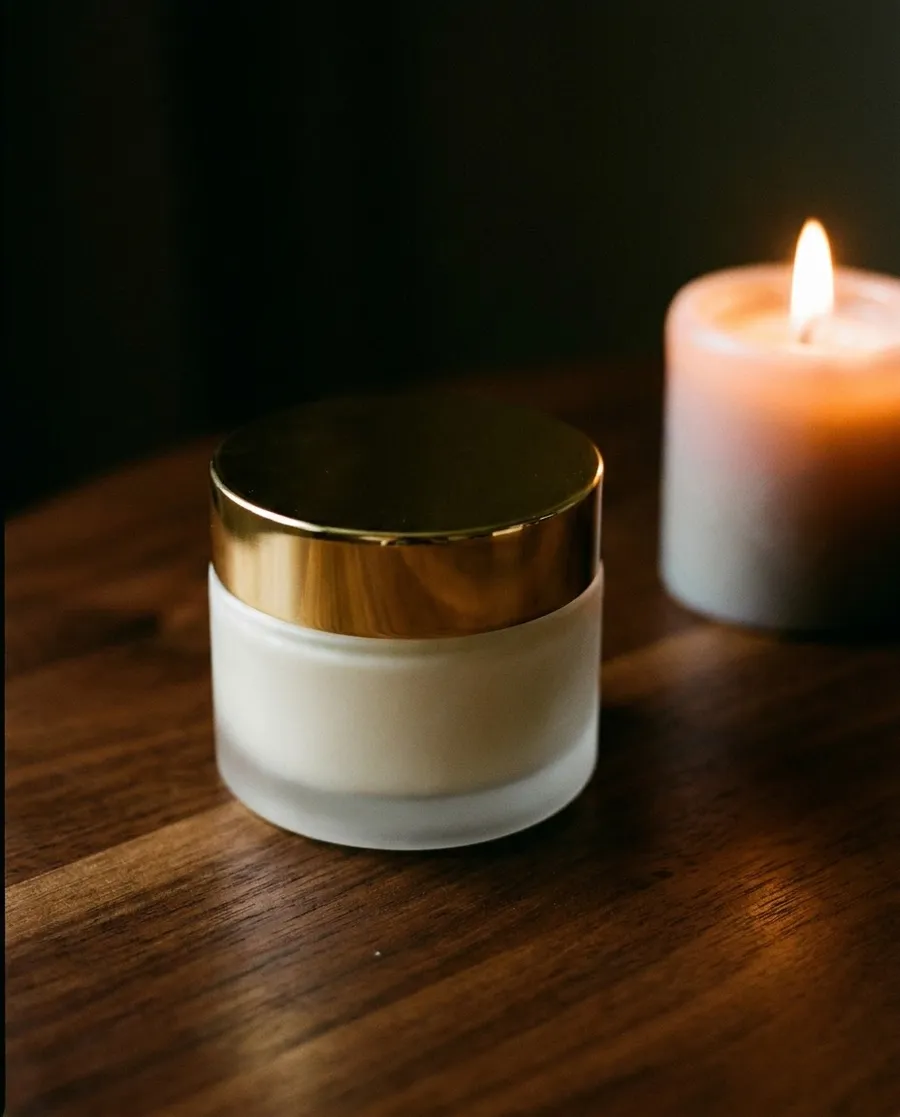
Candlelight brings warmth into a dark scene. The flame can sit in the image as a motivated light source or just outside it.
"A gold-lidded jar of face cream on a dark wooden table, lit only by a single candle to the right, warm pool of light, soft falloff into darkness, intimate and quiet."
Moonlight
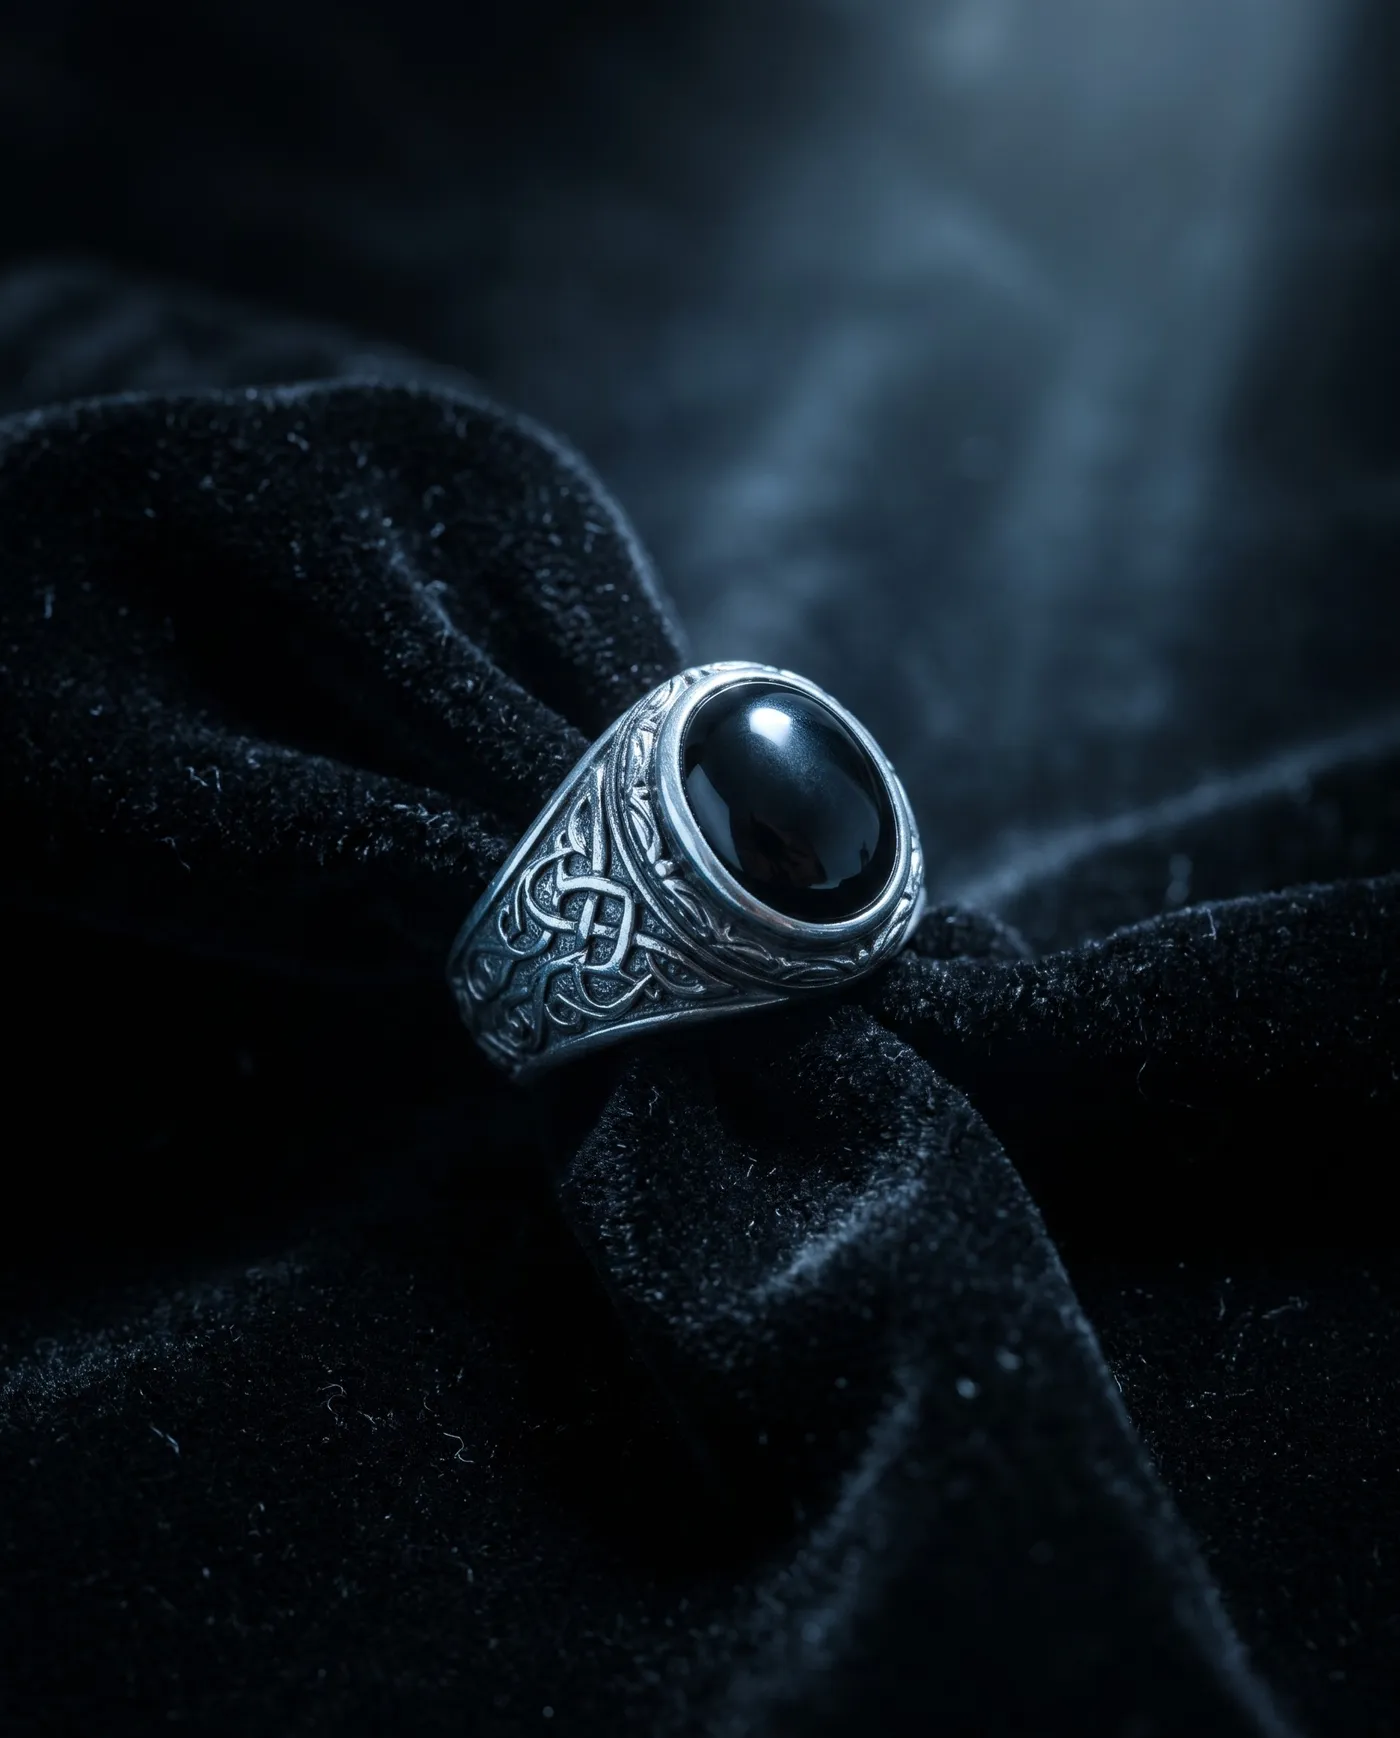
Moonlight is cool, dim, and directional. It works well for jewelry and for any campaign that wants a nocturnal, slightly eerie mood without horror imagery.
"A silver ring with a dark stone resting on black velvet, cold moonlight from above through a window, silver-blue highlights on the metal, deep shadows, night atmosphere."
How to Create Low-Key Product Photos With AI, Step by Step
Here is the workflow in getimg.ai, from a product photo you already have to a set of dark campaign images.
1. Add your product as a reference
Open Create image and attach a clear photo of the product with the Reference button. A plain, evenly lit packshot works best, since the model takes the shape, label, and color from it. Models handle products well, but fine print and logos can still shift slightly, so check every result against the real product before it goes live.
2. Describe the light, not just the mood
"Dark and moody" alone leaves the model guessing. Name the source (key light, flash, candle, moonlight), its direction (upper left, behind, from the right), and what stays black (background, surface, the shadow side of the product).
3. Generate a batch
Raise the batch size with the + button, anywhere from 1 to 16 images, to see several interpretations of the same setup in one run, then keep the strongest.
4. Relight an existing photo instead
When you want to keep a finished product shot as close to the original as possible, open the Relight Action, set the light direction on the globe, pick a color, and lower the intensity. A side or back direction with moderate intensity turns a flat packshot into a directional, low-key image.
5. Lock the look for the whole range
High-key (original)
Relit with the Relight Action
Once one image has the light you want, attach it as a reference image when you generate the next product, so the whole range shares the same light. If you'll come back to the look in future campaigns, save it as a Lighting Element and call it with @ElementName instead of attaching it each time.
6. Size and finish
Use the Resize image generator to adapt each image to Stories, feed, and banners, and upscale the hero images for print or large displays.
How Materials Behave in Low-Key Light
The material decides where the light needs to go. A setup that flatters glass can flatten a matte tube.
Material | What to show | Light placement | Prompt cue |
Clear or frosted glass | Edges and thickness | Behind or to the side | "rim light outlining the glass" |
Polished metal | One clean reflection | Large soft source, angled | "single long highlight along the metal" |
Liquid | Color and transparency | Behind the liquid | "backlit liquid glowing amber" |
Matte packaging | Texture and form | Low, raking side light | "raking side light revealing texture" |
Gemstones | Sparkle | Small hard source | "tiny hard highlights in the facets" |
Dark products | Outline | Behind, plus a faint top light | "rim light separating it from the black background" |
The most common problem in low-key product images is a dark product on a dark background with no separation. A rim light or a slightly lighter surface under the product solves it.
Tips for Cleaner Low-Key Results
Keep the label readable. Drama is the point, but the viewer still needs to know what the product is, so ask for a highlight on the label or the front panel.
Start with one light and add a second only when the product needs separation. Several light sources in one prompt quickly turn a low-key image into an evenly lit one, and a key light plus a faint rim is usually the ceiling. Pick one color temperature for that light, too: a warm candle and a cold moonlight in the same scene fight each other.
Name the surface the product stands on. Black glass, slate, velvet, and dark wood reflect light differently and give the shadows texture instead of flat black. A thin haze can make a light beam visible and add depth, but it also softens product detail, so save it for hero images.
The Bottom Line
Low-key lighting puts most of the image in shadow and uses one controlled light to reveal the product's shape, which is why it reads as premium and dramatic. To get it with AI, reference the product, describe the light source, its direction, and what stays black, and generate a batch to compare. Relight a finished photo when you want to keep it intact, and reuse the winning image as a reference so a whole range shares the light.
The same principles carry over to food: dark and moody food photography uses a softer version of the same single-light setup. Commercial rights are included, subject to our terms and applicable third-party rights.
Create low-key product photos in getimg.ai
Frequently Asked Questions
Low-key lighting is a style where most of the image is dark and a single light source illuminates only part of the subject. It uses a high lighting ratio, often 8:1 or more, with little or no fill light, so shadows fall close to black. The result emphasizes shape, texture, and contrast, and is common in product, portrait, and film photography for a dramatic or luxurious mood.
Both rely on strong contrast between light and dark. Low-key lighting describes an image dominated by dark tones, often with hard light and crisp edges. Chiaroscuro, a term from Renaissance painting, describes using one directional light to model form, usually with a softer, more gradual transition from light into shadow. In practice, chiaroscuro is a softer, more painterly version of low-key.
Name three things: the light source, its direction, and what stays dark. For example, "single hard key light from the upper left, black background, deep shadows." Add the surface the product sits on and where the highlight should fall, such as on the label or the edge of the glass. Mood words like "moody" help, but on their own they leave the light to chance.
Yes. A relighting tool changes the direction, color, and intensity of the light in an existing photo while keeping the product itself. Because the image is re-rendered, compare the label and small details with the original before publishing. Moderate settings from the side or behind give the most natural low-key result. For a full scene change, such as moving the product onto black slate with candlelight, attach the photo as a reference image and describe the new setup in a prompt.
Products with reflective or premium materials benefit most: perfume, spirits, watches, jewelry, glass skincare packaging, and dark chocolate. These materials show their shape through highlights, which low-key lighting isolates. Products that rely on bright, true-to-life color, such as cosmetics swatches or children's goods, usually work better in high-key light.
Change the light instead of adding props. Low-key lighting, candlelight, moonlight, or a hard flash on a black background gives a product a dark, seasonal mood while the packaging, logo, and brand colors stay the same. A skincare or perfume brand can run a gothic or dark luxury version of its usual product shots for October without orange backgrounds, costumes, or Halloween clichés, and return to its regular look in November.
Add separation. A rim light from behind outlines the product in a thin bright edge, and a slightly lighter or reflective surface under the product gives it something to stand on. You can also ask for a faint gradient in the background, darker at the edges and slightly lighter behind the product.
Related Articles