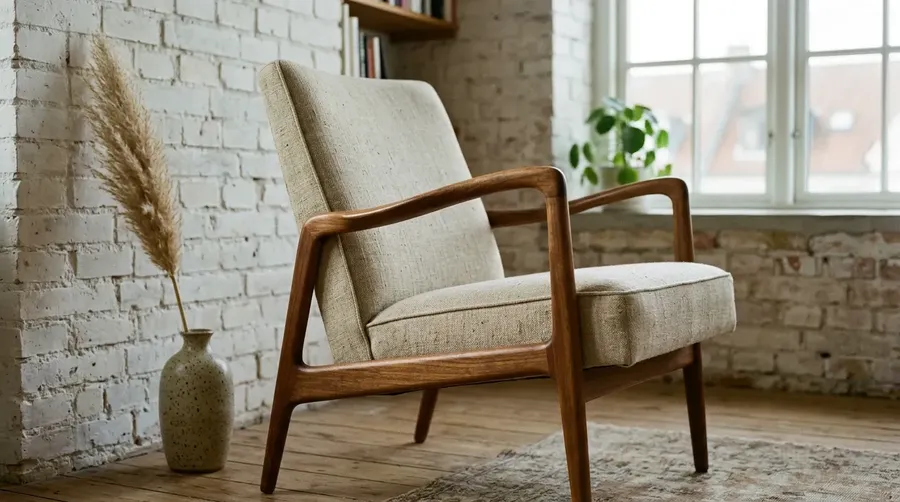
AI Furniture Design Generator
Start from a description, sketch or visual reference. Explore silhouettes, materials, upholstery and room context, compare several concepts, then refine the design direction you want to develop further.
Leading image models, one furniture workflow.
Auto selection routes your materials, lighting and room-context brief to an image model. Manual selection is also available.


Create furniture concepts from text, sketches or references
getimg.ai’s AI Furniture Design Generator creates furniture concept images and photoreal renders from text prompts, sketches and visual references. References and Elements guide furniture, materials and recurring product directions. The output is a generated image, not a dimensionally controlled CAD model, shop drawing, cut list or manufacturing file. Verify dimensions, joinery, material specifications and manufacturing details separately.
See it before you sample, prototype, or shoot
Explore photoreal furniture concepts for client review or early design hand-off. Use the render as a visual reference with a furniture maker. Production still requires exact dimensions, construction details, materials and technical documentation.
Models for material and surface cues
Describe walnut grain, brushed brass, upholstery and lighting. Auto model selection handles routing, or compare models yourself. Generated surfaces are visual approximations, not material specifications.
Auto model selection

Nano Banana 2
Picks up on materials and surface finishes.

FLUX.2 [max]
Strong at full-room context and lighting.
16 takes from one description
Generate up to 16 visual directions in one batch. Compare visual proportions, palettes and angles before choosing a design direction.
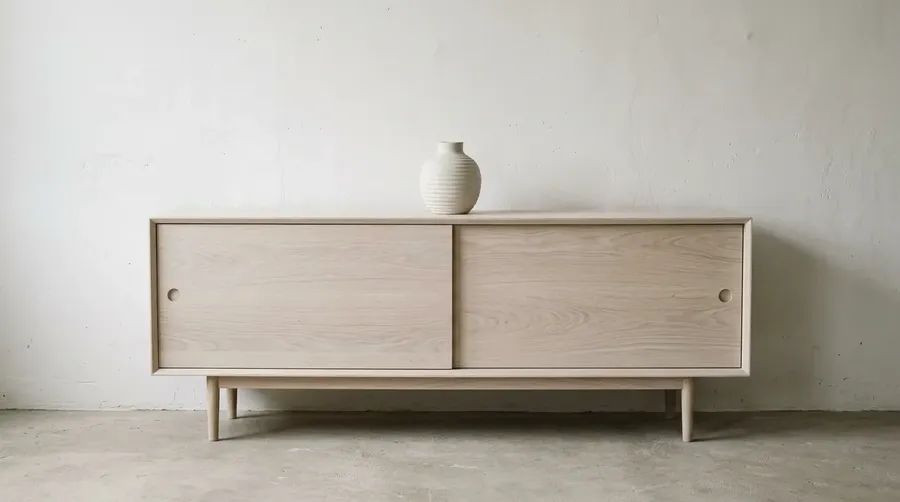
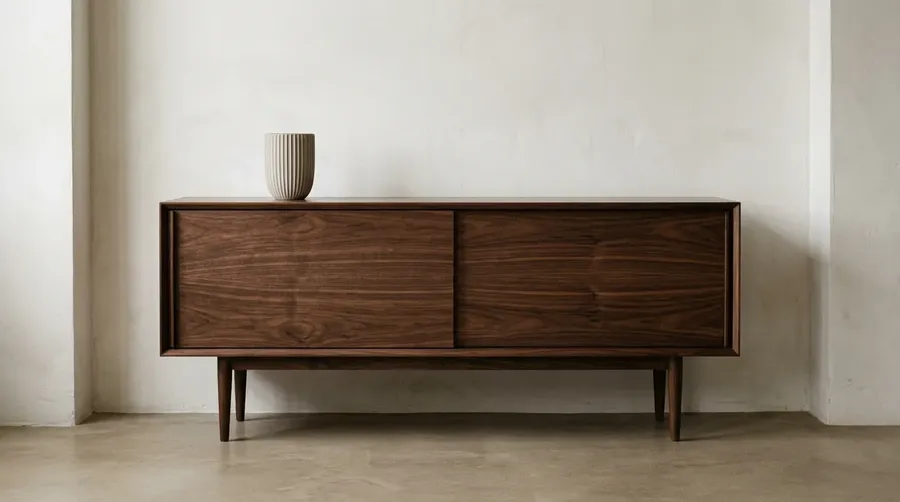
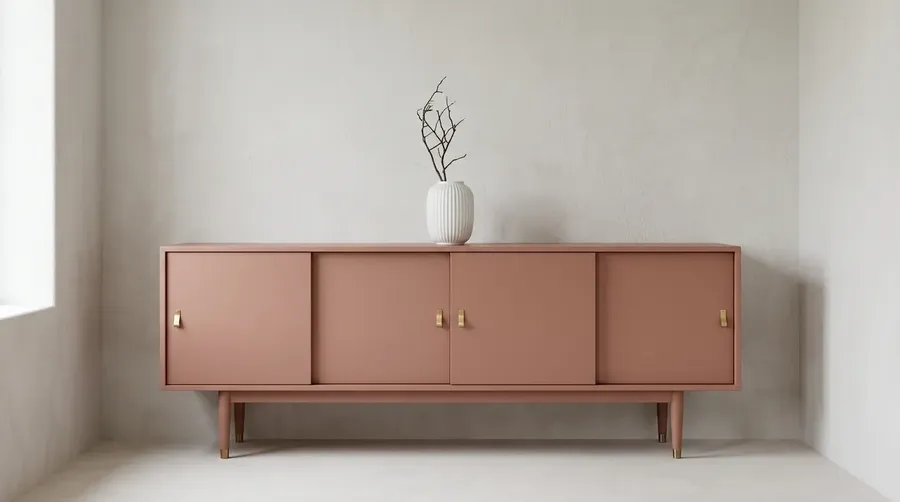
Change one variable, review the rest
Ask for a different wood tone, upholstery or overall form while preserving the rest. Review every edit: nearby geometry, material boundaries and construction details can still shift.
Wood tone
Upholstery
Visual proportions
How to design furniture with AI in three steps
Start with a brief, sketch or photo. Compare concept directions, refine the strongest one and prepare visuals for review. Technical design and prototyping follow separately.
Step 1. Log in
Log into getimg.ai and open the Content Generator. Attach up to 10 References to guide a sketch, furniture object, material or room context. Auto model selection can handle the first render.
Step 2. Describe the piece
Name the furniture type, silhouette, visual proportions, materials, upholstery and view. Add a sketch or product photo for visual guidance. One sentence is enough to get started; refine from the first output.
Step 3. Iterate
Ask for oak, visually shorter legs or bouclé upholstery. Use a Product or Object Element to help keep the selected concept recognizable. Elements guide consistency; exact dimensions, joinery and small geometry can still vary.
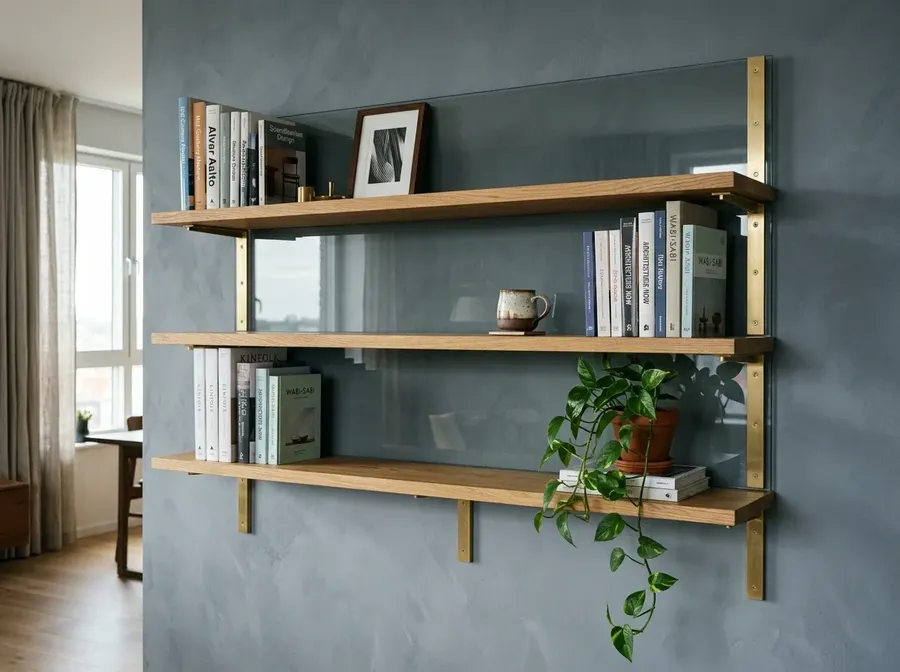
Wall-mounted oak shelving with smoked-glass back, brass brackets
Turn a furniture sketch into a photoreal concept
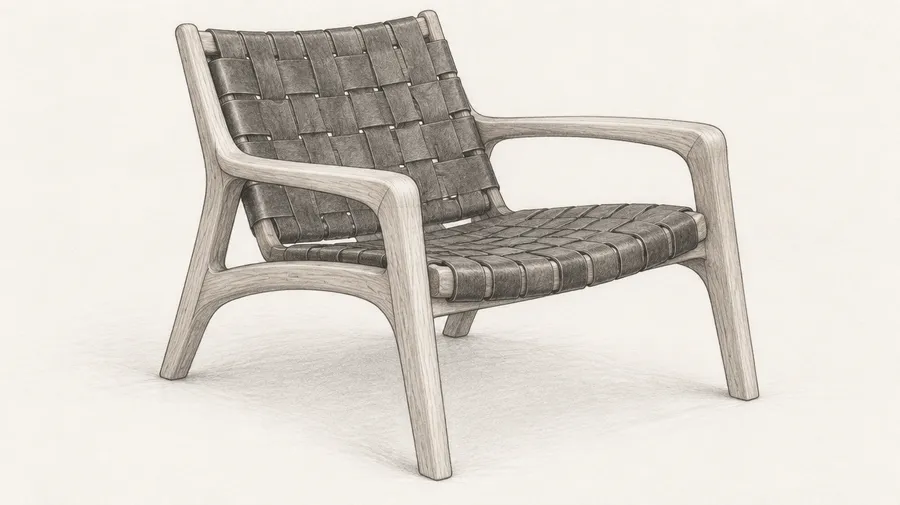
Upload a hand sketch or rough drawing as a Reference, then describe the materials, finish, visual proportions and presentation style. A Sketch Element can carry a recurring drawing into later image prompts.
The sketch guides visual design rather than becoming an exact dimensioned reconstruction. Compare the render with the drawing and develop measured geometry separately.
Explore furniture materials, finishes and upholstery
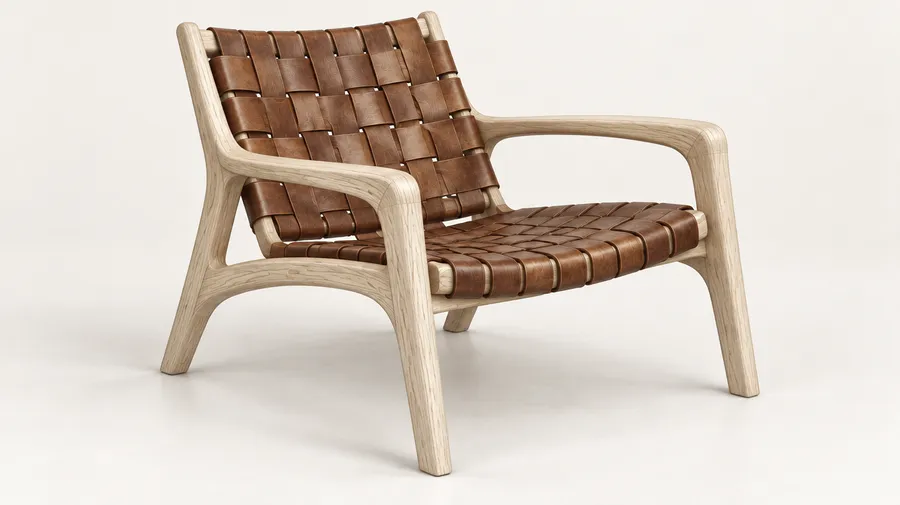
Compare oak, walnut, ash, plywood or painted timber; steel, brass or aluminum; glass and stone, travertine or marble-inspired surfaces. Explore leather, bouclé, linen, velvet, cane and rattan as visual directions before ordering samples.
Guide materials with texture references: combine a furniture sketch with @WalnutTexture and @WarmNeutralPalette Elements. A furniture image plus a fabric swatch can guide an upholstery change without asking to redesign the whole piece.
Generated materials are visual approximations. Specify the actual veneer, timber grade, fabric SKU, finish code and physical sample separately; samples remain the reference for color, feel, reflectivity, grain and durability.
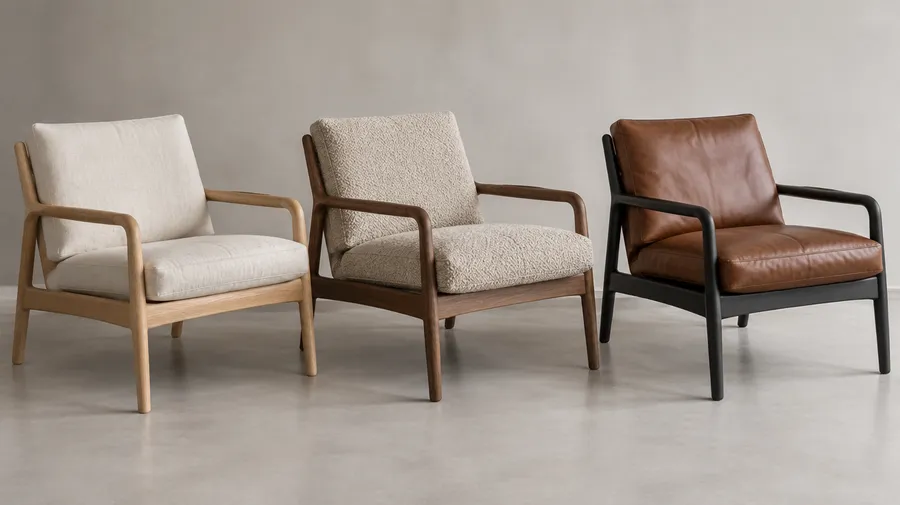
Redesign an existing furniture concept
Upload a chair photo, cabinet, rough prototype or sofa as a Reference. Describe a new upholstery direction, wood tone, base, hardware or studio backdrop.
Example: Use the lounge chair in image 1 as the main reference. Keep its overall silhouette recognizable, change the upholstery to oatmeal bouclé and the visible timber to dark walnut, with a soft three-quarter studio view.
Ask the model to preserve the rest, then inspect seams, fasteners, geometry and material boundaries. Generative editing may reinterpret them.
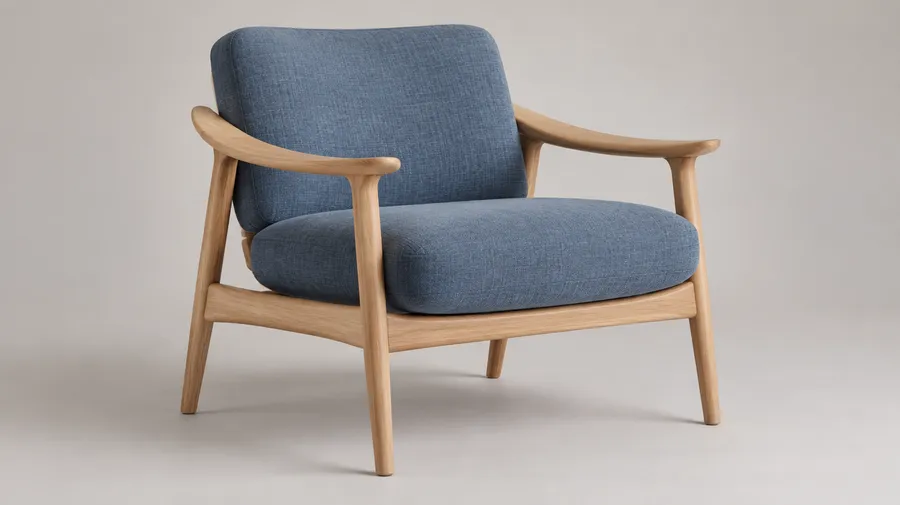
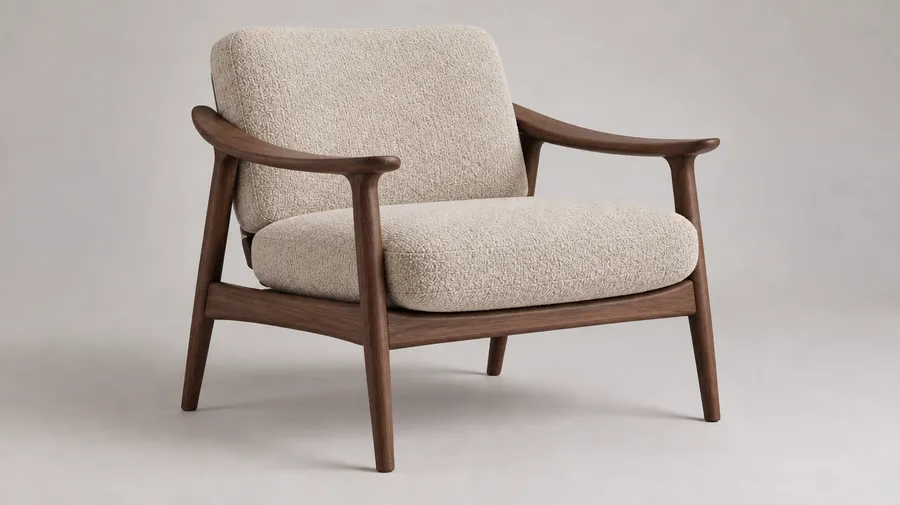
Visualize furniture in a room
Upload a room photo as one Reference and the furniture piece as another. Describe where it should appear and how the scene should be lit.
Example: Place the armchair from image 2 beside the window in the living room from image 1, angled slightly toward the coffee table. Preserve the room architecture and use natural afternoon light.
Use the result to evaluate visual fit and style, not exact dimensional clearance. Check product and room measurements before purchasing or fabricating. For room-first concepts, explore AI for Architecture & Interior Design.
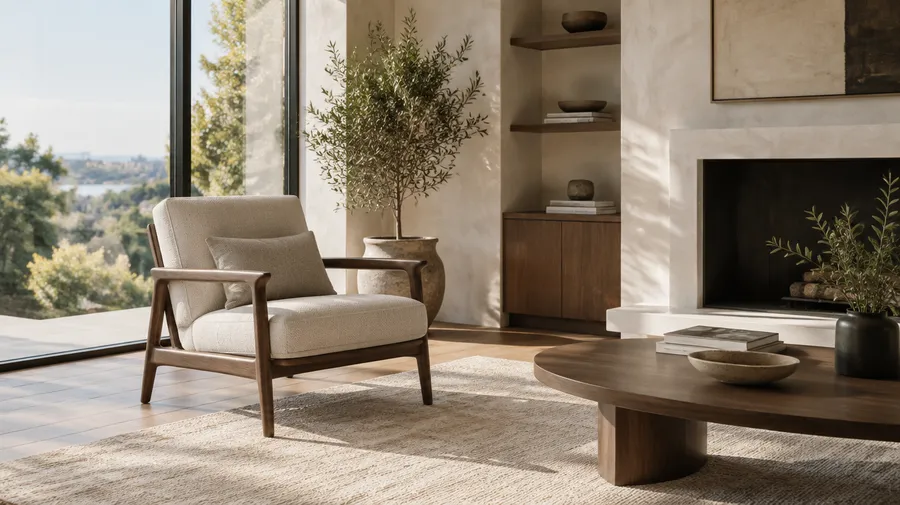
Create furniture product imagery
For a new concept, generate a photoreal studio presentation before the physical piece exists. For an existing product, begin with the actual product photo or a Product Element when visual fidelity matters.
Review dimensions against product specifications and check hardware, seams, cushion count, upholstery pattern, grain direction and construction details before using the image to represent an actual SKU. Paid-plan commercial rights do not replace third-party permissions.
Prepare a clean studio background with Background Remover or Changing Backgrounds. Continue to AI for E-Commerce for real-product workflows.
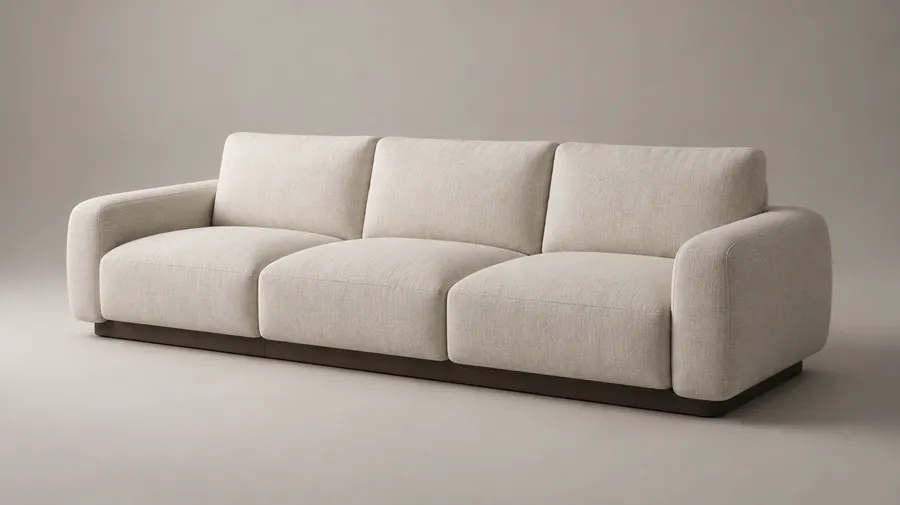
Keep the same furniture product across multiple visuals
Create a Product or Object Element from reference photos and use @ElementName in image prompts for studio, apartment or campaign settings. Elements help preserve recognizable product identity, not exact geometry.
Build a furniture collection in one visual language: chair, sofa and coffee table; bed, bedside table and dresser; dining table, chair and sideboard; or an outdoor lounge collection. Reuse Style, Color Palette, Texture, Lighting and Composition Elements.
Review product geometry and material details in every image. A coherent design family does not automatically enforce shared dimensions or a parametric construction system.
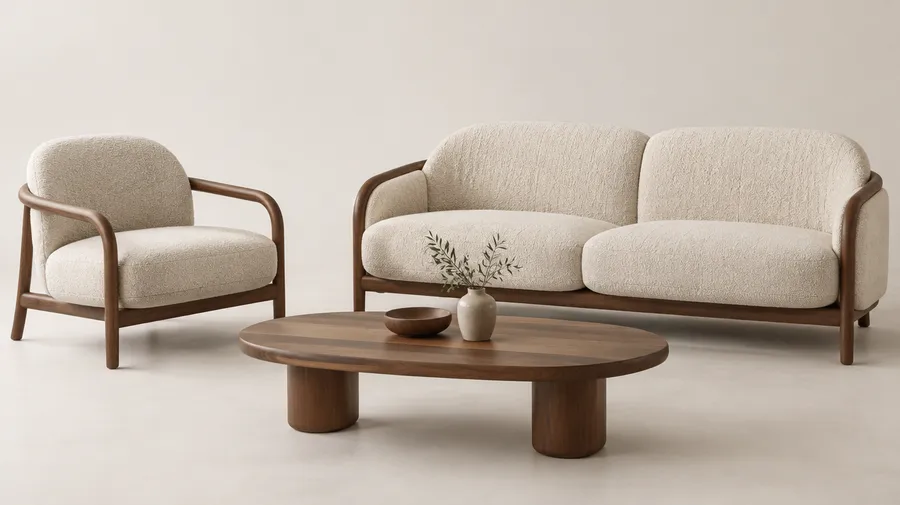
AI Furniture Design Prompt Examples
Use these starting points with your own References. Replace the object and materials to suit the brief; review every generated result.
Lounge chair concept
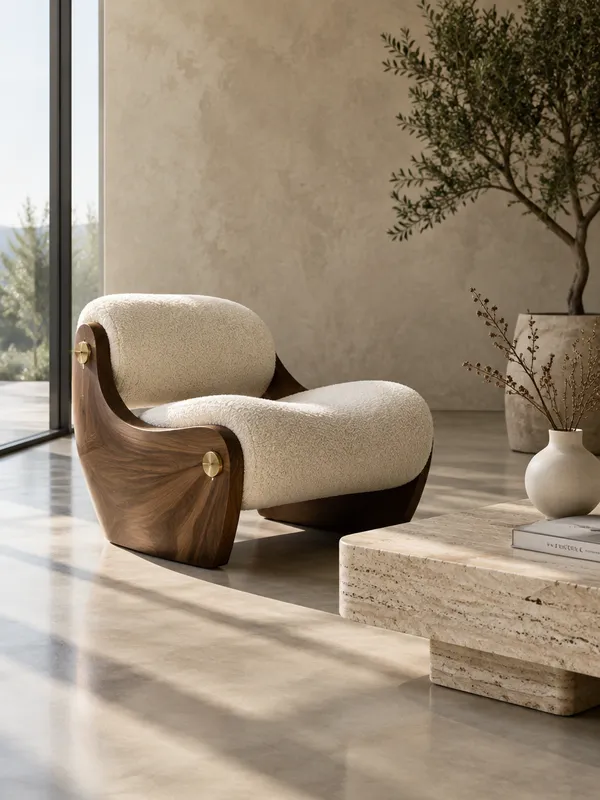
Low lounge chair for a residential reading corner, wide sculptural silhouette, dark-walnut frame, oatmeal bouclé seat and curved backrest, broad rounded armrests, visually low seat profile, three-quarter studio view, soft neutral background.
Built-in furniture concepts and measurement limitations
Visualize how a bookcase, bench, wardrobe or media unit could look in an existing room. Use room photos or drawings as References, not as a substitute for a site survey.
Before fabrication, verify wall widths, ceiling height, skirting, uneven walls, outlets, radiators, doors, windows, clearances, material thickness and anchoring or joinery. A generated room image cannot establish exact fit or structural validity.
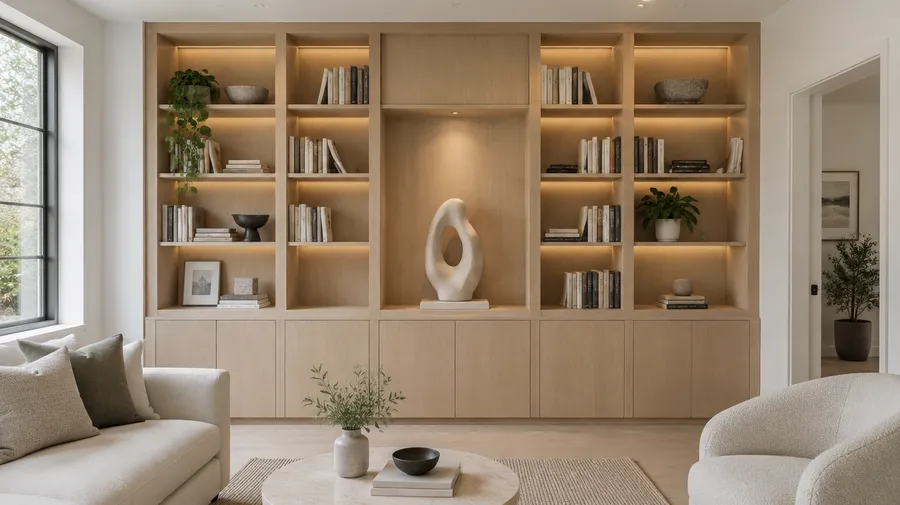
Five scenarios, one prompt box
Explore single-piece concepts, room context, product presentation, outdoor furniture and built-in concepts. These are image-based visualizations, not measured designs.
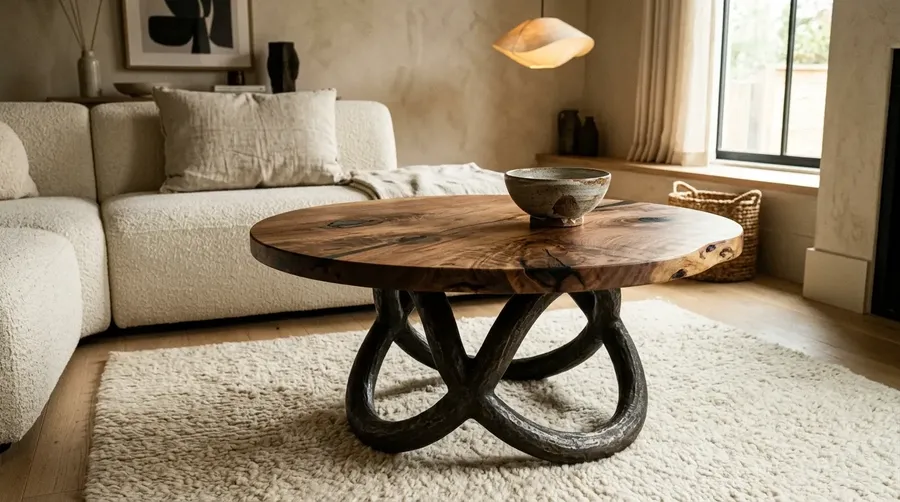
Run the collection before committing to one piece
Compare early material and form directions on screen before physical sampling. Reuse Style, Color Palette and Texture Elements to guide a coherent design family, not a parametric product system.
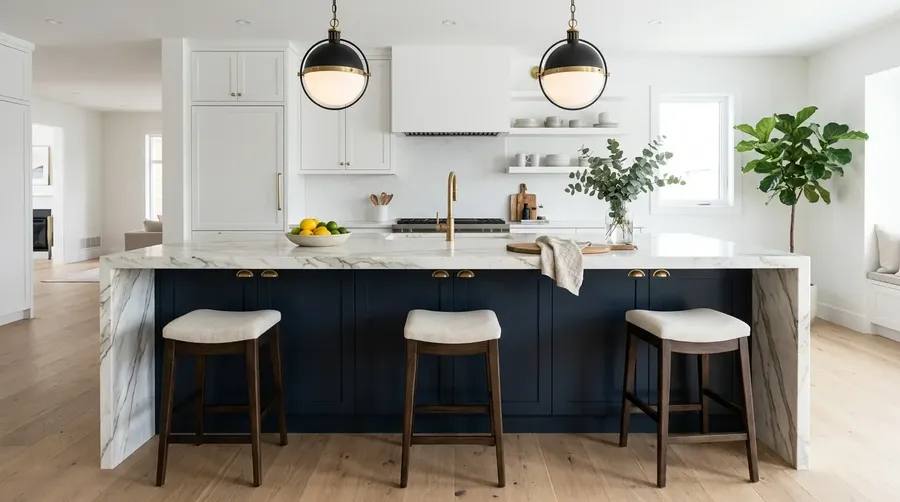
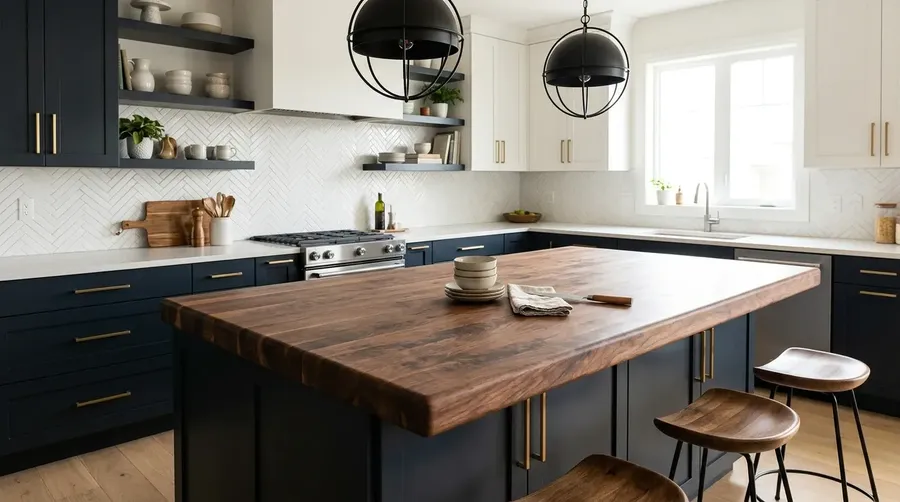
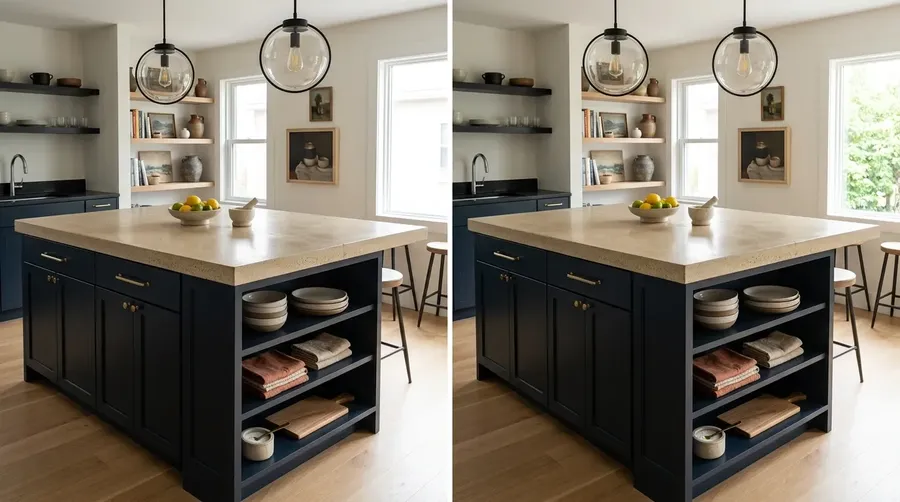
One sentence is enough to get started
Describe the piece and its presentation context. Add visual references when a sketch, product or material matters. Paid plans include commercial rights under our Terms; rights to uploaded references remain your responsibility.
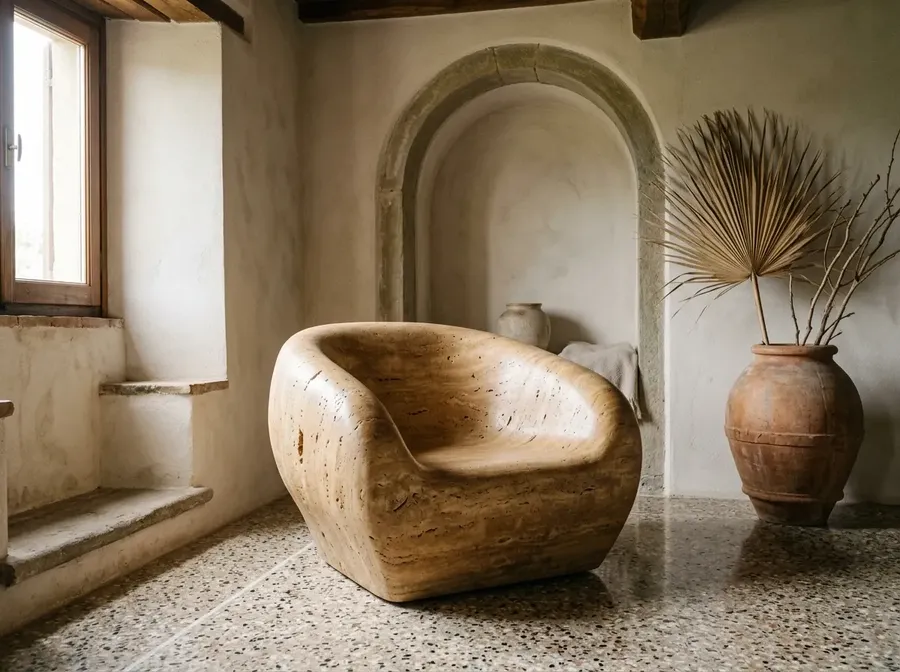
Sculptural travertine accent chair, soft window light
Explore the furniture concept. Develop the details next.
Start from text, a sketch or a reference. Compare form and material directions, refine your selection and prepare visuals for client review before CAD, sampling and prototyping.
Furniture design FAQs
An AI furniture design generator creates furniture concept images and photoreal renders from text, sketches and visual references. getimg.ai supports exploration and presentation, not dimensionally controlled CAD, shop drawings or manufacturing files.
Name the furniture type, silhouette, visual proportions, material, upholstery and view. Use a sketch or product reference when useful. Numeric dimensions can provide context, but verify measurements separately. For full-scene work, the interior design renders page covers room-context concepts in more depth.
Paid getimg.ai plans include commercial rights under our Terms. Make sure you have rights to third-party product photos, branded furniture, logos and other protected references. For actual product listings, check that the image faithfully represents the SKU.
Describe surface cues and lighting or attach texture references. Auto selection routes the task, and manual model selection lets you compare results. A generated material is a visual approximation; specify the actual veneer, timber grade, fabric SKU or finish code separately.
Yes. Use References for room context and Elements to guide recurring style, palette or material. They do not guarantee exact geometry or room clearances. For broader room design, the page for architects and interior designers covers the broader scene work.
Generation time varies by model and settings. A polished concept typically needs several rounds of editing and review. Technical development and fabrication are separate tasks. For outdoor settings, the landscape design page covers the patio and garden flow.
Yes. Upload a sketch as a Reference or reuse a Sketch Element, then describe materials, visual proportions and presentation. The result is a concept image, not an exact dimensioned reconstruction.
Yes. Use a photo you have rights to and describe upholstery, finish, hardware or background changes. Ask to retain the overall form, then check smaller geometry, seams and fasteners.
Yes. Attach a room photo and furniture photo as References and describe placement and lighting. This is image-based visualization, not AR, spatial tracking or measured 3D placement.
Visualization can help evaluate visual scale and placement. Verify room dimensions, product dimensions and clearances separately before purchasing or fabricating.
You can include dimensions as design context, but generated images do not enforce them. Confirm width, depth, seat height, thicknesses and tolerances in CAD or technical drawings.
No. The render supports visual discussion and early design hand-off. Fabrication requires validated dimensions, construction and joinery details, material specifications, technical documentation and appropriate checks.
This workflow creates furniture images and renders, not editable 3D geometry. For CAD, OBJ, GLB, SketchUp or manufacturing geometry, use a dedicated 3D/CAD workflow.
No. Generated furniture images are not measured shop drawings, bills of materials or cut lists. Create and validate those separately in technical design software.
This image workflow does not produce CNC toolpaths or validated DXF manufacturing files. A raster image is not a CNC-ready production file.
References and Product or Object Elements help preserve recognizable identity. They do not lock parametric geometry: check dimensions, joinery, small shapes and materials in every output.
Yes, as a concept. Use room photos or drawings as guidance, then verify site measurements, clearances, wall conditions, materials, anchoring and construction separately.
No. Texture references and Elements guide appearance, but grain, color, veining and patterns can vary. Approve actual timber, veneer, fabric SKU and finish codes against physical samples.
For a real SKU, begin with its actual photo or a Product Element. Review shape, seams, hardware, cushion count and material patterns for faithful representation and check third-party rights before publishing.
You can request front, side and other visual angles with References or Elements. Separately generated images are not automatically orthographic projections of one shared CAD model.
Use Image Editing to refine the selected concept. Upscale and adapt the image for its destination, then inspect edges, grain, stitching and hardware at full size. Creative reconstruction can alter details; check the final asset before delivery.