Guide to Using Control Image References with FLUX.1 [dev]
FLUX.1 [dev] lets you modify images while preserving key details. Learn how to use Control image references for precision-guided AI image generation.
What are Control image references?
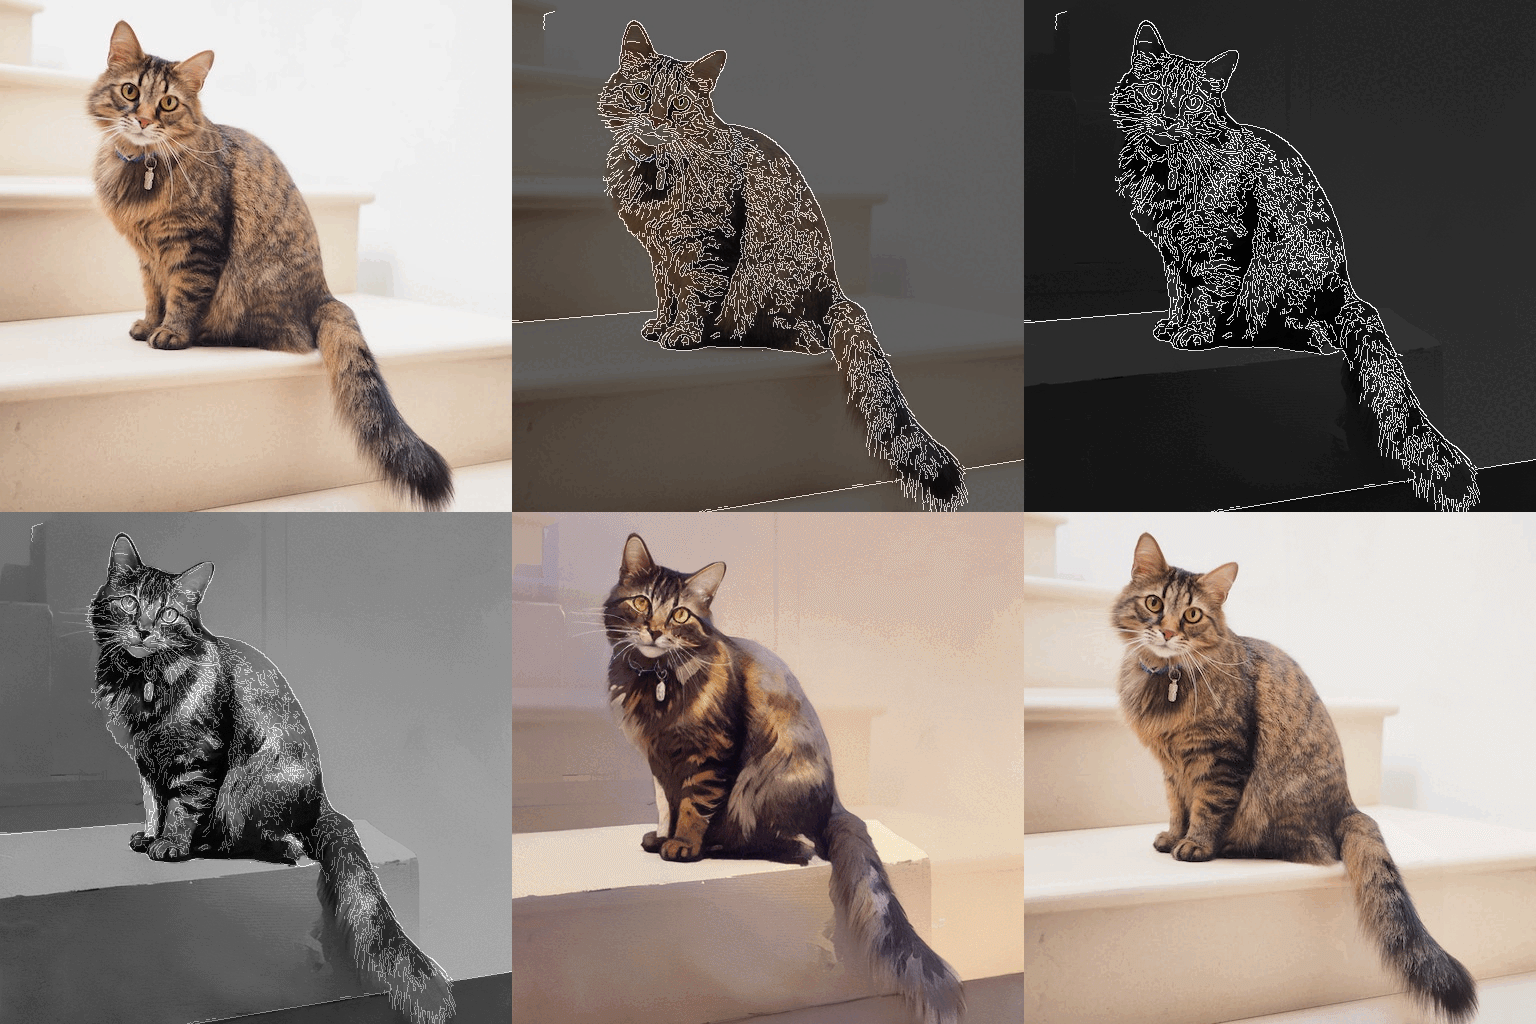
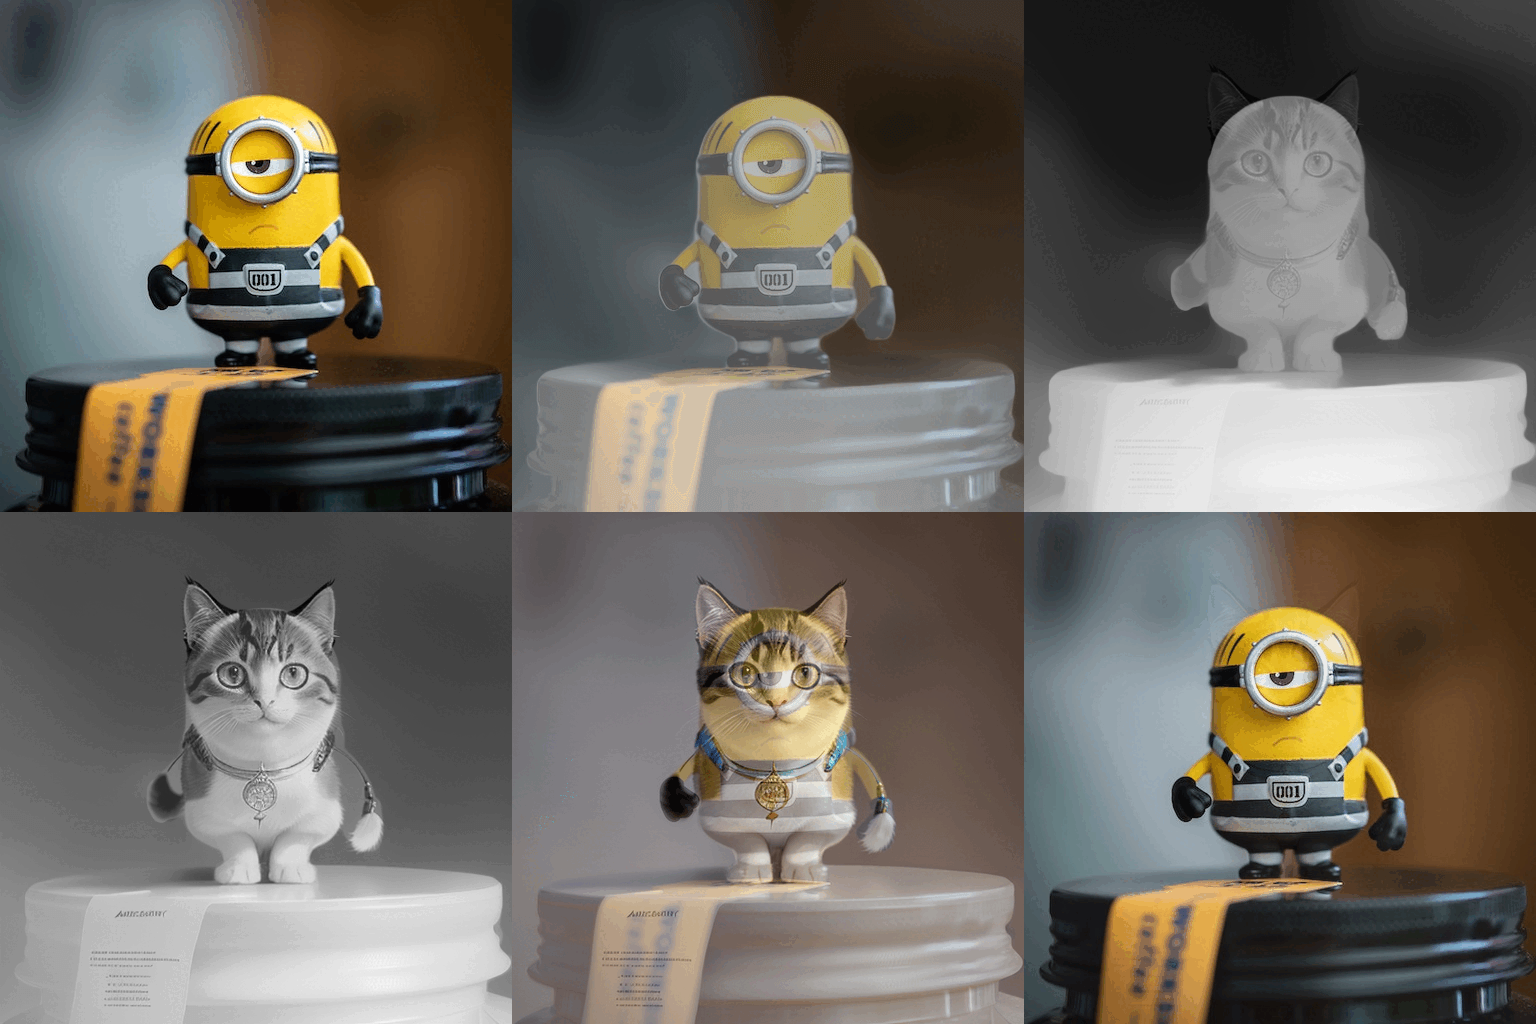
Control image references, when combined with FLUX.1 [dev], allow you to preserve some aspects of your chosen image while modifying others using a text prompt.
You have 2 Control types to choose from:
- Hard Edges: keep all fine details intact, including both outer and inner edges from your reference image.

- Depth: maintain the spatial structure and depth of your original image, preserving perspective and dimensionality.

Using Control image references with FLUX.1 [dev]
Step 1. Select the Flexible (FLUX.1 [dev]) model
Head to Image Generator’s Essential mode and make sure you have the Flexible (FLUX.1 [dev]) model selected.
"Control" image references aren’t available with FLUX.1 [schnell] or FLUX.1.1 [ultra], only FLUX.1 [dev]!
Step 2. Write a prompt
Write a prompt describing the image you want to create. Control image references have a wide range of uses— from restyling and adding color to black-and-white photos to preserving poses and aiding in architectural design, among many other applications.
For example, if you want to transform a black-and-white sketch into a fully colored scene, your prompt could describe the desired colors and atmosphere.
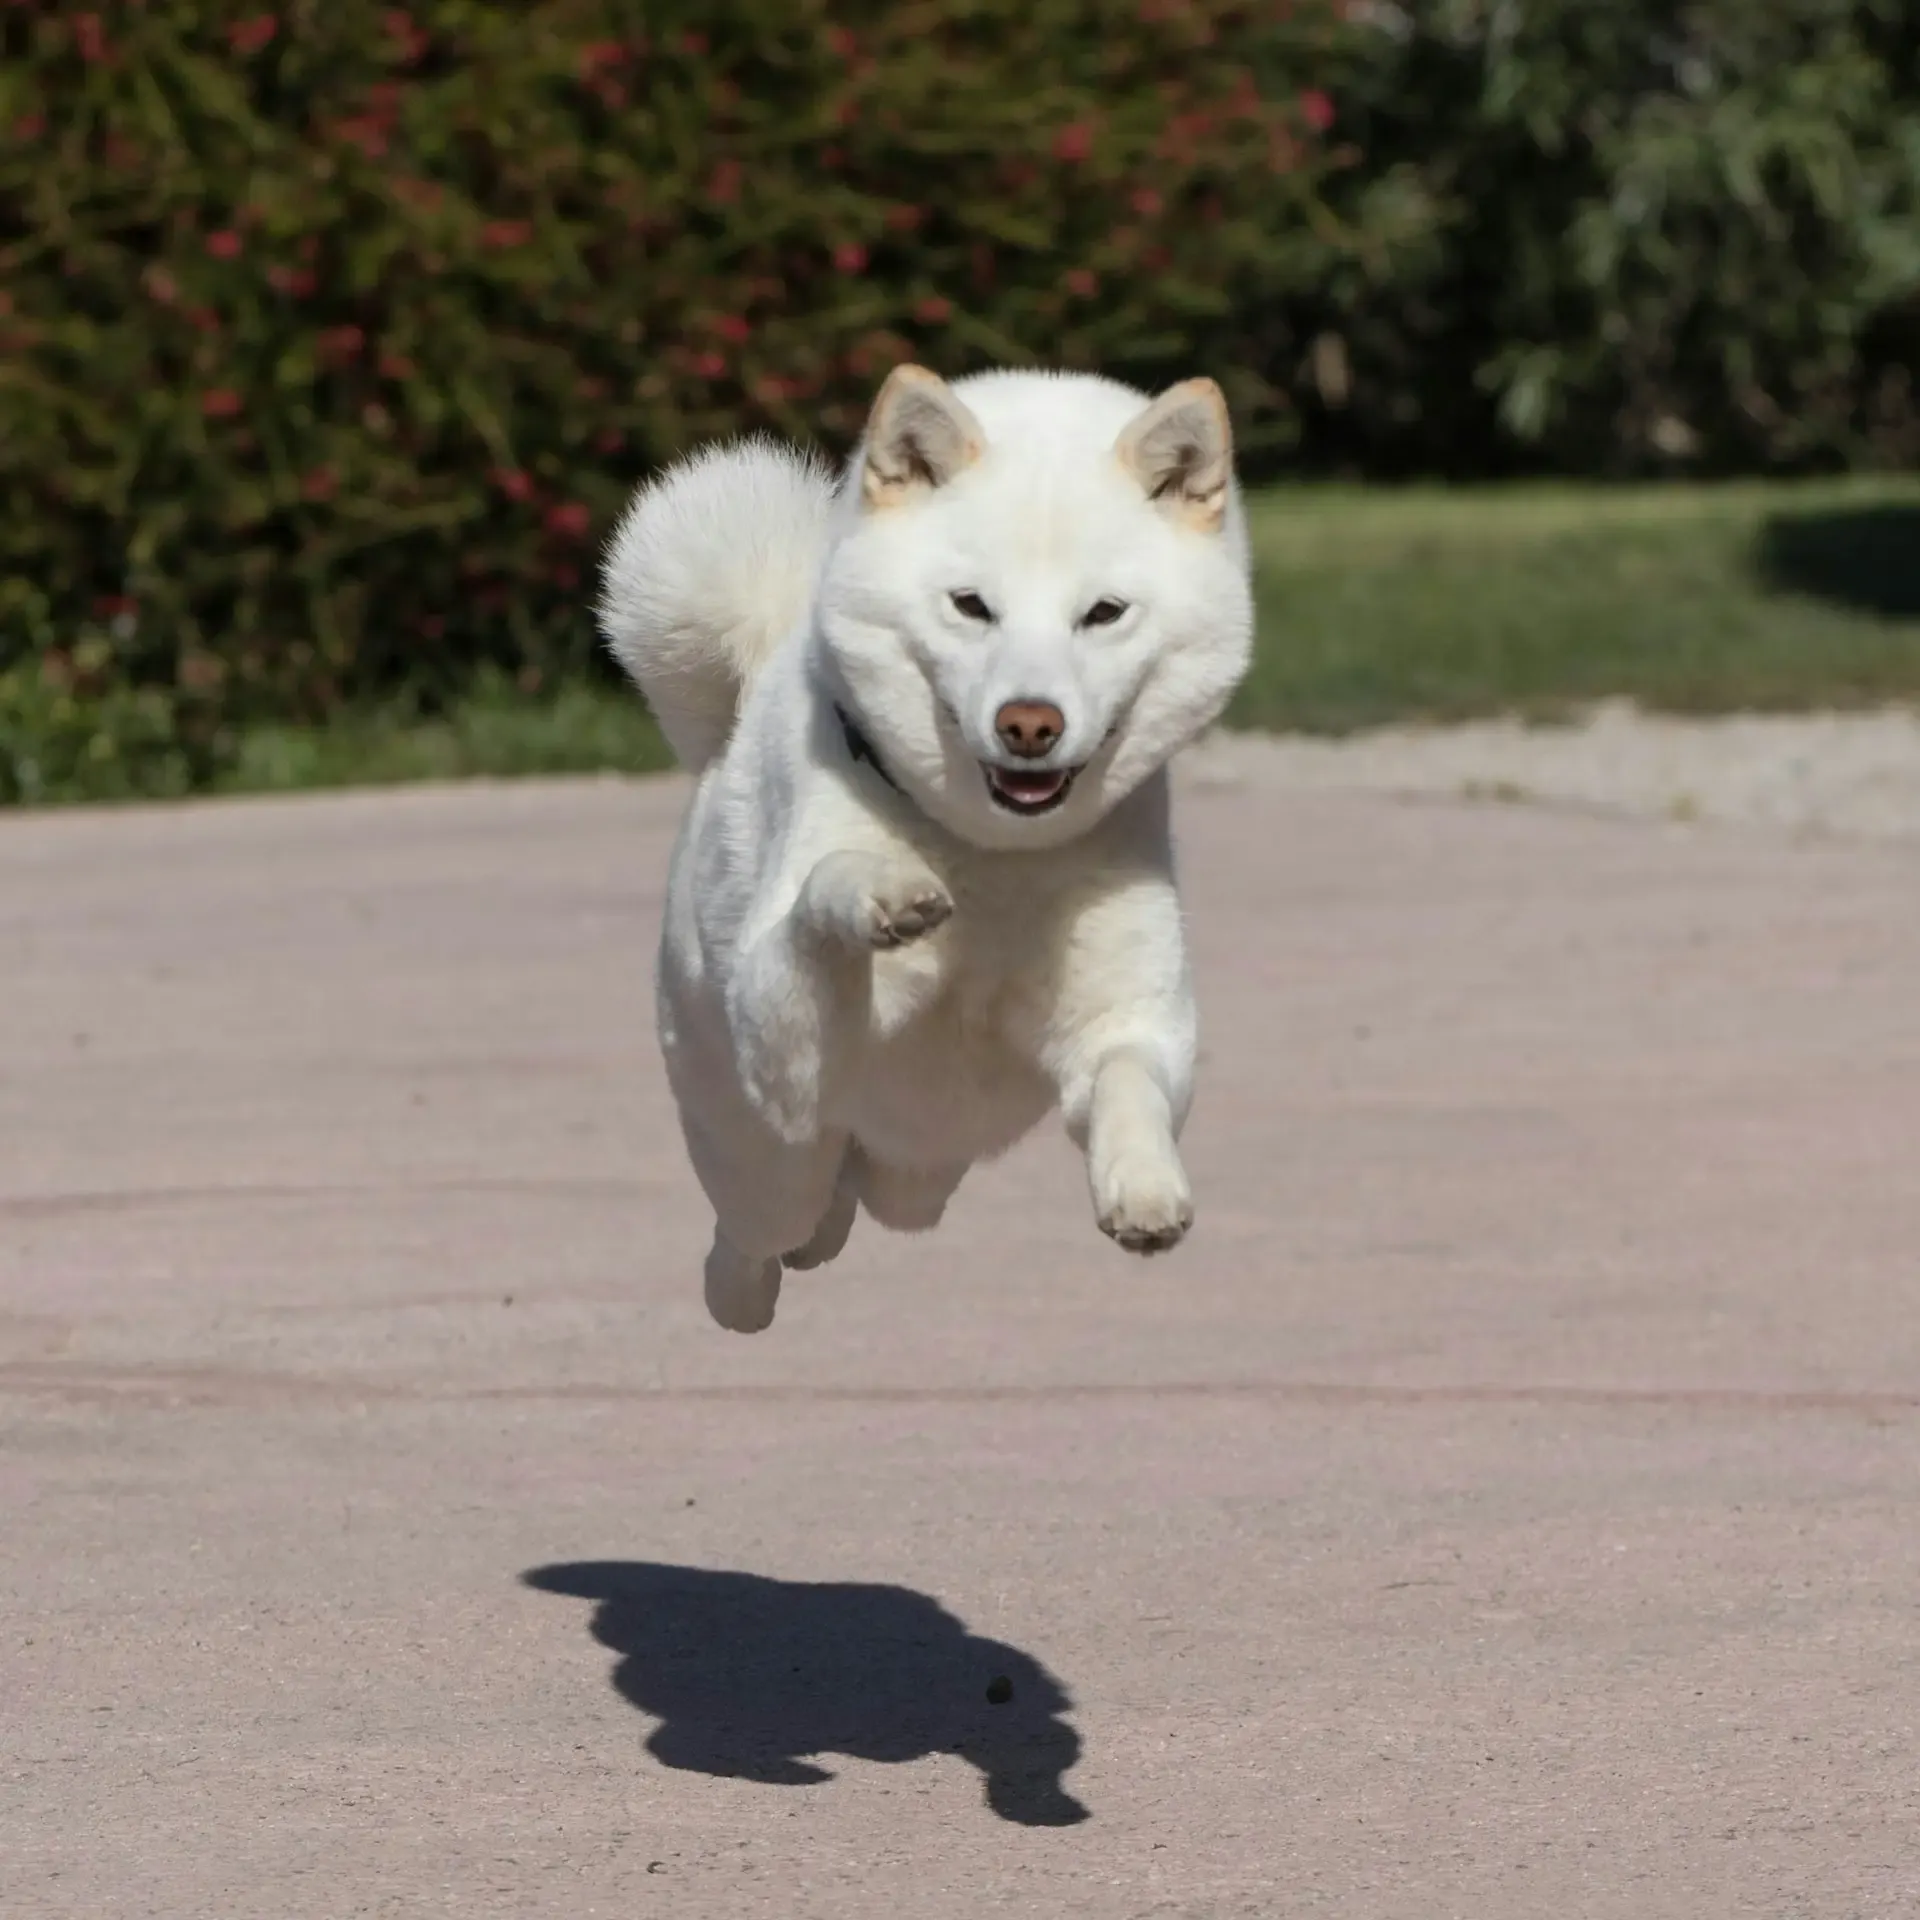
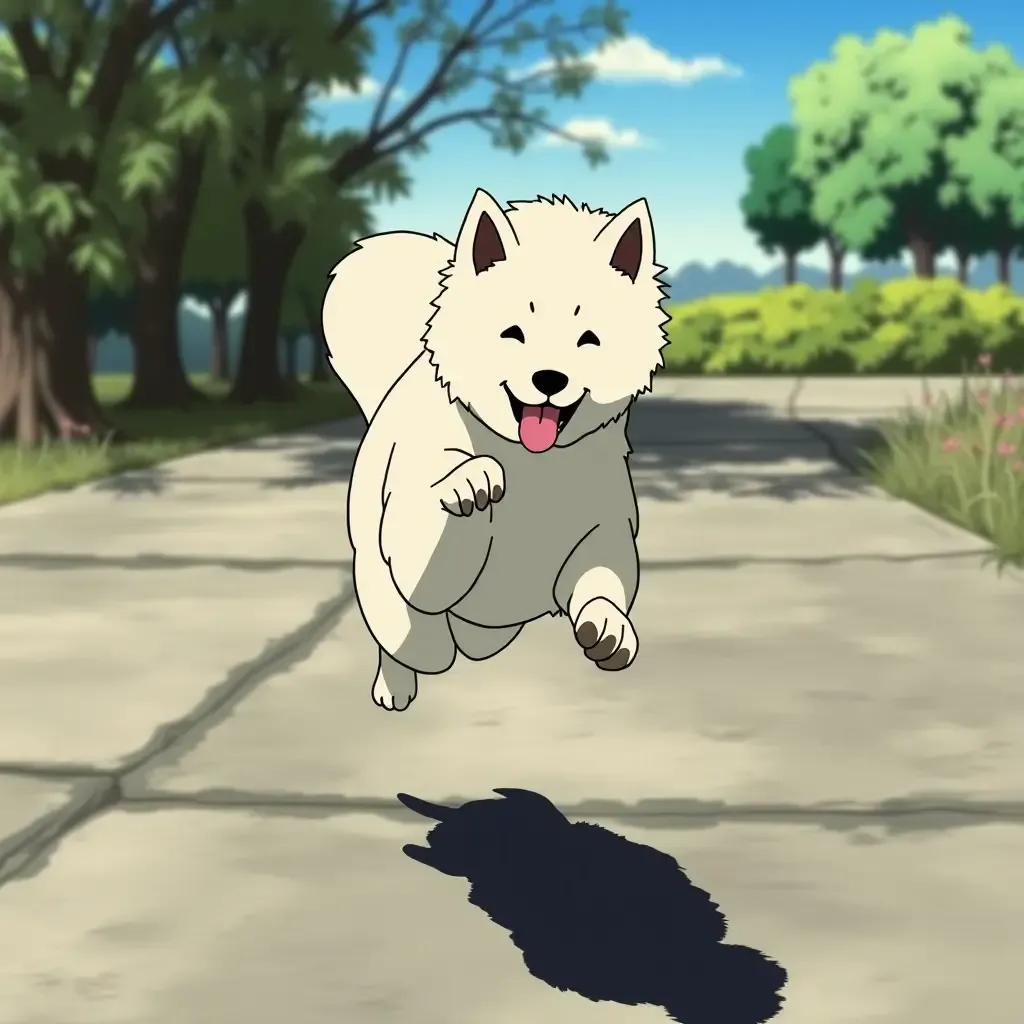
Or let’s say you want to restyle a cute picture of your dog into a Studio Ghibli style image.
You could start with “Studio Ghibli style anime image of”, and then just describe the details of the original image you want to preserve: “a samoyed dog, running on a concrete surface. The dog is in mid-air, with its front legs stretched out and its tail wagging. Its mouth is open and its tongue is sticking out, as if it is panting. The background is a blurred park with trees and bushes. The sky is blue and the sun is shining, casting a shadow of the dog on the ground”.
Control image references also work with Model Trainer Characters and Styles, meaning you can combine a reference image with your trained models. E.g., you can copy a pose from a reference picture with Hard Edges and place yourself in it using your Character model.
Step 3. Upload an image and choose Control type
Upload an image you'd like to use as a guideline in the "Image Reference" section. You can upload an image from:
- your device – drag the file into the designated area or click the upload button to select it manually.
- Image Generator – drag an image from the generation results or hover over it and click the “Use as image reference” icon.
Once uploaded, choose the Control type that aligns with your goal—Hard Edges or Depth—from the options in the Image Reference section.
Keep in mind that FLUX.1 [dev] (and FLUX.1.1 [ultra]) also supports the Image to Image feature.
For the best results, ensure your reference and output images have the same aspect ratio. If they differ, stretching may occur, which can affect image quality.
Step 4. Adjust image reference strength
Adjust the reference strength slider next to your source image to control how much influence it has on the final output:
- Lower values result in a subtler effect, making the reference less dominant.
- Higher values give the reference a stronger influence over the generated image.
Setting the strength too high may produce abstract results, while too low might make the effect barely noticeable. For Depth and Hard Edges, keeping it between 80 and 100 generally works best.
Step 5. Generate
Select how many images you’d like to create (1-10) and click "Create images."


Before
After
Try different prompts, image reference types, and settings to refine your results and achieve the look you’re aiming for. Good luck, and have fun!