Guide to using Image References
Watch our video guide or read a step-by-step instruction to learn everything you need to know to get started with using Image References in Image Generator!
Image References are available in both Essential (with select models) and SD mode of the Image Generator.
What are Image References?
Image Reference is a powerful feature in Image Generator that allows you to guide the AI's creative process using an existing image. By providing a reference image, you can influence various aspects of the generated result, such as style, composition, content, or specific character features.
This tool enables you to create new images that align closely with elements from your chosen reference. For example, you can use a portrait of your original character as a reference to create multiple images of them in different settings for a visual novel or comic book. Environments and styles will change, but your OC's facial features will be preserved.
Image Reference types
Essential Mode
In Essential mode, there are several categories of reference types available:
1. Image to Image (for creating variations of the reference image),
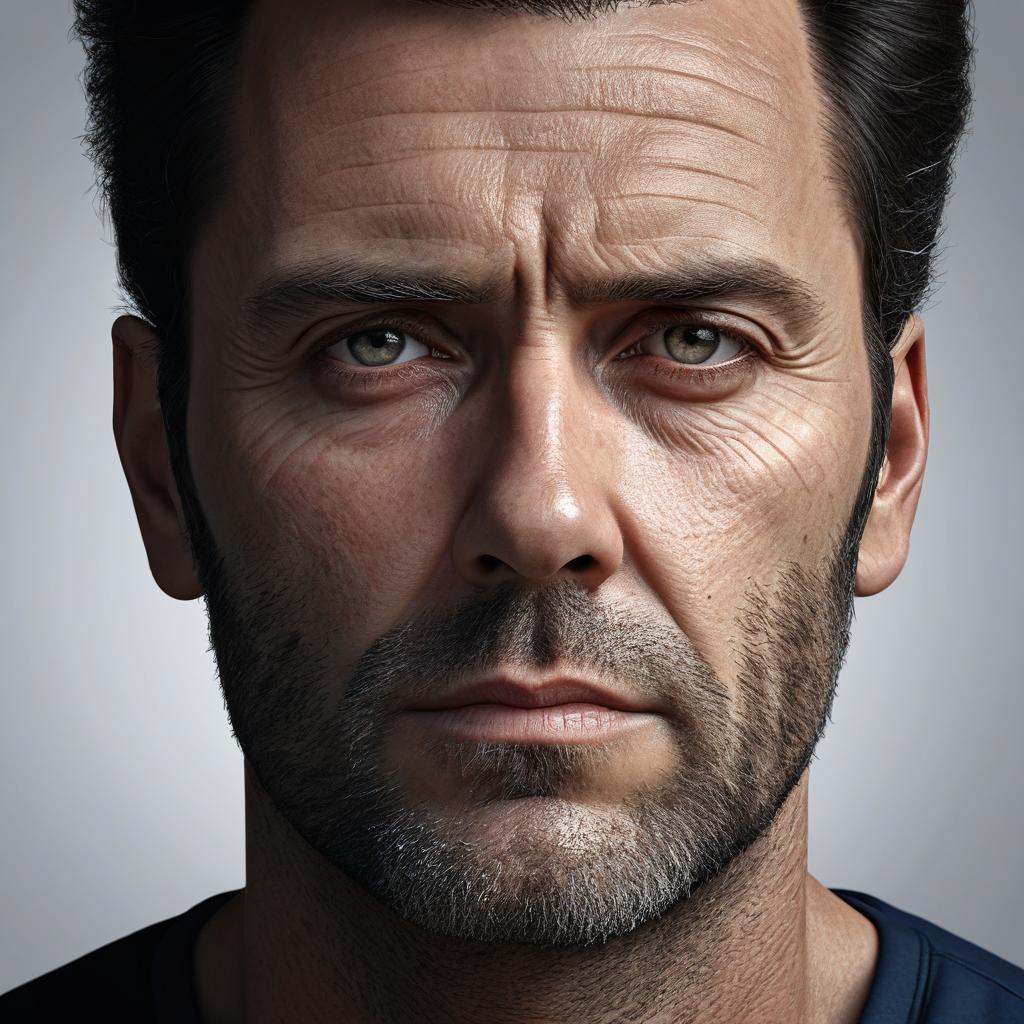
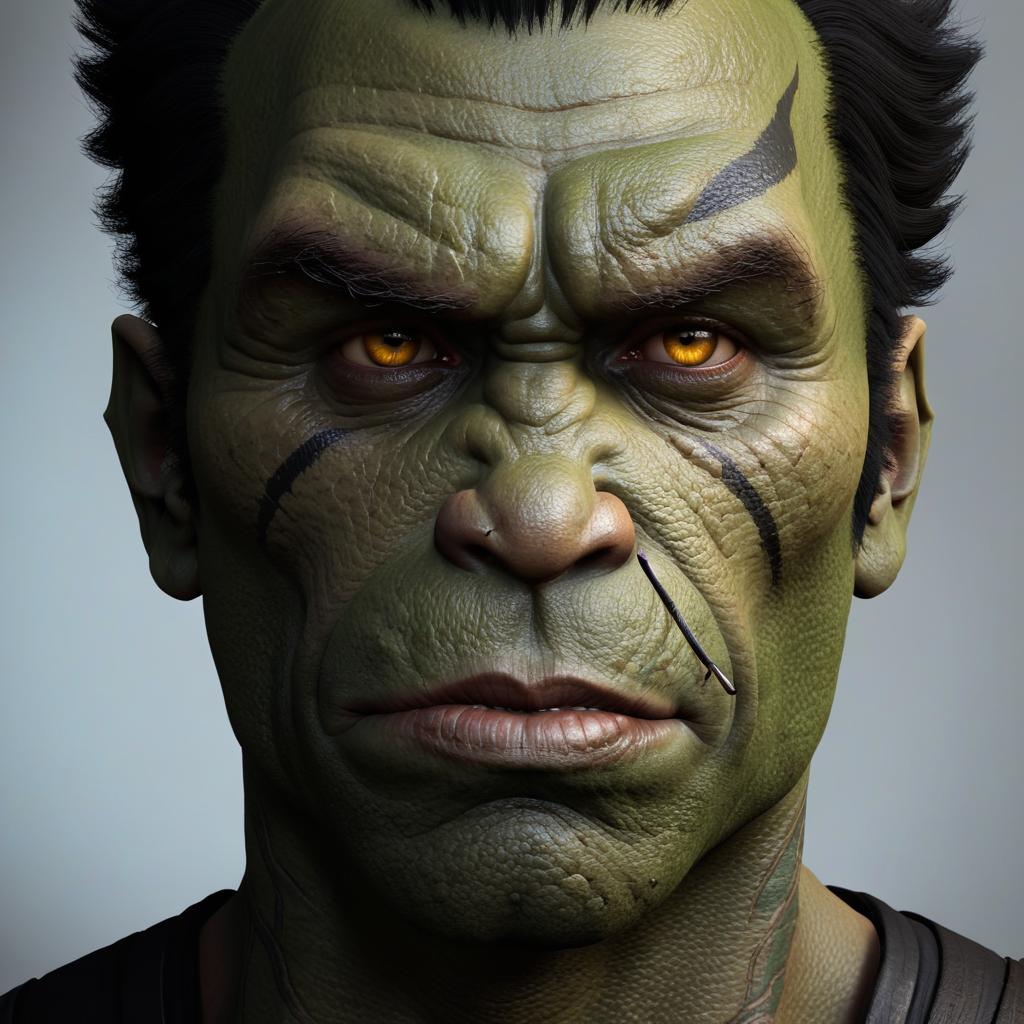

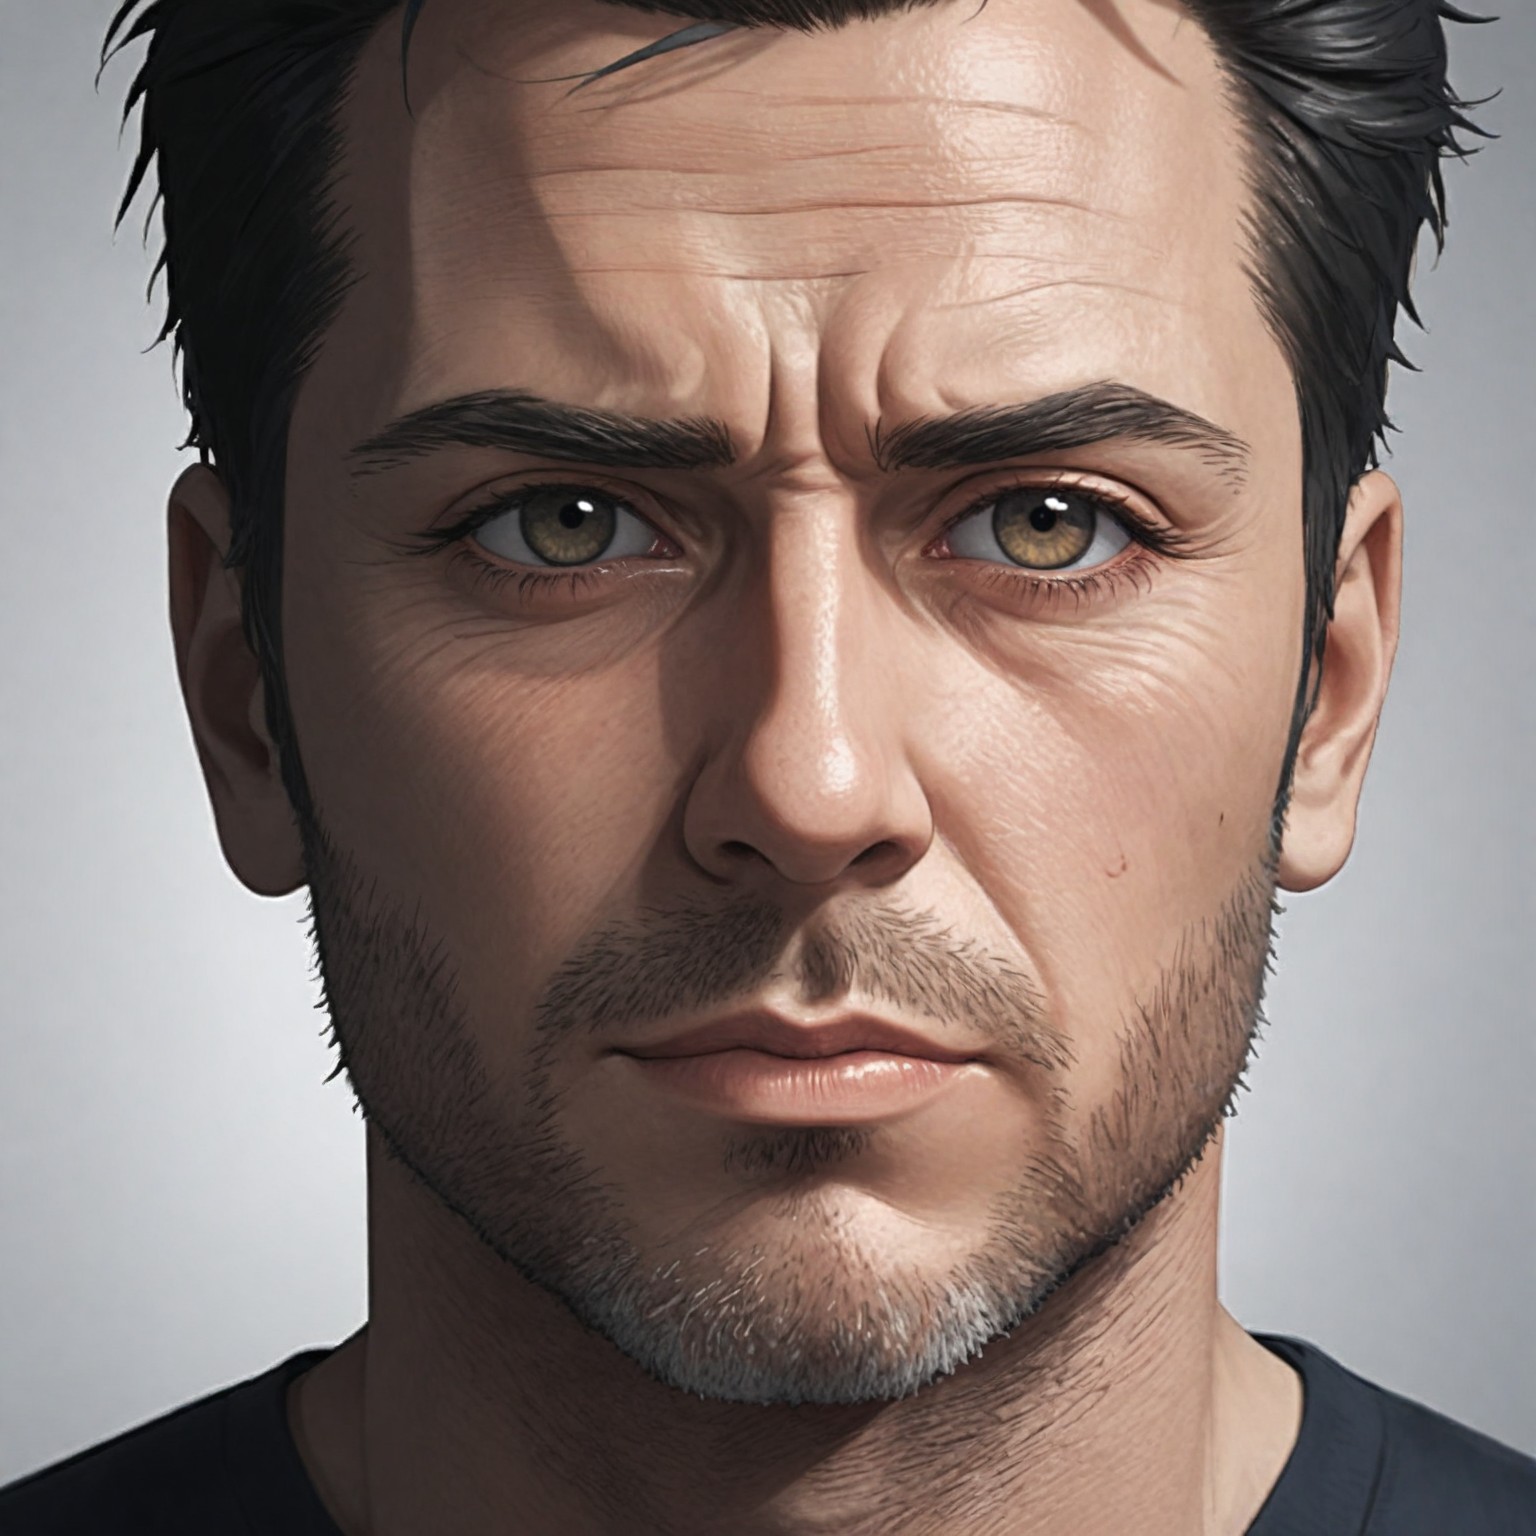
Base image
"fantasy illustration, orc"
"comic book superhero"
"anime character"
2. IP Adapters:
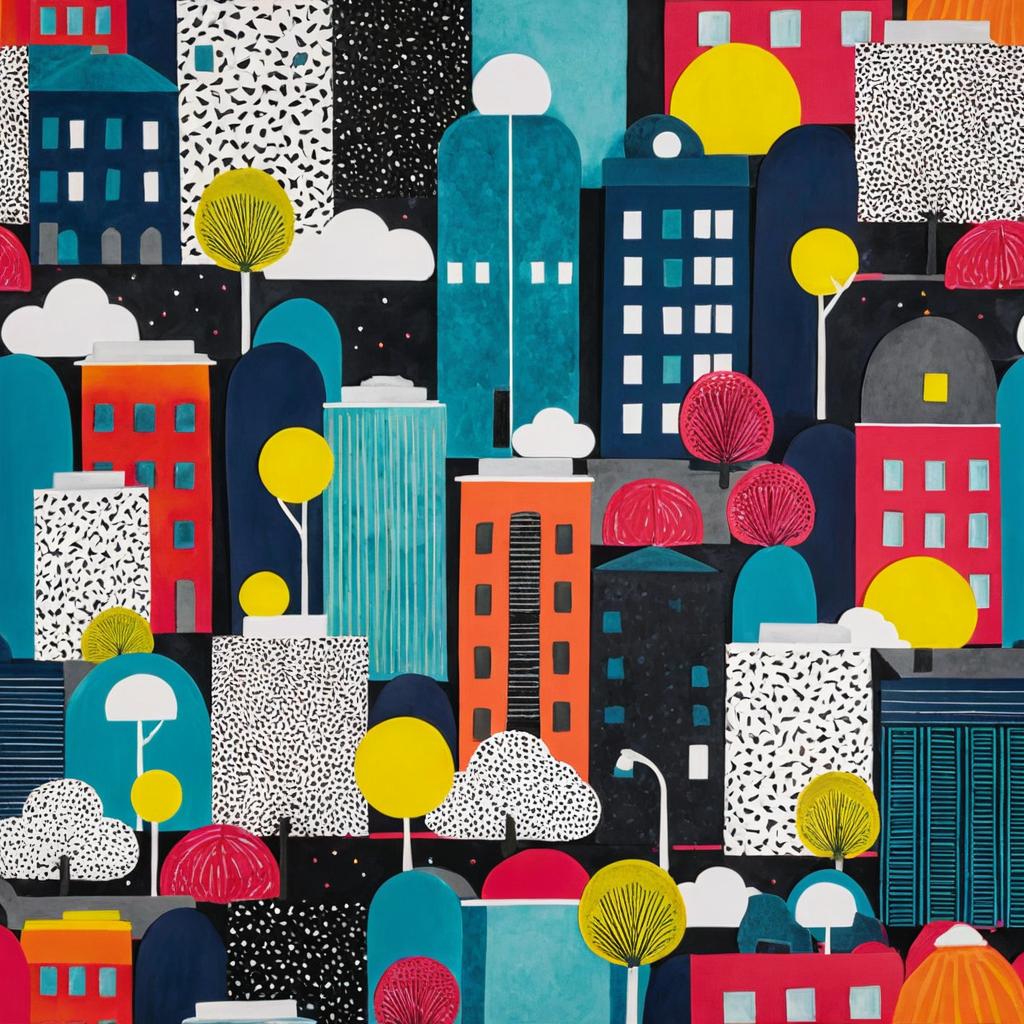
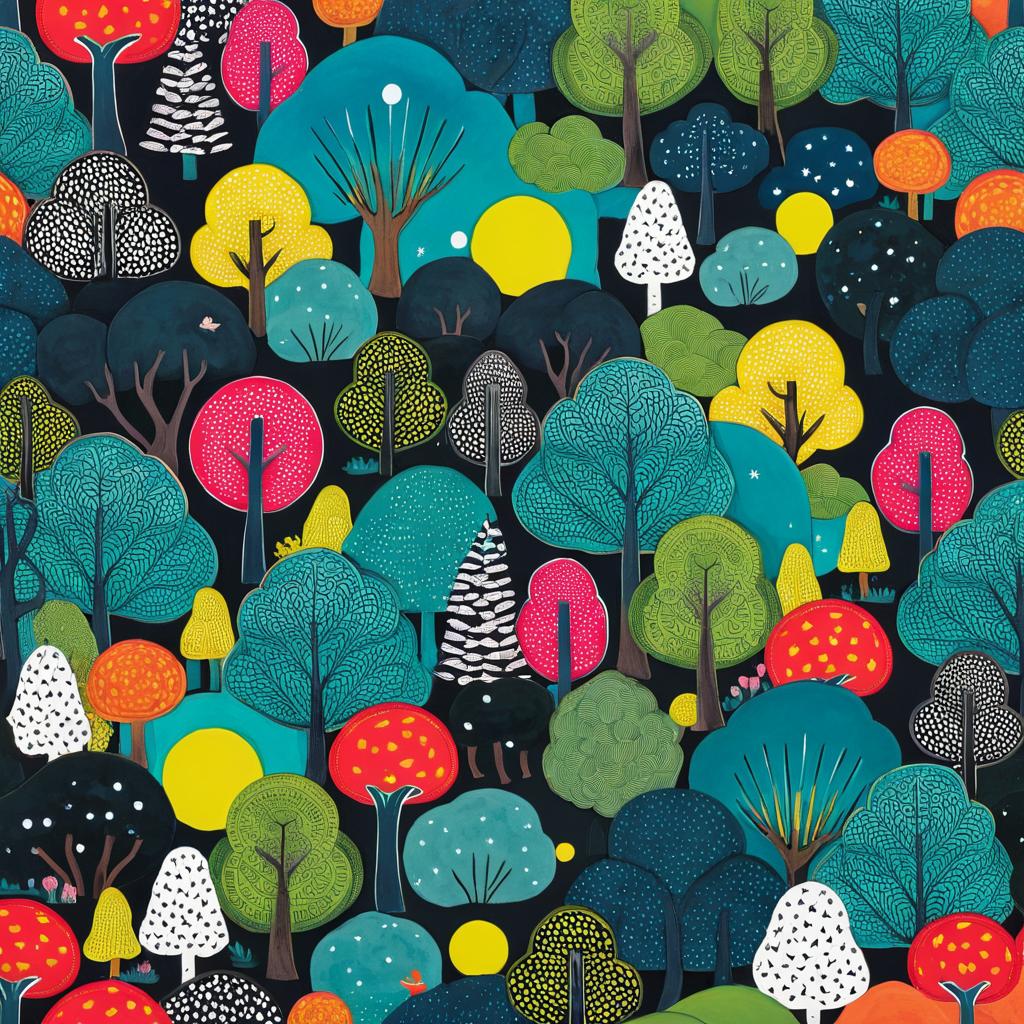
- Content (replicates everything visible in the image, including buildings and objects),
- Character (replicates a person, mainly their facial features),
- Style (replicates the lighting, color palette, and overall artistic style).
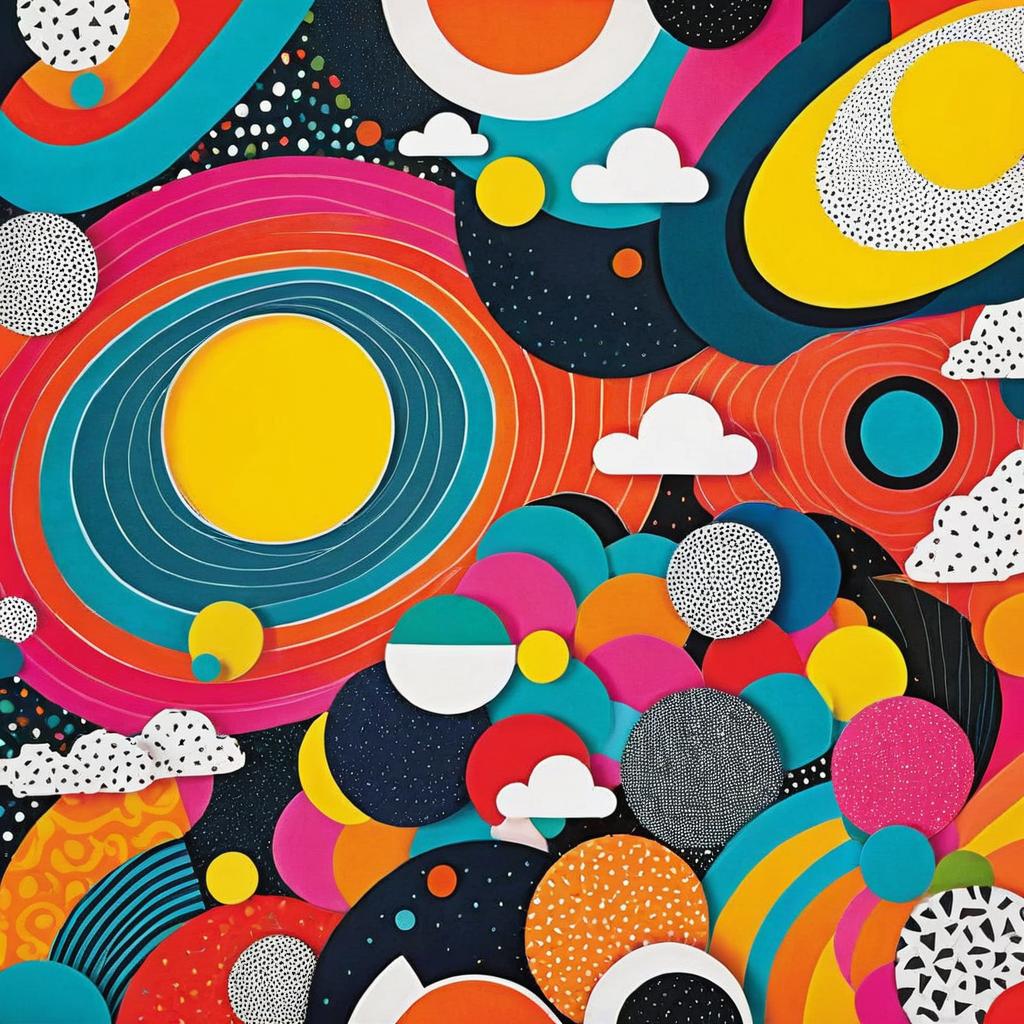
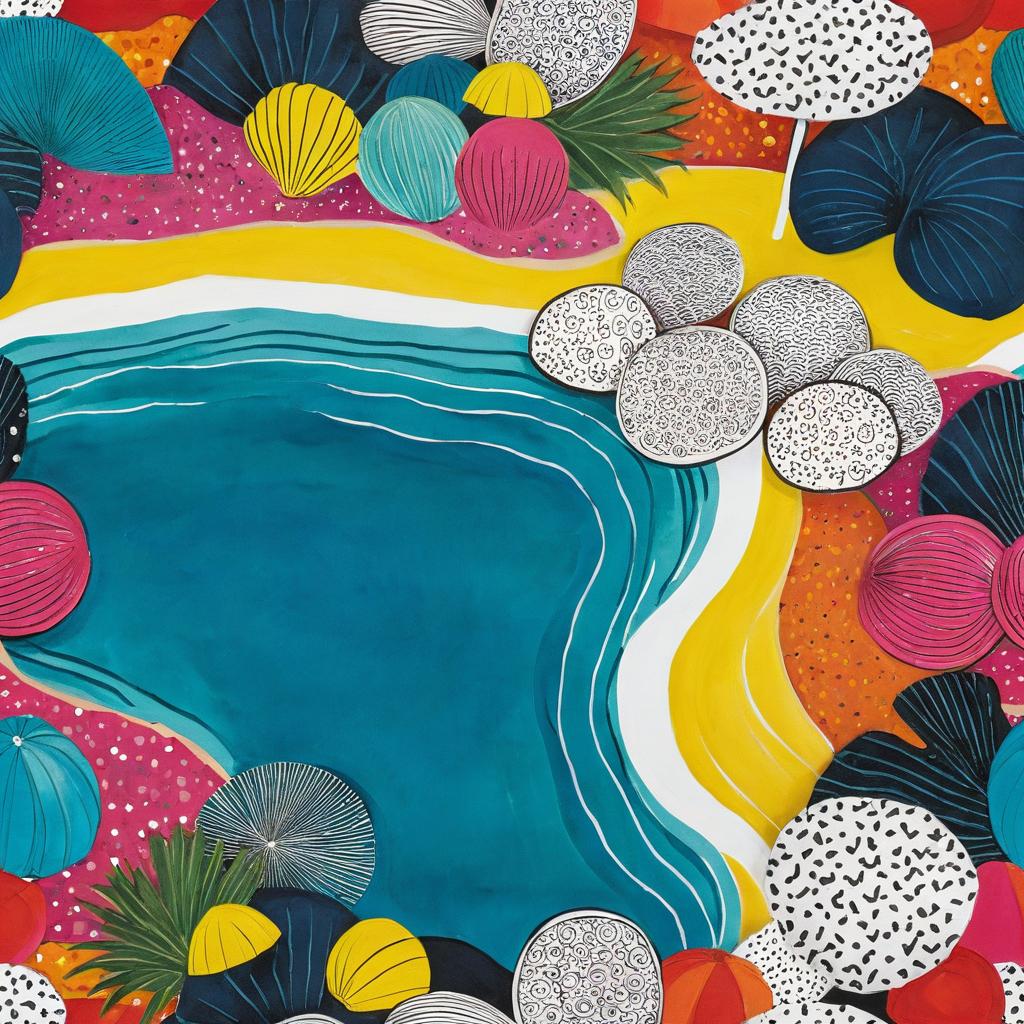
Reference image
"beach"
"city"
"forest"
3. FLUX.1 [dev] Control References: learn more about them here.
4. FLUX [Kontext] References: learn more about them here.
5. Qwen Edit References: learn more about them here.
5. GPT References: learn more about them here.
6. Seedream References: learn more about them here.
SD Mode
In SD mode, in addition to Image to Image and IP Adapters, many models can also be guided with ControlNets, the most important of which are:
- Hard Edges (copying all the detailed edges in an image),
- Soft Edges (copying only the main edges),
- Depth (recreating the depth of the reference image),
- Normal Map (maintaining the structure of objects and capturing their convexities and concavities),
- Pose (emulating limb placement—only works for human characters).
.jpeg)
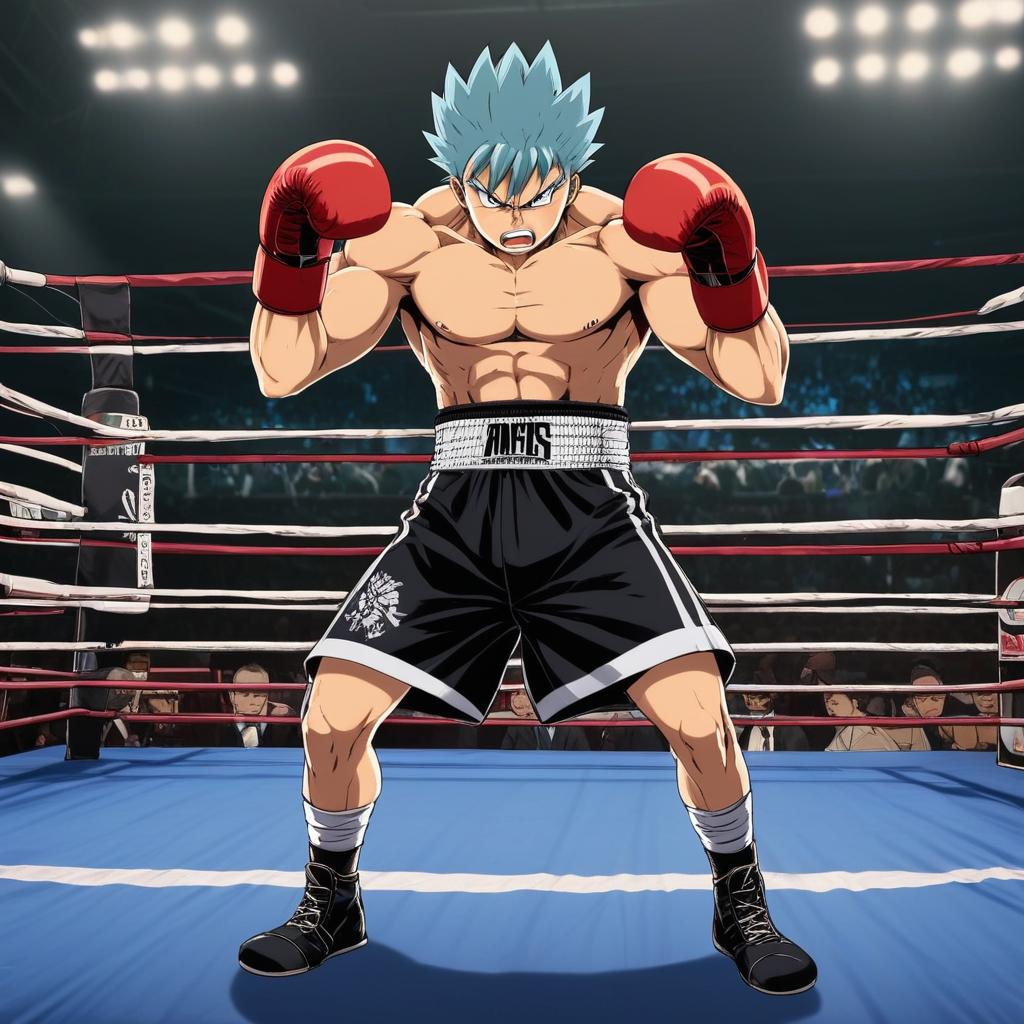
Pose (50%)
"angry anime character readying for a fight in a boxing ring"
Not every model works with every ControlNet. For example, with JuggernautXL X, you can use Hard Edges, Soft Edges, Depth, Normal Map, and Pose ControlNets. However, for the base Stable Diffusion XL model, only Hard Edges and Depth are available.
Check out our dedicated Image to Image, IP Adapters, and ControlNet guides for more detailed explanations of every reference type.
How to use Image References?
This guide will focus on generating images using a singular Image Reference. If you’d like to add two or three references, check our guide on using Multiple Image References for additional tricks and tips.
Step 1. Select a model and write a prompt
Head to Image Generator and choose a model from the picker in Essential mode. The model you choose will impact the type of references available to you.
If you’d like to use ControlNet, go to SD (Stable Diffusion) mode and select a model compatible with your preferred ControlNet.
Next, write what you would like to see in the final image. For example, if you saw a cool picture of a jellyfish and wanted to use it to create a unique image of a rose, you could type in "bioluminescent rose."
FLUX [Kontext], GPT Image, Seedream and Qwen Edit References support commands in the natural language, so you could write something like "change the T-shirt color to red" or "transform it into watercolor style".
Step 2. Choose an Image Reference type
Turn your attention to the “Image Reference” section of the Image Generator and select a reference type from the list.
Remember, ControlNets are only available in the SD mode, and not every ControlNet works with every model.
To generate an image with the color palette and lighting inspired by our jellyfish picture, let’s go with the "Style" IP Adapter.
Step 3. Upload images
Upload the image you’d like to use as a reference into the Image Reference section of the Image Generator. You can add pictures from:
- your device: by dragging a file from its location into the designated area or by clicking the upload button to select a file manually,
- Image Generator: by dragging an image from the generation results or by hovering over it and clicking the “Use as image reference” icon.
When uploading your reference picture for Image to Image or ControlNets, it’s best to maintain the same aspect ratio for both the source images and the output (this doesn’t apply to IP Adapters). If the aspect ratios differ, the images may stretch, leading to undesirable results.
If you’re using SD mode, you can select the “Crop image references to fit output aspect ratio” option, but be mindful that it does not always guarantee a great outcome. Images will be cropped at the center, which, depending on their composition, may lead to important parts getting removed.
Step 4. Adjust reference strength
Reference strength influences how close your results will be to the reference image (but not all reference types have adjustable strength: for example, GPT Reference, Seedream Reference, FLUX Kontext Reference, and Qwen Edit Reference strength can't be adjusted).
For reference types which support adjustable strength, set it with the slider depending on your preferences:
- a lower strength means a weaker influence from the reference image,
- a higher strength means a stronger influence from the reference image.
The default reference strength is set to 50, which often produces satisfactory results. However, some experimentation may be required to find the optimal strength for your specific project. It's a good idea to make minor adjustments and analyze the outcomes before making more significant changes.
Step 5. Generate and iterate
Once you have set your reference and adjusted the strength, you can generate your images (up to 10 at a time).
Don’t hesitate to experiment with different prompts and reference types, and most importantly, have fun!