Guide to using Multiple Image References
Learn to use Multiple Image References in Image Generator to create more accurate and creative outputs. This guide walks you through the process step-by-step.
This feature is available in Image Generator's Essential mode for GPT Image & Image HD, and for Stable Diffusion XL-based models (such as JuggernautXL X, RealVisXL V4.0, and many others) in the SD mode.
What are Multiple Image References?
Multiple Image References feature allows you to use more than one Image Reference (up to three) to guide your image generation process in Image Generator. For example, you could copy a character’s face from one photo, and a pose from another at the same time.
You can find this feature:
- in Essental mode of Image Generator - with GPT Image or GPT Image HD selected.
- in SD mode (but only for Stable Diffusion XL models)
Some of the most popular Multiple Image References use cases include:
- style transfer (copying a particular art style from one image to another)
- creating product shot variations
- generating diverse headshots.


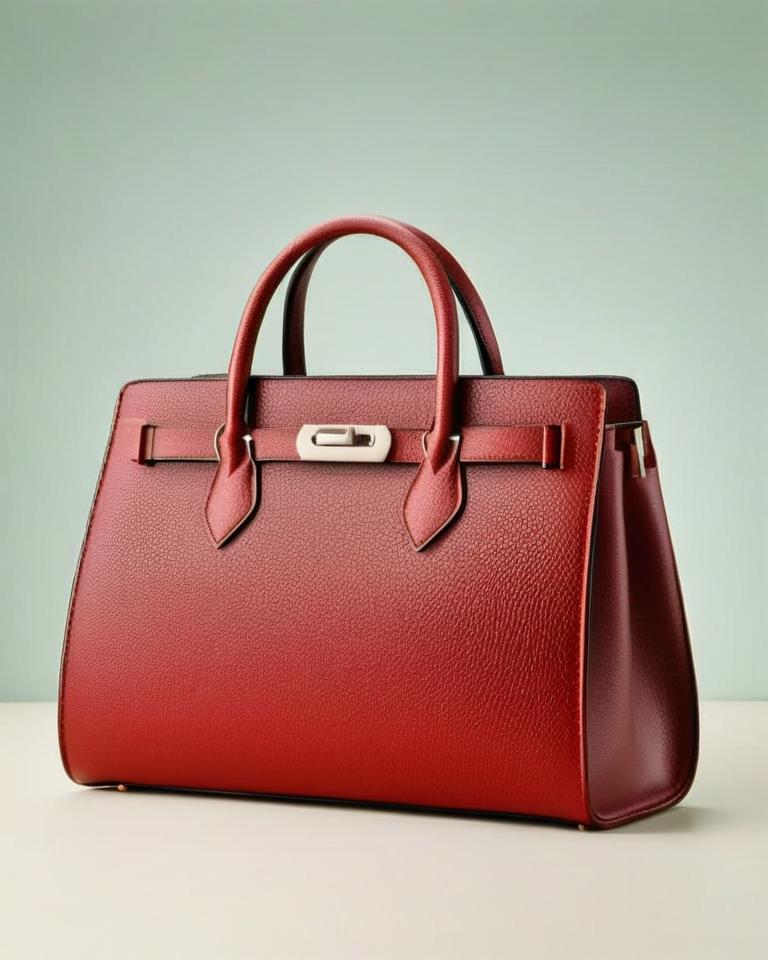
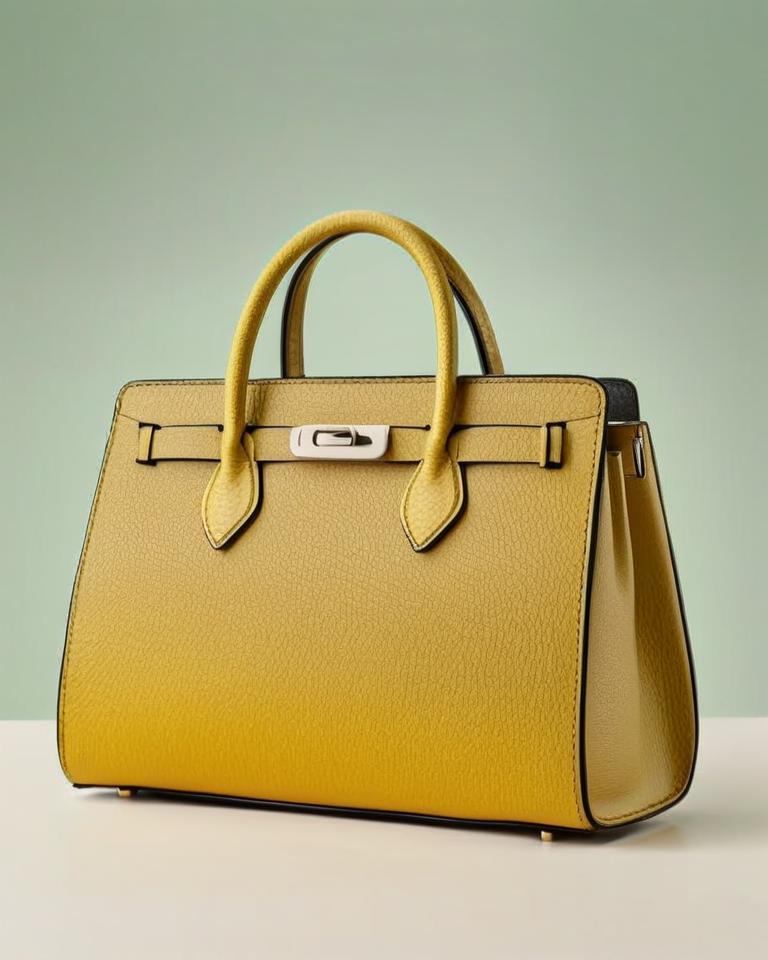
Reference image
Content (60%) + Hard Edges (60%), "hot pink bag"
Content (60%) + Hard Edges (60%), "red bag"
Content (60%) + Hard Edges (60%), "yellow bag"
How to use Multi Image References?
Step 1. Write a prompt and select a model
Open the Image Generator and choose GPT Image or GPT Image HD in the Essential mode.
Or, go to the SD (Stable Diffusion) mode and select a model. It has to be one of the models based on SDXL—they are marked with an “XL” tag in the model selection menu.
Regardless of the mode and model you choose, describe the final effect you want to achieve in the prompt box.
Step 2. Add and choose references
Turn your attention to the “Image Reference” section of the Image Generator and click the “Add reference” button. You can only use a maximum of three reference images at a time.
The only reference type for GPT Image & Image HD is "GPT Reference".
If you're in SD mode, choose the type of each reference from the available list. There are three categories of Stable Diffusion reference image types: Image to Image, IP Adapters, and ControlNet.
- Image to Image (for creating variations of the reference image),
- IP Adapters:
- Style (replicating the lighting, color palette, and overall artistic style),
- Content (replicating everything visible in the image, including buildings and objects),
- Character (replicating a person, mainly their facial features),
3. ControlNet:
- Hard Edges (copying all the detailed edges in an image),
- Soft Edges (copying only the main edges),
- Depth (recreating the depth of the reference image),
- Normal Map (maintaining the structure of objects and capturing their convexities and concavities),
- Pose (emulating limb placement—only works for human characters).
Duplicating reference types is not allowed. For example, you can’t select two Image to Image references, or a Character, Style, and then Character again. Image to Image, Style, and Pose is an example of an acceptable reference combination.
You can find practical examples for dozens of possible Multiple Reference combinations in a separate guide.
Additionaly, check out our dedicated Image to Image, IP Adapters, and ControlNet guides for more detailed explanations of every reference type.
The order in which the references are set makes no difference. For example, the combination of Character in the 1st position and Style in the 2nd will work the same as Style in the 1st and Character in the 2nd.
Step 3. Upload images
Upload the images you’d like to use as references into the Image Reference section of the Image Generator. You can add images from:
- your device: by dragging a file from its location into the designated area or by clicking the upload button to select a file manually,
- Image Generator: by dragging an image from the generation results or by hovering over it and clicking the “Use as image reference” icon.
When uploading your reference images for Image to Image and ControlNet, it’s best to maintain the same aspect ratio for both the source images and the output (it doesn’t matter for IP Adapters). If the aspect ratios differ, the images may stretch, leading to undesirable results.
You can select the “Crop image references to fit output aspect ratio” option, but be mindful that it does not always guarantee a great outcome. Images will be cropped at the center, which, depending on their composition, may lead to important parts getting removed.
Step 4. Adjust reference strength
The default reference strength is set to 50, which often produces satisfactory results. However, some experimentation may be required to find the optimal strength for your specific project. While adjusting the strength, keep in mind:
- values above 100 can lead to quite abstract interpretations of your references—set the slider to a lower number unless abstract is what you’re looking for,
- values below 20 might cause the reference not to yield visible results or to only have a very subtle effect.
It's a good idea to make minor adjustments and analyze the outcomes before making more significant changes.
Step. 5 Skip reference pre-processing (optional)
The option to “Skip reference pre-processing” (in SD mode) is unchecked by default—it is best to leave it that way in most cases.
Pre-processing images means preparing them to be used as reference images. For example, if you select Pose ControlNet, an AI model will have to extract just the character’s pose from the original image to serve as an inspiration for image generation.
Similarly, with the Hard Edges ControlNet, the source image will be processed into a version of the image that only retains all its detailed edges.

If you have an image that is already appropriately prepared (e.g., a pose created with the Openposes AI tool), you can check the “Skip reference pre-processing” box. Otherwise, leave it unchecked.
Step 6. Generate and iterate
Once you have set your references and adjusted the strength, you can generate your images (up to 10 at a time).
If you like one of your results and want to create similar variations, a good strategy is to use this image as an Image to Image reference for further iterations.
By following these steps, you should be able to effectively leverage Multi Image References in Image Generator. Try it out and create high-quality, tailored images that align closely with your creative vision.