Guide to Writing Text to Image Prompts
Master AI image generation with our detailed guide. Learn to craft perfect prompts, use modifiers, and optimize your workflow for stunning results.
What is a prompt?
A prompt is a text description that tells an AI what kind of picture to create. It can shape every aspect of the final image, from the big picture down to the tiniest detail. Generally speaking, the better (clearer, more detailed) the prompt, the better the image.
Prompt engineering is about crafting and optimizing prompts to achieve the best possible results. Learning how to write great prompts lets you fully tap into the power of AI image generation, turning your ideas into eye-catching visuals.
Text to Image prompt presets
After logging in, check out getimg.ai’s homepage, where you’ll find dozens of prompt presets for popular categories, such as photography (e.g., macro, sepia, double-exposure), anime (Sailor Moon, Dragon Ball, Studio Ghibli), and art styles (oil painting, graffiti, sketch).
Clicking on a preset will transport you to the AI Image Generator, with a prompt (and other parameters) already filled in. All you have to do is edit it by describing your subject.
The prompt preset for bokeh photography looks like this: “photo of a {subject}, bokeh photography, shot on fufjifilm xt4, f1.4”.
Engineering a perfect prompt: a step-by-step guide
Step 1. Start with the subject
Identify the main subject of your image. It could be a person (or multiple people), animal, object, or scene. Be as specific as possible. Don’t use verbs to instruct the model (e.g., “create”, “generate”, “add”); simply describe what should be visible in the image.
The GPT Image and GPT Image HD models strictly do not allow generating images of real people (including public figures like “the president of the USA”) or licensed properties (like “a Disney character”). Even broad prompts referencing these can be rejected automatically—these models are especially strict about these limitations.
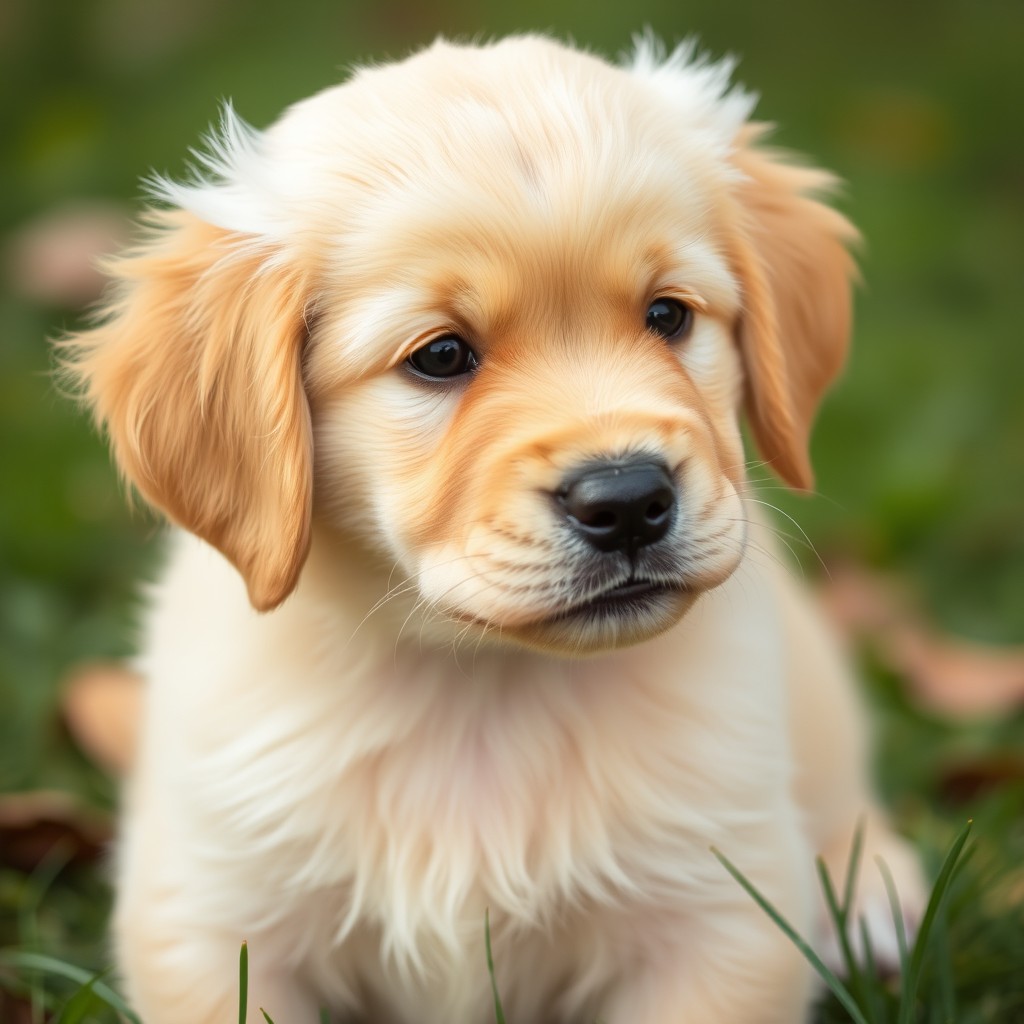
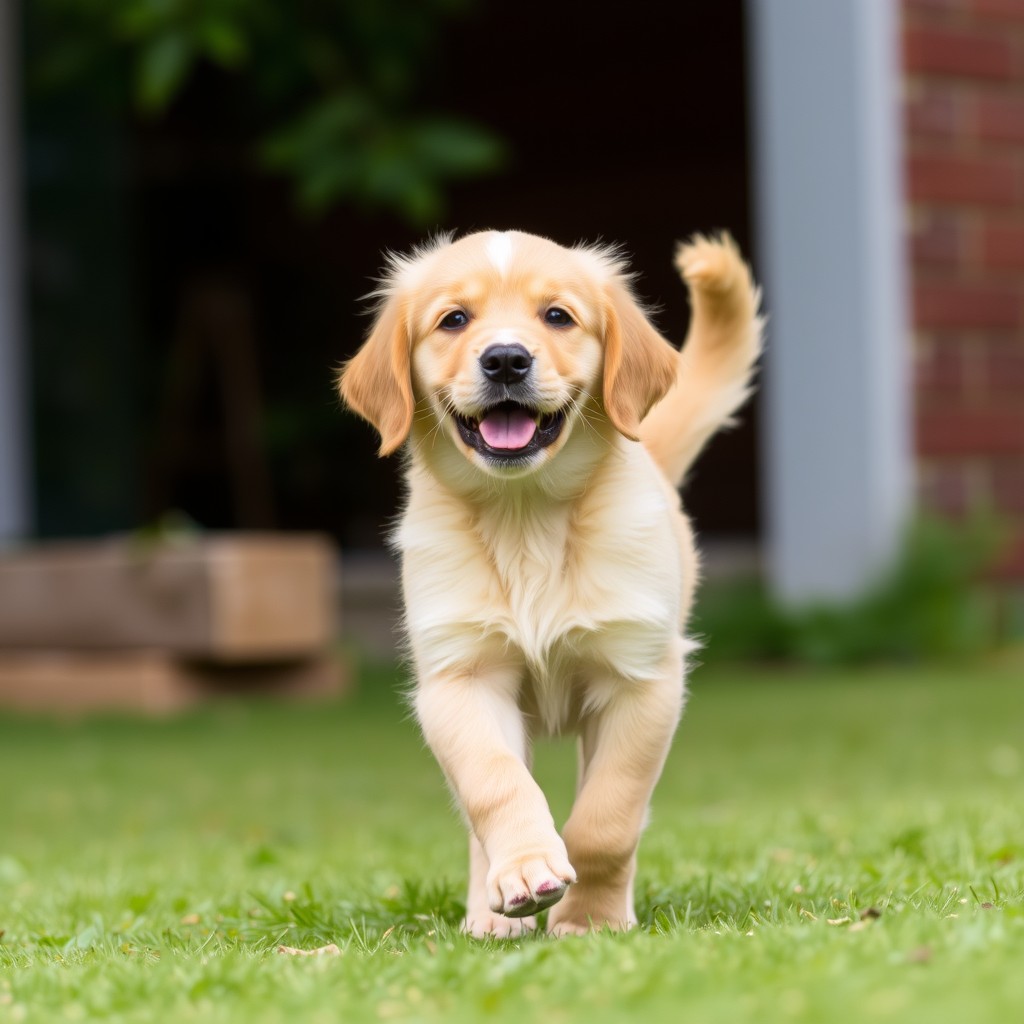
For instance, instead of just “a dog”, specify “a golden retriever puppy”. Include specific poses or actions, e.g., “a golden retriever puppy wagging its tail” or “a golden retriever puppy standing on its hind legs.”
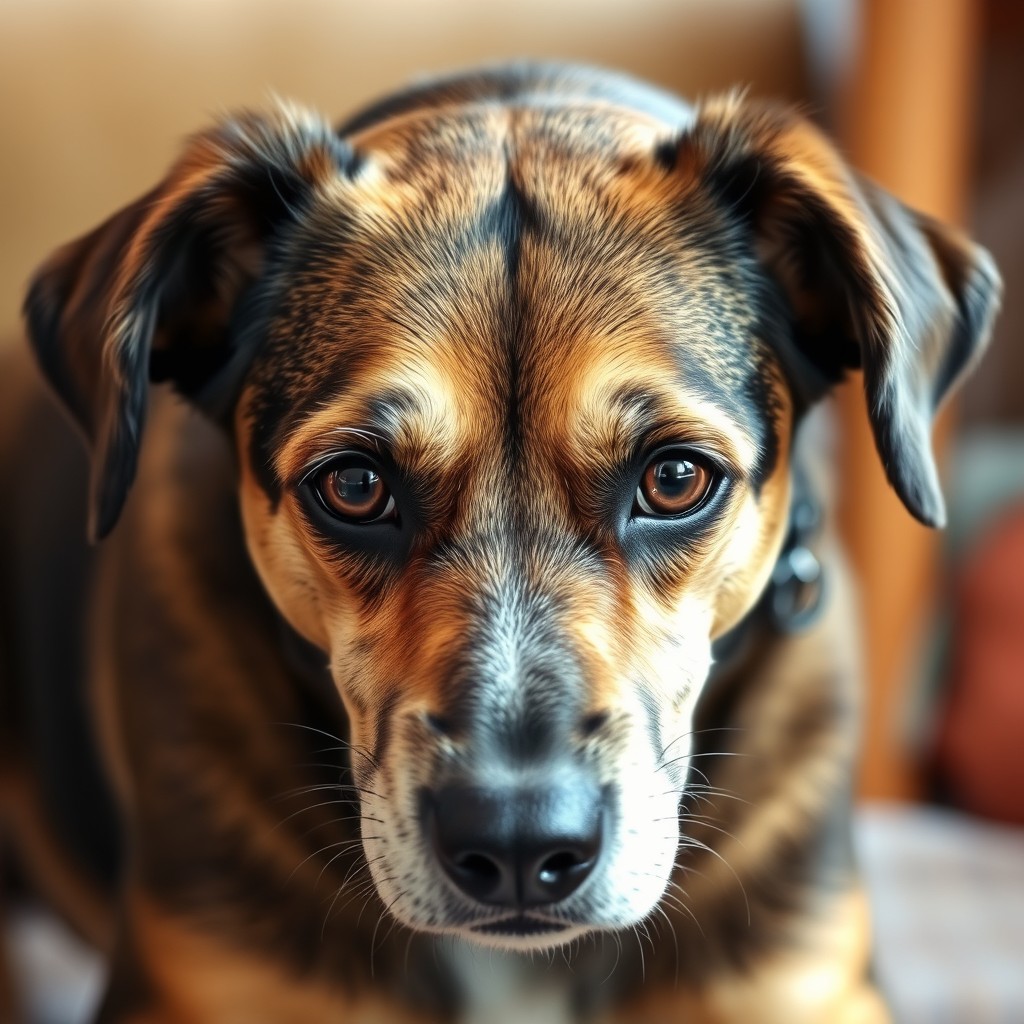
"a dog"
"a golden retriever puppy"
"a golden retriever puppy wagging its tail"
The more detailed your subject description, the more tailored the AI's output will be.
Step 2. Add modifiers for style and details
Modifiers are critical in shaping the look and feel of the image. Use descriptive adjectives and adverbs to add depth to your descriptions. This helps the AI generate more accurate, creative, and nuanced images.
Popular modifiers include:
- background and environment: define the setting, for example, “a bustling city street” or “a serene mountain landscape”;
- art style: specify if you want a particular style, like “impressionist painting”, “polaroid” or “3D render”;
- emotions and tone: describe the mood or feeling, like “joyful atmosphere” or “melancholic scene”;
- lighting: point out the lighting type, such as “soft ambient light” or “harsh sunlight”;
- color palette: mention the desired colors, e.g., “vibrant pastel colors”;
- point of view: indicate the perspective, such as “first-person view” or “bird's eye view”;
- artist: take inspiration from a specific artist, like “by Zdzisław Beksiński” or “in the style of Van Gogh”.
.jpeg)
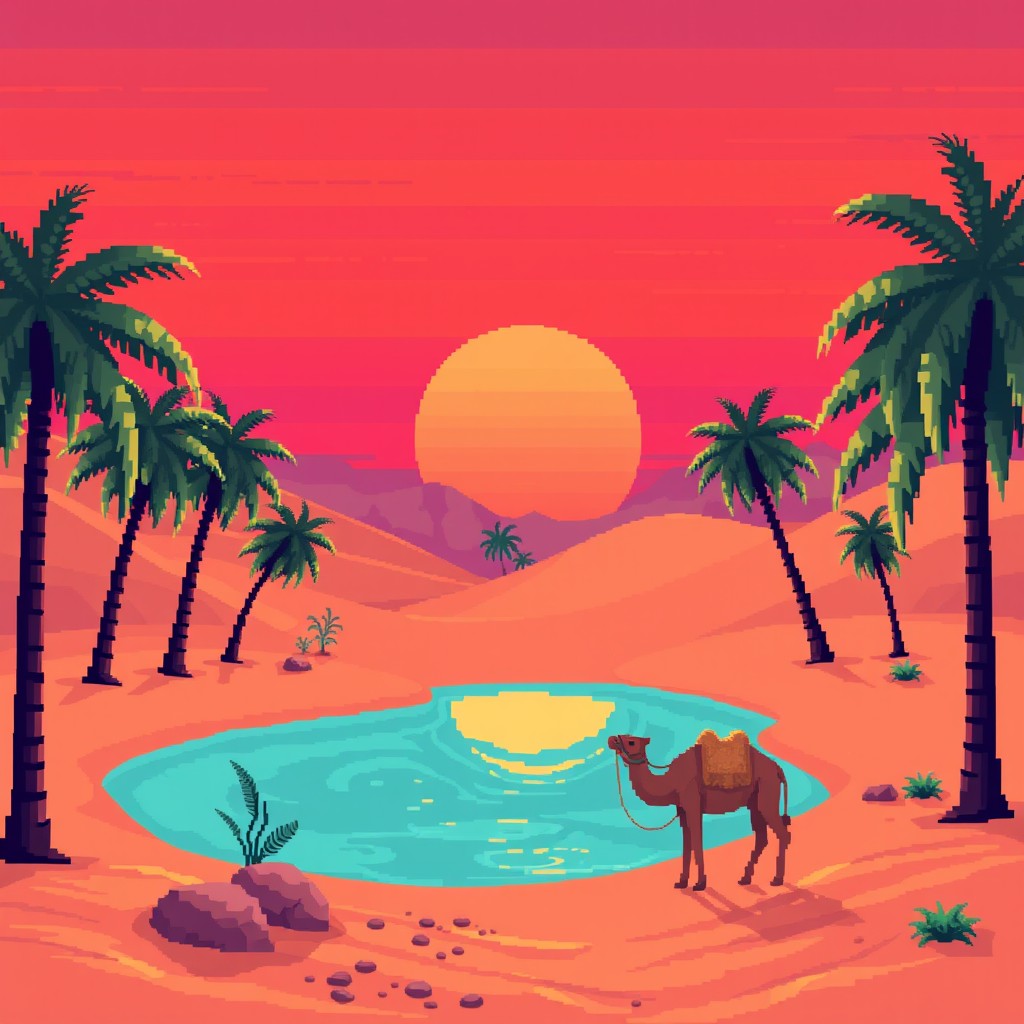
"tranquil desert oasis with pixelated palm trees and a clear blue lake, camel drinking water, surrounded by sand dunes under a vibrant sunset, in the style of 8-bit adventure games, with a warm color palette"
"fearsome dragon guarding its treasure hoard in a dimly lit cavern, with glowing embers scattered across the ground, in the style of high fantasy, using a warm, fiery color palette"
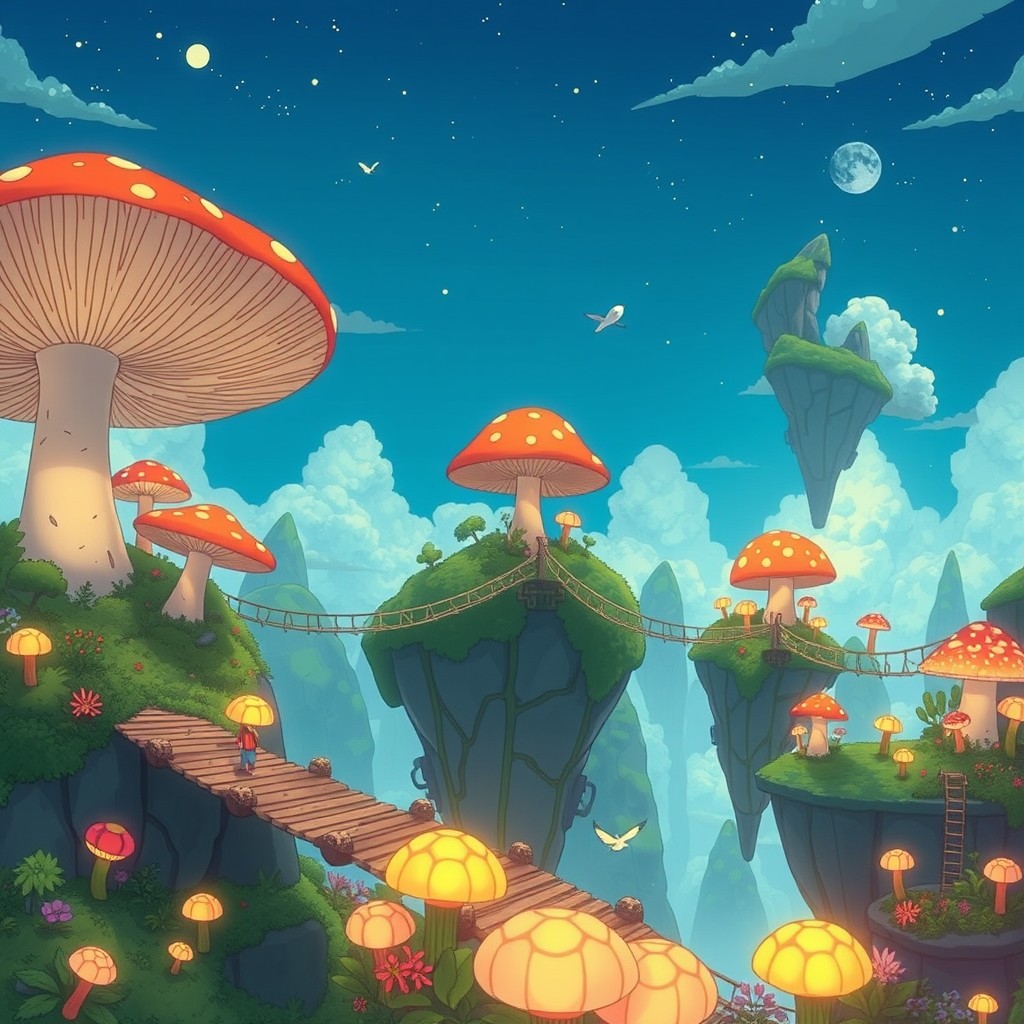
"dreamlike landscape with floating islands, connected by rope bridges, populated with oversized mushrooms and glowing plants, in the style of Studio Ghibli"
For generating photorealistic images, consider the following modifiers as well:
- shot type: describe the composition, such as “close-up”, “medium shot”, or “long shot”;
- device: mention the camera or device used, like “shot on iPhone 13 Pro” or “captured with a DSLR”;
- lens: set the type of lens used, such as “wide-angle lens”, “telephoto lens”, or “macro lens”;
- aperture (F-stop): specify the aperture setting, such as “f/1.8” for a shallow depth of field or “f/16” for greater sharpness throughout.
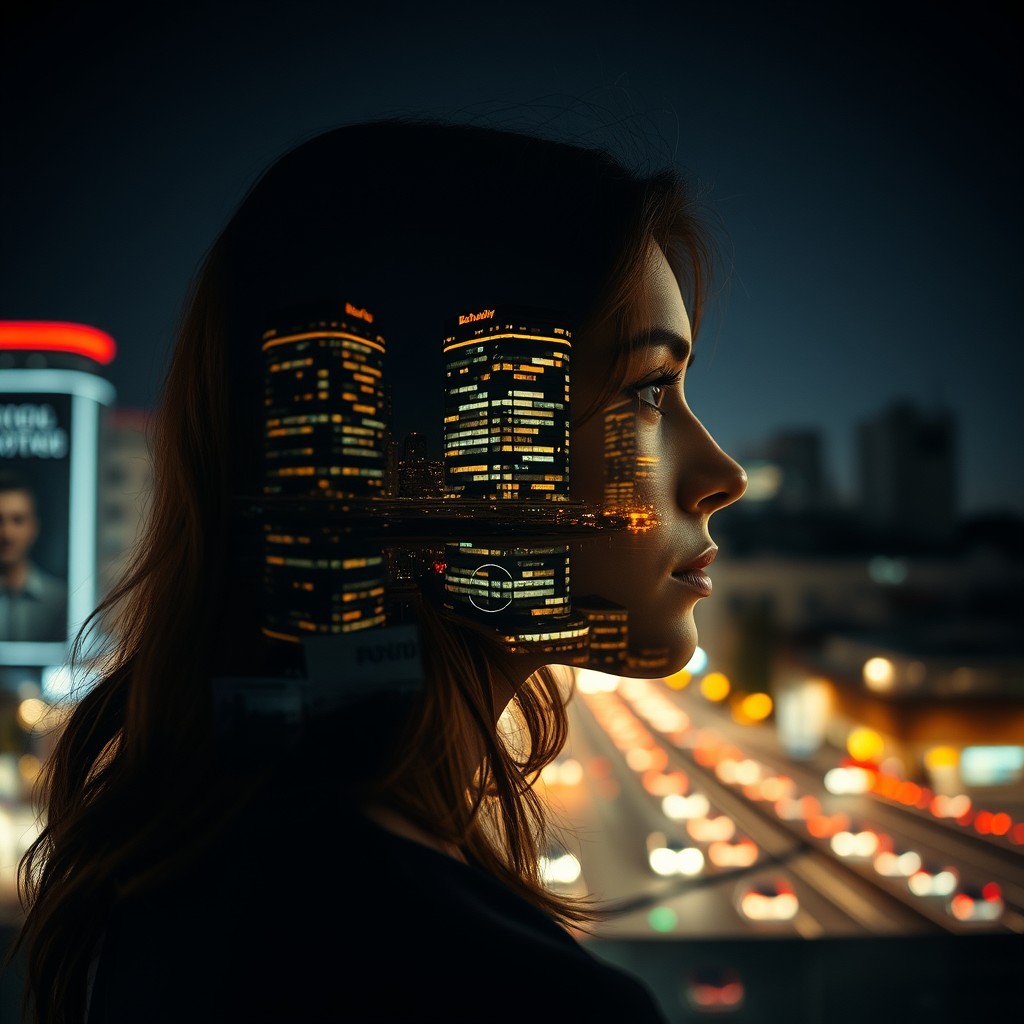
"creative double exposure portrait of a woman’s profile merged with an image of a bustling cityscape at night, captured with a Fuji X-T4, using a 23mm lens at f/1.4, with both images blending seamlessly to create a surreal effect"
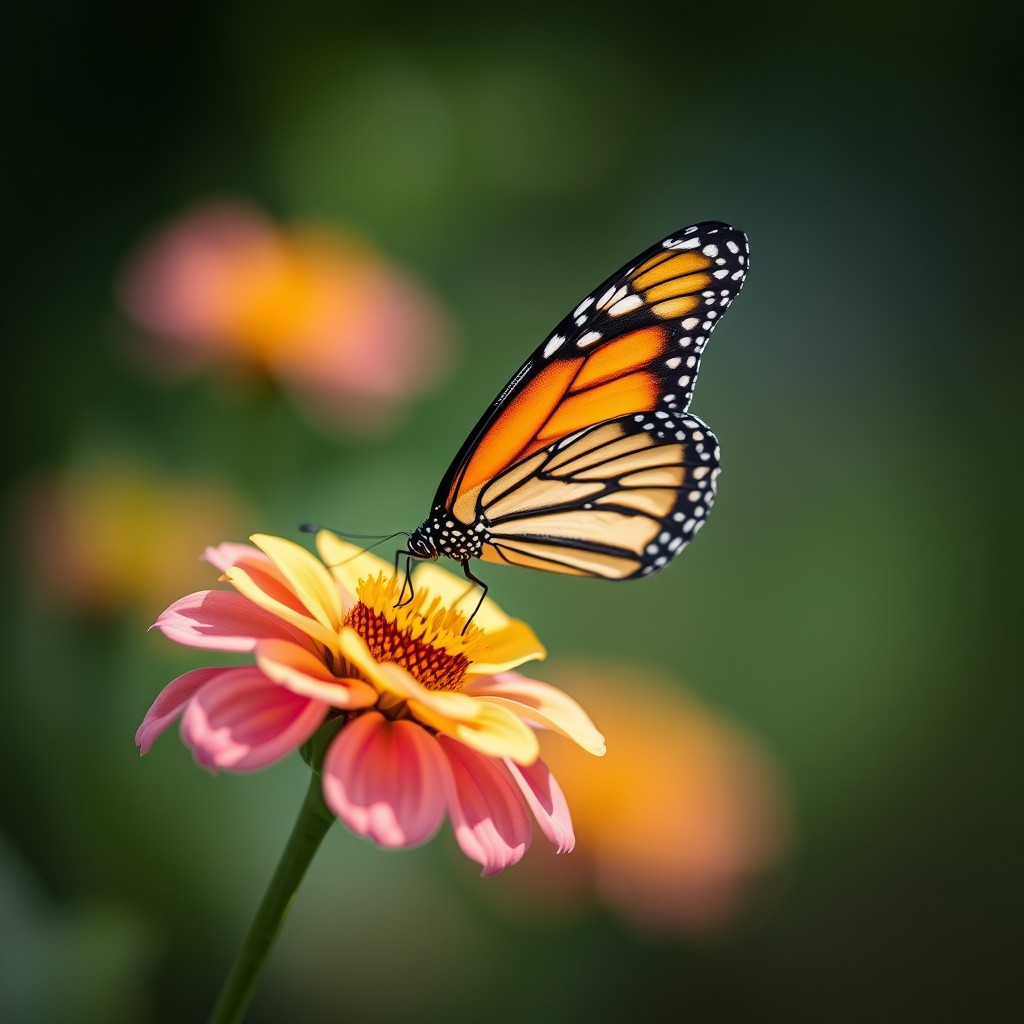
"macro shot of a monarch butterfly perched delicately on a blooming flower, taken with a Sony A7III, using a 100mm macro lens at f/4, with the background beautifully blurred to highlight the intricate patterns on the butterfly's wings"
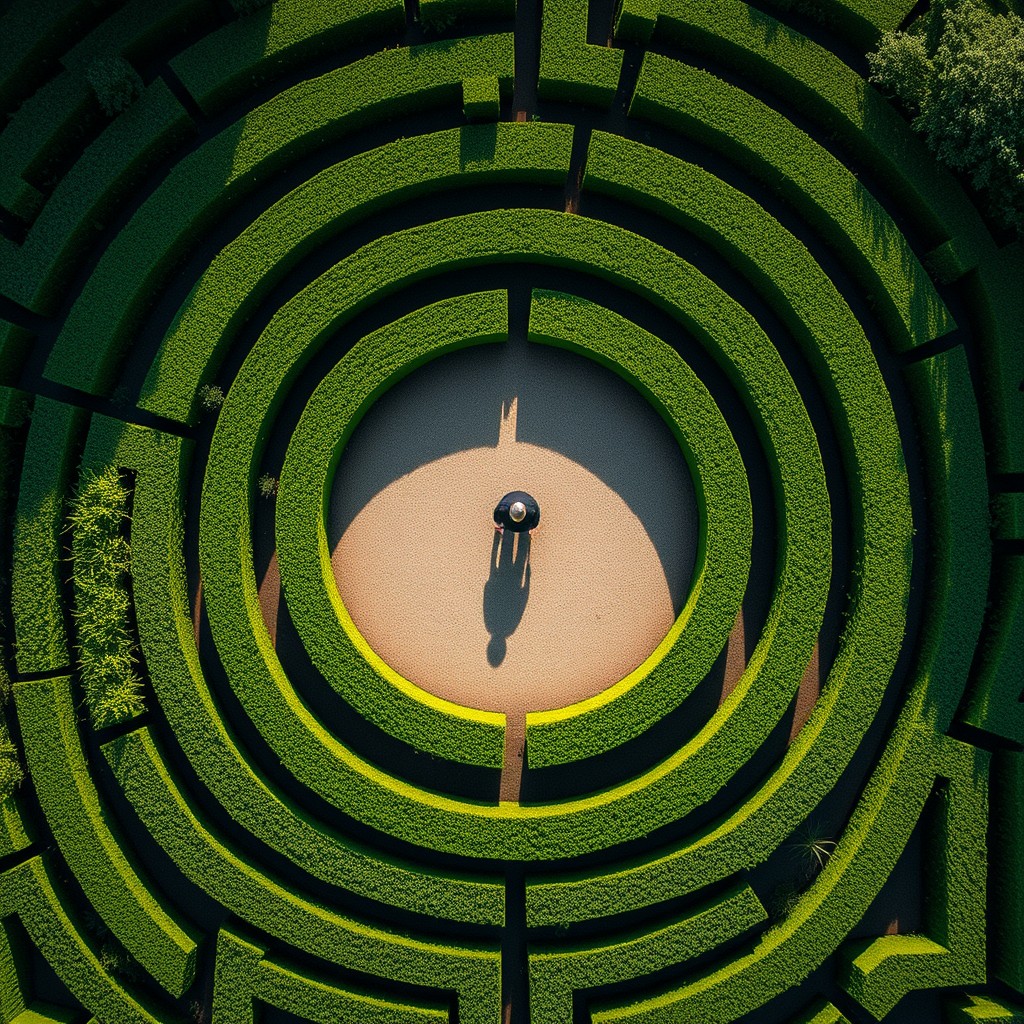
"top-down drone shot of a meticulously designed maze garden, captured with a Phantom 4 Pro, using a 24mm lens at f/8, with perfectly symmetrical hedges and a single figure in the center casting a long shadow"
Step 3. Use “magic words” for enhanced quality
“Magic words” are specific phrases known to improve the quality of AI-generated images. These terms guide the AI to focus on particular aspects, making the image more refined and polished. They often relate to image quality, artistic techniques, or specific visual effects.
Commonly used “magic words” include:
- For photorealistic images: “highly detailed”, “HDR”, “4K resolution”, “8K resolution”, “hyperrealistic”, “photorealistic”, “cinematic lighting”, “professional”, "perfect composition";
- For artworks: “masterpiece”, “award-winning”, “trending on artstation”;
- For 3D renders: “octane render”, “unreal engine”, “ray tracing”.
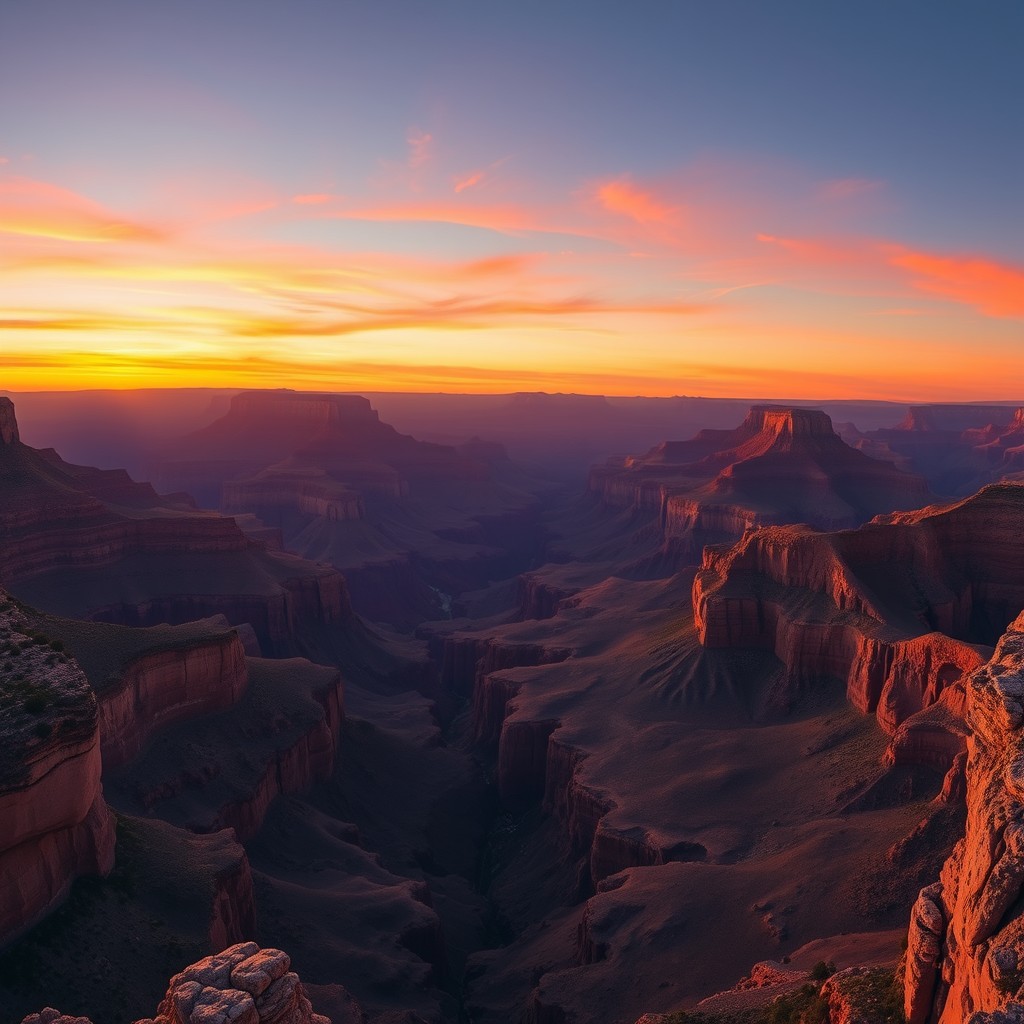
"breathtaking panorama of the Grand Canyon at sunset, with vivid colors and dramatic shadows, captured in HDR, 8k, perfect composition and intricate details"
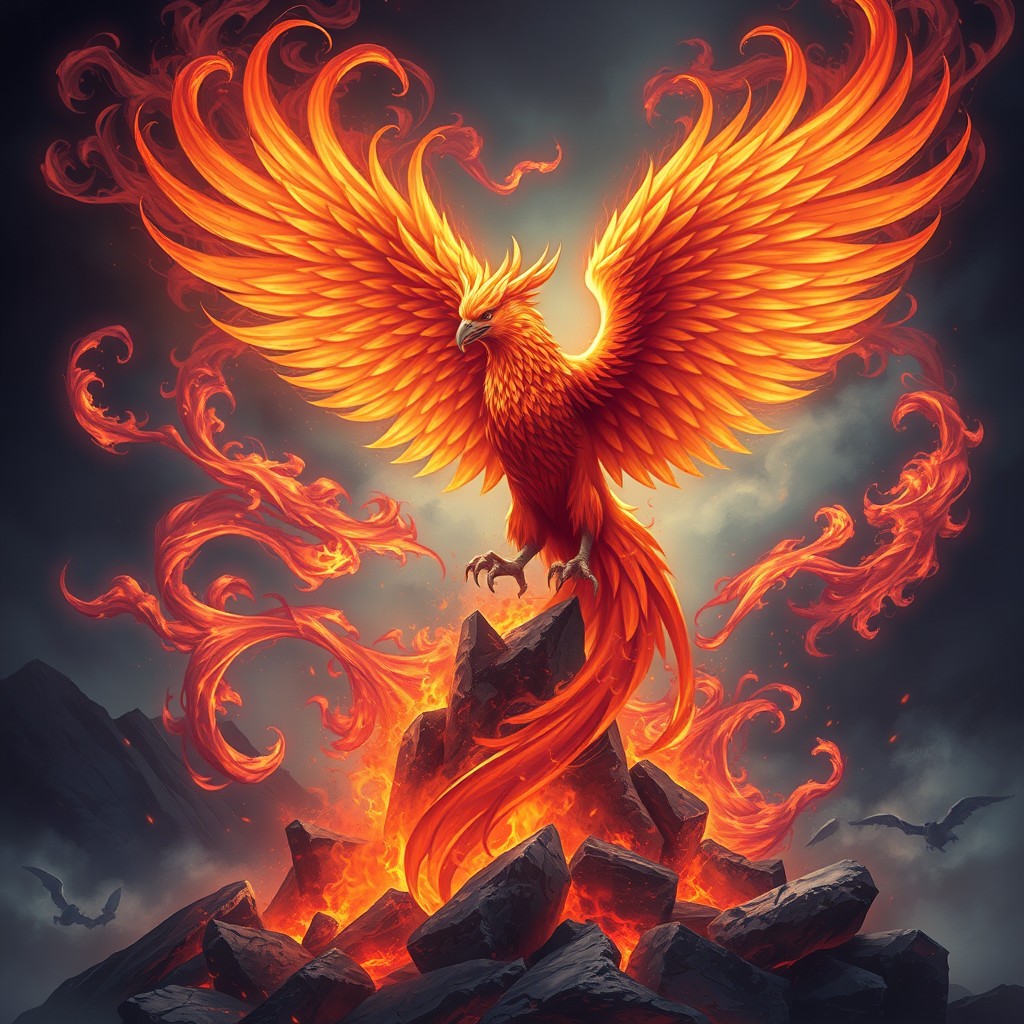
"award-winning artwork depicting a majestic phoenix rising from the ashes, surrounded by swirling flames and embers, with vibrant colors and dynamic composition, masterpiece, trending on artstation"
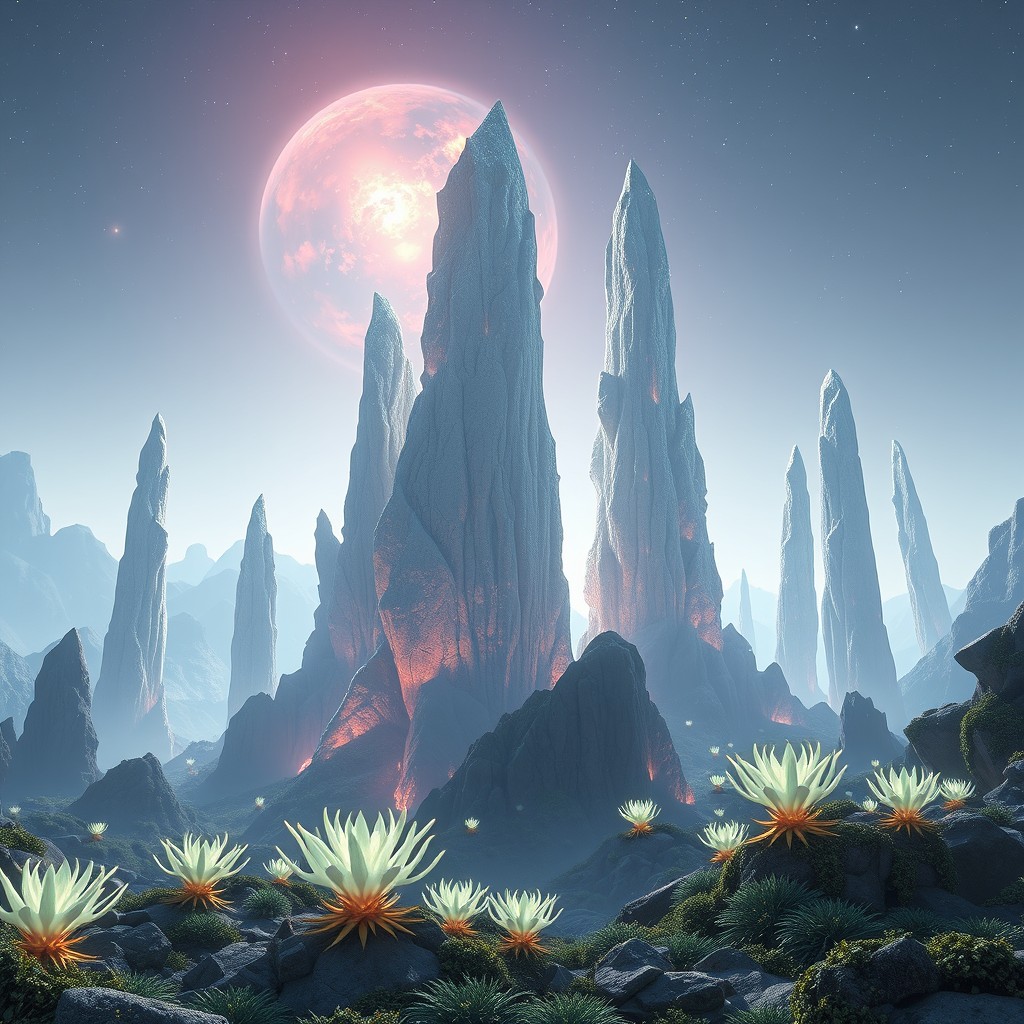
"octane render of an alien planet with towering crystal formations and bioluminescent plants, featuring a glowing nebula in the sky, with 8K resolution and realistic ray tracing for lifelike reflections"
Experiment with different magic words to see how they affect the output. You might find that some terms work better for specific styles or subjects.
Advanced prompt settings and features
Depending on which of our tools you’re using, the prompt section might offer more options than just allowing you to write or paste an image description. Here’s an overview of all the additional features you need to know.
Prompt navigation and reset
In both modes of AI Generator, when you hover your mouse over the prompt window, you’ll see icons allowing you to:
- delete the entire prompt;
- move to the previous or next version of the prompt.
“Improve prompt” feature
The "Improve prompt" feature is available in AI Image Generator’s Essential and SD mode, with a fee of 1 credit per use.
It’s a valuable tool for enhancing your initial ideas. When you use this feature, the AI adds more detail to your prompt, often incorporating the aforementioned "magic phrases" to increase image quality.
Let's take a look at a simple before-and-after example:


"an elf"
"mystical elf with intricate silver tattoos, in an enchanted forest surrounded by glowing flora. Elf has long flowing hair adorned with blossoms, is wearing dress made of leaves. Ethereal light filters through ancient trees, reflecting on a pond nearby"
If you're new to prompt writing or want to learn advanced techniques, pay attention to the improvements made by the AI. This can help you understand what details and phrases lead to better results.
“Random prompt” feature
You’ll find a "Random prompt" button in both AI Image Generator modes. It's located under the prompt window. This can be an excellent source of inspiration when you're feeling stuck or want to explore new ideas.
It draws a random prompt from a database of highly diverse, predefined image descriptions. You can use it as a base or modify it further. Even if the random prompt isn’t perfect, it can spark ideas or introduce you to new styles and concepts you hadn’t considered.
Use the random prompt as a starting point and refine it to suit your vision better. This can lead to unexpected and exciting results.
Negative prompts
Negative prompts are present in AI Image Generator’s SD mode.
You don’t add them in the prompt itself, but in a special “Negative prompt” window, separating each element with a comma (e.g., “cartoon, anime, digital art”). These allow you to specify what you don't want to see in your image, which can be particularly useful for refining your results and avoiding unwanted elements.
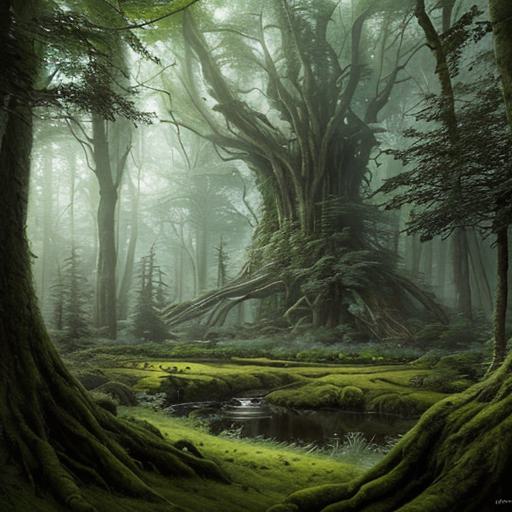
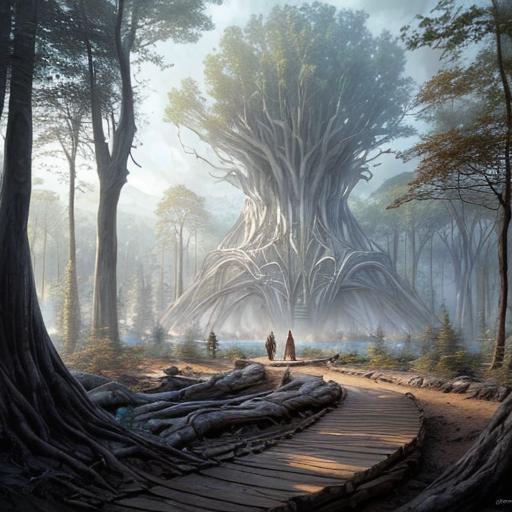
Without negative prompt
Negative prompt: 'moss'
Check out our detailed guide on negative prompts for more information.
Prompt weights
Prompt weights work with models in AI Image Generator's SD mode. They are a powerful tool for emphasizing or de-emphasizing some aspects of your prompt.
By assigning different levels of importance to various parts of your description, you can guide the AI to focus more (or less) on specific aspects of the image.

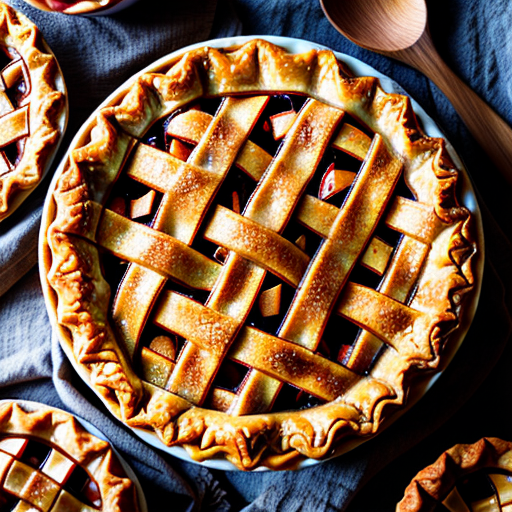
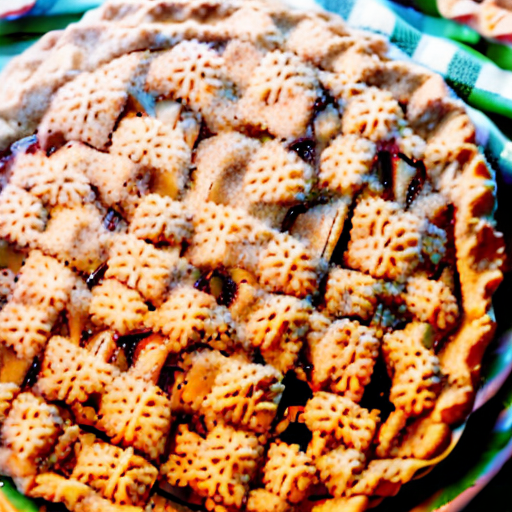
apple pie
apple pie+++
apple pie++++++
Our separate guide on the topic provides a detailed explanation of using prompt weights effectively. Read it to make sure you’re using the correct prompt weighting syntax.
Now, it's time to put all this knowledge to the test and start creating! But remember, a prompt is just one of the image generation parameters you can adjust in many of our tools, especially AI Image Generator’s SD mode.
Take a look at our guides on the CFG scale, steps, seed, and samplers to fine-tune your image generation even more!