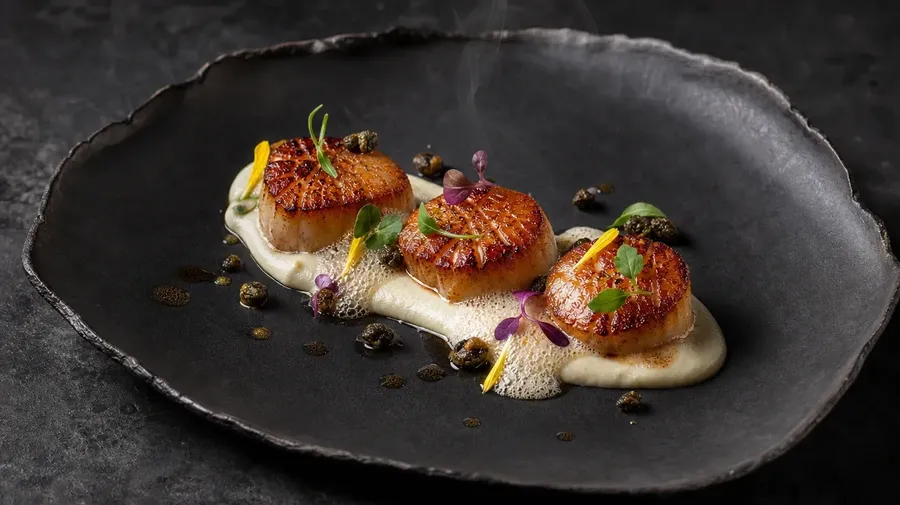
AI Food Generator for pro-grade food photography
getimg.ai's AI Food Generator creates and edits food-photography images from text prompts or visual references. Set the cuisine, the plating and the light, generate a set, then refine the strongest directions for your campaign or publishing workflow. For real restaurant menus and delivery listings, use an actual dish photo as a Reference whenever the image needs to accurately represent the item customers will receive.
Access 48+ leading AI models. Pay for one subscription.


A production workflow, not just a one-off generator
Brief or real dish, reference or prompt, generated directions, accuracy review, refinement, resize, delivery.
The right model for every dish, chosen for you
Auto routes your prompt to a suitable image model, and you can switch manually when food fidelity, typography or editing behavior matters. For an existing packaged product, use the product photo as a Reference regardless of model choice.
Auto model selection

Nano Banana 2
Photoreal texture, steam, and lighting

GPT Image 2
Clean menu text, labels, and packaging
Every format and variation from one prompt
Generate up to 16 images in a single run, then keep the frames that work. Resize the approved image to the current specifications of the platform where it will be published.
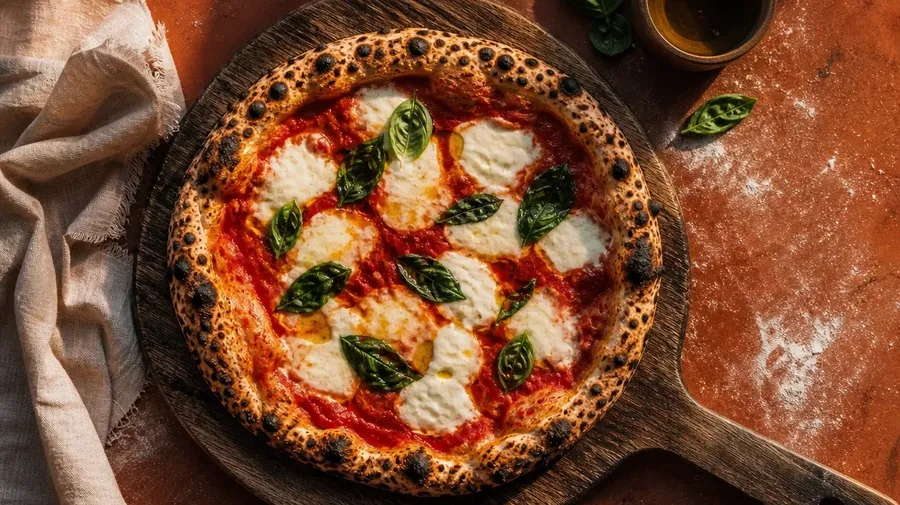
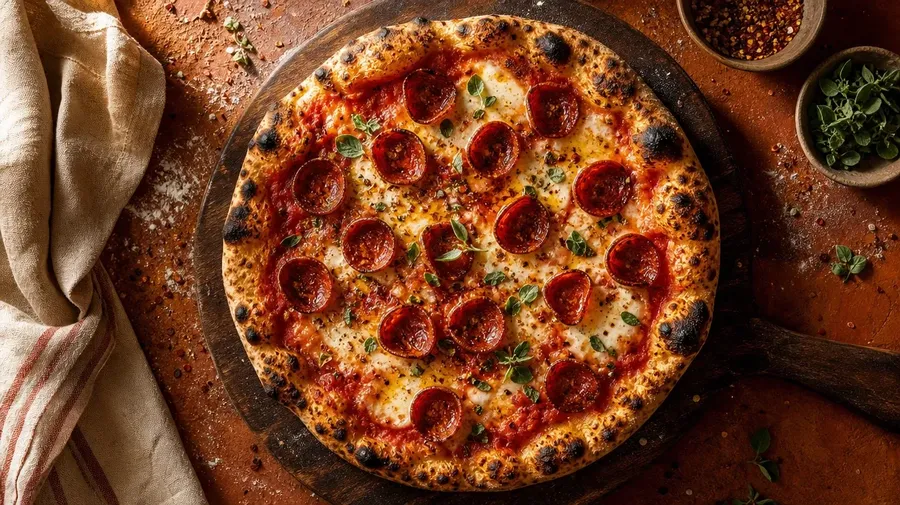
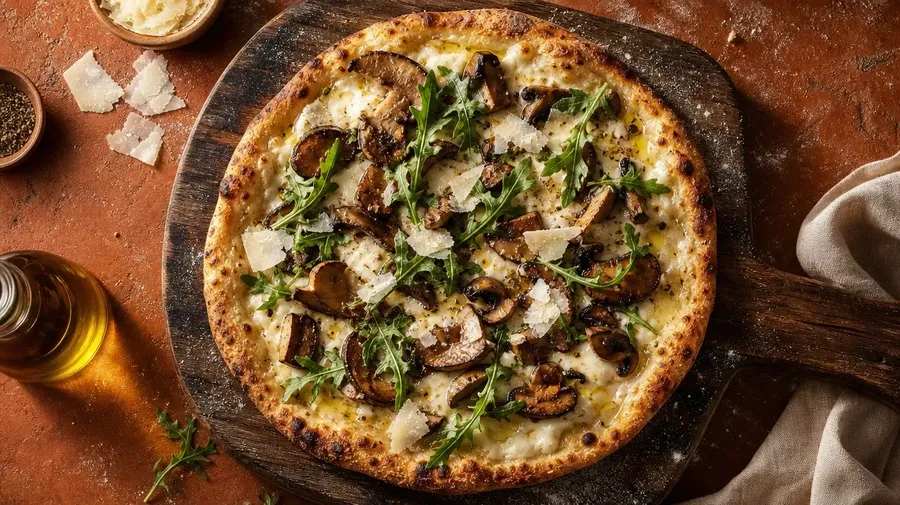
A short path from brief to finished file
Describe the dish or attach a real photo, generate a set, review the food details, then export the selected images. Generation, editing, resizing and upscaling stay in one workspace.
Prompt
Generate
Download
How to generate food photography with getimg.ai
Three steps from a blank prompt, or a photo of the real dish, to an export-ready set.
1. Open Create image
Sign in and open the Create image Action in the sidebar. Start from text, or attach a food photo as a Reference.
2. Describe the dish
Name the cuisine, the visible ingredients, the portion, the plating, the surface, the camera angle and the light. The more specific the description, the closer the first render lands.
3. Generate, review, export
Generate 1 to 16 directions, then check ingredients, portion and plating against the real dish if the image will represent a menu item. Refine the selected frame, then resize or upscale it for the final channel.
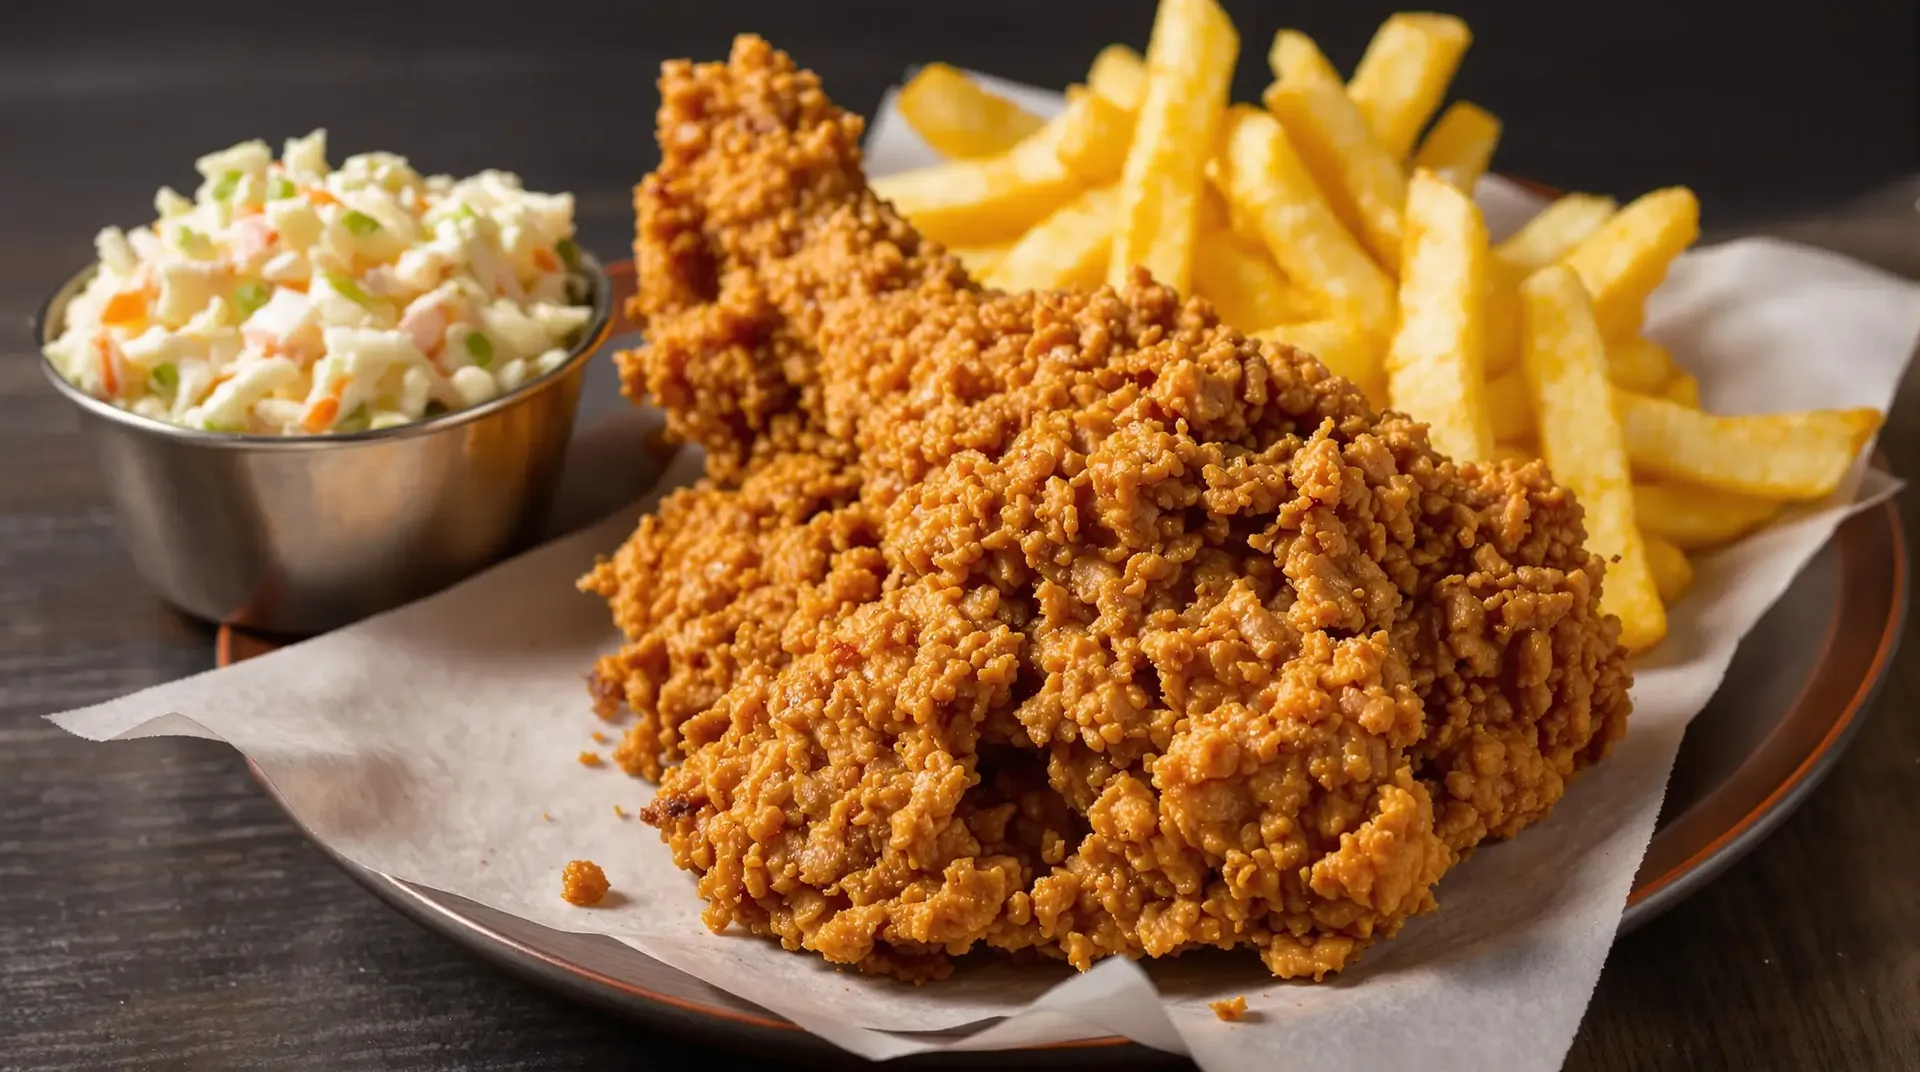
Generated food concepts and real menu photography are different jobs
A text-generated food image is a visual interpretation of your prompt rather than proof of exact ingredients, portion size, nutrition or preparation. Use it for concept boards, pre-production, recipe visualization, editorial and campaign pitching. For a restaurant menu, a delivery listing or an actual packaged product, keep the real item as the visual source of truth and start from a photo of it with Image-to-Image.
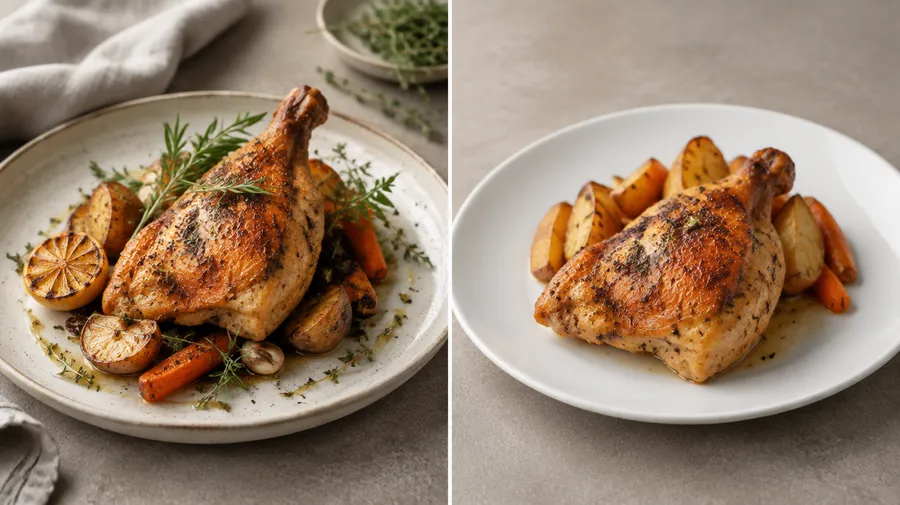
Turn a phone photo into polished food photography
Shoot the plate on a phone, attach it as a Reference, then change the lighting, the surface and the background while the dish itself stays the anchor. Use Image-to-Image for the edit and Background Changer when only the setting needs to move. Review ingredients, portion and sides before the image goes live.
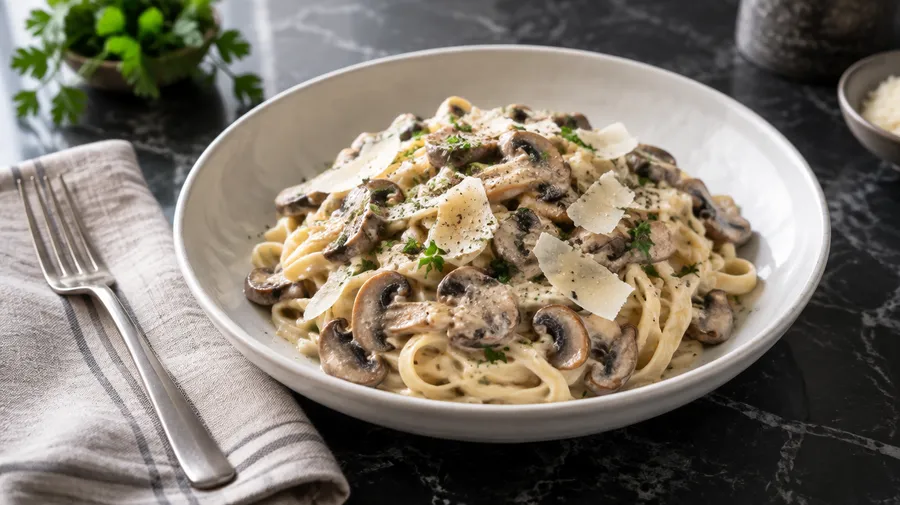
Every kind of food shot from one generator
Accuracy-sensitive work starts from a real photo. Concept and campaign work starts from text.
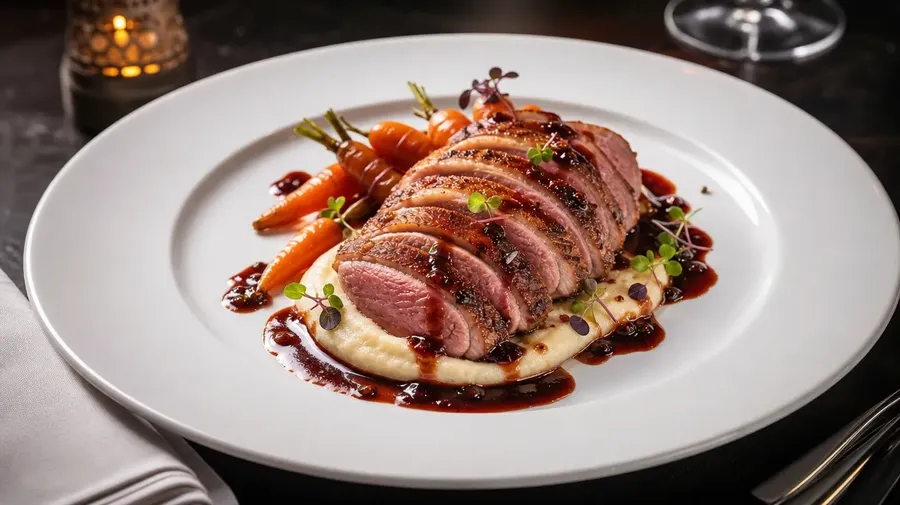
Prepare food images for delivery platforms
Delivery marketplaces review menu photos against their own specifications, and those specifications differ by platform. DoorDash and Uber Eats use different recommended ratios, so check the current merchant requirements before export and resize the approved image with the AI Resizer rather than generating it again.
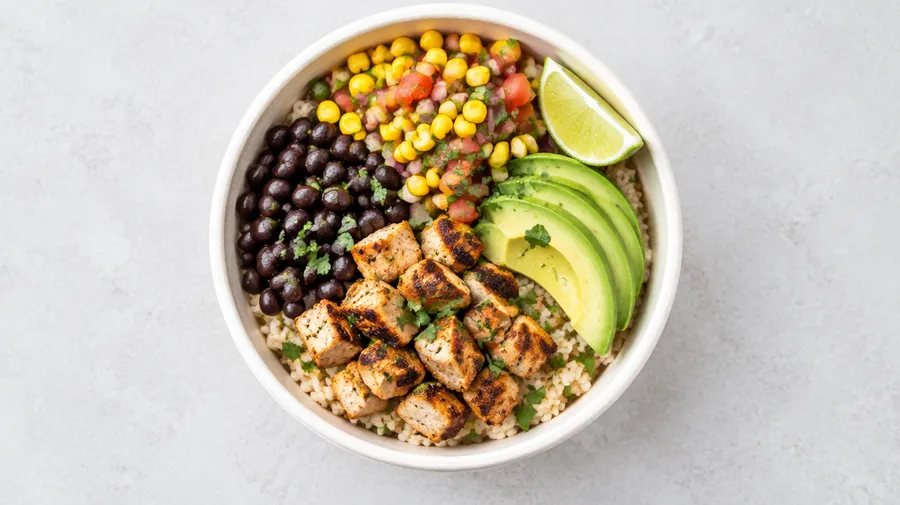
Create food product photography without redesigning the package
For an existing packaged product, the label is not a styling decision. Use the real packshot as a Reference or a Product Element, then change the table, the kitchen, the props, the season or the lighting around it. Review packaging text, logos and product shape at full size before publishing, and keep the same product across a series with Elements.
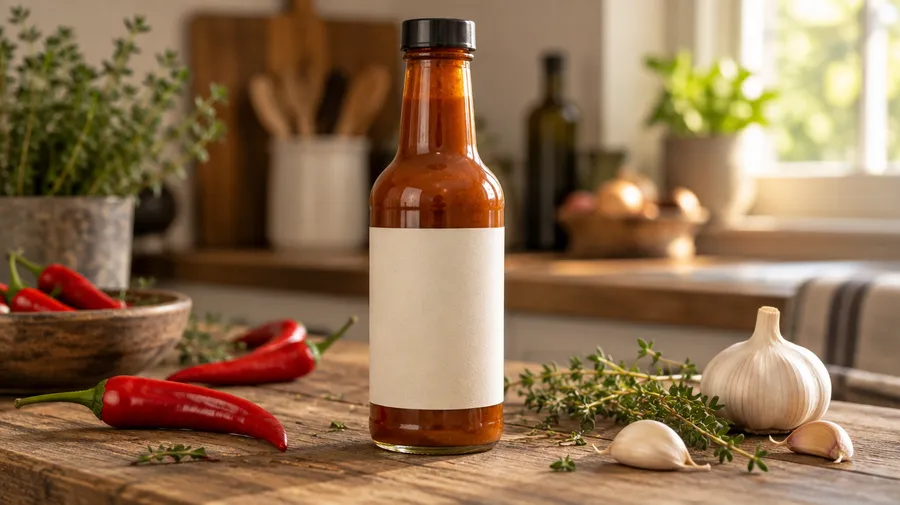
Camera-quality food shots without the shoot day
From fast-casual to fine dining, getimg.ai turns a written description into photorealistic, appetizing food imagery with realistic texture, lighting and plating. Set the dish, the plating and the light, then generate usable directions in seconds. When the image has to match a dish that already exists, start from a photo of it instead of a prompt.
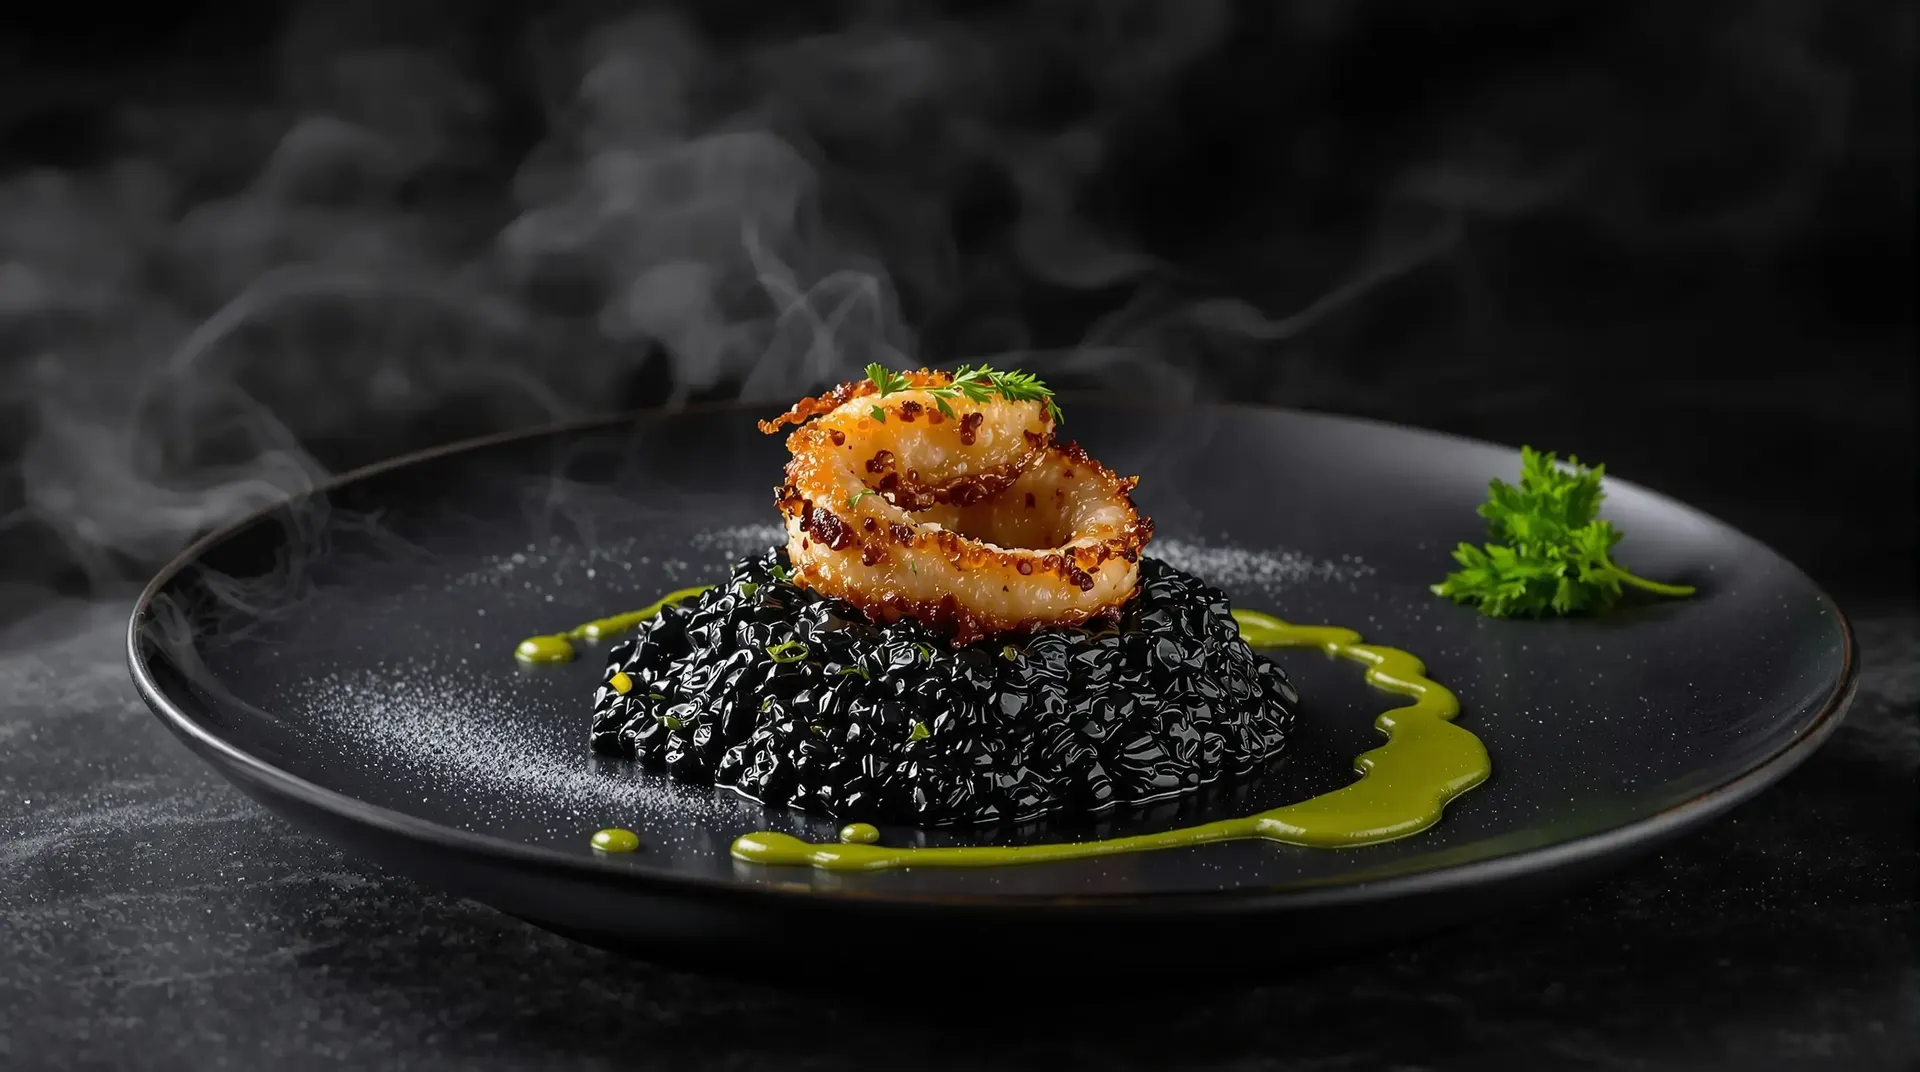
Professional food photography: jet-black, glossy squid ink risotto, topped with crispy golden-brown calamari ring, emerald-green parsley oil drizzle, single parsley sprig, dark charcoal-gray backdrop with smoky gradient, Michelin star plating, ultra-realistic 8K
Explore camera angles, lighting and food styling
Three directions do most of the work in a food prompt. Name the angle, name the light, name the styling.
Camera angle
Overhead for pizza, bowls and flat lays. 45-degree for burgers, plated dishes and desserts. Eye level for stacked food, sandwiches and drinks. Macro for texture, chocolate, pastry and sauce. Wide table scenes suit campaigns rather than single menu items.
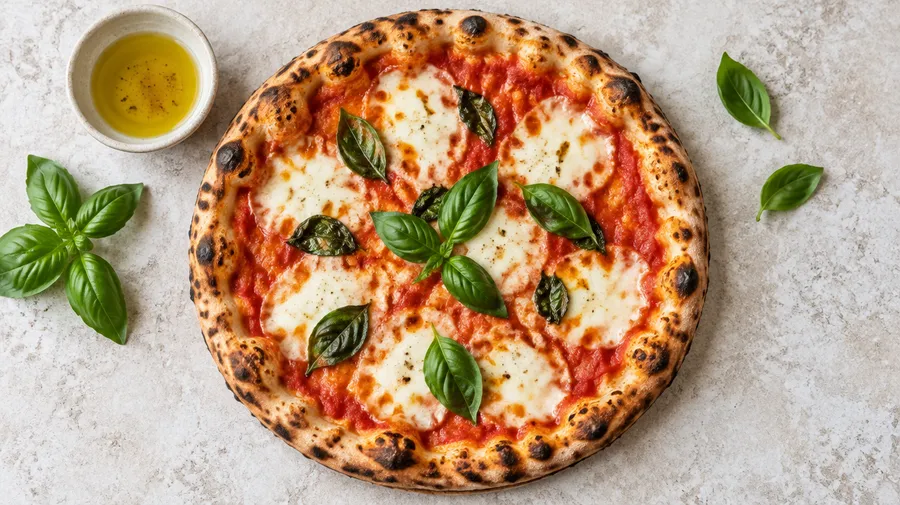
Lighting
Soft window light, bright commercial daylight, dark moody side light, high-key studio, warm restaurant ambience or hard summer sunlight. Lighting sets the mood faster than any other word in the prompt.
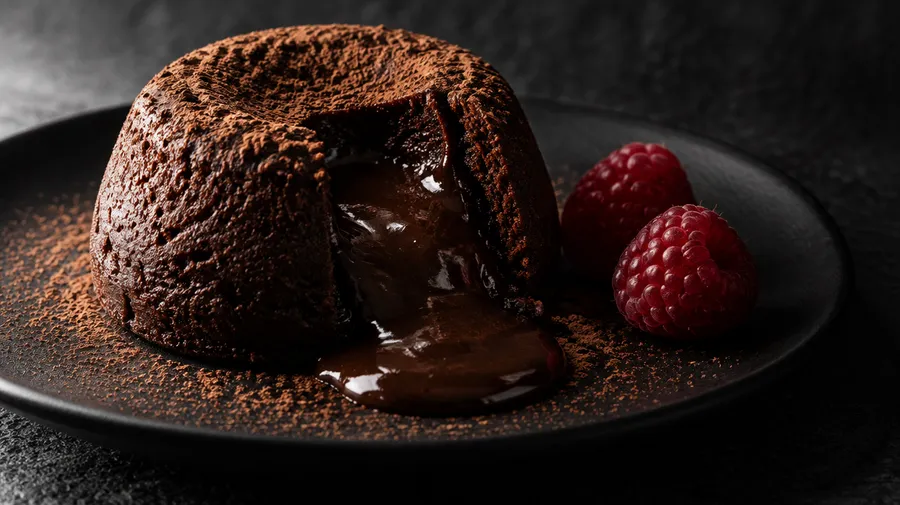
Food styling
Fine dining, casual restaurant, rustic homemade, street food, editorial cookbook, clean e-commerce, luxury advertising or a messy indulgent close-up. Pick one and keep it consistent across the set.
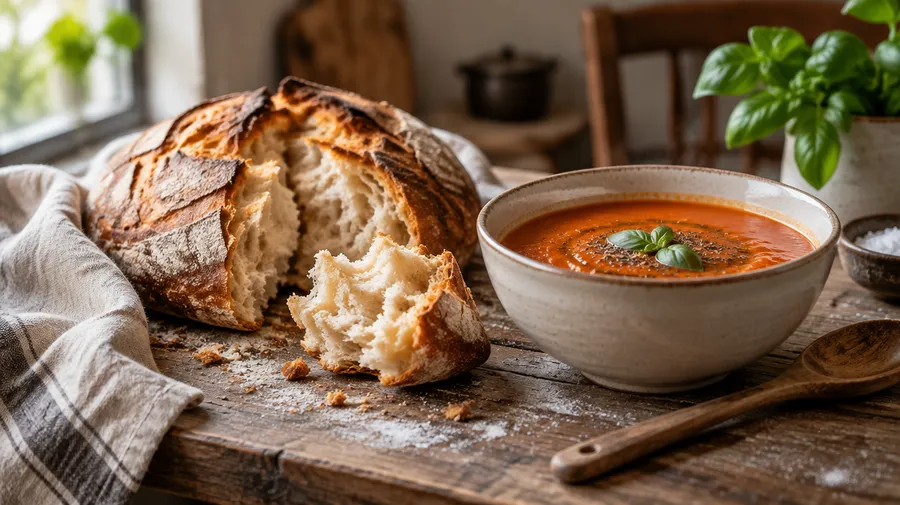
AI food photography prompt formula and examples
Dish, exact visible ingredients, portion, plating, surface and props, camera angle, depth of field, lighting, mood, background, intended channel. Name every part you care about and the render lands closer on the first try.
Menu items
Menu prompts describe one item, one portion and nothing else on the plate. State what should not appear, because a generator will happily add sides you do not sell.
Restaurant burger
Single smash cheeseburger with two beef patties, melted cheddar, pickles and burger sauce in a toasted sesame bun, no fries or drink, centered on a white ceramic plate, 45-degree restaurant menu photography, soft diffused daylight from the left, sharp focus on the burger, neutral warm-gray background.
Pizza menu shot
One 30 cm margherita pizza, thin charred crust, tomato sauce, six visible mozzarella patches and fresh basil, no extra toppings, centered overhead composition, natural restaurant lighting, plain stone tabletop.
Dessert
Single slice of lemon cheesecake with a thin biscuit base and small lemon-zest garnish, exact portion shown alone on a white plate, three-quarter close-up, soft window light, pale cream background.
Visualize food across cuisines and plating styles
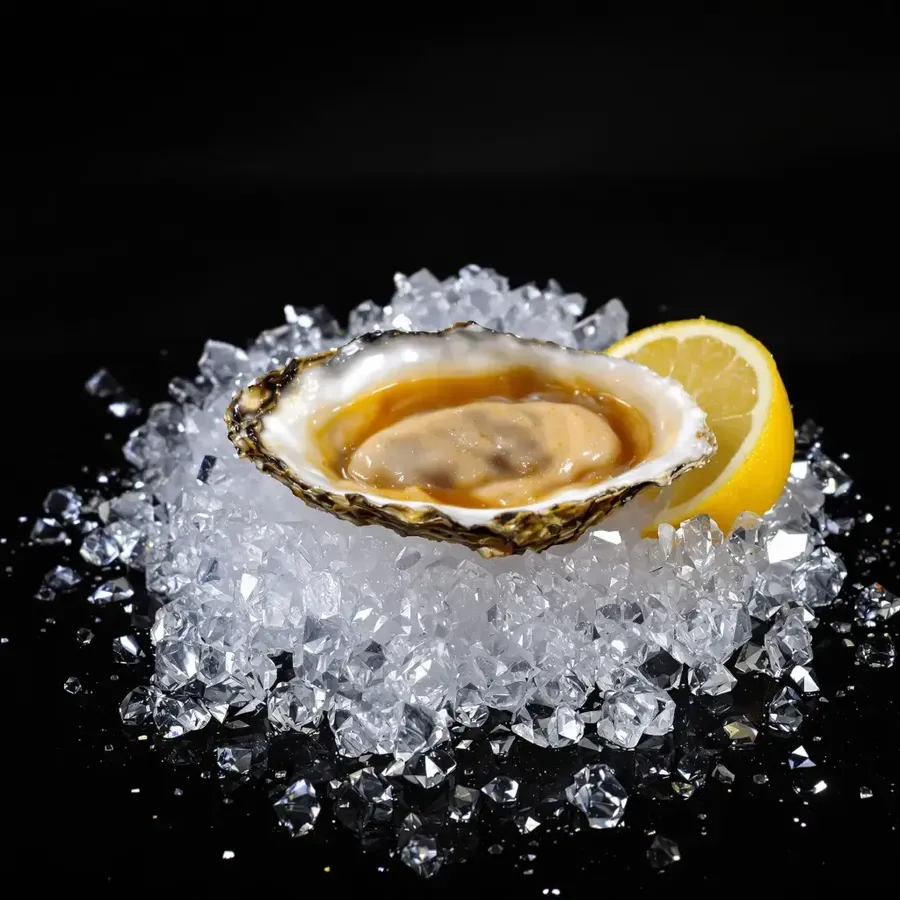
Describe cuisines, ingredients and plating traditions to guide the result, from crispy fries and burgers to Thai pad kee mao, Spanish paella, French pastries or a bowl of Japanese ramen. Review the output when a specific culinary or regional representation matters.
Visuals for every project on your calendar
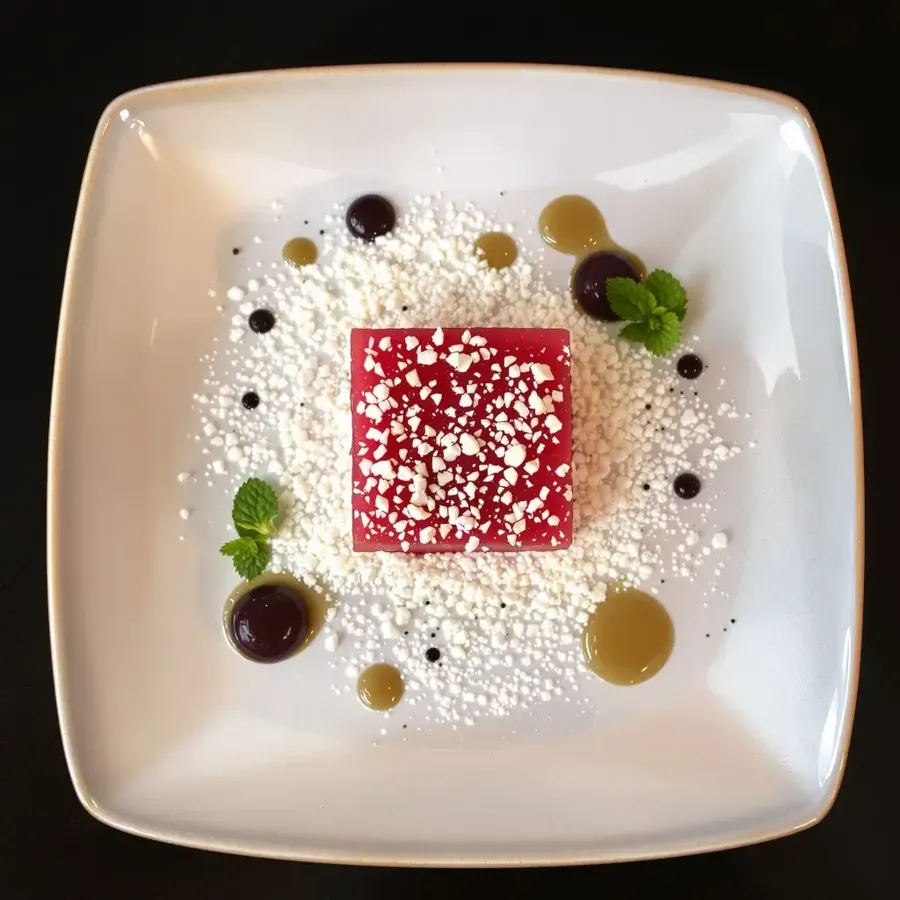
Restaurant groups, delivery brands, CPG teams, recipe publishers and agency concept boards use getimg.ai to visualize dishes before they reach the kitchen, fill a content calendar and pitch concepts to clients. Preview a seasonal menu, mock up a campaign, or use References to adapt existing food assets when a reshoot isn't practical.
Your next menu shoot starts with a sentence, or a photo
Describe the dish or attach the real one, generate a set of directions, review the food details, then prepare the selected images for your channels. Every paid plan includes commercial rights for menus, ads and client work.
Frequently Asked Questions
It creates and edits food images. It does not produce recipes, ingredient lists or nutrition information, and it cannot infer them reliably from a generated picture. Use it to visualize dishes, improve existing food photos, and build restaurant, recipe and campaign imagery.
Describe the dish in Create image: cuisine, visible ingredients, portion, plating, surface, camera angle and lighting. Generate 1 to 16 directions in one run, then refine the frame that works. Naming what should not appear, such as "no fries or drink", keeps the plate to a single item.
Yes. Attach the photo as a Reference and describe only what changes, such as the lighting, the surface or the background. Image-to-Image returns a new version and leaves your original file untouched, and Background Changer handles setting swaps on their own.
For a menu item a customer can order, photograph the real dish and use that photo as the Reference. A menu image represents a product, not only a campaign idea, and the generated version should stay anchored to what arrives at the table. Text-only generation suits dishes that do not exist yet.
Platform policies and image specifications vary. Both Uber Eats and DoorDash require menu photos to accurately represent the item, and current aspect ratios and upload rules also differ by platform. For customer-facing menu listings, using an actual dish photo as the Reference is the safer workflow. Check the current merchant requirements before you export.
Not automatically. Generative outputs can add, remove or rearrange visible ingredients, and counts such as sushi pieces, fries, dumplings or toppings can shift between renders. Review ingredient count, garnish, sides, sauce and portion against the real dish whenever the image represents something on sale.
You can use the recipe or dish description as prompt context to visualize the finished dish. Review the output, because generative imagery may add, remove or reinterpret visible ingredients. For step-by-step process documentation, start from real step photos and edit them instead of generating the process from text.
Save the dish, plating style, palette or product as an Element and call it into any prompt with @ElementName. Elements help keep recurring dishes, products, lighting or style more consistent across a series, though plating geometry and small details can still vary. When exact portion matters, use a Reference photo of the real dish.
Use the real packshot as a Reference or Product Element and change only the scene around it. Product names, ingredient panels, claims, net weight and brand marks should not be reinterpreted generatively. Check packaging text and product shape at full size before publishing, and prefer a faithful upscaler over a creative one.
Finalize the image first, then match its pixel dimensions to the physical size and resolution your printer requires; close-viewed print usually targets around 300 PPI. Send the file to Upscale image when you need additional pixels, then verify food texture, labels and hard edges at full size.
All paid plans include commercial rights to the images you create, covering menus, delivery apps, printed materials, ad campaigns and client projects. Those rights do not replace rights to third-party product photography, logos, packaging, trademarks or other material used as References, so review the output before publishing.