Guide to Restyling Images
Restyle any image in getimg.ai: turn photos into paintings, sketches, or 3D renders, or make stylized art look photorealistic.
How It Works
With restyling, you can instantly transform your image’s look. From photo to painting, or from sketch to photorealism, all it takes is a single prompt.
There are two easy ways to do it:
- Editing from the full image view
- Using the Create image prompt box.
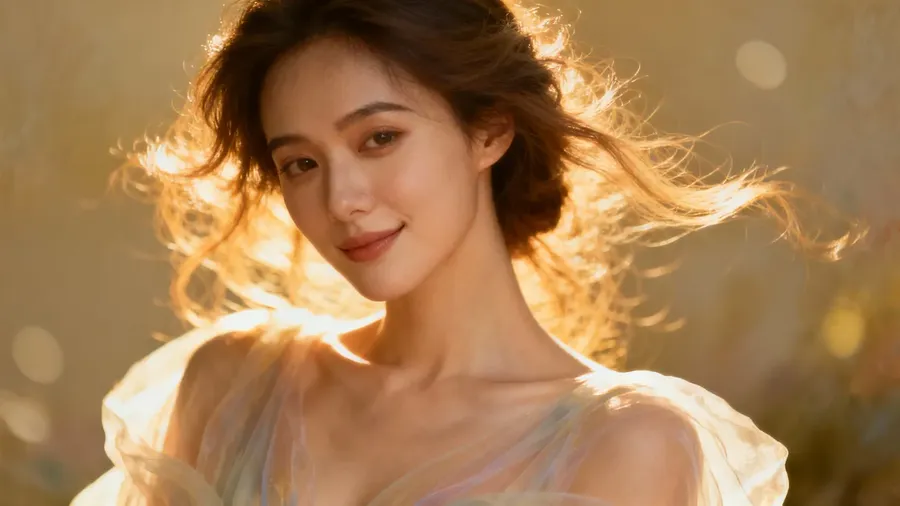
Before
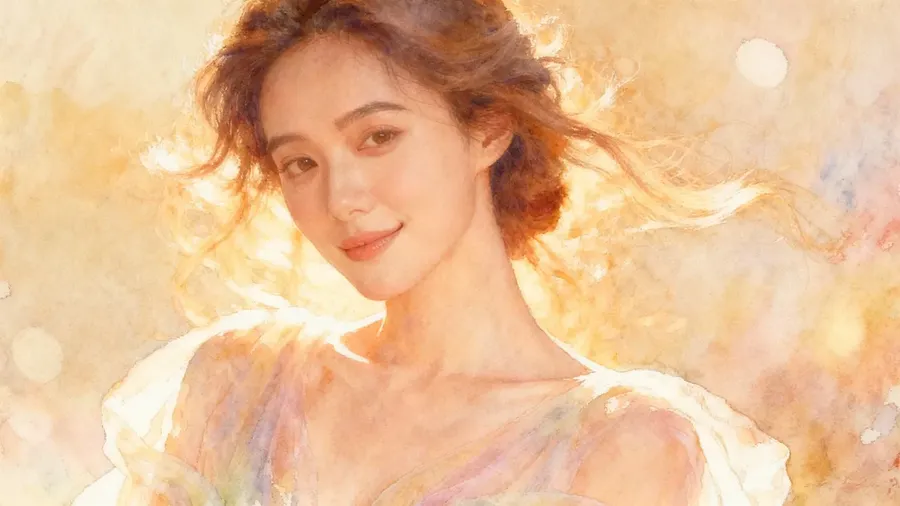
After
New to editing? Start with the Image Editing Basics Guide.
Option 1. Restyle from Full Image View
Simply log into getimg.ai and:
- Click an image in your gallery (e.g., All media, Uploads, a folder) to open it in full view.
- In the prompt box below, describe the transformation.
Examples:
change the style to watercolor
make this 3D model look like a real photo
turn this photo into a hand-drawn comic illustration.
Then, click the arrow to apply the change.
Your original stays untouched: the restyled version will appear separately.
Option 2. Restyle Using the Create image Prompt Box
- Open "Image", then "Create image" from Actions in the sidebar.
- Click the Reference button in the prompt box and press Upload file or Select existing. You can also drag and drop an image straight from your gallery into the prompt box, or hover an image in your gallery, click ⋯, and pick Use as reference.
- In the prompt box, describe the new style you want.
Examples:
turn this into an oil painting
convert this photo to a 3D render, same composition
make this cartoon illustration look photorealistic.
Click the arrow to generate your new version.
Restyling works both ways: from realistic to artistic, or artistic to real. Try different directions and see how the same image transforms across styles and mediums.