Guide to Resizing Images
Need a different format? Resize your images in getimg.ai with one click. Here’s how.
How It Works
Resizing lets you change the shape or proportions of your image. It's useful when you need to fit a specific format (like a square post, vertical story, or wide banner).
You don't need separate tools or manual cropping: select a new aspect ratio and a new version is generated.
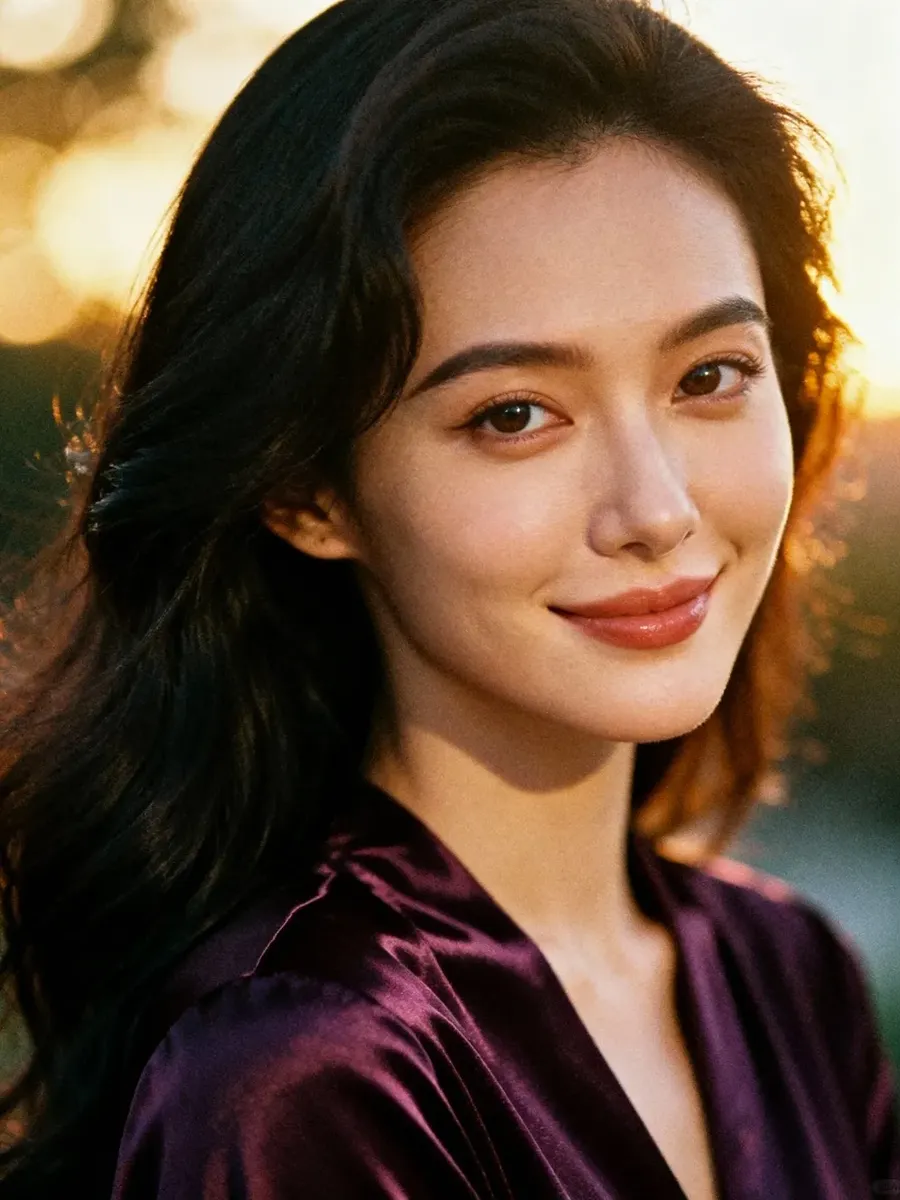
Base Image
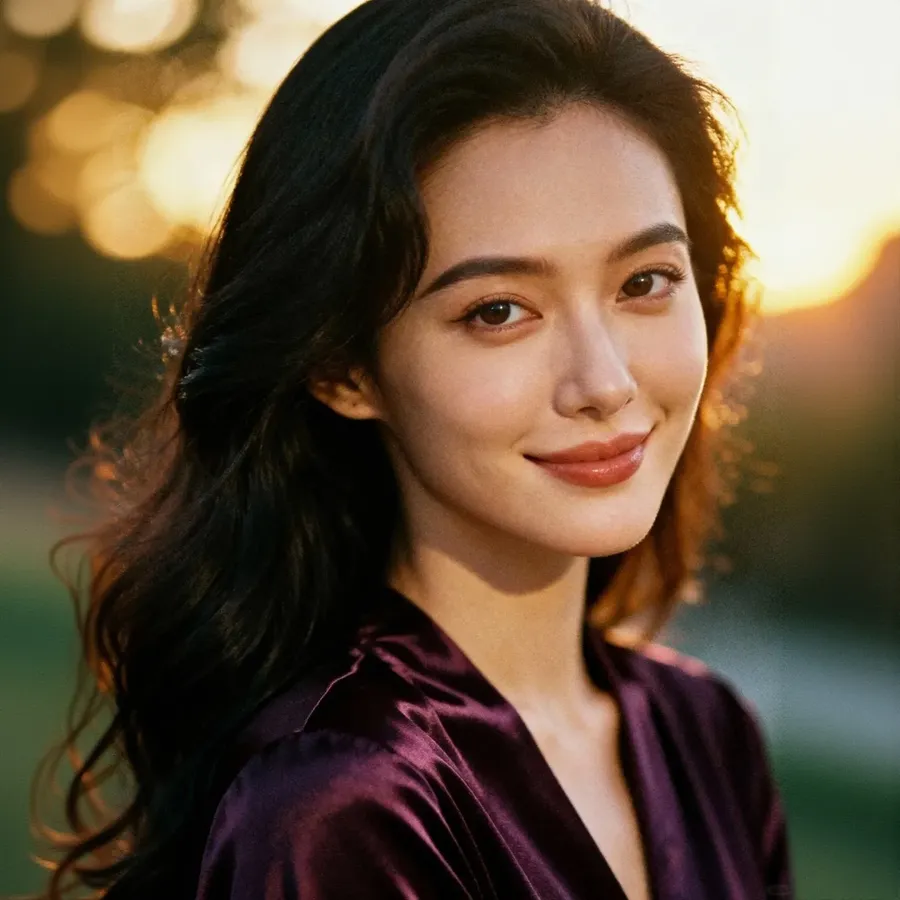
Resized (1:1)
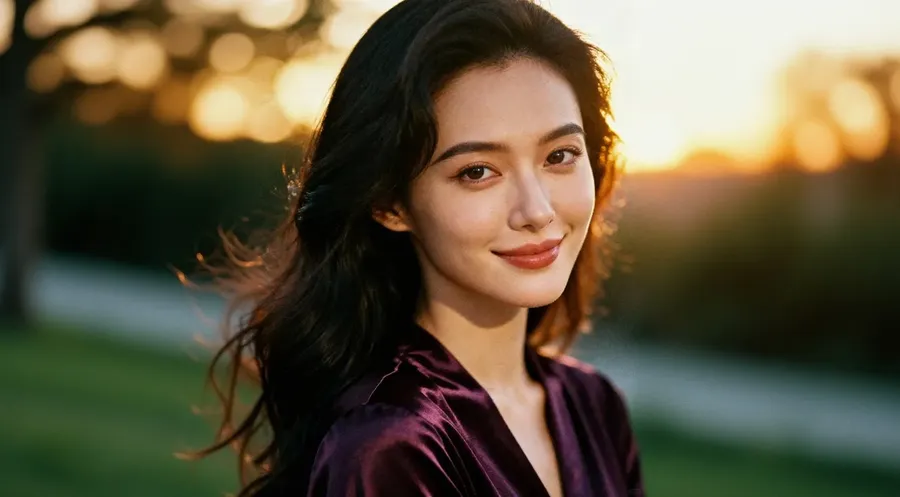
Resized (16:9)
Resizing an Image
To resize an image in getimg.ai:
- Log into getimg.ai, and from the Actions section in the left sidebar, click "Image", then "Resize image".
- Click the box at the bottom of the page to pick an image, drag and drop a file straight into it, or select one from your gallery. You can also add several images at once.
- Click the aspect ratio to set the shape you want, for example 1:1 for square posts, 9:16 for stories or reels, or 16:9 for wide landscapes and YouTube thumbnails.
- Choose how you want to resize: Smart Resize or Outpainting (the difference is covered below).
- Press the arrow to start. A new version with your chosen aspect ratio appears in the Resize image gallery above, and your original stays untouched.
Smart Resize vs. Outpainting
getimg.ai gives you two ways to resize an image, and the one you pick changes the result.
- Smart Resize regenerates the whole image at your new aspect ratio. The composition stays close to the original, but it's a fresh render rather than the same pixels reshaped. Smart Resize also has a quality switch next to the aspect ratio for higher-detail outputs when you need them.
- Outpainting keeps your original image and extends it outward, filling in the missing parts to match the new aspect ratio. Use this when you want the original details preserved and just need more canvas around them.
Pick Smart Resize when you want a clean, reframed version of the image. Pick Outpainting when you want the original kept intact with new space generated around it.
Frequently Asked Questions
Was this guide helpful?