Guide to editing images using Instruct Pix2Pix
How to edit images using getimg.ai's Text to Image tool
In this guide, you will learn how to edit images using our Text to Image tool. In the Text to Image tool, there are three separate tabs. These are Essential, Advanced, and Edit. Let’s take a closer look at the Edit tab.
What is the Edit tab for?
This is the place where you can edit existing images and pictures. Instead of a Prompt, you need to write Instructions. Edit uses a model called InstructPix2Pix. It allows you to describe the changes you would like to make using natural language. Note that you can't generate a new image in the Edit tab.
How to edit an image?
Now we will walk you through all the steps you can take to edit an image. We will cover all sections of the Edit tab from top to bottom. Let's begin.
Instruction
Here you will find two text boxes: Instruction and Negative prompt. Use Instruction to describe what changes you want to make in an original image. Use natural language like add fireworks to the sky, change the color of the dress to red or make her smile.
Use Negative prompt to describe what you don't want to see in your new image. This just gives you more control over the final result. The negative prompt works the same as in the Stable Diffusion. To read a guide on negative prompt, click here.
Image section
This is the place where you can upload your picture or image that will be edited. There are four ways to do that:
drag and drop from your device
click and select one from your device
hover over an image in the gallery and click “Use as init image”
drag and drop from the gallery
Crop center to fit output resolution
This feature is important for images with a resolution that is different than your desired output resolution.
Our models only work with resolutions that are multiples of 64.
Crop center to fit output resolution does exactly what the name suggests. If you decide to use it and select a new resolution for an image that is different from the original, it will automatically crop the original image in the center to match the new resolution. To illustrate, consider the following example. An instruction was given to make the sails yellow. The original image had a 1:1 aspect ratio, while the new image has a 2:3 aspect ratio. Look at the example below to see how it worked.
 Original image, 1:1 aspect ratio
 Without "crop center to fit output resolution", 2:3 aspect ratio
 With "crop center to fit output resolution", 2:3 aspect ratio
Image guidance
Image guidance is the parameter that defines how much the edited image will match the original one. The most optimal value for most cases is 1.5. Although you may want to experiment with it, depending on your desired output. So, what does it change? Here is a brief explanation:
Values closer to 1 will produce results less similar to the original image or not similar at all. In this case, the model will focus on the instruction you have written and will pay less attention to preserving the appearance of an original image or photograph.
Values closer to 3 will produce results almost identical to the original image. Here your instructions are less important for the model than preserving a similarity to the original image.
 Original image
 Edited with instruction: “make her smile”. Guidance scale: 1,5
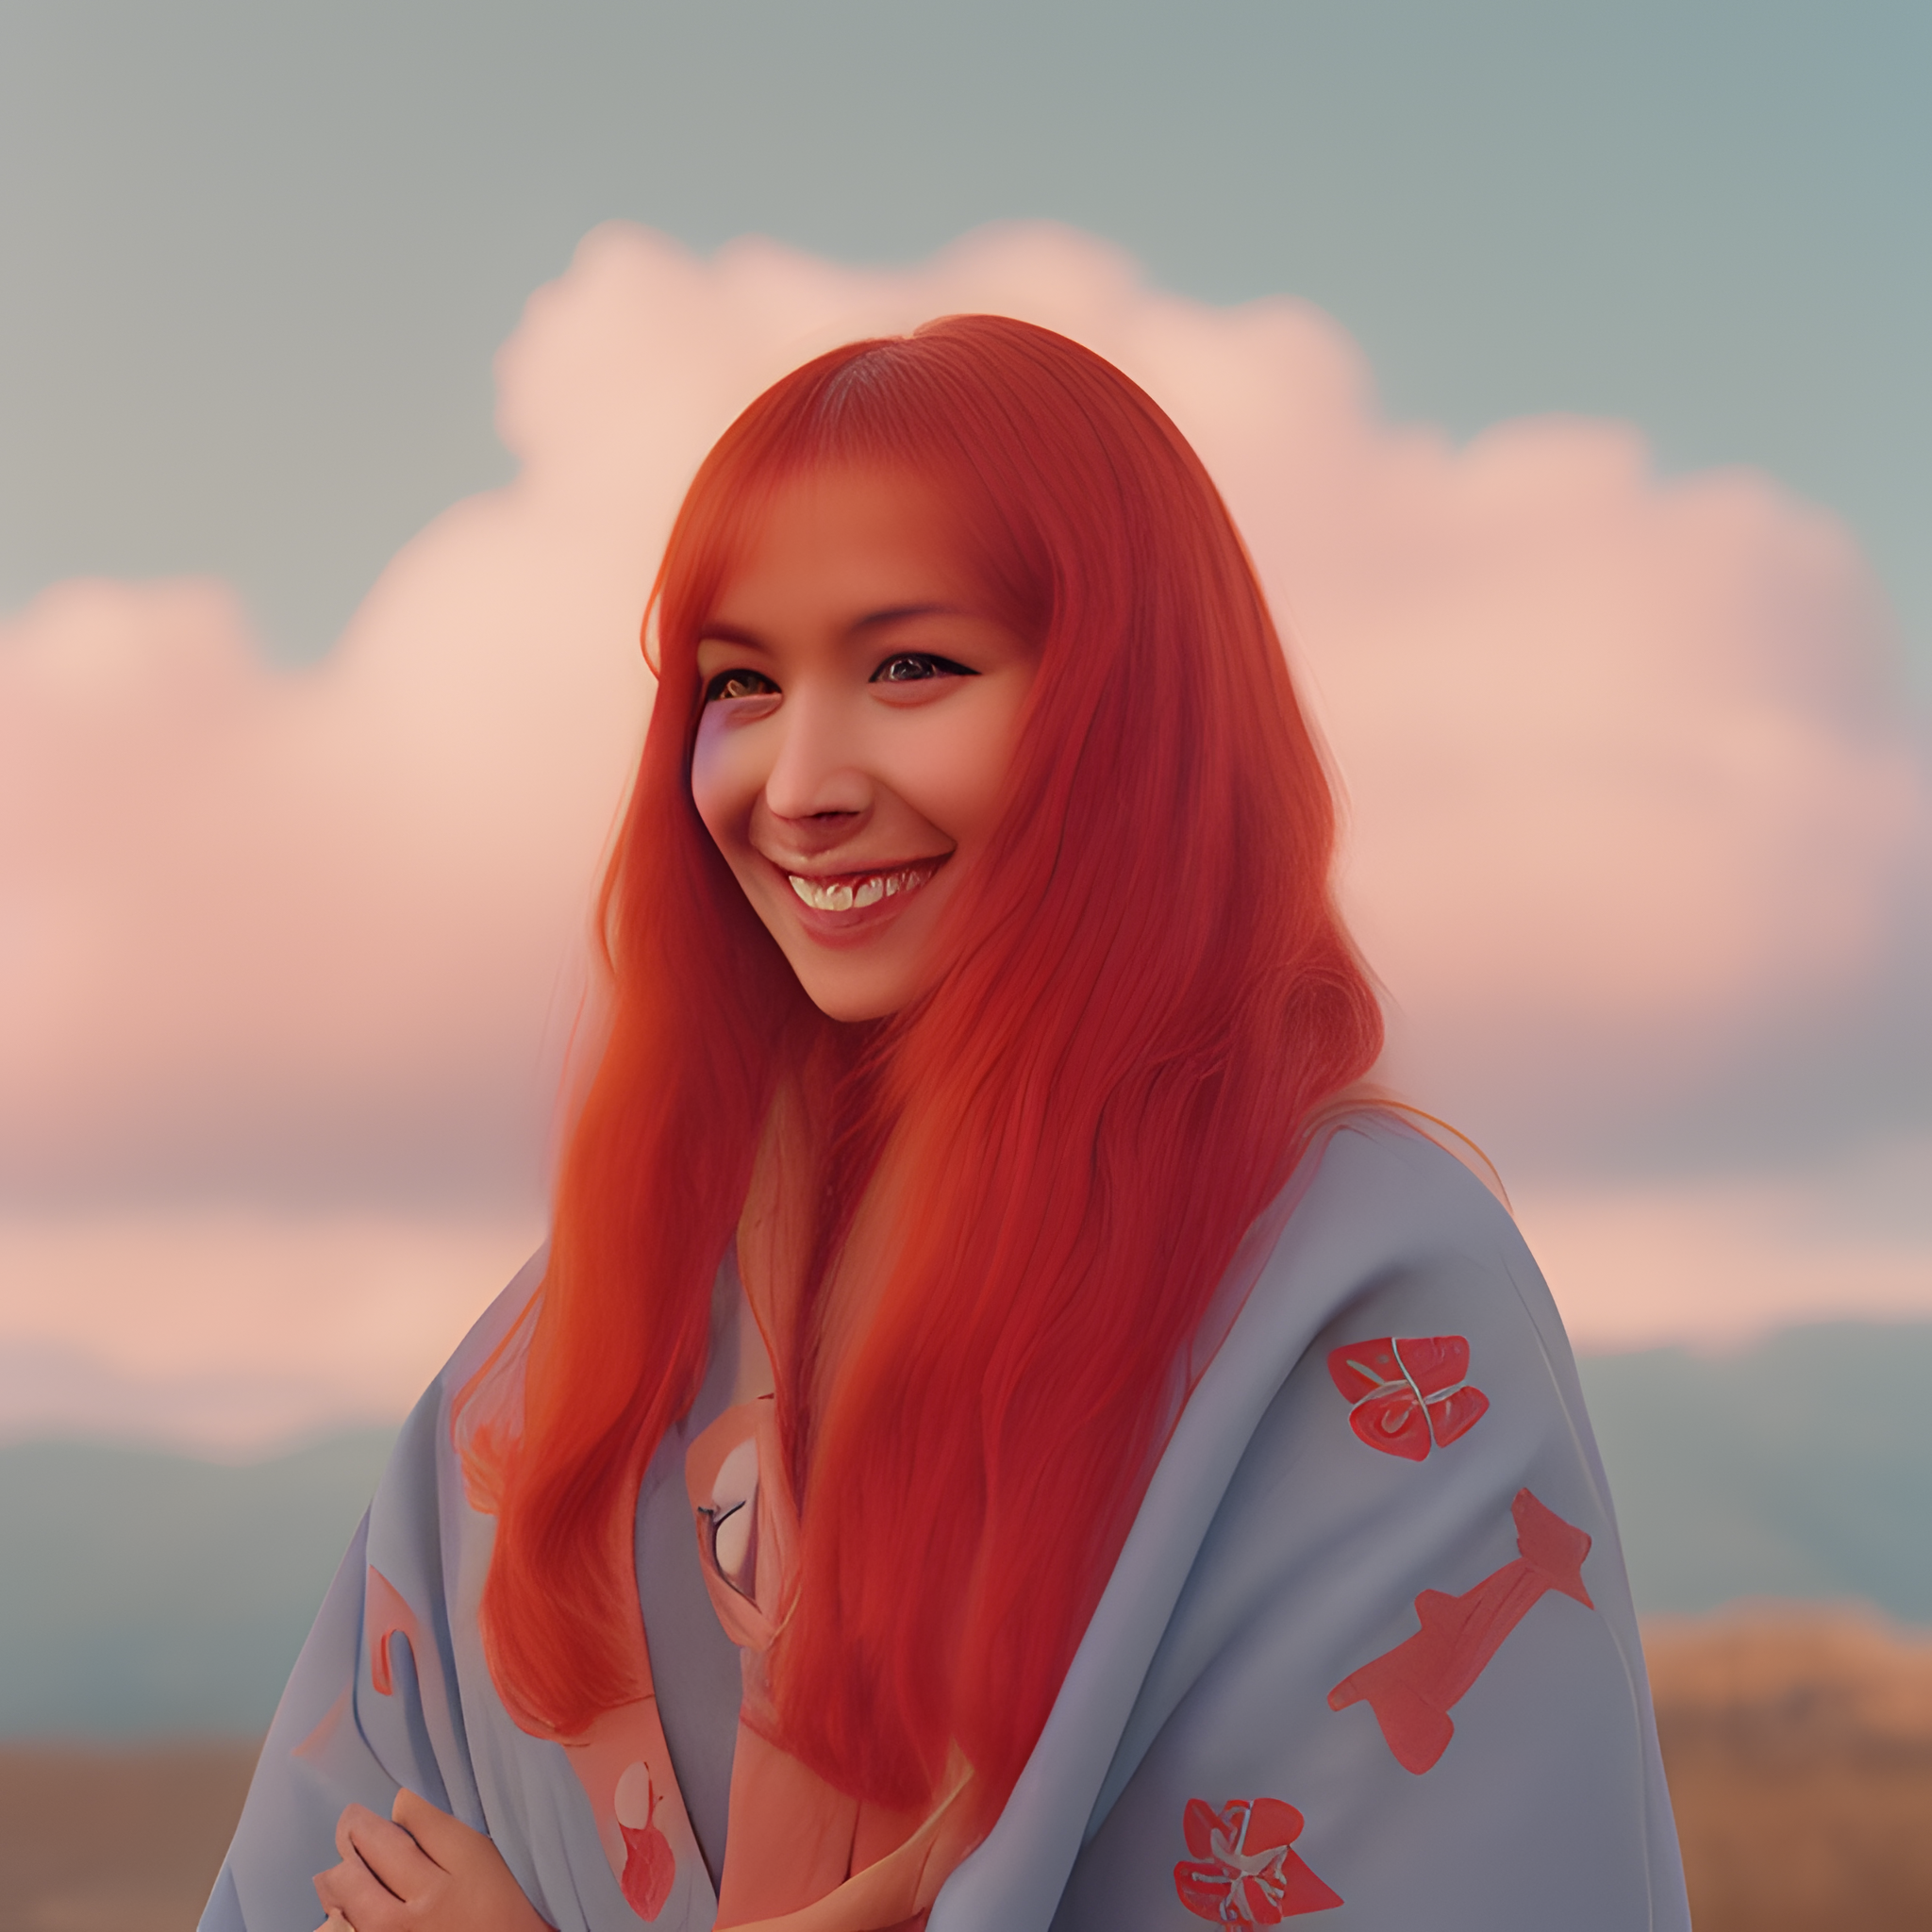 Edited with instruction: “make her smile”. Guidance scale: 1
 Edited with instruction: “make her smile”. Guidance scale: 3
Resolution section
In this section, you will find two tabs: Simple and Advanced. This is rather intuitive, but there is something important to know: the ratio or resolution you choose will be applied to the new image that will be generated. So if you just want to edit your image or photograph but don’t want to change its dimensions, choose the same ratio or resolution as for your original image.
Generation Parameters
You can generate from 1 to 10 images at the same time. Generating more images simultaneously will give you multiple options to choose from, and you will have a better chance of finding the one that you really like.
Regarding the rest of the parameters, we have separate guides for each of them. You can read them here: Guidance Scale, Steps, Seed.
We hope this guide helped you understand how to edit images using the Edit tab. You should now be able to use it to create whatever is on your mind.